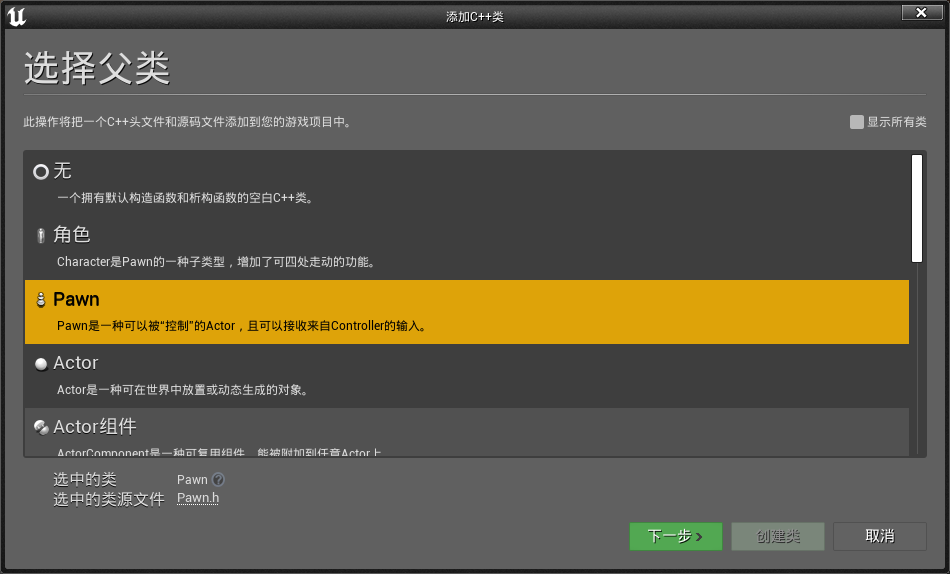
在ue中,pawn是一种可以被控制的actor,我们在创建c++类时,选择pawn作为父类,可以看到说明,pawn可以接受来自controller的输入。

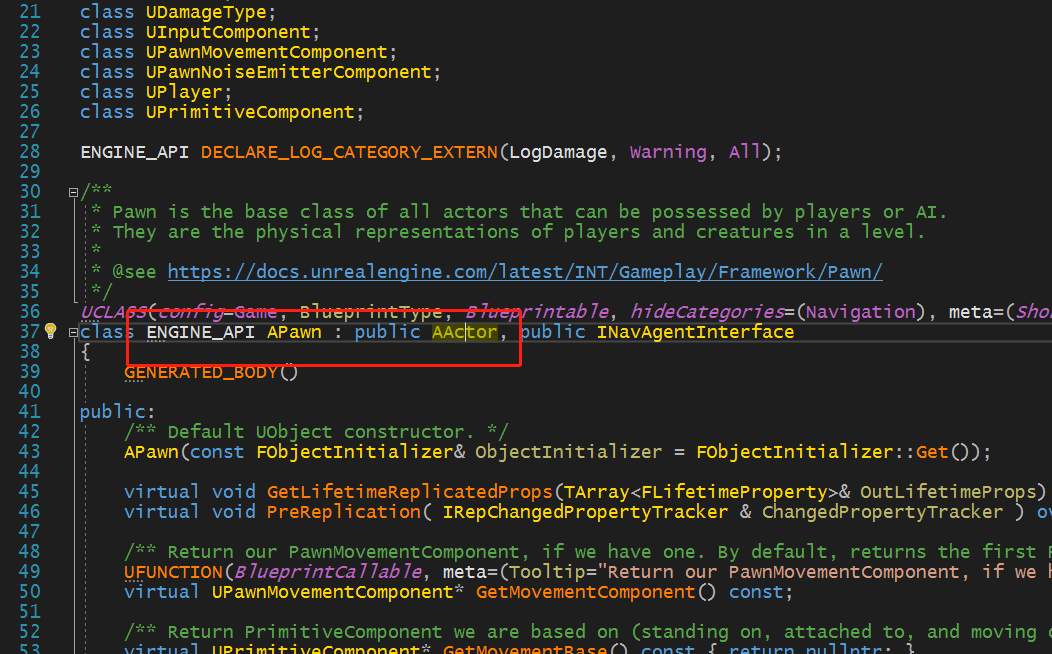
新建完类之后,可以看到新建的类是继承apawn的,进入到apawn里面,就能看到pawn也是继承actor的,所以说pawn是一种可被控制的actor

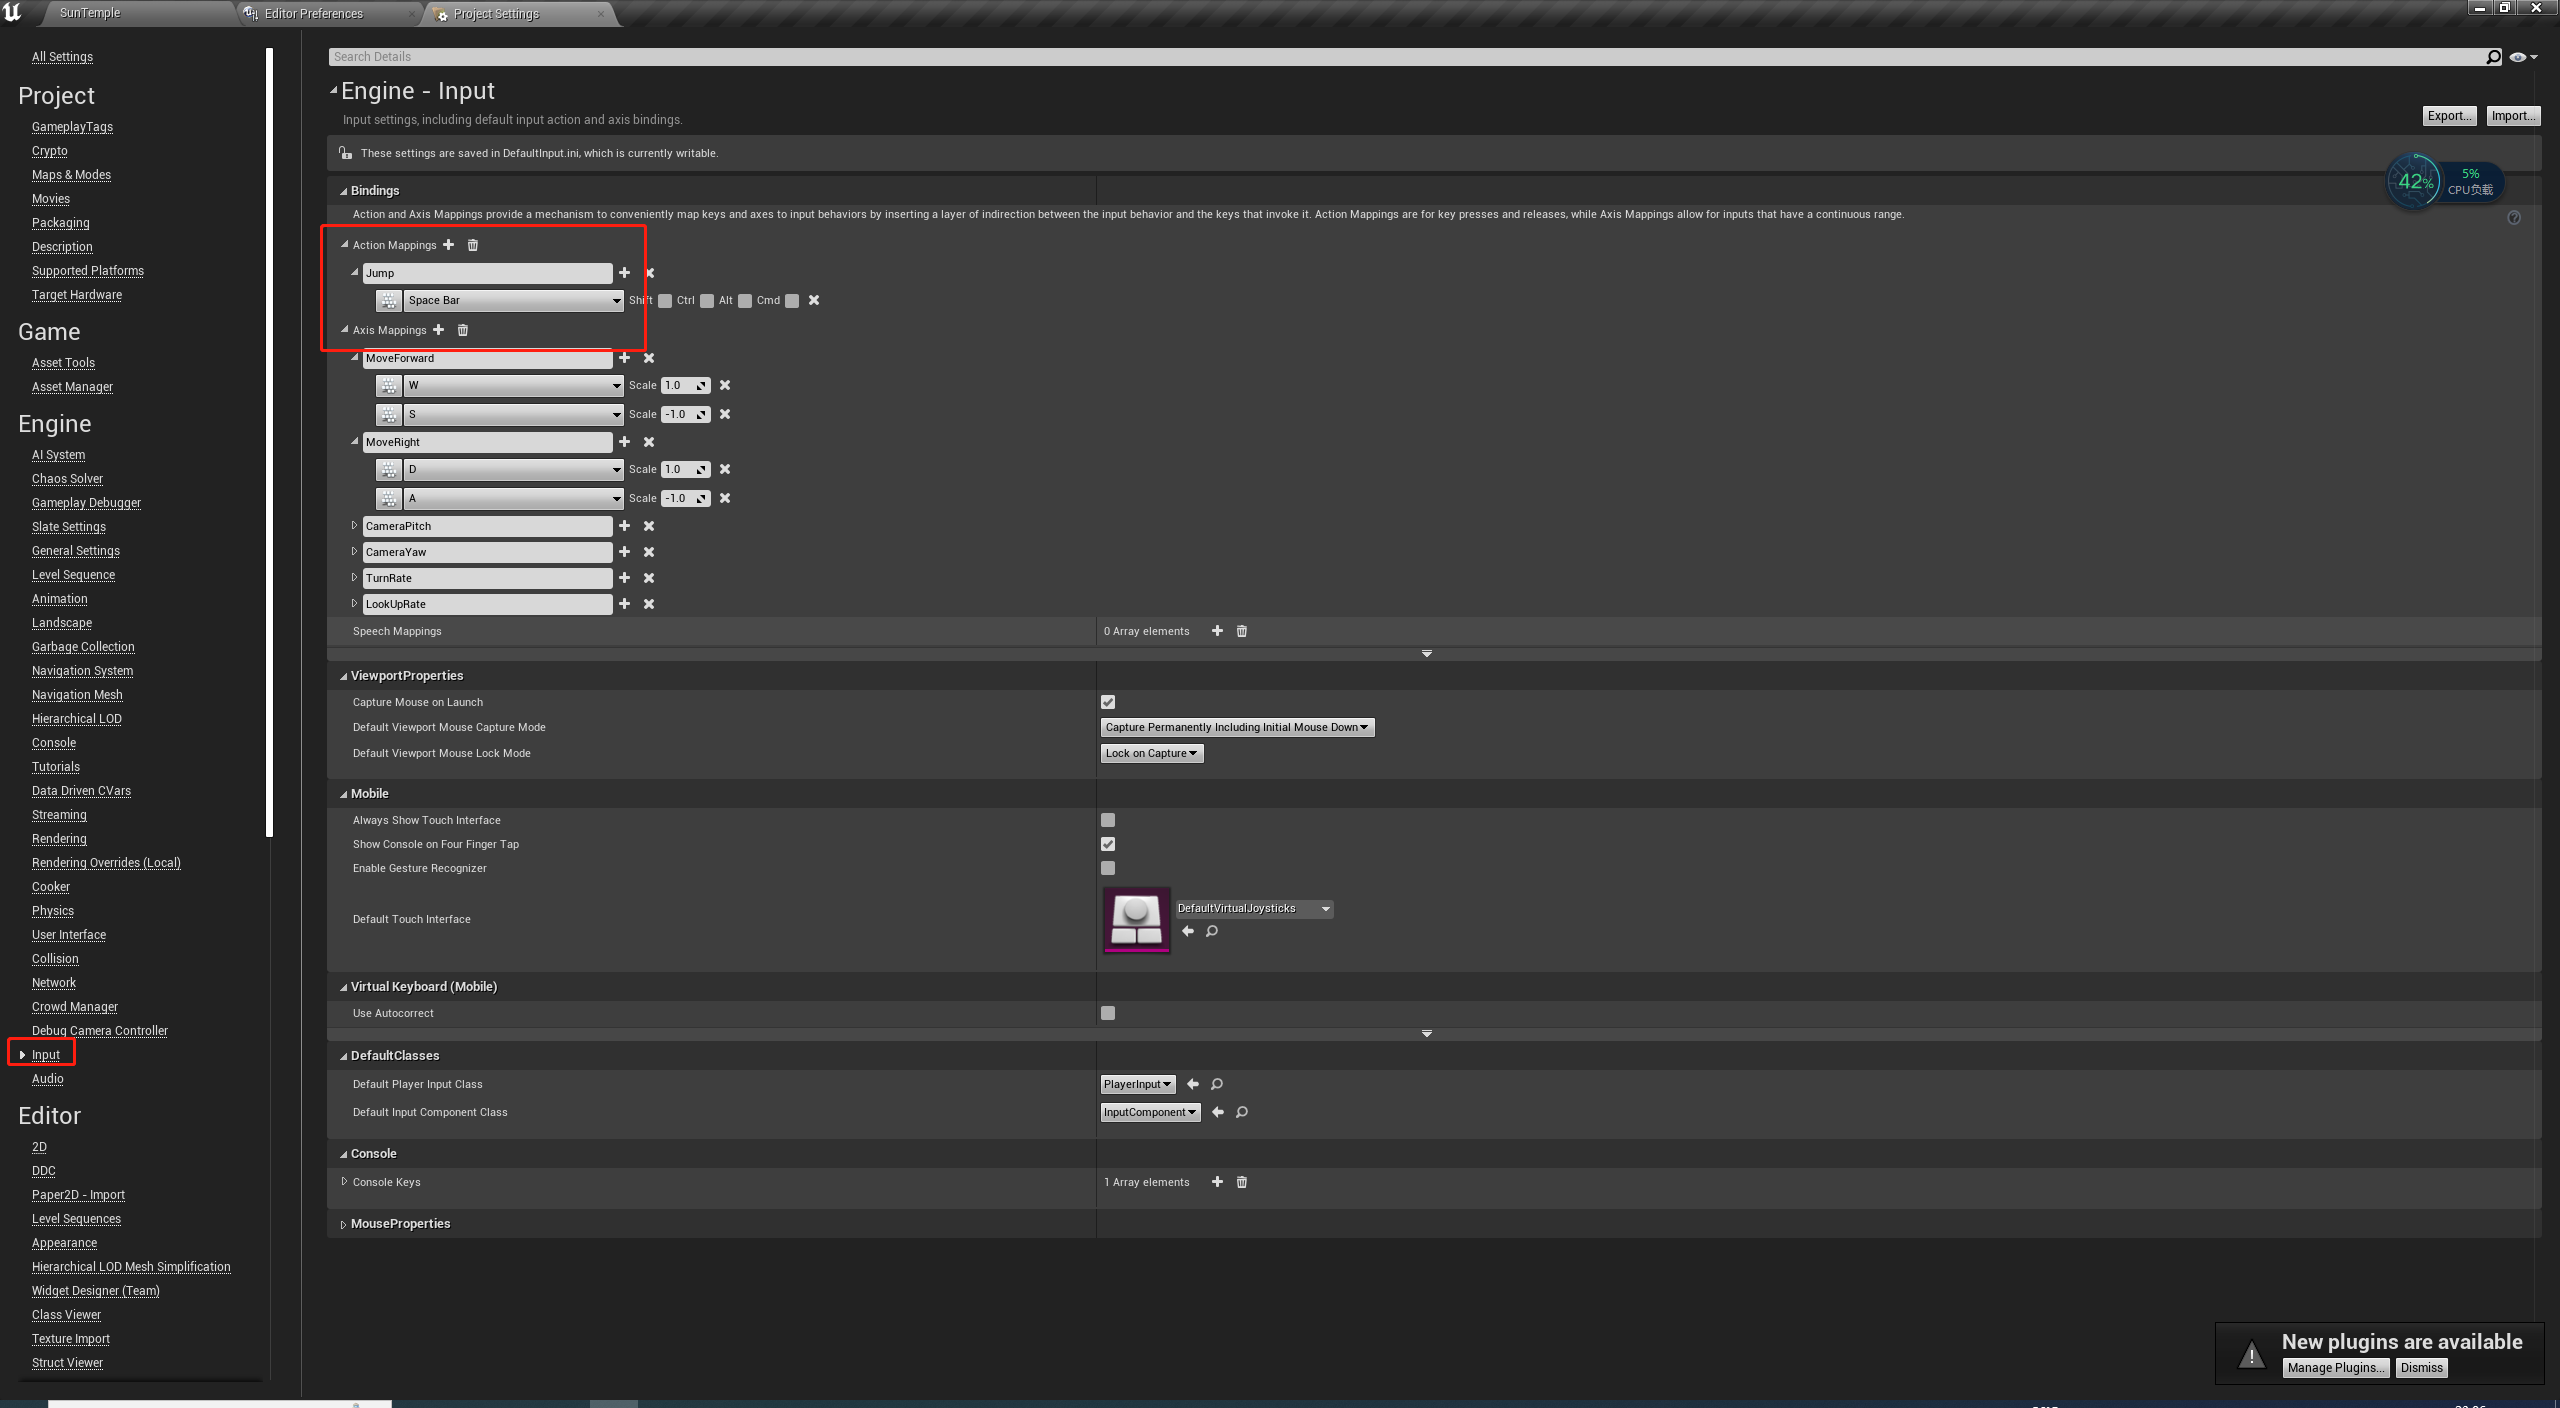
在我们实现输入控制之前,需要先在编辑器的项目设置中,找到input一栏,然后有axis mappings和action mappings

分别是轴映射和操作映射,轴映射是用来控制pawn前进后退转向的,操作一般是用来控制跳跃、蹲伏等
先点+号进行添加,如果是用的初学者内容包的模板,fps模板tps模板的话,这里都会有添加好的配置。
比如moveforward向前移动,配置键盘w,按下往前,s往后,右边的scale则往前为1.0,向后为-1.0
配置好之后回到vs中,开始进行绑定
先在.h文件中声明三个方法
private:
    void moveforward(float value);
    void moveright(float value);
    void startjump();
    void overjump();
再到cpp中进行实现
void acritter::moveforward(float value)
{
    currentvelocity.x = fmath::clamp(value, -1.f, 1.f) * maxspeed;
}

void acritter::moveright(float value)
{
    currentvelocity.y = fmath::clamp(value, -1.f, 1.f) * maxspeed;
}

void acritter::startjump()
{
}

void acritter::overjump()
{
}
接下来就是对映射进行绑定,在自动生成的方法里面有一个setupplayerinputcomponent方法,通过他来进行绑定
// called to bind functionality to input
void acritter::setupplayerinputcomponent(uinputcomponent* playerinputcomponent)
{
    super::setupplayerinputcomponent(playerinputcomponent);

    playerinputcomponent->bindaxis("moveforward", this, &acritter::moveforward);
    playerinputcomponent->bindaxis("moveright", this, &acritter::moveright);

    playerinputcomponent->bindaction("jump", ie_pressed, this, &acritter::startjump);
    playerinputcomponent->bindaction("jump", ie_released, this, &acritter::overjump);
}
可以看到轴映射是各绑定一个,这是因为轴映射绑定之后,每帧会调用绑定的函数,在没有按键的时候,也会一直调用,只不过传的值为0.0f;而操作映射则不一样,当按下按键触发一次,抬起触发一次,所以按下和抬起都需要进行绑定。


发表评论