基础环境配置
一、创建虚拟机
先创建两台虚拟机内存放大一些,实际用的内存不会那么高

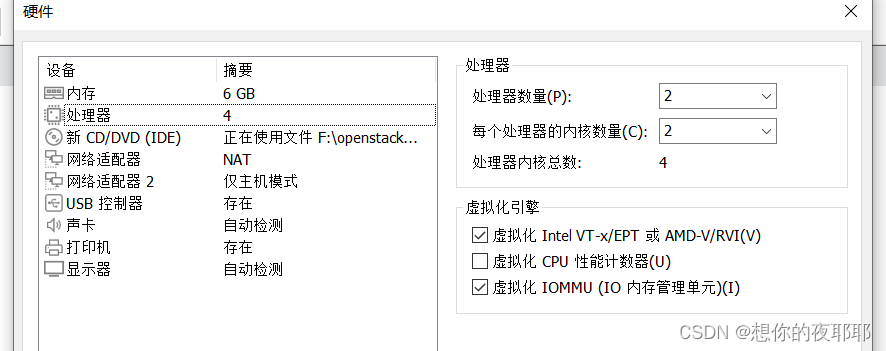
1.controller节点硬件配置
镜像我这里使用1804的 (注意:要添加一个仅主机模式的网络适配器)
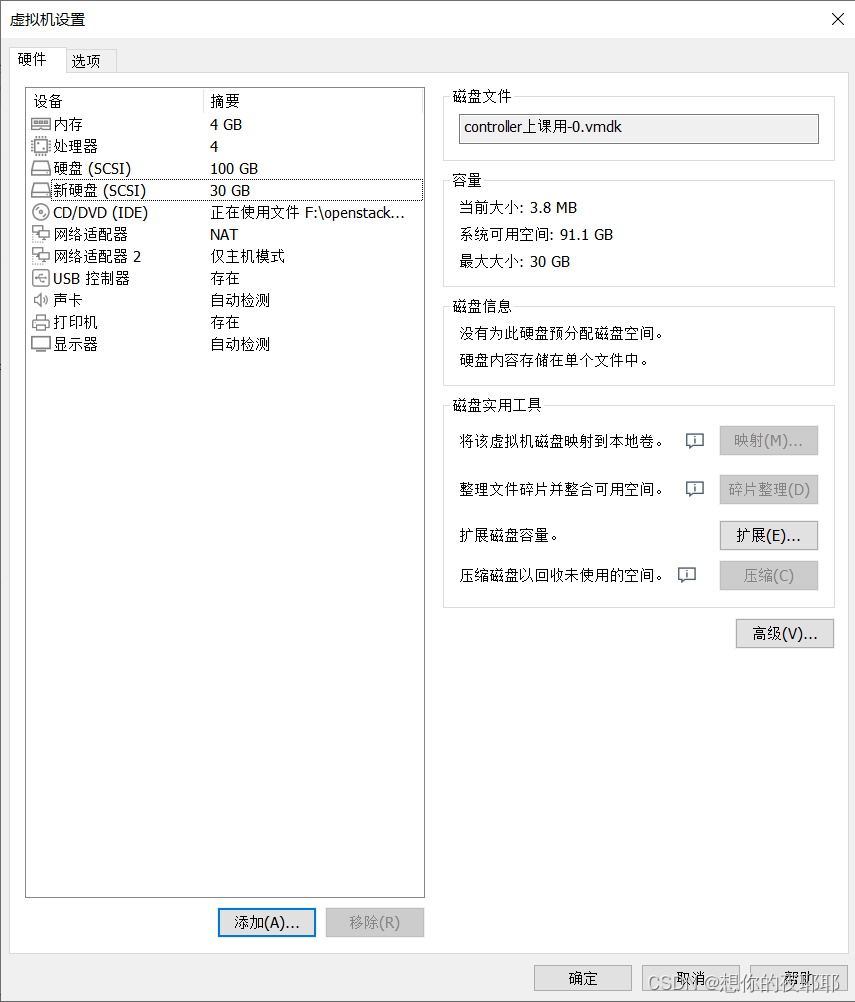
2.编辑compute硬件
添加硬盘

三次下一步默认设置到这里

(注意这里是两张网卡,一张net,一张仅主机)
开机
二、基础配置
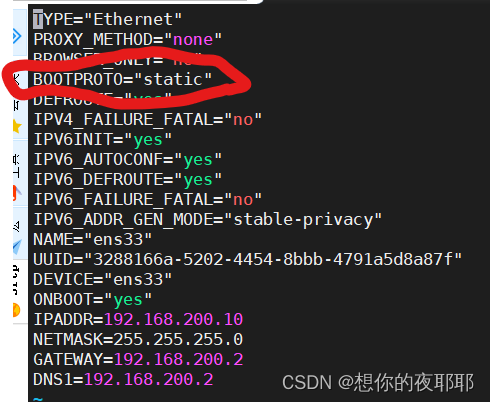
1.修改网路配置
controller跟compute节点
(根据自己ip a查看网卡名字进行修改)
vi /etc/sysconfig/network-scripts/ifcfg-ens33在最后面添加以下信息,dns1为网关ip(我这里controller节点的ip为192.168.200.10,compute节点为192.168.200.20)
ipaddr=192.168.200.10
netmask=255.255.255.0
gateway=192.168.200.2
dns1=192.168.200.2
ip改为固定的
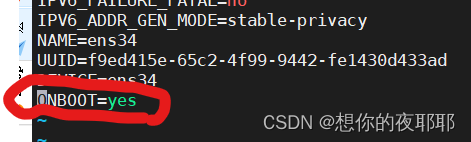
第二张网卡只需要将这里改为yes,也可以不改
重启网络
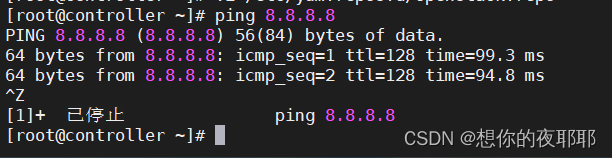
systemctl restart network尝试ping外网
2.关闭防火墙
(controller节点加compute节点)
systemctl stop firewalld

systemctl disable firewalld
3.更改主机名
(controller节点加compute节点)
hostnamectl set-hostname controller
bash
4.映射
controller节点
vi /etc/hosts在下面添加两个节点的ip跟名字,(ip根据自己的改,名字跟下面的一样)

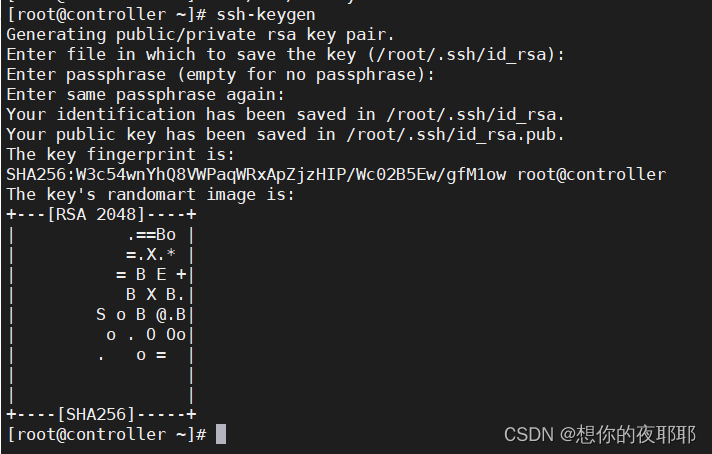
5.进行免密操作
ssh-keygen(一直回车)
ssh-copy-id computeyes
密码(计算节点的开机密码)
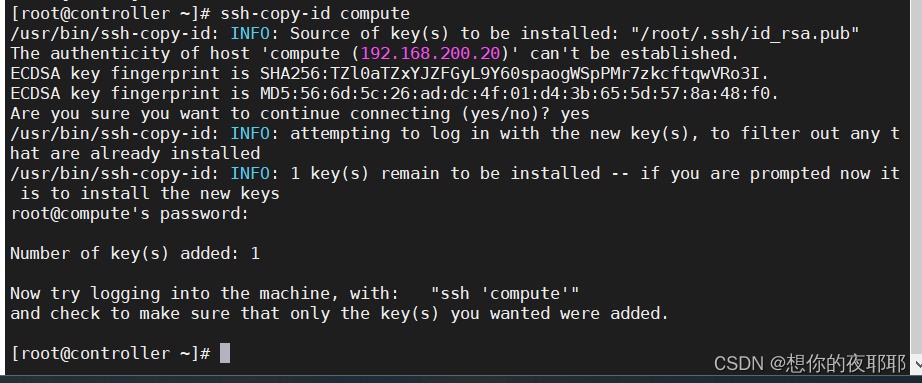
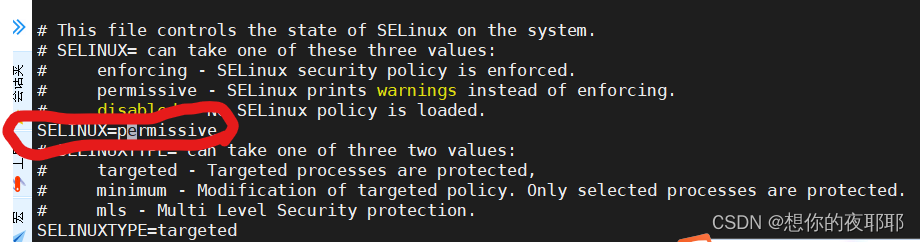
scp /etc/hosts compute:/etc/hosts6.修改seliunx
vi /etc/selinux/config这个改成图片中的模式
7.yum源配置
(controller节点加compute节点)
mv /etc/yum.repos.d/* /media/vi /etc/yum.repos.d/openstack.repo[centos-base]
name=centos-base
baseurl=https://mirrors.163.com/centos/$releasever/os/$basearch
gpgcheck=0
enabled=1
[centos-extras]
name=centos-extras
baseurl=https://mirrors.163.com/centos/$releasever/extras/$basearch
gpgcheck=0
enabled=1
[openstack]
name=openstack rocky
baseurl=https://mirrors.163.com/centos/$releasever/cloud/$basearch/openstack-rocky
gpgcheck=0
enabled=1
[virt]
name=virt
baseurl=https://mirrors.163.com/centos/$releasever/virt/$basearch/kvm-common/
gpgcheck=0
enabled=1
yum repolist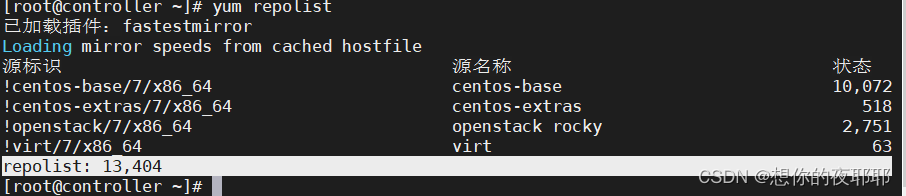
结果为13404多个包
三、基础服务和软件安装
注意节点信息
1.时间服务
yum install -y chronycontroller节点
vim /etc/chrony.conf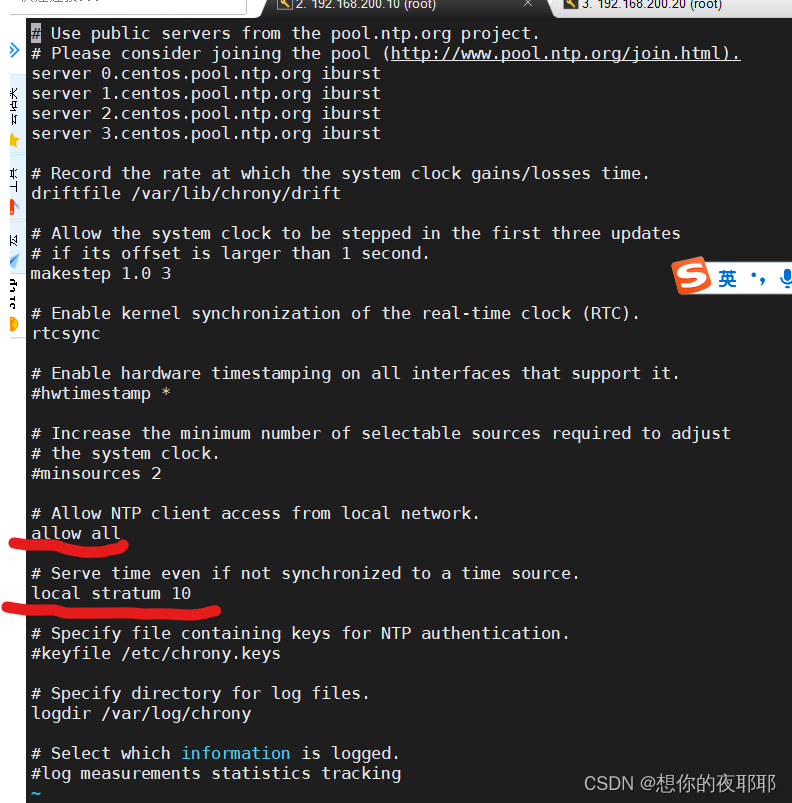
systemctl restart chronyd

systemctl enable chronyd
测试
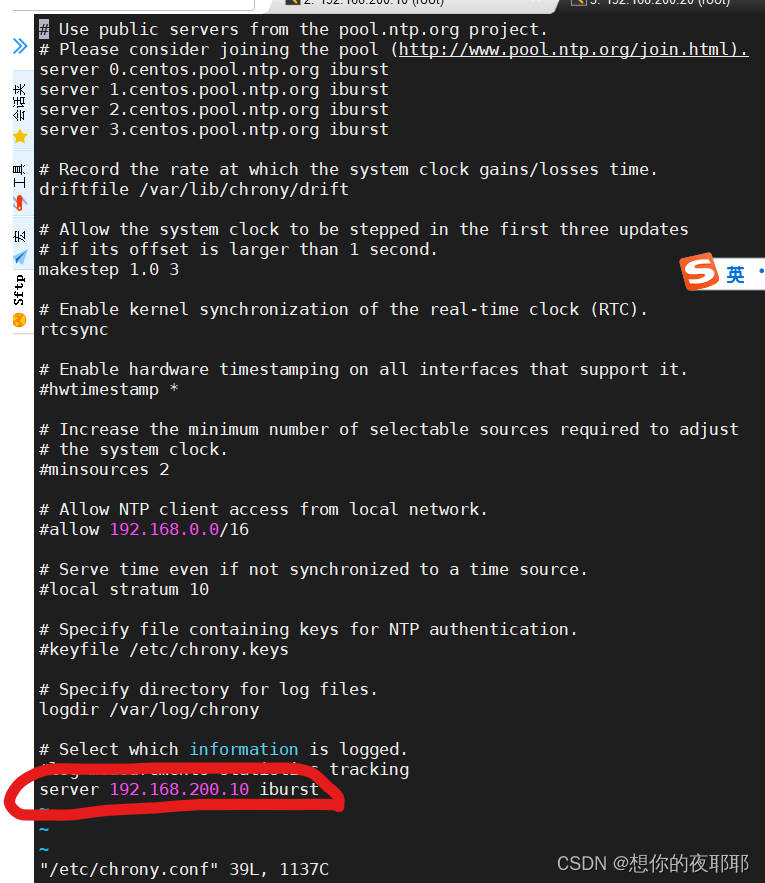
compute节点
在最后面添加
server 192.168.200.10 iburst
重启服务
systemctl restart chronyd

systemctl enable chronyd
chronyc sources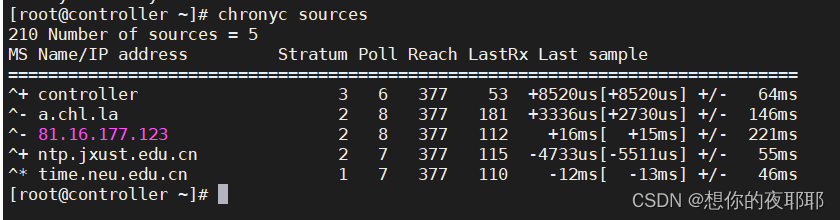
2.安装基础软件
(controller节点加compute节点)
yum install -y python-openstackclient

yum install -y openstack-selinux
3.安装数据库
只需要在controller节点安装
yum install -y mariadb mariadb-server python2-pymysqlvim /etc/my.cnf.d/openstack.cnf在里面添加(ip改为自己controller节点的ip)
[mysqld]
bind-address = 192.168.200.10
default-storage-engine = innodb
innodb_file_per_table = on
max_connections = 4096
collation-server = utf8_general_ci
character-set-server = utf8
(开机自启服务)
systemctl enable mariadb.service(启动服务)
systemctl start mariadb.service进行安全设置
mysql_secure_installationenter current password for root (enter for none):回车
set root password? [y/n] y
new password:输入密码(一般为000000)
re-enter new password:再次输入密码
remove anonymous users? [y/n] y
disallow root login remotely? [y/n] n
remove test database and access to it? [y/n] y
reload privilege tables now? [y/n] y
4.消息服务
只在controller节点安装rabbitmq
yum install -y rabbitmq-server启动服务
systemctl enable rabbitmq-server.service
systemctl start rabbitmq-server.service
增加用户和授权
rabbitmqctl add_user openstack 000000成功是显示以下,如果报错,先检查另一台虚拟机是否改名成controller,

rabbitmqctl set_permissions openstack ".*" ".*" ".*"成功如下

5.缓冲服务memcache
只在controller节点安装
yum -y install memcached python-memcached修改配置
vim /etc/sysconfig/memcached在1后面添加,controller

启动服务
systemctl enable memcached.service
systemctl start memcached.service
到此完成基础服务和软件安装,建议两台虚拟机保存快照,自己备注好
四、安装和配置keystone
该任务在controller节点完成,但请确保compute节点为开机状态
(1)数据库的创建
mysql -u root -p000000
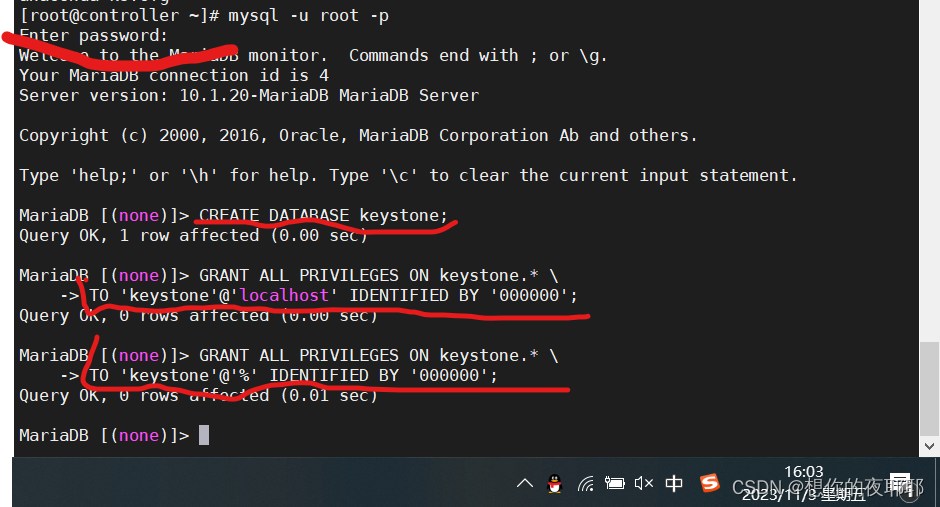
命令如下
create database keystone; grant all privileges on keystone.* \
to 'keystone'@'localhost' identified by '000000';grant all privileges on keystone.* \
to 'keystone'@'%' identified by '000000';打完成功后如上图所示
exit 退出
(2)安装keystone
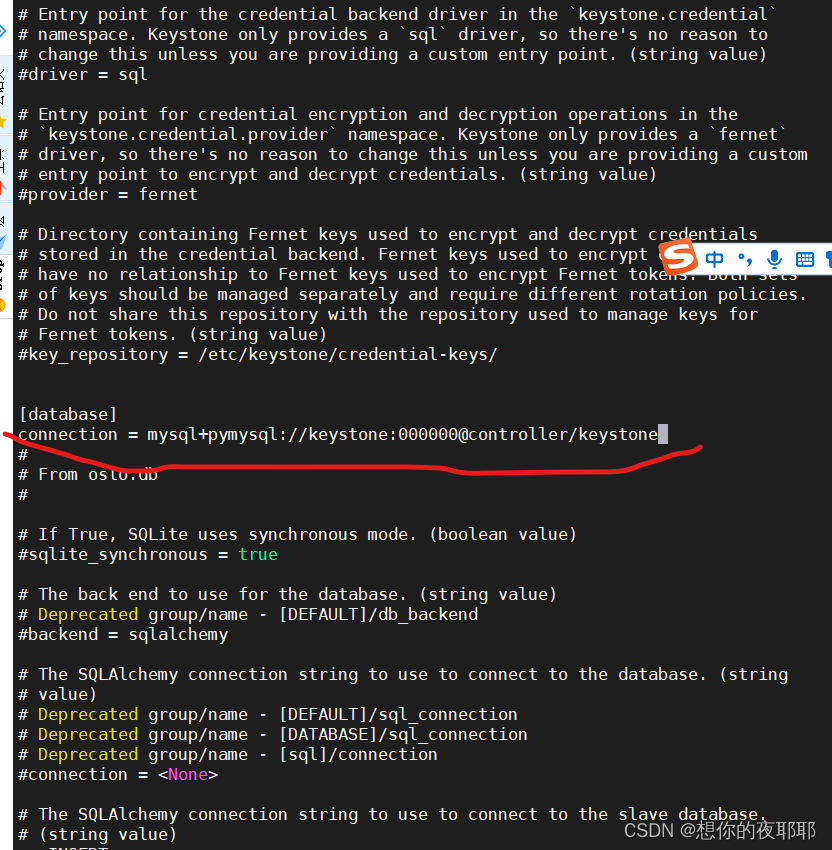
yum install -y openstack-keystone httpd mod_wsgi(3)修改配置
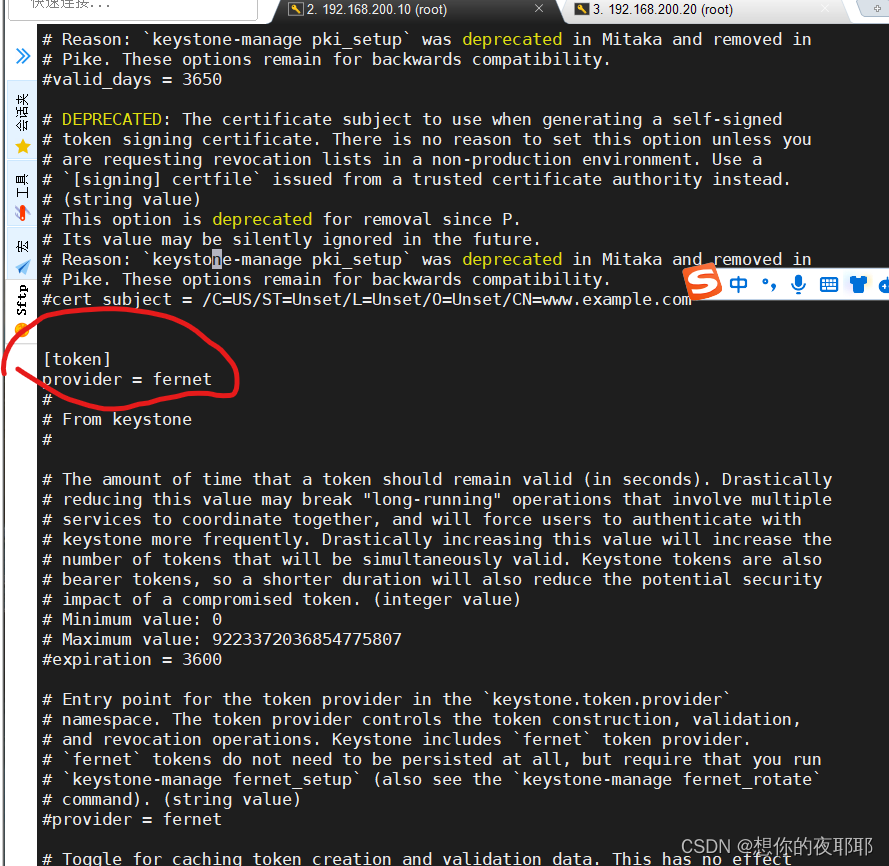
vim /etc/keystone/keystone.conf[database]
connection = mysql+pymysql://keystone:000000@controller/keystone[token]
provider = fernet
(4)初始化数据库
su -s /bin/sh -c "keystone-manage db_sync" keystone(5)初始化keystone
keystone-manage fernet_setup --keystone-user keystone \
--keystone-group keystone
 keystone-manage credential_setup --keystone-user keystone \
--keystone-group keystone
keystone-manage bootstrap --bootstrap-password 000000 \
--bootstrap-admin-url http://controller:5000/v3/  \
--bootstrap-internal-url http://controller:5000/v3/  \
--bootstrap-public-url http://controller:5000/v3/  \
--bootstrap-region-id regionone
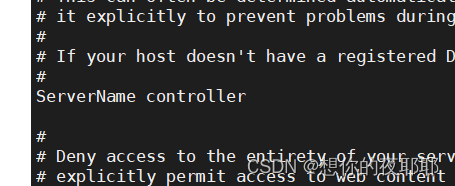
(6)修改httpd的配置
vim /etc/httpd/conf/httpd.conf可以通过上面介绍的查找关键字,找关键字servername,将前面注释符#删掉
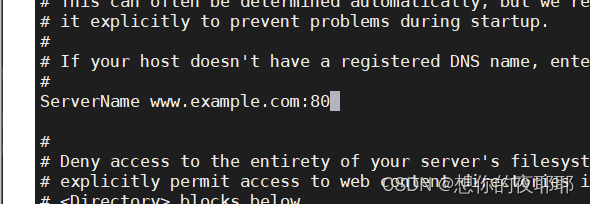
改成
ln -s /usr/share/keystone/wsgi-keystone.conf /etc/httpd/conf.d/(7)启动httpd服务
systemctl enable httpd.service
systemctl start httpd.service
(8)设置环境变量
vi ~/.bashrc在最下面添加
export os_username=admin
export os_password=000000
export os_project_name=admin
export os_user_domain_name=default
export os_project_domain_name=default
export os_auth_url=http://controller:5000/v3
export os_identity_api_version=3
export os_image_api_version=2
保存退出
source ~/.bashrc这个命令为更新上面的配置,不用重新登录,省下来的三分钟你能干嘛,懂的都懂
(9)创建一个项目
openstack project create --domain default --description "service project" service成功创建后显示以下
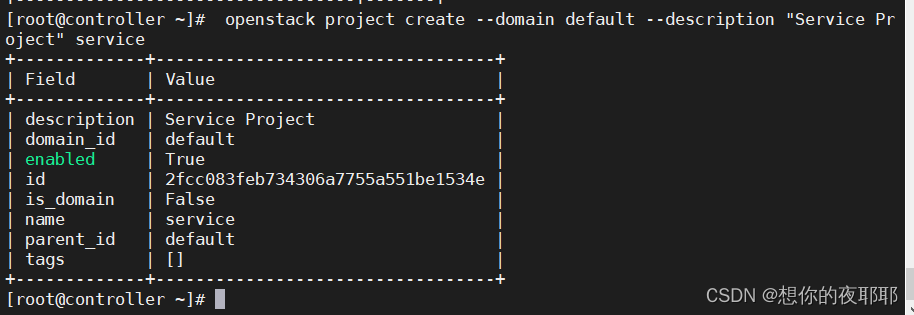
要是你还不确信,继续执行
openstack project list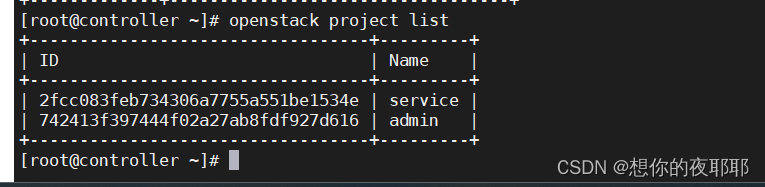
不就跟书本上一样了嘛,舒服没,犟驴 o . o
2.设置openstack命令的自动补全功能
.
(1)安装bash-completion软件
yum -y install bash-completion(2)修改~/.bashrc文件,在最后加上
vi ~/.bashrcsource <(openstack complete --shell bash)再更新一下配置
source ~/.bashrc完成后建议保存一下快照
书本例3-2
token=$(openstack token issue -f value -c id)echo $token完成显示

curl -s http://controller:5000/v3/projects -h "content-type: application/json" -h "x-auth-token: $token" | python -mjson.tool|grep name
五、安装glance
1.glance安装和配置
(1)创建数据库
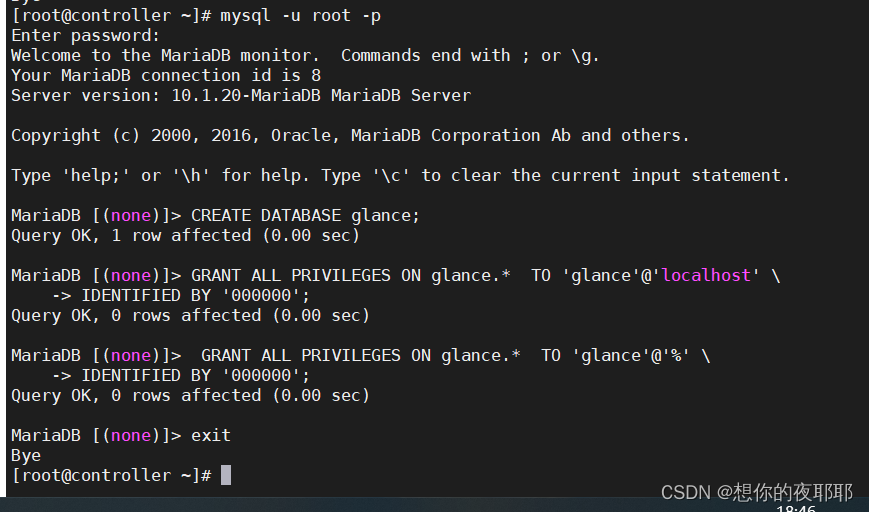
mysql -u root -p000000
create database glance;grant all privileges on glance.* to 'glance'@'localhost' \
identified by '000000';
grant all privileges on glance.*  to 'glance'@'%' \
identified by '000000';
查看是否成功创建好数据库
show databases;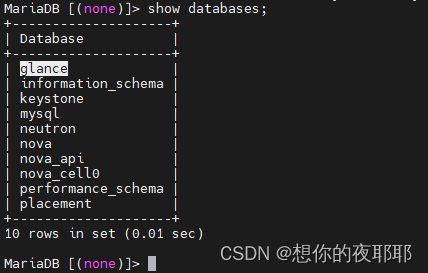
exit退出
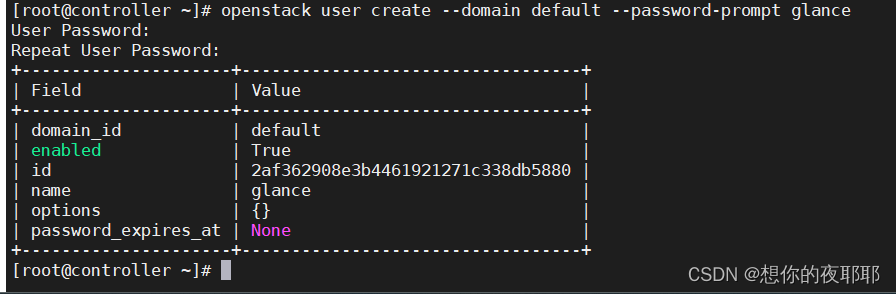
(2)创建用户、角色和服务
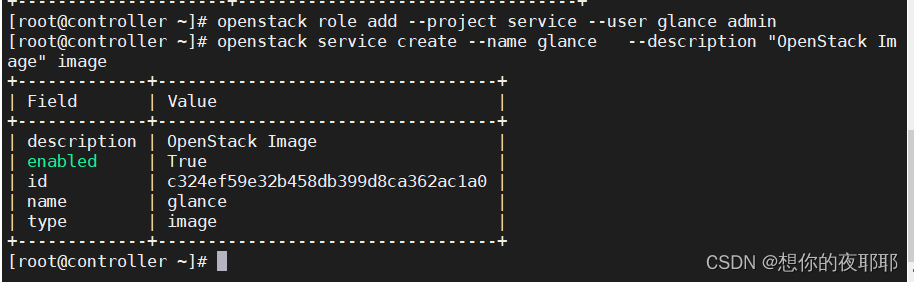
openstack user create --domain default --password-prompt glance输入两次密码
openstack role add --project service --user glance adminopenstack service create --name glance --description "openstack image" image结果
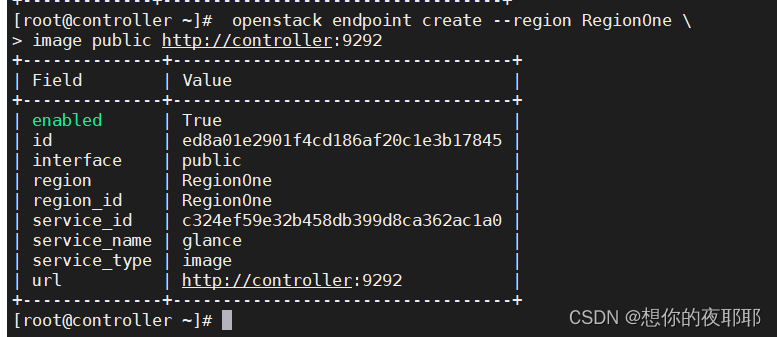
(3)创建endpoint
1
 openstack endpoint create --region regionone \
image public http://controller:9292
2
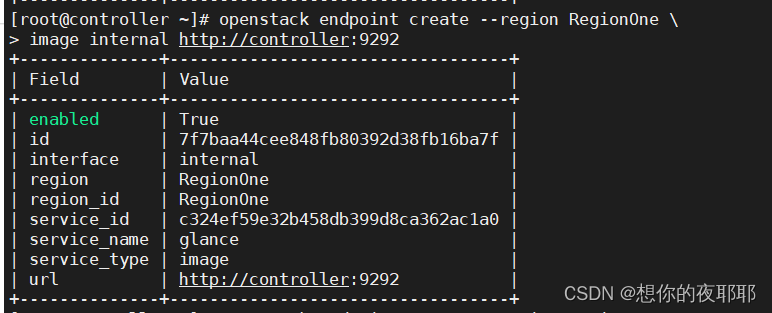
openstack endpoint create --region regionone \
image internal http://controller:9292
3
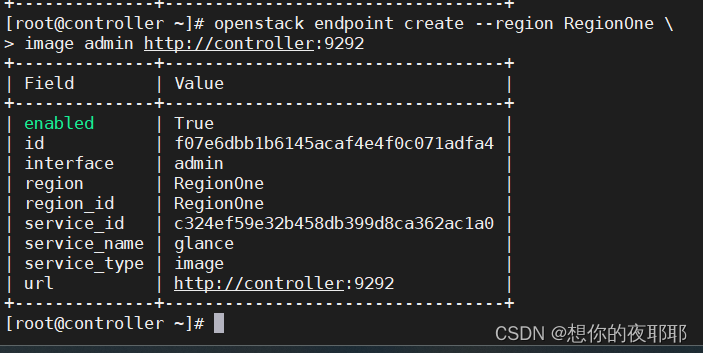
openstack endpoint create --region regionone \
image admin http://controller:9292
(4)安装软件
yum -y install openstack-glance(5)修改配置
修改/etc/glance/glance-api.conf
vim /etc/glance/glance-api.conf通过查找关键字,在下面添加以下配置(每次添加后再次查找,先按esc进入命令模式后打:/ )
(查找【】中间的单词,不要添加【】)
[database]
connection = mysql+pymysql://glance:000000@controller/glance[keystone_authtoken]
www_authenticate_uri  = http://controller:5000
auth_url = http://controller:5000
memcached_servers = controller:11211
auth_type = password
project_domain_name = default
user_domain_name = default
project_name = service
username = glance
password = 000000
如图所示

[paste_deploy]
flavor = keystone[glance_store]
stores = file,http
default_store = file
filesystem_store_datadir = /var/lib/glance/images/
修改/etc/glance/glance-registry.conf
vim /etc/glance/glance-registry.conf 跟上面操作一样,查找后添加进去
[database]
connection = mysql+pymysql://glance:000000@controller/glance[keystone_authtoken]
www_authenticate_uri = http://controller:5000
auth_url = http://controller:5000
memcached_servers = controller:11211
auth_type = password
project_domain_name = default
user_domain_name = default
project_name = service
username = glance
password = 000000
[paste_deploy]
flavor = keystone(6)初始化数据库
su -s /bin/sh -c "glance-manage db_sync" glance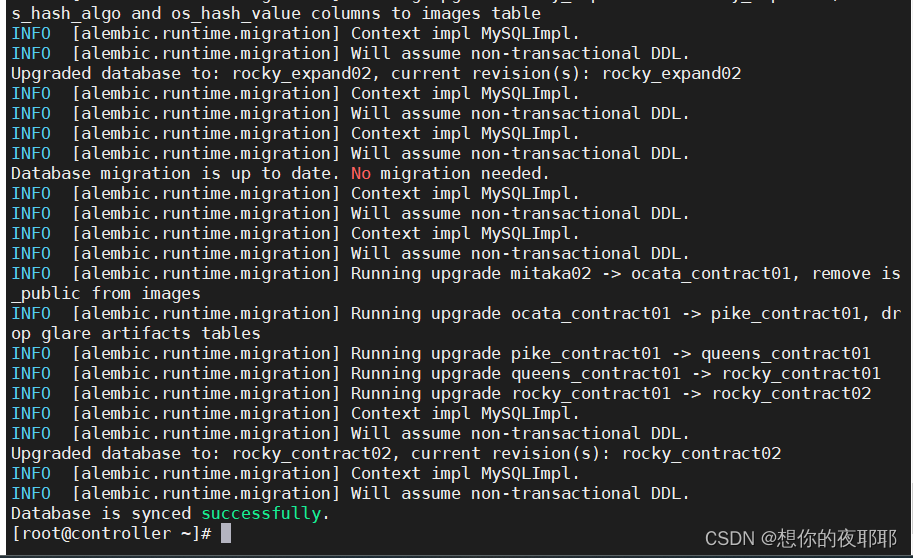
(7)使能和启动服务
systemctl enable openstack-glance-api.service \
openstack-glance-registry.service
systemctl start openstack-glance-api.service \
openstack-glance-registry.service
(8)创建镜像
该操作需要提前准备好镜像centos-7-x86_64-2009.qcow2和cirros-0.3.3-x86_64-disk.img
放到mnt目录
方法一:书本操作
glance image-create --name centos7 --disk-format qcow2 \
--container-format bare --progress \
< /mnt/openstack/images/centos-7-x86_64-2009.qcow2
 glance image-create --name cirros --disk-format qcow2 \
--container-format bare --progress \
< /mnt/openstack/images/cirros-0.3.3-x86_64-disk.img
查看上传情况
glance image-list方法二:我这里提供和使用的镜像centos-7-x86_64-2009.qcow2和cirros-0.3.4-x86_64-disk.img
拉到mnt目录(如果这里不成功,有可能是glance数据库没创建成功,可以mysql -u root -p000000进入数据库,用show databases;查看有没有创建有glance的数据库)

glance image-create --name centos7 --disk-format qcow2 --container-format bare --progress < /mnt/centos-7-x86_64-2009.qcow2 glance image-create --name cirros --disk-format qcow2 --container-format bare --progress < /mnt/cirros-0.3.4-x86_64-disk.img查看上传情况
glance image-list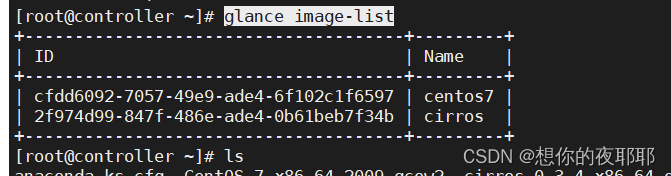
六、安装和配置nova
1.controller节点
(1)创建数据库
mysql -u root -p000000密码
1
create database nova_api;2
create database nova;3
create database nova_cell0;4
create database placement;1(这里的1-8可以尝试使用本小段最下面整段复制)
grant all privileges on nova_api.* to 'nova'@'localhost' \
 identified by '000000';
2
grant all privileges on nova_api.* to 'nova'@'%' \
 identified by '000000';
3
grant all privileges on nova.* to 'nova'@'localhost' \
identified by '000000';
4
 grant all privileges on nova.* \
to 'nova'@'%' identified by '000000';
5
grant all privileges on nova_cell0.* \
to 'nova'@'localhost' identified by '000000';
6
 grant all privileges on nova_cell0.* \
to 'nova'@'%' identified by '000000';
7
grant all privileges on placement.* \
to 'placement'@'localhost' identified by '000000';
8
 grant all privileges on placement.* \
to 'placement'@'%' identified by '000000';
exit退出
(2)创建用户、角色和服务
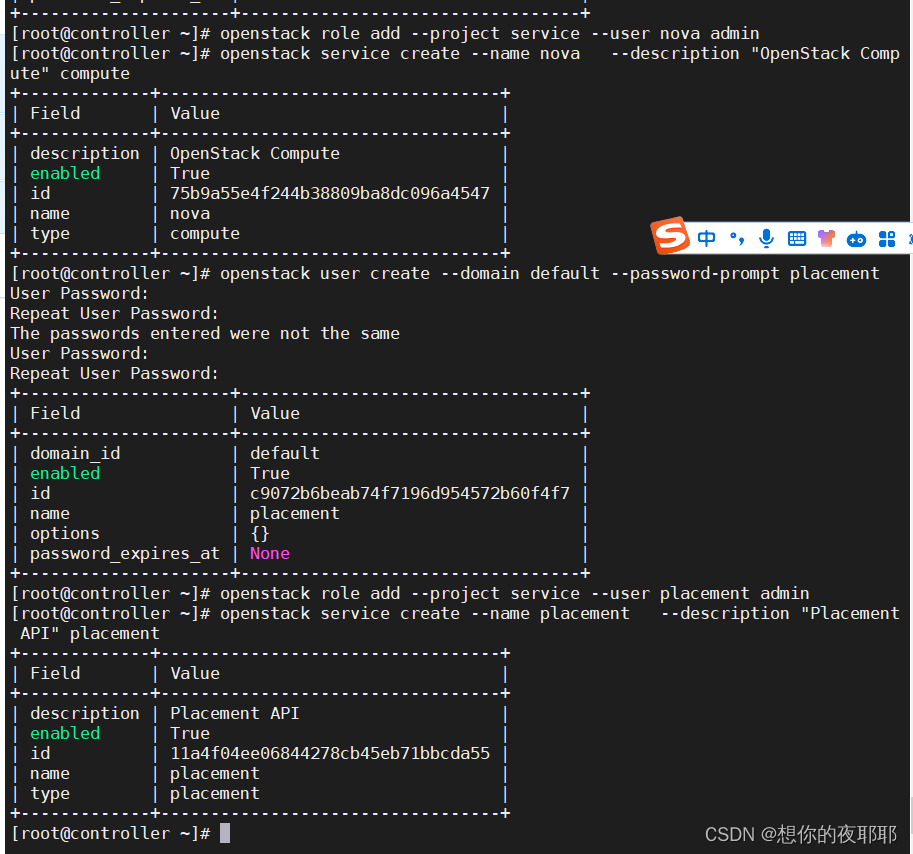
openstack user create --domain default --password-prompt nova输入两次密码
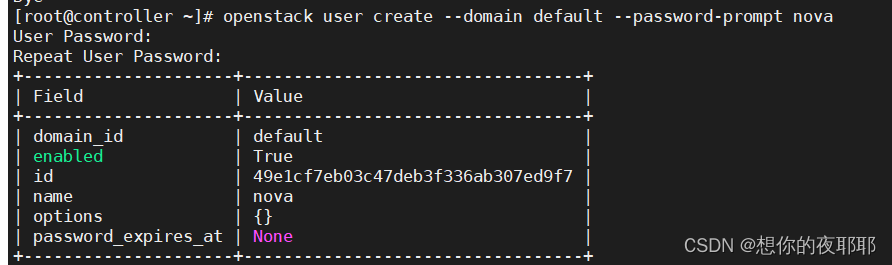
openstack role add --project service --user nova adminopenstack service create --name nova --description "openstack compute" computeopenstack user create --domain default --password-prompt placement
输入两次密码
openstack role add --project service --user placement adminopenstack service create --name placement --description "placement api" placement完成结果
(3)创建endpoint(下面还是有整段)
openstack endpoint create --region regionone compute public http://controller:8774/v2.12
openstack endpoint create --region regionone compute internal http://controller:8774/v2.13
openstack endpoint create --region regionone compute admin http://controller:8774/v2.14
openstack endpoint create --region regionone placement public http://controller:87785
openstack endpoint create --region regionone placement internal http://controller:87786
openstack endpoint create --region regionone placement admin http://controller:8778 yum -y install openstack-nova-api openstack-nova-conductor \
openstack-nova-console openstack-nova-novncproxy \
openstack-nova-scheduler openstack-nova-placement-api
(5)修改配置
修改/etc/nova/nova.conf
vim /etc/nova/nova.conf这里的ip改为自己controller节点的ip
[default]
enabled_apis = osapi_compute,metadata
transport_url = rabbit://openstack:000000@controller
my_ip = 192.168.200.10
use_neutron = true
firewall_driver = nova.virt.firewall.noopfirewalldriver
[api_database]
connection = mysql+pymysql://nova:000000@controller/nova_api[database]
connection = mysql+pymysql://nova:000000@controller/nova[placement_database]
connection = mysql+pymysql://placement:000000@controller/placement[api]
auth_strategy = keystone[keystone_authtoken]
auth_url = http://controller:5000/v3
memcached_servers = controller:11211
auth_type = password
project_domain_name = default
user_domain_name = default
project_name = service
username = nova
password = 000000
[vnc]
enabled = true
server_listen = $my_ip
server_proxyclient_address = $my_ip
novncproxy_base_url = http://controller:6080/vnc_auto.html
[glance]
api_servers = http://controller:9292[oslo_concurrency]
lock_path = /var/lib/nova/tmp[placement]
region_name = regionone
project_domain_name = default
project_name = service
auth_type = password
user_domain_name = default
auth_url = http://controller:5000/v3
username = placement
password = 000000
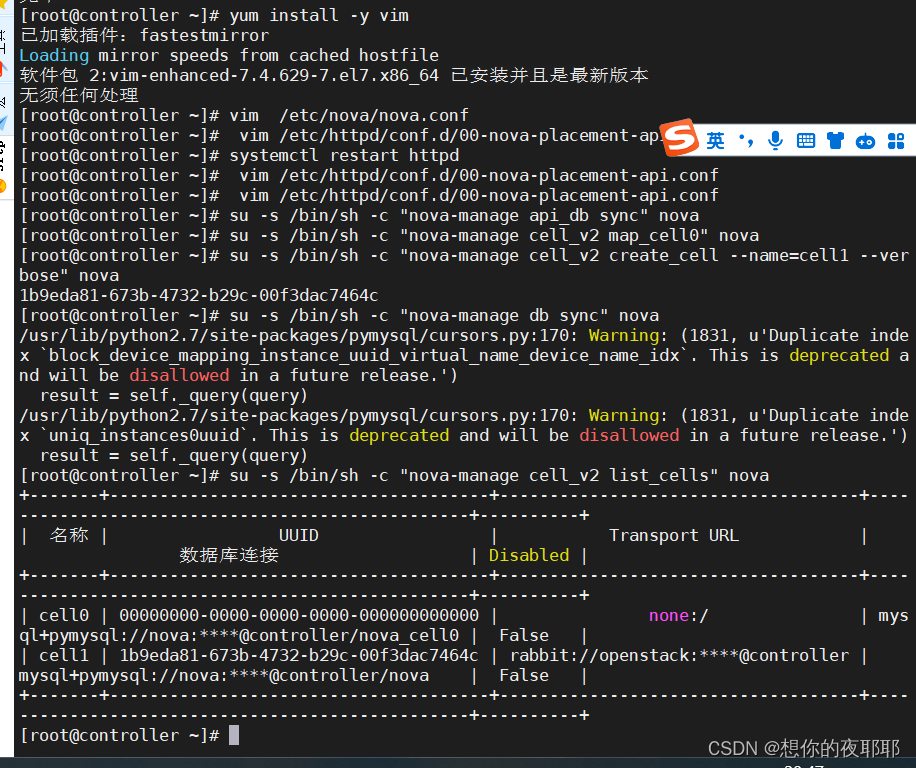
修改/etc/httpd/conf.d/00-nova-placement-api.conf
vim /etc/httpd/conf.d/00-nova-placement-api.conf
在最下面添加(在esc命令模式下,如果不行,记住这个位置)
原本的配置(这个不用复制)
(添加下面的内容)
<directory /usr/bin>
   <ifversion >= 2.4>
      require all granted
   </ifversion>
   <ifversion < 2.4>
      order allow,deny
      allow from all
   </ifversion>
</directory>
重启httpd
systemctl restart httpd(6)初始化数据库
su -s /bin/sh -c "nova-manage api_db sync" nova
su -s /bin/sh -c "nova-manage cell_v2 map_cell0" novasu -s /bin/sh -c "nova-manage cell_v2 create_cell --name=cell1 --verbose" novasu -s /bin/sh -c "nova-manage db sync" novasu -s /bin/sh -c "nova-manage cell_v2 list_cells" nova
完成后该警告,这些重复索引是被废弃的,并在将来的版本中将被禁止使用。这些警告信息可以被忽略
(7)使能和启动服务
systemctl enable openstack-nova-api.service \
openstack-nova-consoleauth.service \
openstack-nova-scheduler.service \
openstack-nova-conductor.service \
openstack-nova-novncproxy.service
systemctl start openstack-nova-api.service \
openstack-nova-consoleauth.service \
openstack-nova-scheduler.service \
openstack-nova-conductor.service \
openstack-nova-novncproxy.service
2.compute节点
(1)安装软件
yum -y install openstack-nova-compute(2)修改配置
修改/etc/nova/nova.conf
vim /etc/nova/nova.conf[default](这个ip改为compute节点ip)
enabled_apis = osapi_compute,metadata
transport_url = rabbit://openstack:000000@controller
my_ip = 192.168.200.20
use_neutron = true
firewall_driver = nova.virt.firewall.noopfirewalldriver
[api]
auth_strategy = keystone
[keystone_authtoken]
auth_url = http://controller:5000/v3
memcached_servers = controller:11211
auth_type = password
project_domain_name = default
user_domain_name = default
project_name = service
username = nova
password = 000000
[vnc]
enabled = true
server_listen = 0.0.0.0
server_proxyclient_address = $my_ip
novncproxy_base_url = http://controller:6080/vnc_auto.html
[glance]
api_servers = http://controller:9292
[oslo_concurrency]
lock_path = /var/lib/nova/tmp
[placement]
region_name = regionone
project_domain_name = default
project_name = service
auth_type = password
user_domain_name = default
auth_url = http://controller:5000/v3
username = placement
password = 000000
[libvirt]
virt_type = qemu保存退出
(3)使能和启动服务
systemctl enable libvirtd.service openstack-nova-compute.servicesystemctl start libvirtd.service openstack-nova-compute.service3.将compute节点加入集群
(1)在controller节点执行
列出计算节点:
openstack compute service list --service nova-compute将计算节点加入cell:
su -s /bin/sh -c "nova-manage cell_v2 discover_hosts --verbose" nova
查询cell中的计算节点:
nova-manage cell_v2 list_hosts七、安装和配置neutron
1.controller节点
(1)创建数据库
mysql -uroot -p输入密码
create database neutron;
grant all privileges on neutron.* \
to 'neutron'@'localhost' identified by '000000';
grant all privileges on neutron.* \
to 'neutron'@'%'  identified by '000000';
exit
(2)创建用户、角色和服务
openstack user create --domain default --password-prompt neutron
输入两次密码
openstack role add --project service --user neutron admin
openstack service create --name neutron --description "openstack networking" network
(3)创建endpoint
openstack endpoint create --region regionone network public http://controller:9696
openstack endpoint create --region regionone network internal http://controller:9696
openstack endpoint create --region regionone network admin http://controller:9696
(4)安装软件
yum -y install openstack-neutron openstack-neutron-ml2 openstack-neutron-linuxbridge ebtables
yum -y install libibverbs
(5)修改配置
修改1 neutron.conf
修改/etc/neutron/neutron.conf
vim /etc/neutron/neutron.conf[database]
connection = mysql+pymysql://neutron:000000@controller/neutron
[default]
core_plugin = ml2
service_plugins = router
allow_overlapping_ips = true
transport_url = rabbit://openstack:000000@controller
auth_strategy = keystone
notify_nova_on_port_status_changes = true
notify_nova_on_port_data_changes = true
[keystone_authtoken]
www_authenticate_uri = http://controller:5000
auth_url = http://controller:5000
memcached_servers = controller:11211
auth_type = password
project_domain_name = default
user_domain_name = default
project_name = service
username = neutron
password = 000000
[nova]
auth_url = http://controller:5000
auth_type = password
project_domain_name = default
user_domain_name = default
region_name = regionone
project_name = service
username = nova
password = 000000
[oslo_concurrency]
lock_path = /var/lib/neutron/tmp保存退出
修改2 ml2_conf.ini
修改/etc/neutron/plugins/ml2/ml2_conf.ini
vim /etc/neutron/plugins/ml2/ml2_conf.ini [ml2]
type_drivers = flat,vlan,vxlan,local
tenant_network_types = vxlan,local
mechanism_drivers = linuxbridge,l2population
extension_drivers = port_security
[ml2_type_flat]
flat_networks = provider
[ml2_type_vlan]
network_vlan_ranges = provider:100:200
[ml2_type_vxlan]
vni_ranges = 1:1000
[securitygroup]
enable_ipset = true保存退出
修改3 linuxbridge_agent.ini
修改/etc/neutron/plugins/ml2/linuxbridge_agent.ini
vim /etc/neutron/plugins/ml2/linuxbridge_agent.ini[linux_bridge](这里的ens34为自己第二张网卡名)
physical_interface_mappings = provider:ens34
[vxlan](下面的ip改为自己controller控制节点的ip)
enable_vxlan = true
local_ip = 192.168.200.10
l2_population = true
[securitygroup]
enable_security_group = true
firewall_driver = neutron.agent.linux.iptables_firewall.iptablesfirewalldriver
保存退出
加载模块(这个是在外面打的)
lsmod|grep br_netfiltermodprobe br_netfilter修改4 内核参数
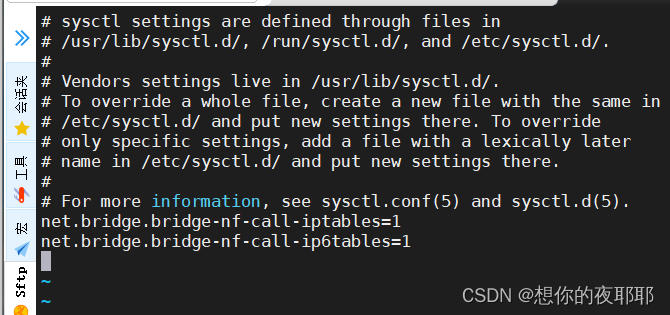
vim /etc/sysctl.conf最后面添加
net.bridge.bridge-nf-call-iptables=1
net.bridge.bridge-nf-call-ip6tables=1
保存退出
修改完后执行
sysctl -p修改5 /etc/neutron/l3_agent.ini
vim /etc/neutron/l3_agent.ini[default]
interface_driver = linuxbridge保存退出
修改6 /etc/neutron/dhcp_agent.ini ,设置dhcp服务
vim /etc/neutron/dhcp_agent.ini [default]
interface_driver = linuxbridge
dhcp_driver = neutron.agent.linux.dhcp.dnsmasq
enable_isolated_metadata = true
保存退出
修改7 /etc/neutron/metadata_agent.ini,设置metadata服务
vim /etc/neutron/metadata_agent.ini[default]
nova_metadata_host = controller
metadata_proxy_shared_secret = 000000
修改8 控制节点的/etc/nova/nova.conf,让nova使用neutron
vim /etc/nova/nova.conf[neutron]
url = http://controller:9696
auth_url = http://controller:5000
auth_type = password
project_domain_name = default
user_domain_name = default
region_name = regionone
project_name = service
username = neutron
password = 000000
service_metadata_proxy = true
metadata_proxy_shared_secret = 000000
保存退出
建立符号链接
ln -s /etc/neutron/plugins/ml2/ml2_conf.ini /etc/neutron/plugin.ini(6)初始化数据库
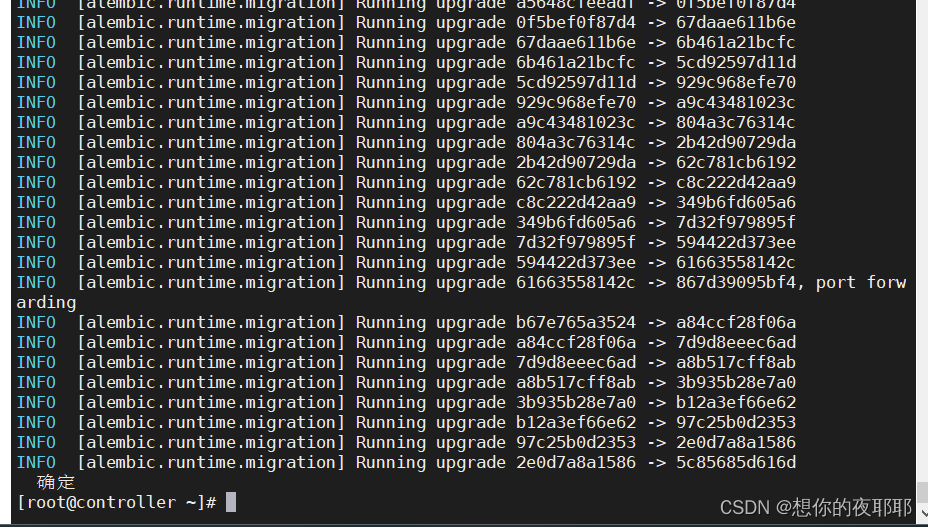
su -s /bin/sh -c "neutron-db-manage --config-file /etc/neutron/neutron.conf \
--config-file /etc/neutron/plugins/ml2/ml2_conf.ini \
upgrade head" neutron
(7)使能和启动服务
systemctl restart openstack-nova-api.servicesystemctl enable neutron-server.service \
neutron-linuxbridge-agent.service \
neutron-dhcp-agent.service \
neutron-metadata-agent.service
systemctl start neutron-server.service \
neutron-linuxbridge-agent.service \
neutron-dhcp-agent.service \
neutron-metadata-agent.service
systemctl enable neutron-l3-agent.servicesystemctl start neutron-l3-agent.service2.compute节点
(1)安装软件
yum -y install openstack-neutron-linuxbridge ebtables ipsetyum -y install libibverbs(2)修改配置
修改/etc/neutron/neutron.conf
vim /etc/neutron/neutron.conf[default]
transport_url = rabbit://openstack:000000@controller
auth_strategy = keystone
[keystone_authtoken]
www_authenticate_uri = http://controller:5000
auth_url = http://controller:5000
memcached_servers = controller:11211
auth_type = password
project_domain_name = default
user_domain_name = default
project_name = service
username = neutron
password = 000000
[oslo_concurrency]
lock_path = /var/lib/neutron/tmp修改/etc/neutron/plugins/ml2/linuxbridge_agent.ini
vim /etc/neutron/plugins/ml2/linuxbridge_agent.ini[linux_bridge](这里的ens34改为自己第二张网卡(仅主机模式的网卡)名称)
physical_interface_mappings = provider:ens34
[vxlan] (这里ip改为计算节点ip)
enable_vxlan = true

local_ip = 192.168.200.20

l2_population = true
[securitygroup]
enable_security_group = true
firewall_driver = neutron.agent.linux.iptables_firewall.iptablesfirewalldriver
加载模块
lsmod|grep br_netfilter
modprobe br_netfilter
修改内核参数
vim /etc/sysctl.conf添加
net.bridge.bridge-nf-call-iptables=1
net.bridge.bridge-nf-call-ip6tables=1
修改完后执行:
sysctl -p
修改/etc/nova/nova.conf,让nova使用neutron
vim /etc/nova/nova.conf[neutron]
url = http://controller:9696
auth_url = http://controller:5000
auth_type = password
project_domain_name = default
user_domain_name = default
region_name = regionone
project_name = service
username = neutron
password = 000000
(3)使能和启动服务
systemctl restart openstack-nova-compute.service
systemctl enable neutron-linuxbridge-agent.service
systemctl start neutron-linuxbridge-agent.service
到此完成neutron搭建,内存充足建议保存快照
八、安装和配置dashboard
1.controller节点安装和配置
只在controller节点安装
(1)安装软件
yum -y install openstack-dashboard(2)修改配置
修改/etc/openstack-dashboard/local_settings
vim /etc/openstack-dashboard/local_settings查找关键字 openstack_host =
将这三行前添加注释符#,
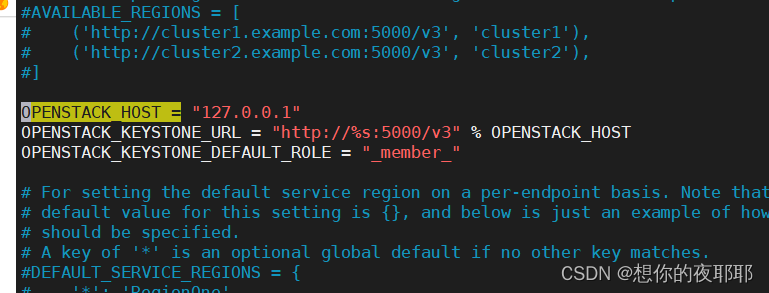 然后添加
然后添加
openstack_host = "controller"
allowed_hosts = ['*', 'two.example.com']
session_engine = 'django.contrib.sessions.backends.cache'

caches = {
    'default': {
         'backend': 'django.core.cache.backends.memcached.memcachedcache',
         'location': 'controller:11211',
    }
}
openstack_keystone_url = "http://%s:5000/v3" % openstack_host
openstack_keystone_multidomain_support = true
openstack_api_versions = {
    "identity": 3,
    "image": 2,
    "volume": 2,
}
openstack_keystone_default_domain = "default"
openstack_keystone_default_role = "admin"
time_zone = "asia/shanghai"

保存退出
修改/etc/httpd/conf.d/openstack-dashboard.conf
vim /etc/httpd/conf.d/openstack-dashboard.conf 在最下面添加
wsgiapplicationgroup %{global}保存退出
(3)重启httpd和memcached服务
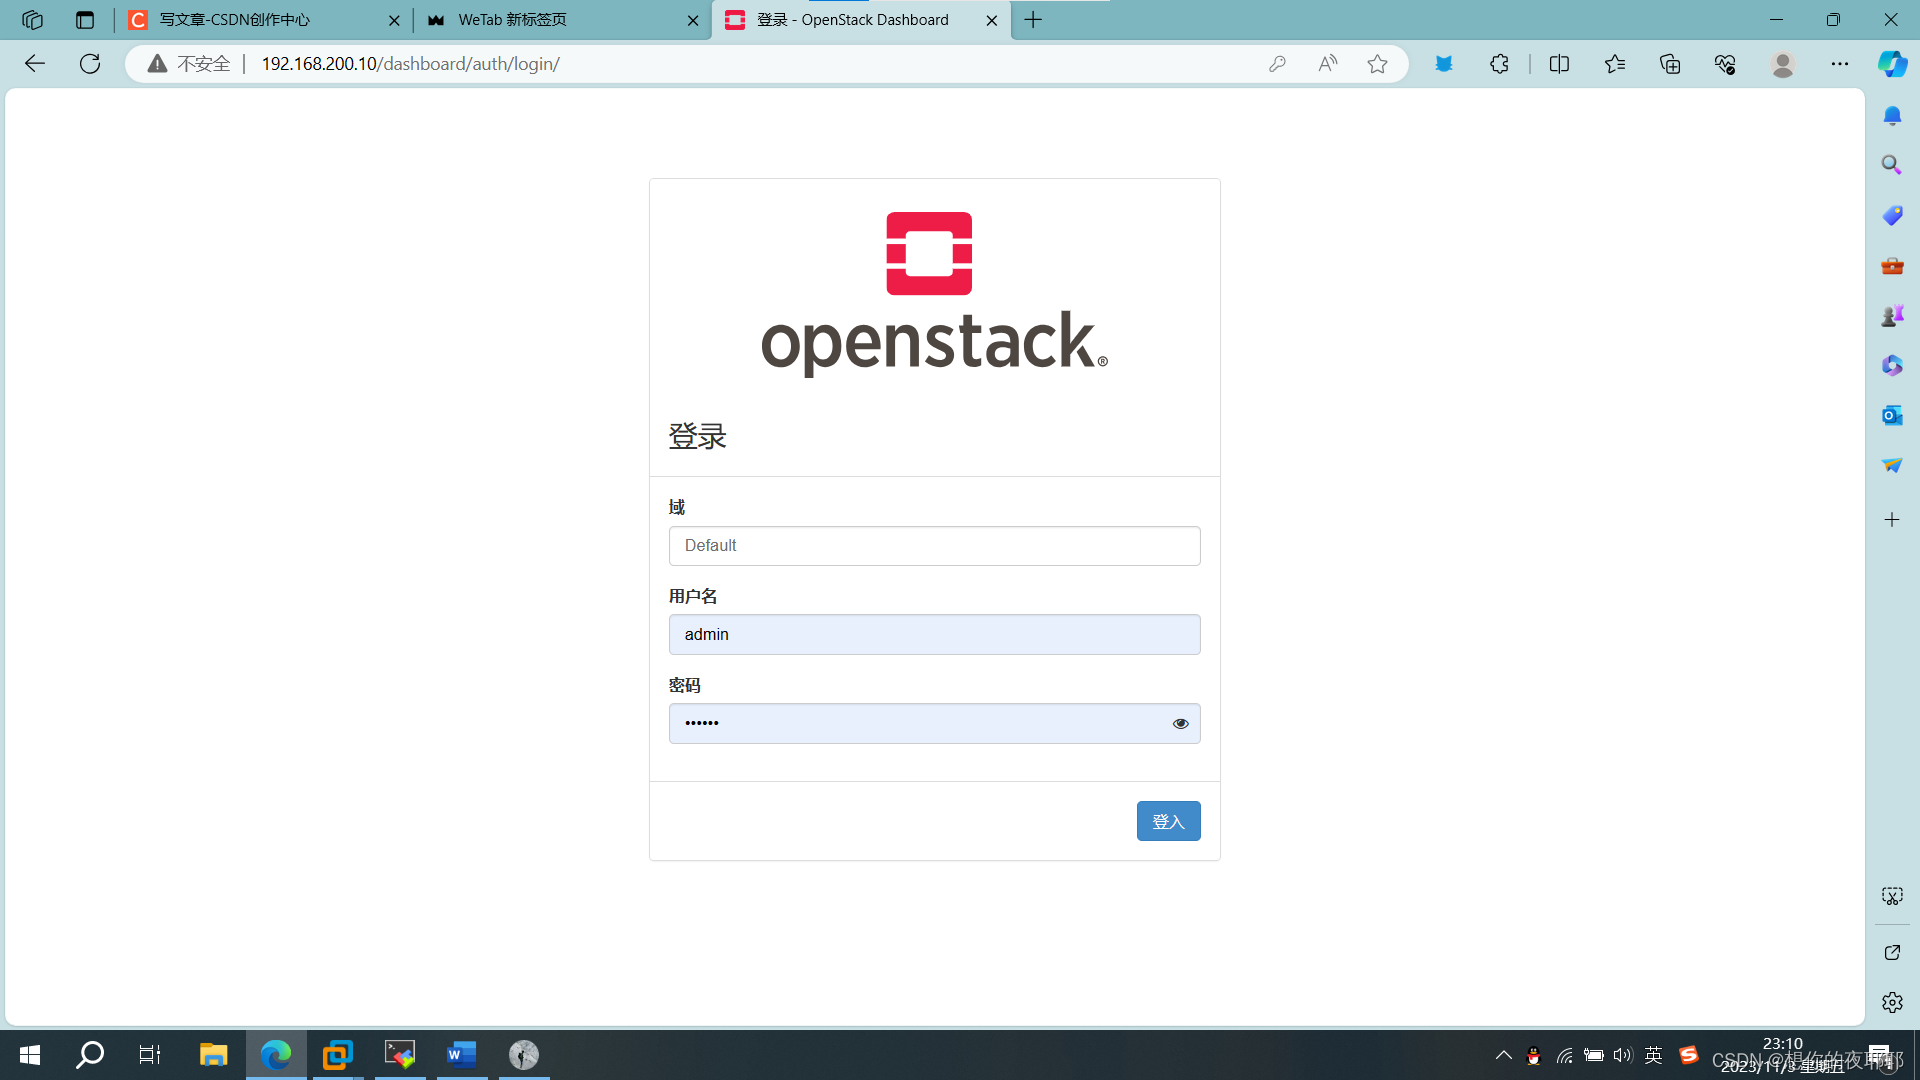
systemctl restart httpd.service memcached.service(4)网页搜索192.168.200.10/dashboard (也就是controller节点ip/dashboard)
剩下的看书本图片即可
default
admin
000000
当创建的云主机操控台无法访问到controller节点的ip时
可以点右边字体跳转更详细教程openstack控制台显示找不到controller节点ip
九、命令行模式创建云主机
(如果云平台已经创建有网络这些东西,先删除同名的)
1.查看有无名为cirros的镜像
openstack image list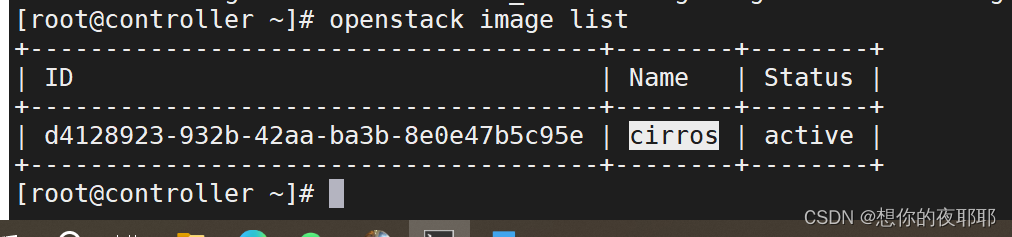
如果没有cirros镜像,则创建cirros镜像:(cirros-0.3.4-x86_64-disk.img这个镜像放在mnt目录)
glance image-create --disk-format qcow2 --container-format bare --name cirros </mnt/cirros-0.3.4-x86_64-disk.img2.创建实例类型
openstack flavor create --id 2 --ram 1024 --disk 1 --vcpus 1 f23.创建网络
(1)创建外网
openstack network create --project admin --provider-physical-network provider \
--provider-network-type flat --external ext-net
(2)创建内网
openstack network create --project admin --provider-network-type vxlan --internal int-net(3)创建外网子网(ip网关用第二张网卡的ip网关)
openstack subnet create --project admin --dhcp --gateway 192.168.100.1 --subnet-range 192.168.100.0/24 --network ext-net --allocation-pool start=192.168.100.100,end=192.168.100.200 ext-subnet(4)创建内网子网(这里ip直接用这个)
openstack subnet create --project admin --dhcp --gateway 10.1.1.1 --subnet-range 10.1.1.0/24 --network int-net int-subnet4.创建路由器
(1)创建路由器
openstack router create --project admin router1(2)设置外网网关
openstack router set --external-gateway ext-net --enable-snat router1(3)连接内网
openstack router add subnet router1 int-subnet5.创建安全组与规则
(1)创建安全组
openstack security group create --project admin sg-1(2)创建安全组规则
openstack security group rule create --remote-ip 0.0.0.0/0 --ethertype ipv4 \
--protocol icmp  --ingress sg-1

openstack security group rule create --remote-ip 0.0.0.0/0 --ethertype ipv4 \
--protocol icmp  --egress sg-1

openstack security group rule create --remote-ip 0.0.0.0/0 --ethertype ipv4 \
--protocol tcp  --dst-port 1:65535 --ingress sg-1

openstack security group rule create --remote-ip 0.0.0.0/0 --ethertype ipv4 \
--protocol tcp  --dst-port 1:65535 --egress sg-1

openstack security group rule create --remote-ip 0.0.0.0/0 --ethertype ipv4 \
--protocol udp  --dst-port 1:65535 --ingress sg-1

openstack security group rule create --remote-ip 0.0.0.0/0 --ethertype ipv4 \
--protocol udp  --dst-port 1:65535 --egress sg-1
6.创建实例
openstack server create  --image cirros --flavor f2 --security-group sg-1 \
--availability-zone nova --network int-net vm017.绑定浮动ip
(1)生成浮动ip
openstack floating ip create ext-net(2)绑定浮动ip
openstack floating ip listopenstack server add floating ip vm01 192.168.30.104注:192.168.30.104要根据实际查询结果更换。

发表评论