1. 嵌套导航-getpageroute
本文主要介绍在getx下快速实现一个嵌套导航
嵌套导航顾名思义,我们导航页面中嵌套一个独立的路由,效果如下
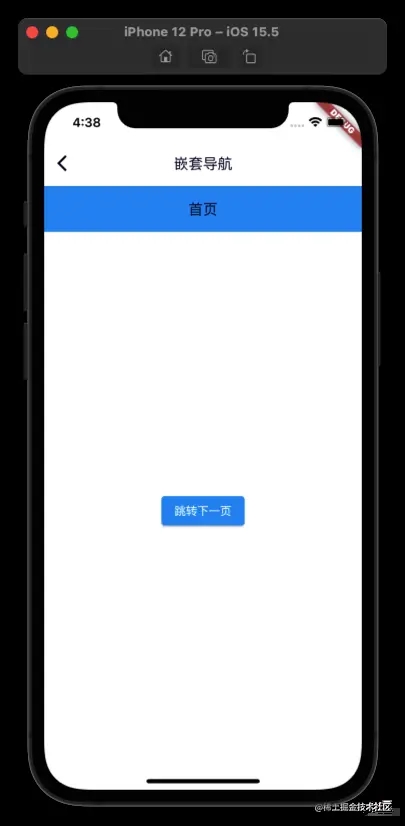
点击跳转

代码如下,也是比较简单
return scaffold(
  appbar: appbar(title: const text('嵌套导航'),),
  body: navigator(
      key: get.nestedkey(1), // create a key by index
      initialroute: '/',
      ongenerateroute: (settings) {
        if (settings.name == '/') {
          return getpageroute(
            page: () => scaffold(
              appbar: appbar(
                title: const text("首页"), backgroundcolor: colors.blue
              ),
              body: center(
                child: elevatedbutton(
                  onpressed: () {
                    get.tonamed('/second', id:1); // navigate by your nested route by index
                  },
                  child: const text("跳转下一页"),
                ),
              ),
            ),
          );
        } else if (settings.name == '/second') {
          return getpageroute(
            page: () => center(
              child: scaffold(
                appbar: appbar(
                  title: const text("第二页"),backgroundcolor: colors.blue
                ),
                body: const center(
                    child:  text("第二页")
                ),
              ),
            ),
          );
        }
      }
  ),
);
通过navigator这个widget把我们的路由放入新的导航中,通过ongenerateroute来区分页面的路由跳转,key使用的是get.nestedkey(1)来区分具体页面。getpageroute创建路由页面
2. 自定义拓展
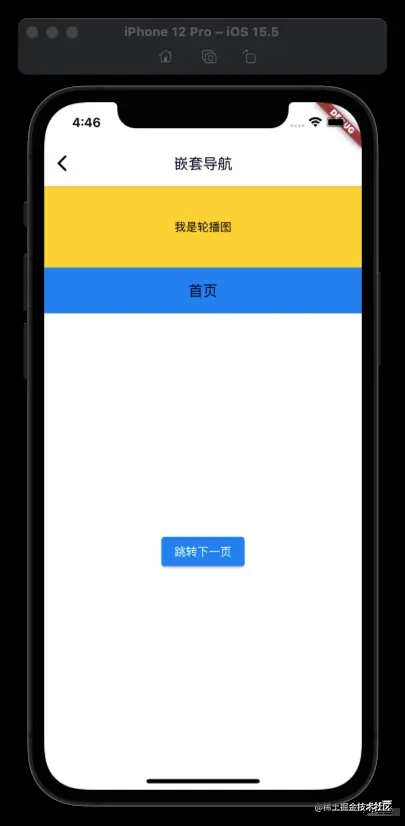
我们也可以添加占位图,用于存放一些广告页
 column(
  children: [
    container(
      color: colors.amberaccent,
      height: 100,
      child: const center(child: text('我是轮播图')),
    ),
    expanded(
      child: navigator())]
这里使用column进行包裹,expanded撑开下部分。
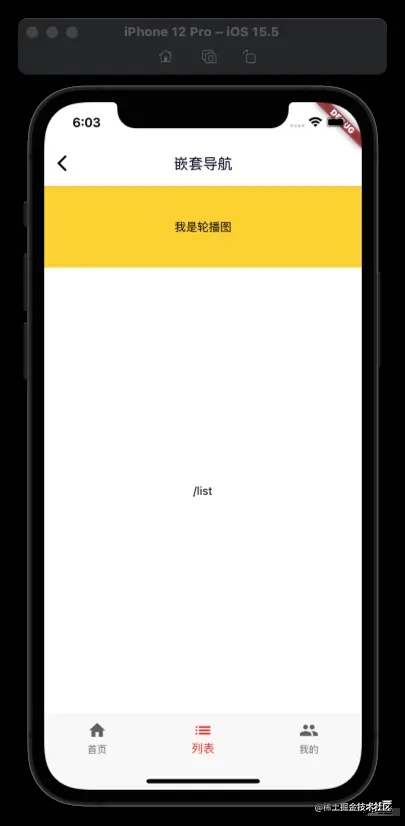
3. 使用bottomnavigationbar

class nestednavigatepage extends statelesswidget {
  const nestednavigatepage({key? key}) : super(key: key);
  @override
  widget build(buildcontext context) {
    final logic = get.find<nestednavigatelogic>();
    final state = get.find<nestednavigatelogic>().state;
    return scaffold(
      appbar: appbar(title: const text('嵌套导航'),),
      body: column(
        children: [
          container(
            color: colors.amberaccent,
            height: 100,
            child: const center(child: text('我是轮播图')),
          ),
          expanded(
            child: navigator(
                key: get.nestedkey(1), // create a key by index
                initialroute: '/home',
                ongenerateroute: logic.ongenerateroute,
            ),
          ),
        ],
      ),
      bottomnavigationbar:obx(() => bottomnavigationbar(
        items: const [
          bottomnavigationbaritem(icon: icon(icons.home),label: '首页'),
          bottomnavigationbaritem(icon: icon(icons.list),label: '列表'),
          bottomnavigationbaritem(icon: icon(icons.people),label:'我的'),
        ],
        currentindex: state.selectindex.value,
        ontap: logic.selecttabbarindex,
        selecteditemcolor: colors.red,
      )),
    );
  }
}
state中定义数据
class nestednavigatestate {
 var selectindex = 0.obs;
 list<string> pages = ['/home','/list','/mine'];
  nestednavigatestate() {
    ///initialize variables
  }
}
logic中实现逻辑
import 'package:flutter/material.dart';
import 'package:get/get.dart';
import 'nested_navigate_state.dart';
class nestednavigatelogic extends getxcontroller {
  final nestednavigatestate state = nestednavigatestate();
  selecttabbarindex( int index){
    state.selectindex.value = index;
    get.tonamed(state.pages[index],id: 1);
  }
  route? ongenerateroute(routesettings settings) {
    return getpageroute(
      settings: settings,
      page: () => page(settings.name!),
      transition: transition.lefttorightwithfade,
    );
  }
  widget page(string title) {
   return center(
        child: scaffold(
            // appbar: appbar(
            //     title:  text(title), backgroundcolor: colors.blue
            // ),
            body: center(
                child: text(title)
            )
        ));
  }
}
点击通过obx自动响应
4.小结
我们通过getpageroute可以进行导航嵌套,方便我们实现一些特定需求。同时我们可以配合bottomnavigationbar实现tabbr效果。 创建平行导航堆栈可能是危险的。
理想的情况是不要使用nestednavigators,或者尽量少用。如果你的项目需要它,请继续,但请记住,在内存中保持多个导航堆栈可能不是一个好主意。
以上就是flutter getpageroute实现嵌套导航学习的详细内容,更多关于flutter getpageroute嵌套导航的资料请关注代码网其它相关文章!


发表评论