一、前言
在开发或测试环境中,我们经常需要搭建一套独立的 oracle 数据库环境。
虽然现在很多人使用 docker 镜像或云数据库,但有时候(例如在企业服务器上),
仍然需要 手动在 linux 上安装原生 oracle 数据库。
本教程将手把手带你完成从系统准备到数据库创建的全过程,完全原生安装。
演示环境如下:
| 项目 | 配置 |
|---|---|
| 操作系统 | oracle linux 8 / centos 7 |
| 数据库版本 | oracle database 19c |
| 内存要求 | ≥ 2gb |
| 磁盘空间 | ≥ 20gb |
| 安装模式 | 静默安装(无图形界面) |
二、系统准备
安装依赖包
yum install -y binutils compat-libcap1 compat-libstdc++-33
gcc gcc-c++ glibc glibc-devel ksh libaio libaio-devel libgcc
libstdc++ libstdc++-devel libxi libxtst make sysstat elfutils-libelf-devel
unixodbc unixodbc-devel smartmontools net-tools unzip
原因解释:
libaio、glibc、libstdc++是 oracle 数据文件 i/o 所需的基础库;ksh(korn shell)是 oracle 安装程序默认使用的 shell;elfutils-libelf-devel是内核符号和调试信息处理库;sysstat用于性能监控;net-tools提供ifconfig等命令;unzip用于解压 oracle 安装包。
设置内核参数
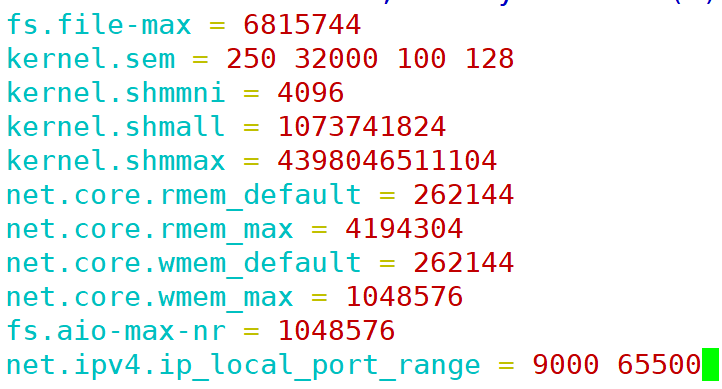
编辑 /etc/sysctl.conf:
fs.file-max = 6815744
kernel.sem = 250 32000 100 128
kernel.shmmni = 4096
kernel.shmall = 1073741824
kernel.shmmax = 4398046511104
net.core.rmem_default = 262144
net.core.rmem_max = 4194304
net.core.wmem_default = 262144
net.core.wmem_max = 1048576
fs.aio-max-nr = 1048576
net.ipv4.ip_local_port_range = 9000 65500
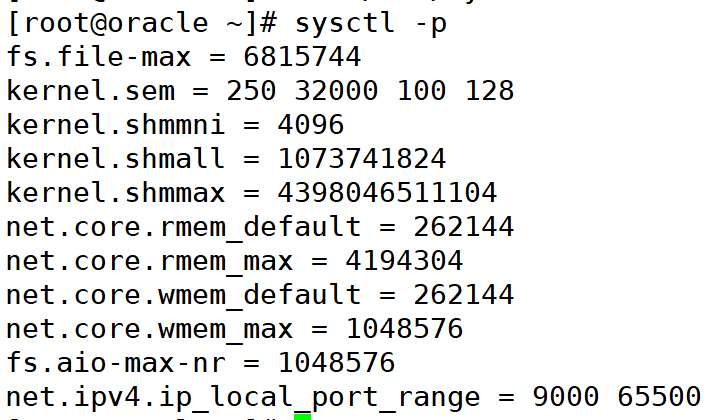
使配置生效:
sysctl -p
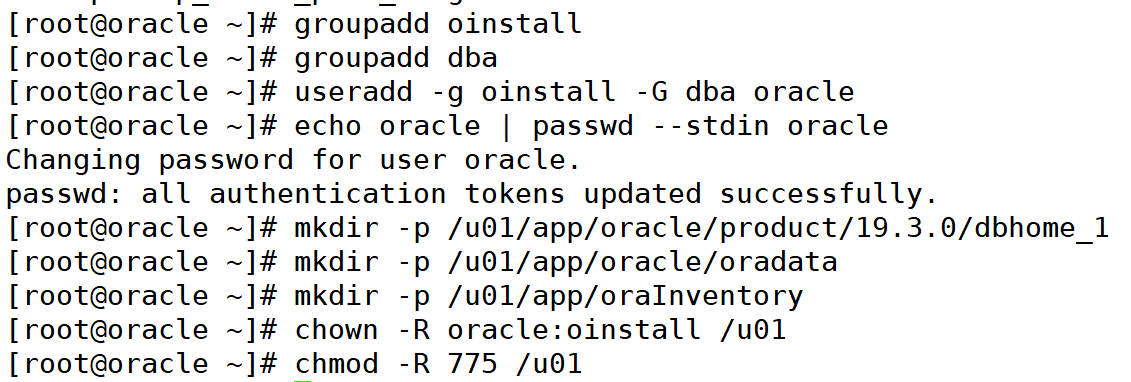
创建 oracle 用户和目录
groupadd oinstall
groupadd dba
useradd -g oinstall -g dba oracle
echo oracle | passwd --stdin oracle

mkdir -p /u01/app/oracle/product/19.3.0/dbhome_1
mkdir -p /u01/app/oracle/oradata
mkdir -p /u01/app/orainventory
chown -r oracle:oinstall /u01
chmod -r 775 /u01
配置资源限制
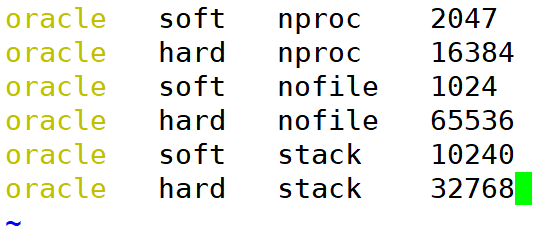
编辑 /etc/security/limits.d/oracle-database.conf:
oracle   soft   nproc    2047
oracle   hard   nproc    16384
oracle   soft   nofile   1024
oracle   hard   nofile   65536
oracle   soft   stack    10240
oracle   hard   stack    32768
三、设置环境变量
切换到 oracle 用户:
su - oracle
配置环境变量(编辑 ~/.bash_profile):
export oracle_base=/u01/app/oracle
export oracle_home=$oracle_base/product/19.3.0/dbhome_1
export oracle_sid=orcl
export path=$path:$oracle_home/bin
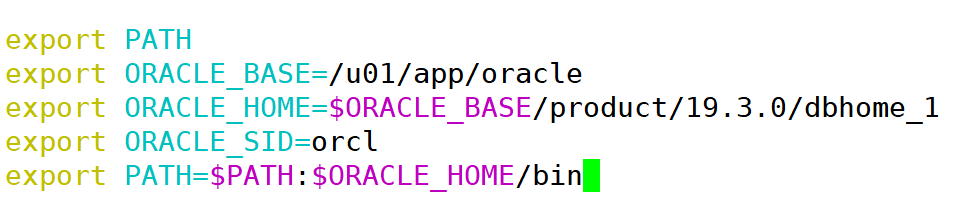
使其生效执行:
source ~/.bash_profile
四、上传并解压 oracle 安装包
从官网下载zip安装包
https://www.oracle.com/database/technologies/oracle19c-linux-downloads.html
这个网址打开可以直接下载zip文件,只不过需要注册oracle账号,然后就可以下载;
将下载的zip文件上传至服务器:
unzip linux.x64_193000_db_home.zip -d /u01/app/oracle/product/19.3.0/dbhome_1
chown -r oracle:oinstall /u01
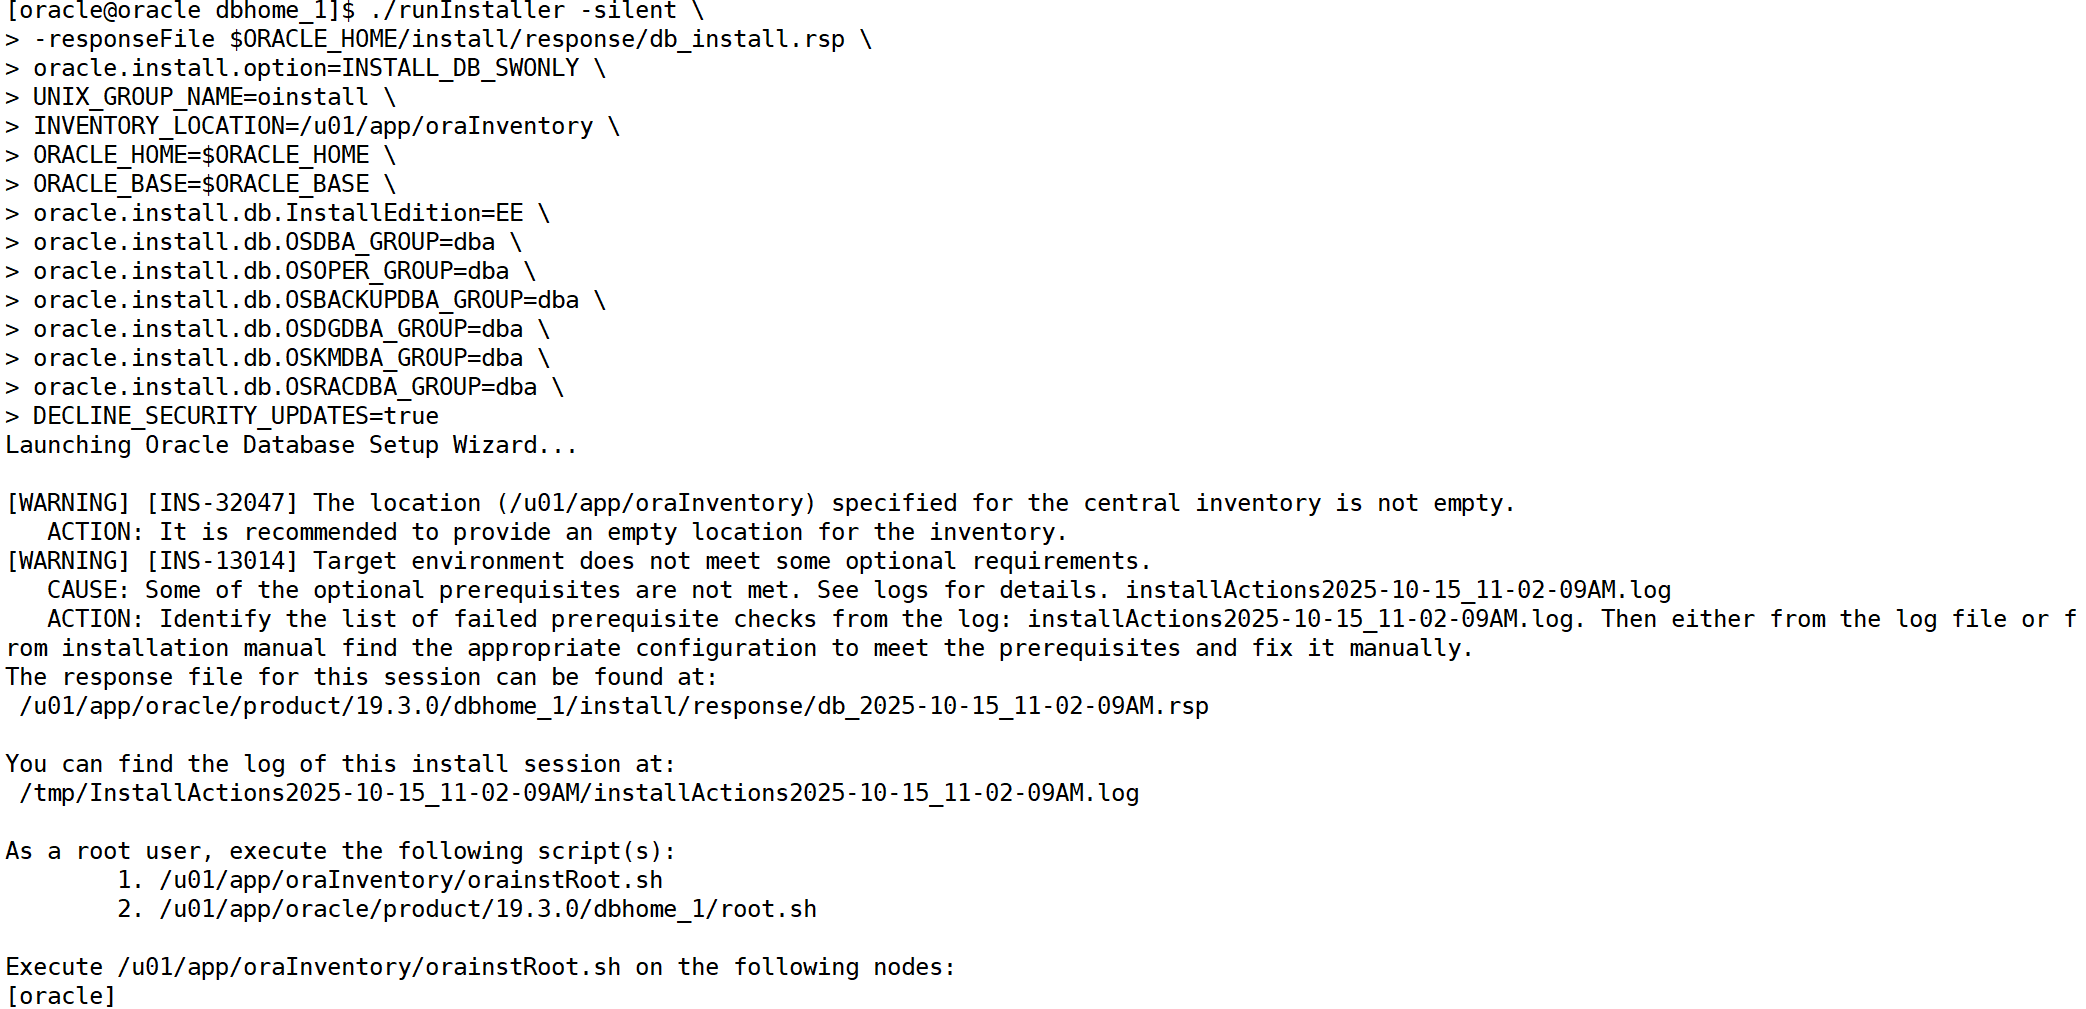
五、以静默模式安装
切换到 oracle 用户:
su - oracle
cd $oracle_home
执行安装:
./runinstaller -silent \
-responsefile $oracle_home/install/response/db_install.rsp \
oracle.install.option=install_db_swonly \
unix_group_name=oinstall \
inventory_location=/u01/app/orainventory \
oracle_home=$oracle_home \
oracle_base=$oracle_base \
oracle.install.db.installedition=ee \
oracle.install.db.osdba_group=dba \
oracle.install.db.osoper_group=dba \
oracle.install.db.osbackupdba_group=dba \
oracle.install.db.osdgdba_group=dba \
oracle.install.db.oskmdba_group=dba \
oracle.install.db.osracdba_group=dba \
decline_security_updates=true
验证修改成功
如果配置正确,执行安装命令后应看到:
launching oracle database setup wizard...

[warning] [ins-13014] target environment does not meet some optional requirements.
...
the installation of oracle database was successful.
接着执行安装结束提示的两个脚本(以 root 运行):
/u01/app/orainventory/orainstroot.sh
/u01/app/oracle/product/19.3.0/dbhome_1/root.sh


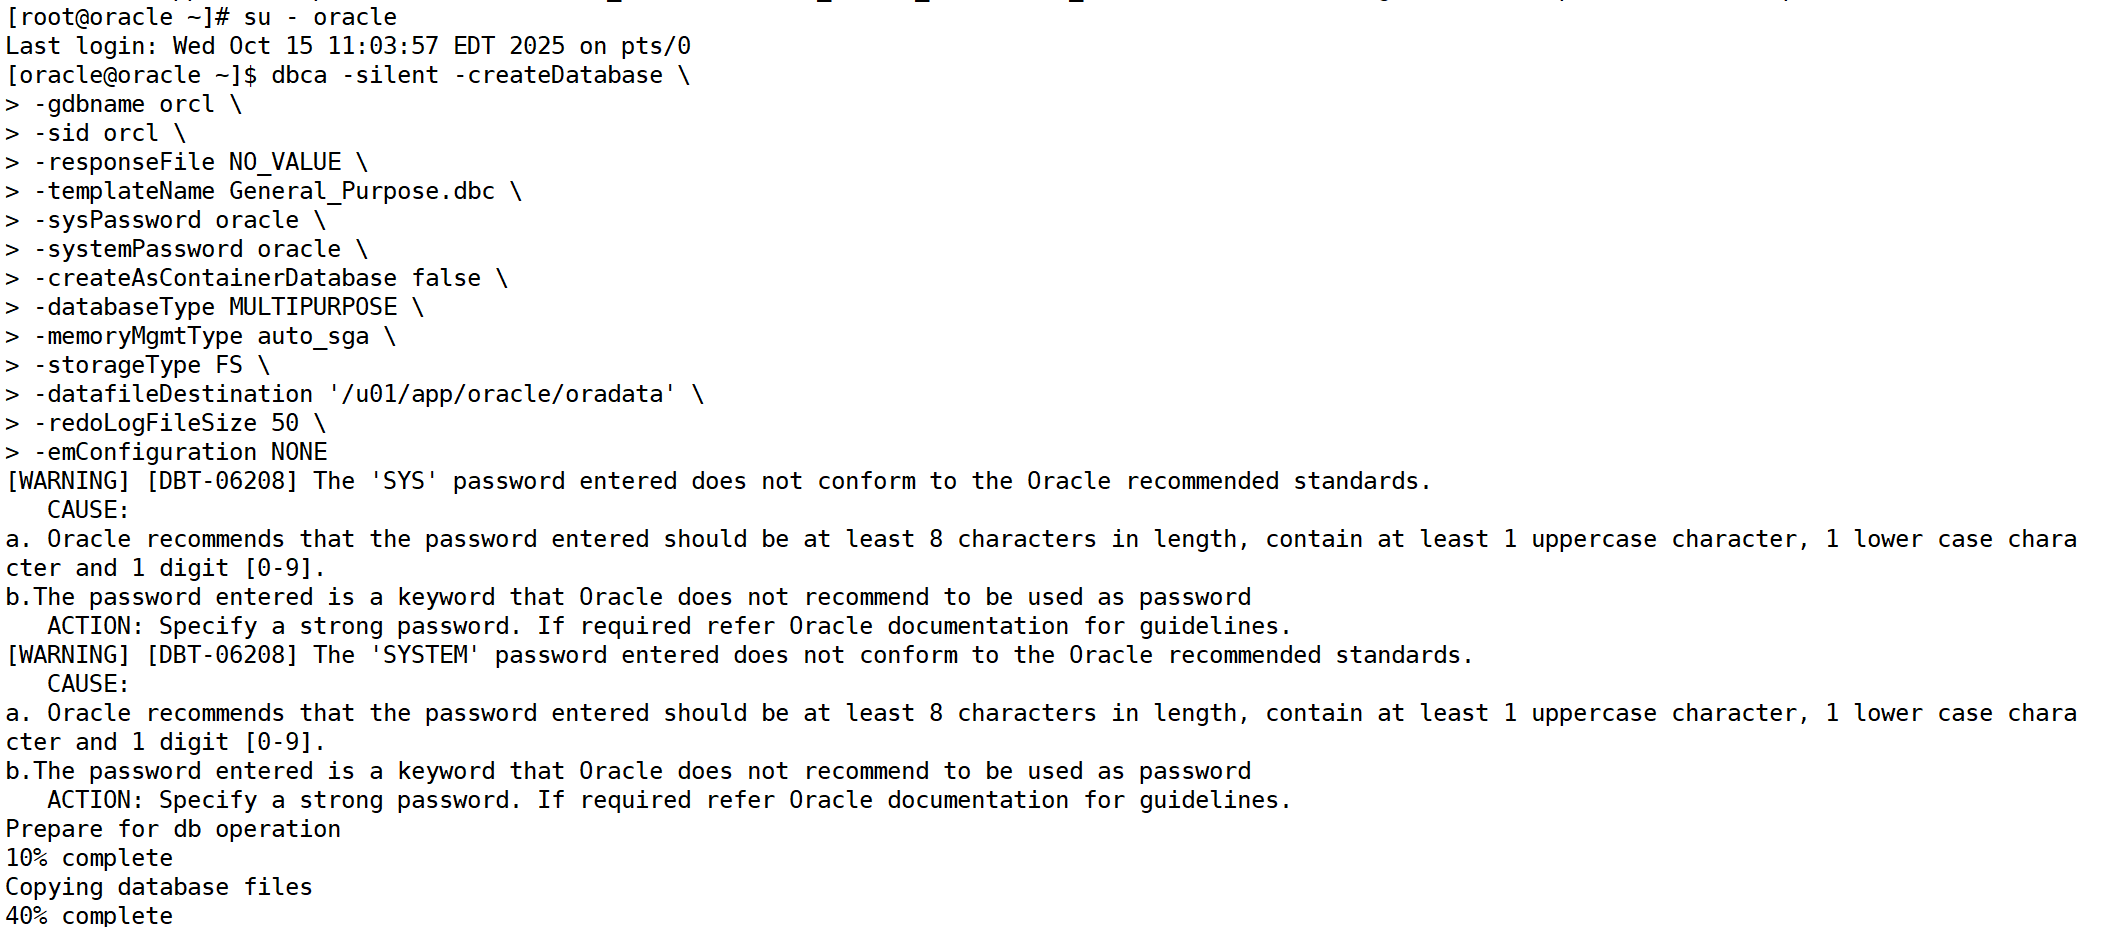
六、创建数据库实例(静默方式)
进入oracle用户模式执行:
dbca -silent -createdatabase \
-gdbname orcl \
-sid orcl \
-responsefile no_value \
-templatename general_purpose.dbc \
-syspassword oracle \
-systempassword oracle \
-createascontainerdatabase false \
-databasetype multipurpose \
-memorymgmttype auto_sga \
-storagetype fs \
-datafiledestination '/u01/app/oracle/oradata' \
-redologfilesize 50 \
-emconfiguration none
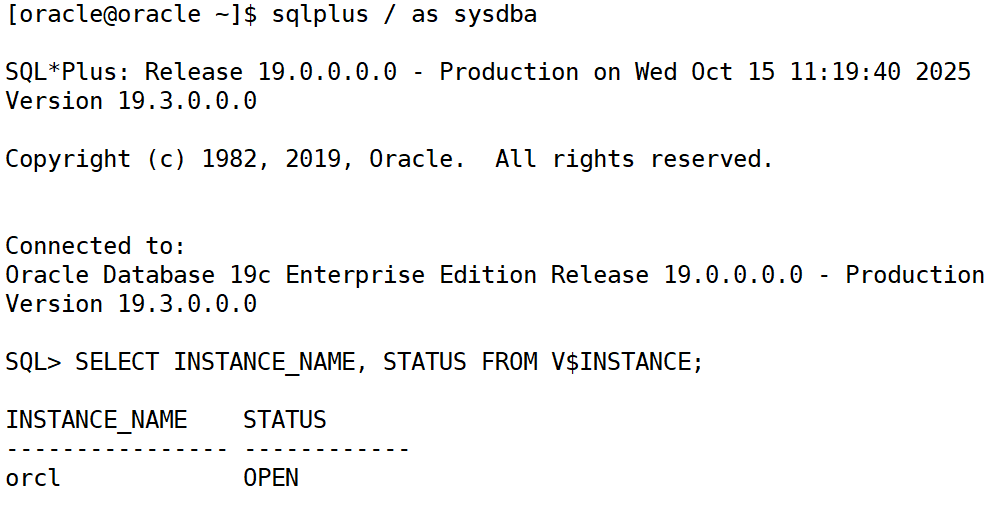
七、验证安装
登录 sql*plus:
sqlplus / as sysdba
检查数据库状态:
select instance_name, status from v$instance;
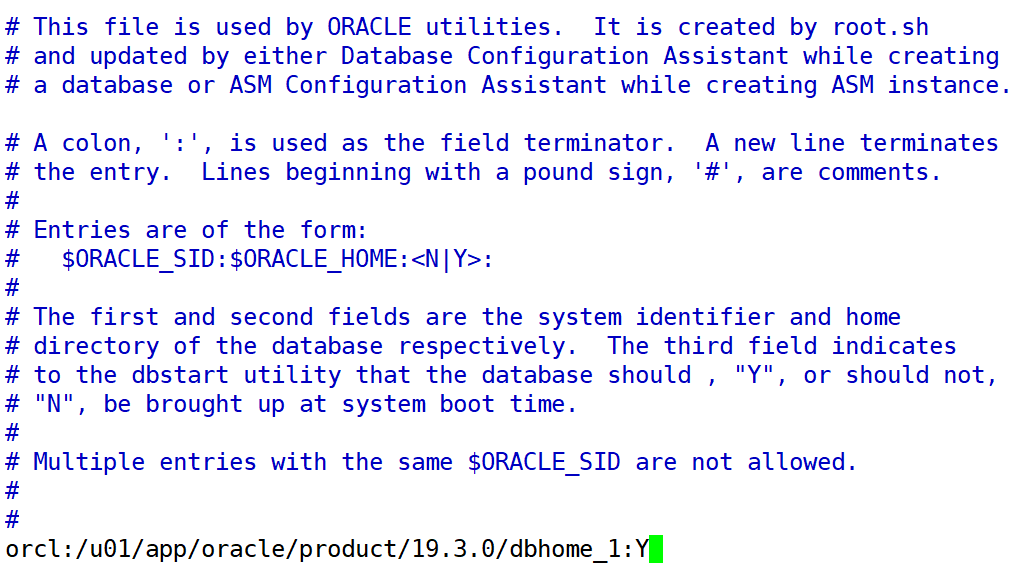
八、开机自启(可选)
编辑 /etc/oratab,把最后一行改为:
orcl:/u01/app/oracle/product/19.3.0/dbhome_1:y
oracle 数据库 demo
1.登录数据库
首先,确保你以 oracle 用户登录,并使用 sqlplus 连接到数据库实例:
su - oracle
sqlplus / as sysdba
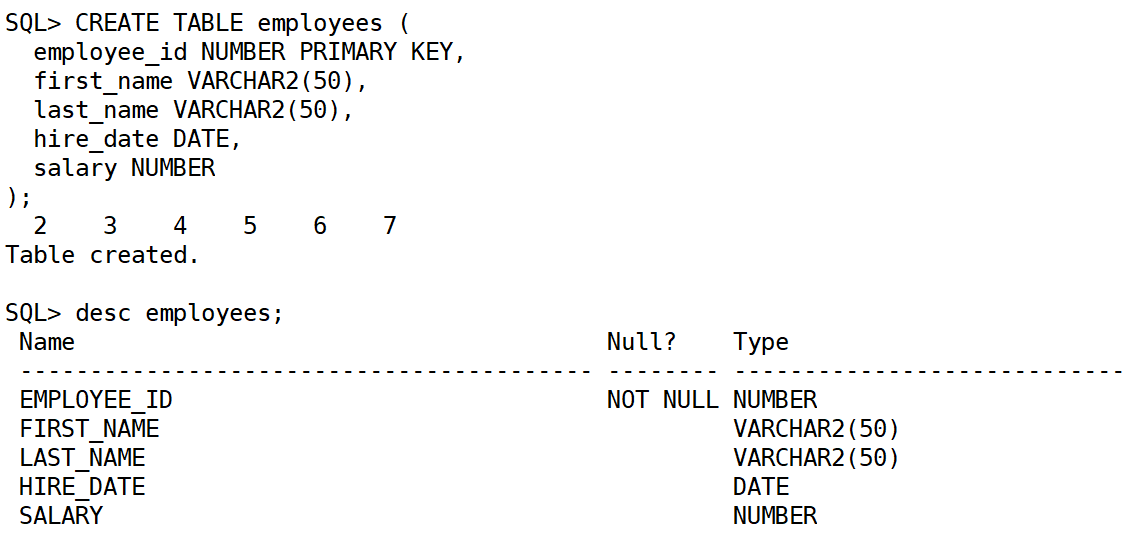
2.创建表
创建一个员工表:
create table employees (
  employee_id number primary key,
  first_name varchar2(50),
  last_name varchar2(50),
  hire_date date,
  salary number
);
在 sql*plus 中,执行 desc 命令查看表的结构时,默认情况下输出结果并不像在图形界面中那样显示成表格样式,而是以文本形式呈现。
3.插入数据
insert into employees (employee_id, first_name, last_name, hire_date, salary)
values (1, 'alice', 'johnson', to_date('2023-01-01', 'yyyy-mm-dd'), 8000);
insert into employees (employee_id, first_name, last_name, hire_date, salary)
values (2, 'bob', 'smith', to_date('2023-03-15', 'yyyy-mm-dd'), 9500);
insert into employees (employee_id, first_name, last_name, hire_date, salary)
values (3, 'charlie', 'brown', to_date('2023-07-10', 'yyyy-mm-dd'), 7500);
insert into employees (employee_id, first_name, last_name, hire_date, salary)
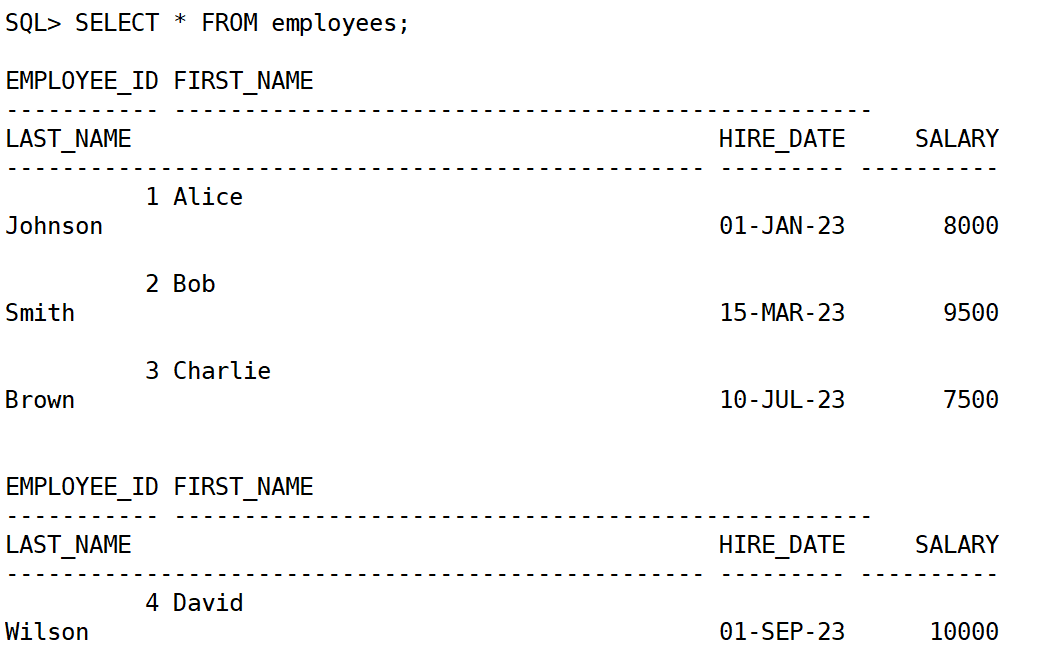
values (4, 'david', 'wilson', to_date('2023-09-01', 'yyyy-mm-dd'), 10000);4.查询数据
1.查询所有员工信息:
select * from employees;
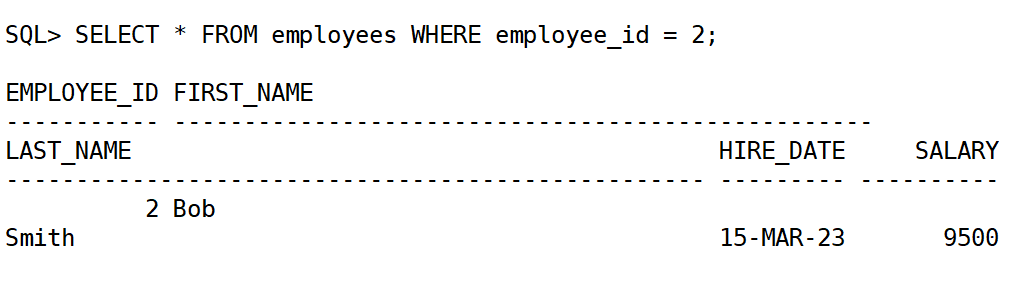
2.查询特定员工(例如,员工 id 为 2 的员工):
select * from employees where employee_id = 2;
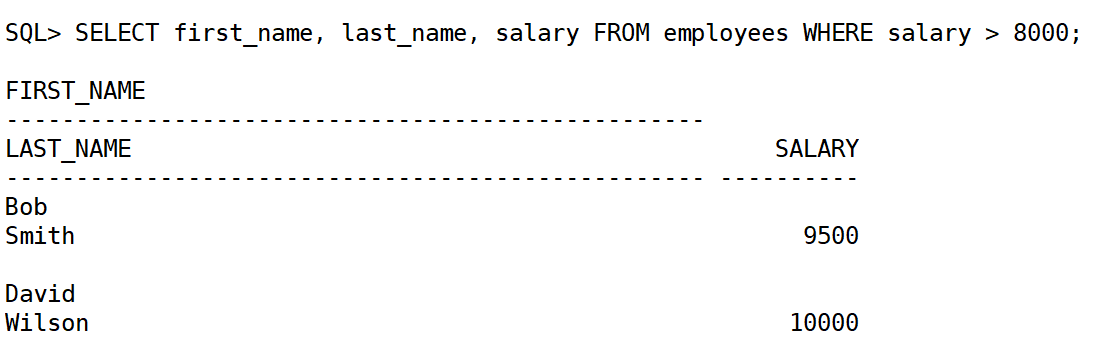
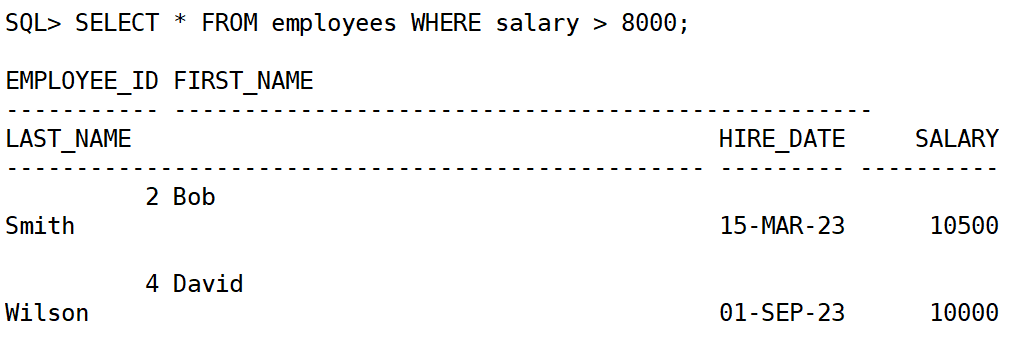
3.查询薪水高于 8000 的员工:
select first_name, last_name, salary from employees where salary > 8000;
5.更新数据
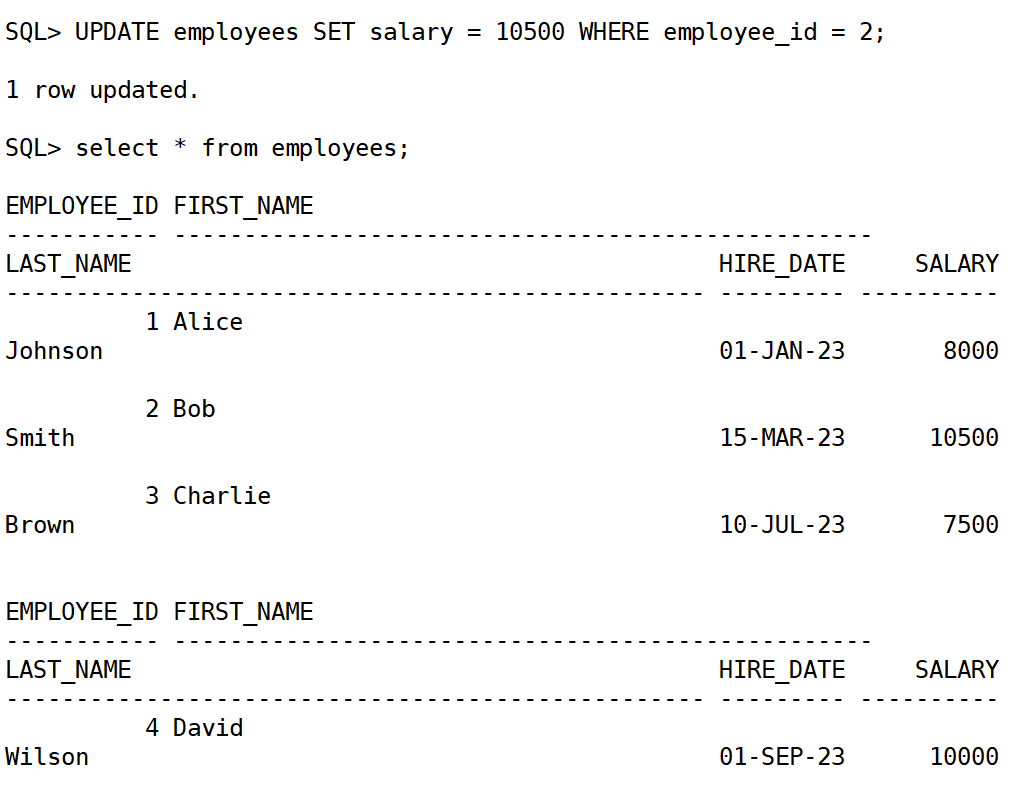
例如,增加员工 bob 的薪水:
update employees set salary = 10500 where employee_id = 2;
6.删除数据
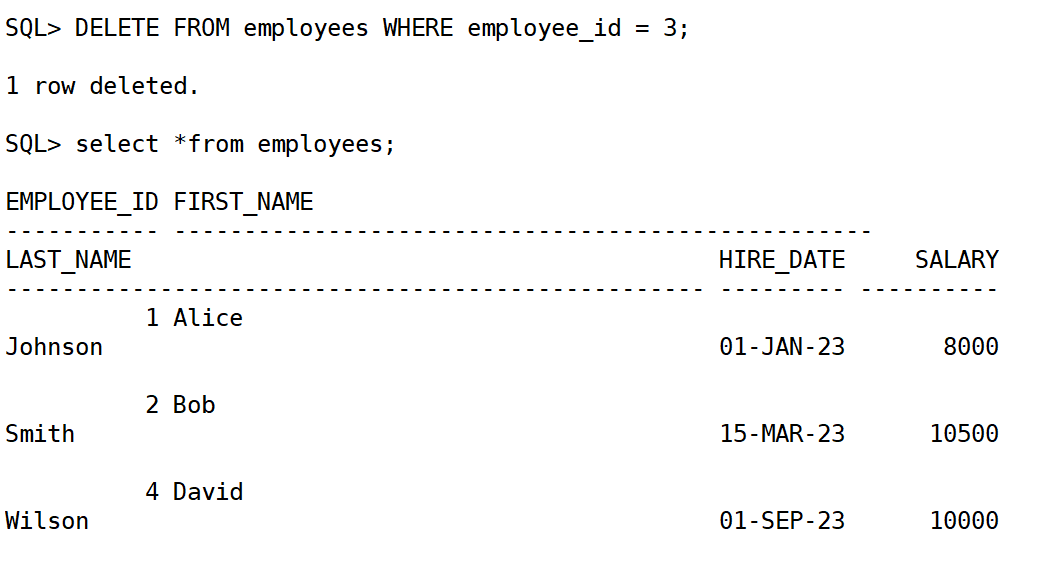
删除员工 id 为 3 的员工:
delete from employees where employee_id = 3;
7.附加 sql 查询示例
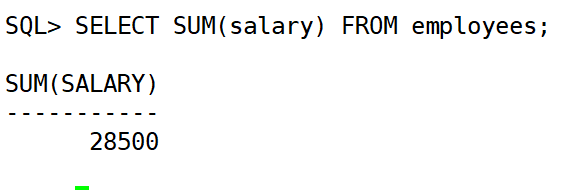
1.查询员工的薪资总和
select sum(salary) from employees;
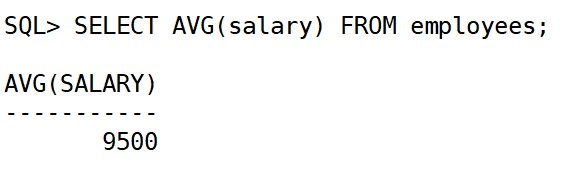
2.查询薪资的平均值:
select avg(salary) from employees;
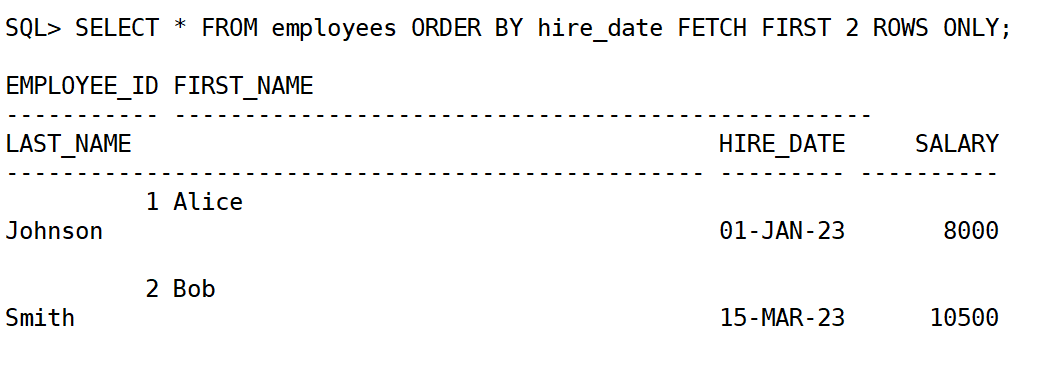
3.按照入职日期排序,显示前 2 个员工:
select * from employees order by hire_date fetch first 2 rows only;
8.筛选数据 (where)
使用 where 子句来筛选符合条件的数据。
select * from employees where salary > 8000;
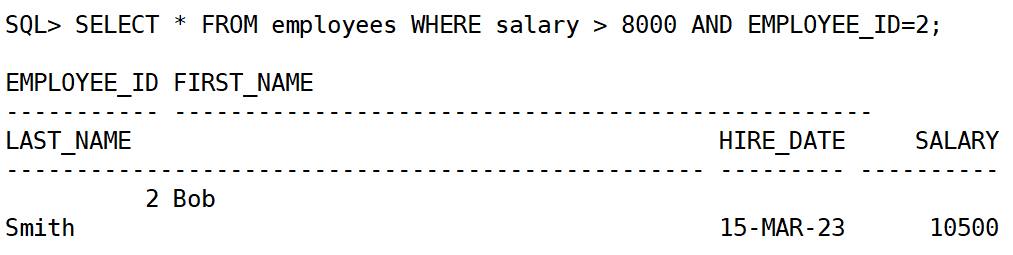
使用逻辑运算符:
and:同时满足多个条件。or:满足任意一个条件。not:排除某些条件
select * from employees where salary > 8000 and employee_id=2;
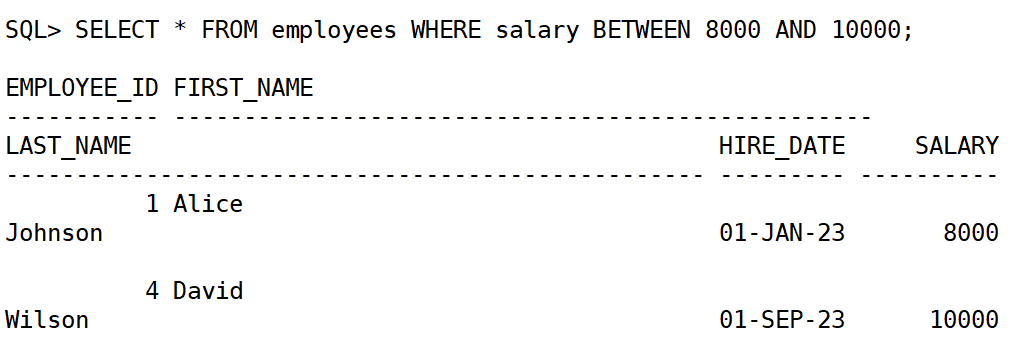
使用 between 筛选范围:
select * from employees where salary between 8000 and 10000;
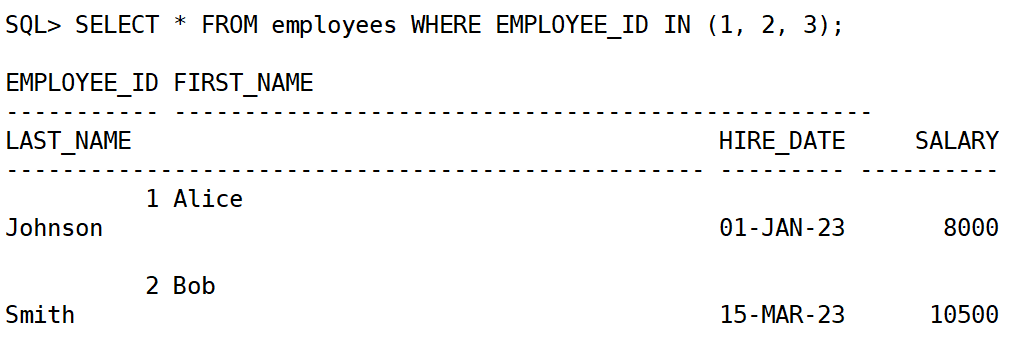
使用 in 筛选多个值:
select * from employees where employee_id in (1, 2, 3);
使用 like 进行模糊查询:
select * from employees where first_name like 'a%'; -- 姓名以a开头

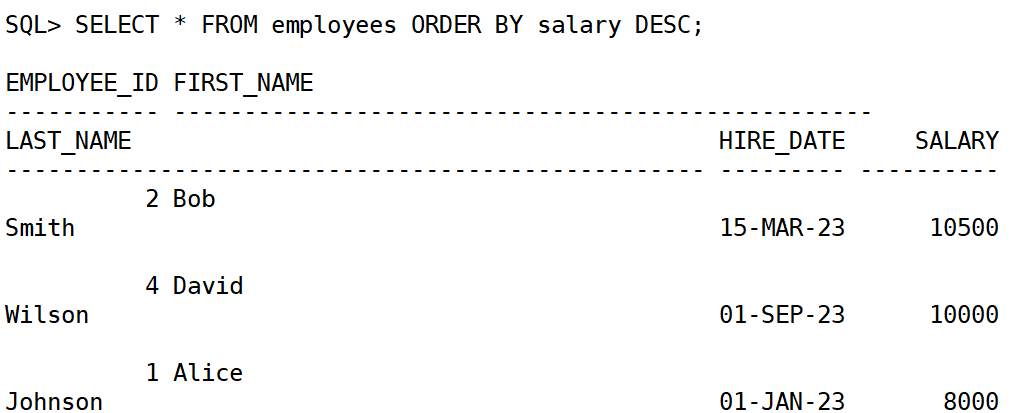
9.排序数据 (order by)
使用 order by 子句对查询结果进行排序,默认是按 升序 (asc),如果需要降序则使用 desc。
select * from employees order by salary desc;
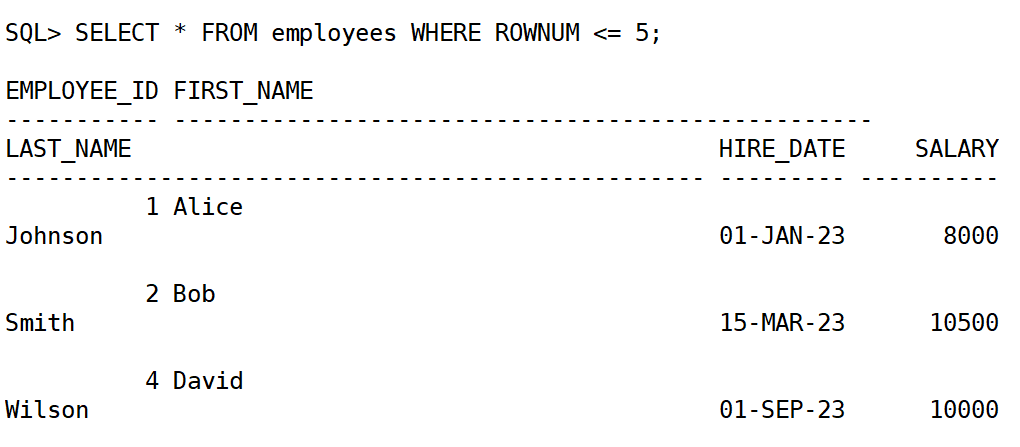
10.限制查询结果 (limit / rownum)
oracle 不支持 limit 语句,但可以使用 rownum 或 fetch first 来限制返回的行数。
select * from employees where rownum <= 5;
11.聚合函数 (group by)
聚合函数 用于对结果集进行汇总、统计或计算。常见的聚合函数有:sum、avg、count、max、min。
示例:计算每个部门的平均薪资
select department_id, avg(salary) as avg_salary
from employees
group by department_id;
示例:计算每个部门的员工人数
select department_id, count(*) as num_employees
from employees
group by department_id;
示例:计算每个部门的薪资总和,并筛选薪资总和大于 20,000 的部门
select department_id, sum(salary) as total_salary
from employees
group by department_id
having sum(salary) > 20000;
12.联接查询 (join)
oracle 支持多种类型的 联接,用于在查询中连接多个表。常见的联接类型有:inner join、left join、right join、full join。
示例:inner join(内联接)
返回两个表中匹配的行:
select e.first_name, e.last_name, d.department_name
from employees e
inner join departments d on e.department_id = d.department_id;
示例:left join(左外联接)
返回左表所有行,即使右表没有匹配的行:
select e.first_name, e.last_name, d.department_name
from employees e
left join departments d on e.department_id = d.department_id;
示例:right join(右外联接)
返回右表所有行,即使左表没有匹配的行:
select e.first_name, e.last_name, d.department_name
from employees e
right join departments d on e.department_id = d.department_id;
示例:full join(全外联接)
返回两个表的所有行,不管是否有匹配的行:
select e.first_name, e.last_name, d.department_name
from employees e
full join departments d on e.department_id = d.department_id;
13.常用的 oracle 查询方法:
| 方法 | 描述 |
|---|---|
select | 用于从数据库中提取数据。 |
where | 用于过滤查询结果。 |
order by | 用于对查询结果进行排序。 |
group by | 用于将结果按指定字段分组并进行聚合。 |
join | 用于在多个表之间建立关系,进行联接查询。 |
| 子查询 | 在查询中嵌套其他查询,用于更复杂的条件判断。 |
| 视图 | 用于将复杂查询封装为一个虚拟表,简化查询。 |
rownum / fetch | 用于限制查询结果的行数,进行数据分页。 |
总结
到此这篇关于在linux系统上安装部署oracle database保姆级教程的文章就介绍到这了,更多相关linux安装部署oracle内容请搜索代码网以前的文章或继续浏览下面的相关文章希望大家以后多多支持代码网!


发表评论