1、修改nginx虚拟主机配置文件
[root@web-server ~]# vim /etc/nginx/conf.d/default.conf
proxy_set_header host $host;
proxy_set_header x-real-ip $remote_addr;
# 访问http://xxxx/链接时,需要加上/tomcat/。
location /tomcat/ {
proxy_pass http://localhost:8080/;
}
# 这是除了/tomcat/根目录外,所有需要访问的子目录页面。
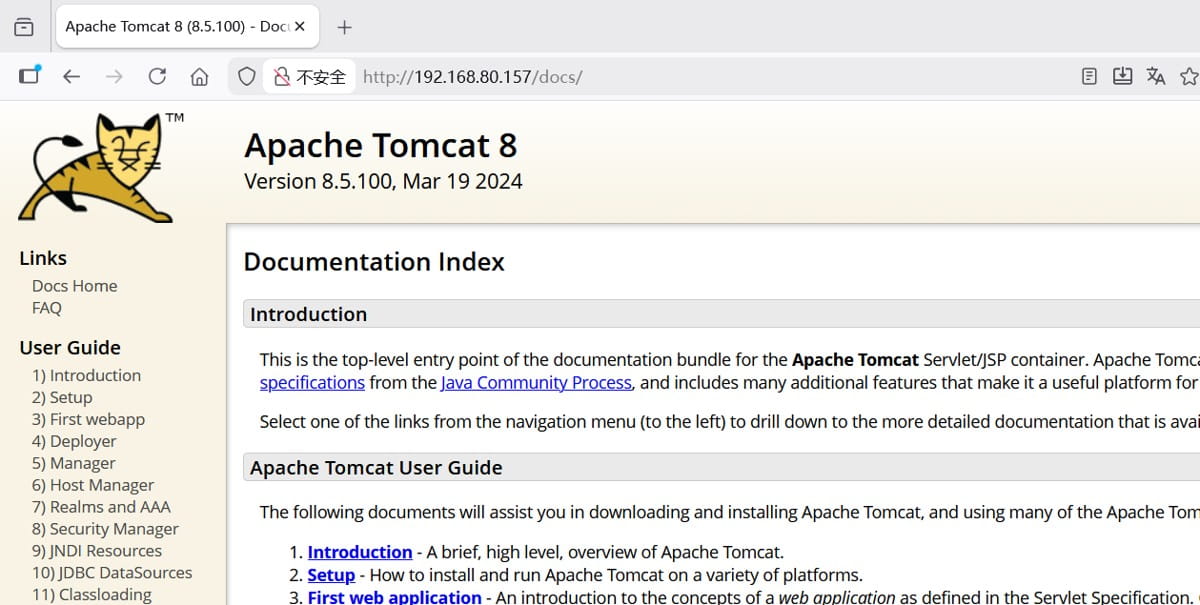
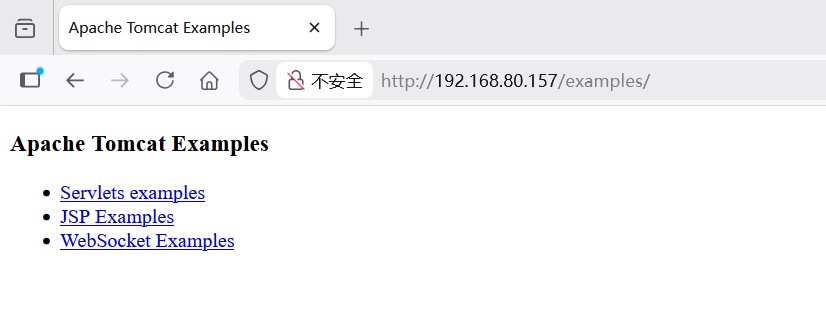
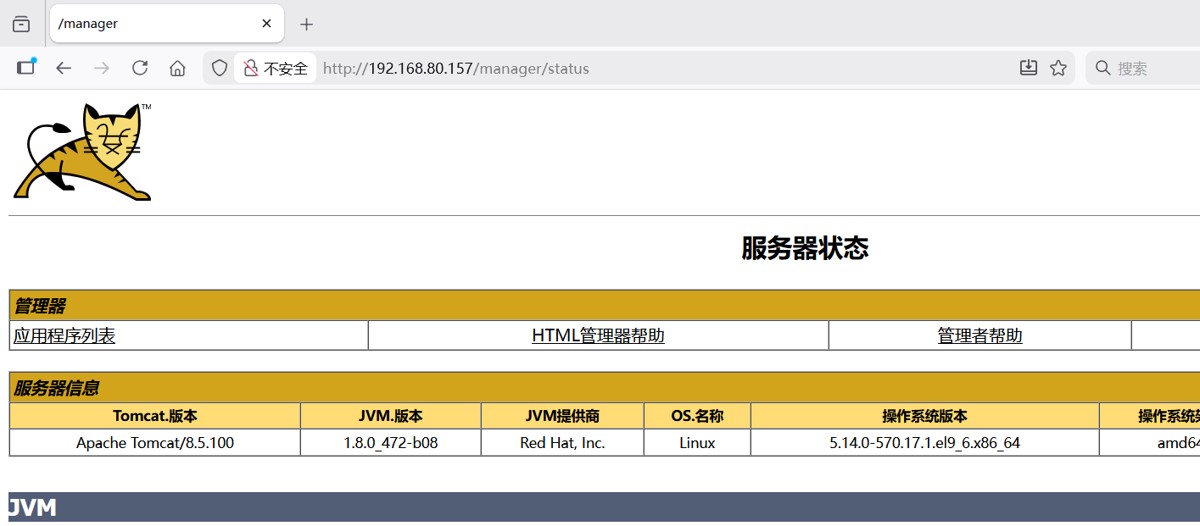
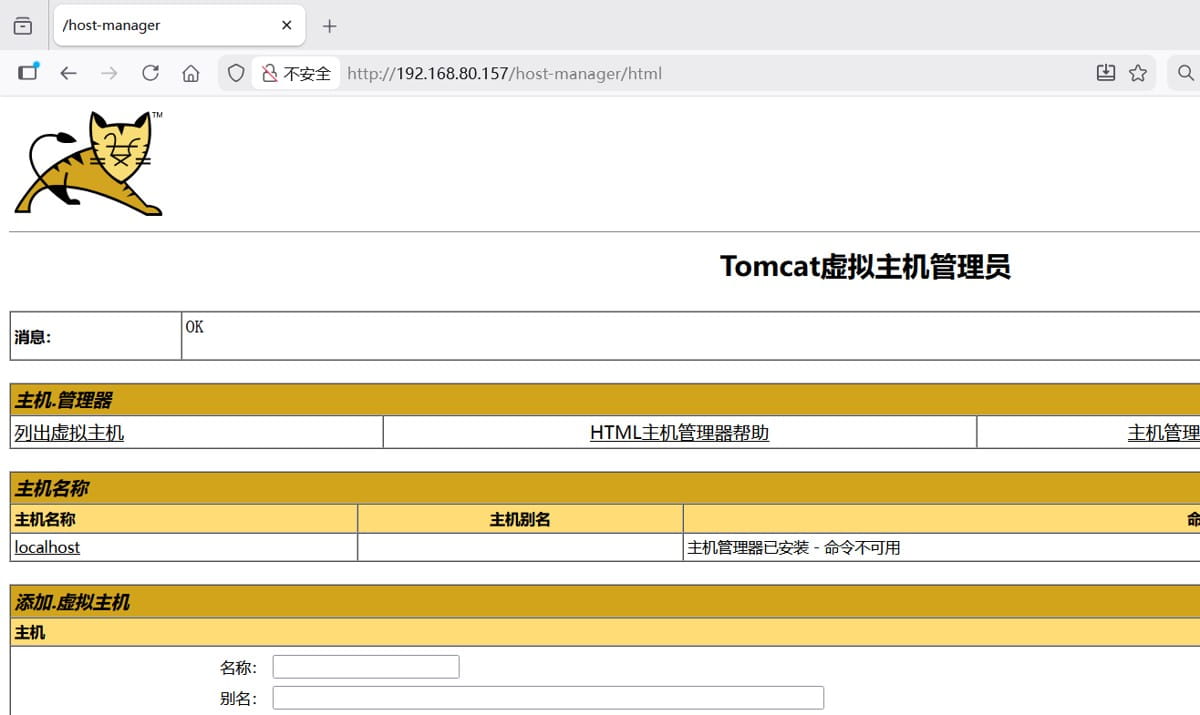
location ~ ^/(docs|examples|manager|host-manager)/ {
proxy_pass http://localhost:8080;
}
# 这是代理/tomcat/根目录下所有的css、png、json网页样式。
location ~ /tomcat/.*\.(css|png|svg|json|woff)$ {
rewrite ^/tomcat/(.*)$ /$1 break;
proxy_pass http://localhost:8080;
}
2、检查配置并重载
# 检查配置文件
[root@web-server ~]# nginx -t
nginx: the configuration file /etc/nginx/nginx.conf syntax is ok
nginx: configuration file /etc/nginx/nginx.conf test is successful
# 重载配置文件
[root@web-server ~]# systemctl reload nginx
3、验证访问
注:保证每个页面能访问即可,如果有一个页面不能访问,说明代理出错。


到此这篇关于nginx子目录代理的实现示例的文章就介绍到这了,更多相关nginx子目录代理内容请搜索代码网以前的文章或继续浏览下面的相关文章希望大家以后多多支持代码网!


发表评论