一、xml配置文件
配置文件spring-bean.xml
<?xml version="1.0" encoding="utf-8"?>
<beans xmlns="http://www.springframework.org/schema/beans"
       xmlns:xsi="http://www.w3.org/2001/xmlschema-instance"
       xsi:schemalocation="http://www.springframework.org/schema/beans
       http://www.springframework.org/schema/beans/spring-beans.xsd">
    <!--xml方式声明自己开发的bean-->
    <bean id="person" class="com.xc.entity.person"/>
    <bean class="com.xc.entity.person"/>
    <bean class="com.xc.entity.person"/>
    <!--xml方式声明第三方开发的bean-->
    <bean id="datasource" class="com.alibaba.druid.pool.druiddatasource"/>
</beans>
加载xml
public class app {
    public static void main(string[] args) {
        classpathxmlapplicationcontext context = new classpathxmlapplicationcontext("spring-bean.xml");
        for (string beandefinitionname : context.getbeandefinitionnames()) {
            system.out.println(beandefinitionname);
        }
    }
}
输出结果:
person
com.xc.entity.person#0
com.xc.entity.person#1
datasource
二、注解定义bean
1、使用annotationconfigapplicationcontext对象加载
public class app {
    public static void main(string[] args) {
        annotationconfigapplicationcontext context = new annotationconfigapplicationcontext(myconfig.class);
        for (string beandefinitionname : context.getbeandefinitionnames()) {
            system.err.println(beandefinitionname);
        }
    }
}
public class myconfig {
} 使用annotationconfigapplicationcontext对象加载myconfig,即使myconfig类什么注解没有,也会被注册为bean。
2、加载本地类 使用的注解@component或其他衍生注解@service、@controller、@repository
@service
public class bookserviceimpl implements bookservice {
}3、加载第三方jar类
由于我们无法在第三方提供的技术源代码中去添加上述4个注解,因此当你需要加载第三方开发的bean的时候可以使用@component和@configuration都可以,一般引入第三方倾向于后者。
//@component
@configuration
public class dbconfig {
@bean
public druiddatasource datasource(){
return new druiddatasource();
}
@bean
public cat cat(){
cat cat = new cat();
cat.setdruiddatasource(datasource());
return cat;
}
}@configuration(proxybeanmethods = true):默认设置,使用了cglib动态代理,cat里的datasource和@bean创建的datasource是同一个对象,可以理解为单例@configuration(proxybeanmethods = false):此时和@component注解功能一样,cat里的datasource和@bean创建的datasource不是同一个对象,可以理解为多例- 如果配置中@bean标识的方法之间
不存在依赖调用的话,可以设置为false,可以避免拦截方法进行代理操作,提升性能
三、特殊方式
3.1、使用factroybean接口
- spring提供了一个接口
factorybean,也可以用于声明bean - 实现了factorybean接口的类造出来的对象不是当前类的对象,而是factorybean接口
泛型指定类型的对象 - 一般用来创建复杂对象
public class dogfactorybean implements factorybean<dog> {
//创建bean的复杂过程
@override
public dog getobject() throws exception {
dog d = new dog();
//.........
return d;
}
//bean的类型
@override
public class<?> getobjecttype() {
return dog.class;
}
//bean是否单例
@override
public boolean issingleton() {
return true;
}
}配置类
public class myconfig {
@bean
public dogfactorybean dog(){
return new dogfactorybean();
}
}启动类
public class app {
public static void main(string[] args) {
annotationconfigapplicationcontext context = new annotationconfigapplicationcontext(myconfig.class);
system.out.println(context.getbean("dog"));
}
}3.2、注解导入xml格式配置的bean
- 场景:旧项目xml配置bean融入配置类项目中
@importresource在配置类上直接写上要被融合的xml配置文件名即可
@configuration
@importresource(locations = "spring-bean.xml")
public class springconfig {
}3.3、通过上下文applicationcontext注册bean
在容器初始化完成后手动加载bean,创建方式很多
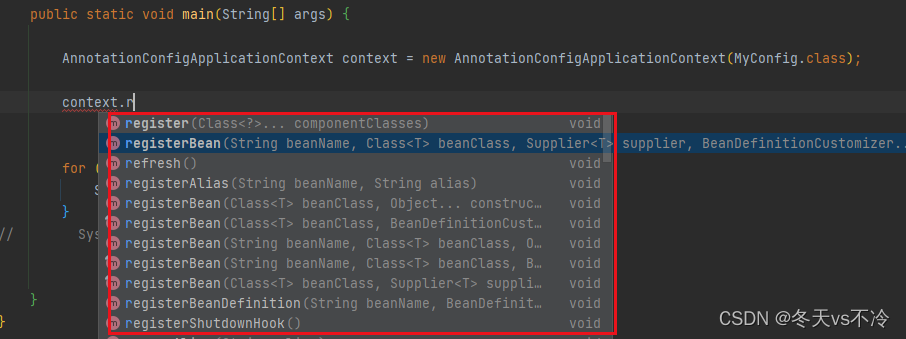
方式一:无参构造
public class app {
public static void main(string[] args) {
annotationconfigapplicationcontext ctx = new annotationconfigapplicationcontext(springconfig.class);
//上下文容器对象已经初始化完毕后,手工加载bean
ctx.register(mouse.class);
}
}方式二:多参构造
public class app {
public static void main(string[] args) {
annotationconfigapplicationcontext ctx = new annotationconfigapplicationcontext(springconfig.class);
//上下文容器对象已经初始化完毕后,手工加载bean
ctx.registerbean("tom", cat.class,"花猫",3);
}
}四、@import注解注入bean
1、@import导入普通类
- 场景:将一个无任何注解的类加载为bean
- 一个类@improt只能用一次,想要导入多个使用{…,…}
- 只有myconfig加载为bean,@import才生效
@configuration
//@import(pig.class)
@import({dog.class,cat.class})
public class myconfig {
}public class app {
public static void main(string[] args) {
annotationconfigapplicationcontext context = new annotationconfigapplicationcontext(myconfig.class);
for (string beandefinitionname : context.getbeandefinitionnames()) {
system.err.println(beandefinitionname);
}
}
}输出结果:
myconfig
com.xc.springboot.bean.dog
com.xc.springboot.bean.cat
2、@import导入实现了importselector接口的类
- 可以通过添加
判断语句就可以实现对bean的加载控制 - 返回值为多个
全路径类名字符串 - metadata为@import注解类的元数据,可以拿到myconfig类上所有的注解,注解里的属性,继承的接口,父类等等信息
- 如下则是判断mycofig类上有@configuration注解则加载dog类,否则加载cat类
public class myimportselector implements importselector {
@override
public string[] selectimports(annotationmetadata metadata) {
system.out.println("元数据class名称:" + metadata.getclassname());
//各种条件的判定,判定完毕后,决定是否装载指定的bean
boolean flag = metadata.hasannotation("org.springframework.context.annotation.configuration");
if(flag){
return new string[]{"com.xc.springboot.bean.dog"};
}
return new string[]{"com.xc.springboot.bean.cat"};
}
}配置类
@configuration
@import(myimportselector.class)
public class myconfig {
}启动类
public class app {
    public static void main(string[] args) {
        annotationconfigapplicationcontext context = new annotationconfigapplicationcontext(myconfig.class);
        for (string beandefinitionname : context.getbeandefinitionnames()) {
            system.err.println(beandefinitionname);
        }
    }
}
输出结果:
元数据class名称:com.xc.springboot.bean.myconfig
myconfig
com.xc.springboot.bean.dog
3、@import导入实现了importbeandefinitionregistrar接口的类
- 返回值为void,通过
bean定义(beandefinition)注册创建新的bean - 同样可以通过添加判断语句就可以实现bean的加载控制,更加细粒度判断bean
public class myregistrar implements importbeandefinitionregistrar {
    @override
    public void registerbeandefinitions(annotationmetadata metadata, beandefinitionregistry registry) {
        beandefinition beandefinition =
            beandefinitionbuilder.rootbeandefinition(bookservice.class).getbeandefinition();
        registry.registerbeandefinition("bookservice",beandefinition);
    }
}
4、@import导入实现了beandefinitionregistrypostprocessor接口的类
- beandefinitionregistrypostprocessor接口,其中有两个重要的方法:
postprocessbeandefinitionregistry:用于注册新的beandefinitionpostprocessbeanfactory:用于在beanfactory准备好后进行自定义操作
- beandefinitionregistrypostprocessor:bean定义注册
最后的处理器(在以上处理后执行此操作),如果想bean最后确定一个值,可以在这里操作
public class mybeandefinitionregistrypostprocessor implements beandefinitionregistrypostprocessor {
    @override
    public void postprocessbeandefinitionregistry(beandefinitionregistry registry) throws beansexception {
        // 通过 beandefinitionbuilder 创建一个新的 bean 定义
        beandefinitionbuilder builder = beandefinitionbuilder.genericbeandefinition(mycustombean.class);
        // 注册这个 bean 定义到 registry 中
        registry.registerbeandefinition("mycustombean", builder.getbeandefinition());
        system.out.println("bean definition registered: mycustombean");
    }
    @override
    public void postprocessbeanfactory(org.springframework.beans.factory.config.configurablelistablebeanfactory beanfactory) throws beansexception {
        // 在这里可以对 beanfactory 进行进一步的配置
        system.out.println("bean factory post-processing");
    }
}
注意:所有通过@import导入的bean名称为全路径名
到此这篇关于springboot基础(四):bean的多种加载方式的文章就介绍到这了,更多相关springboot bean加载方式内容请搜索代码网以前的文章或继续浏览下面的相关文章希望大家以后多多支持代码网!


发表评论