目录
🐠🐠背景
操作系统:linux
conda创建虚拟环境:conda create -n xxx python=3.9报错
🐞🐞报错
[xxx@localhost main]$ conda create -n xxx python=3.9
solving environment: failed
condahttperror: http 000 connection failed for url <https://conda.anaconda.org/http://mirrors.tuna.tsinghua.edu.cn/anaconda/cloud/conda-forge/linux-64/repodata.json>
elapsed: -
an http error occurred when trying to retrieve this url.
http errors are often intermittent, and a simple retry will get you on your way.
sslerror(maxretryerror('httpsconnectionpool(host=\'conda.anaconda.org\', port=443): max retries exceeded with url: /http://mirrors.tuna.tsinghua.edu.cn/anaconda/cloud/conda-forge/linux-64/repodata.json (caused by sslerror("can\'t connect to https url because the ssl module is not available.",))',),)
🐋🐋网上解决方案
此时,按照网上各种解决方案修改,添加各种镜像源,都不行。
修改./condarc文件为最原始的状态还不行
其中有一个修改condarc的步骤如下:
#执行命令,添加镜像源
conda config --add channels http://mirrors.tuna.tsinghua.edu.cn/anaconda/cloud/conda-forge/
conda config --add channels http://mirrors.tuna.tsinghua.edu.cn/anaconda/cloud/msys2/
conda config --add channels http://mirrors.tuna.tsinghua.edu.cn/anaconda/pkgs/free/
#执行命令,将ssl验证置为false,由于镜像源是http,所以必须取消ssl认证
conda config --set ssl_verify false
#最最最重要的一步!!!将默认镜像删除,执行命令
conda config --remove channels defaults
#设置显示镜像url,可有可无,执行命令
conda config --set show_channel_urls true
但是对我的报错没有效果。
🐬🐬分析
🐄🐄 我的解决方案(linux版)
🐷原因分析
🐷解决步骤
通过vim ~/.condarc 命令编辑condarc文件
- 第一步:通过命令conda config --show channels查看已有的镜像源地址

我的是之前默认的,没有添加任何源。这一步主要是查看已经添加的镜像源地址。
- 第二步:通过vim ~/.condarc 命令编辑condarc文件

- 第三步:清空condarc,我的是空的,就忽略这一步
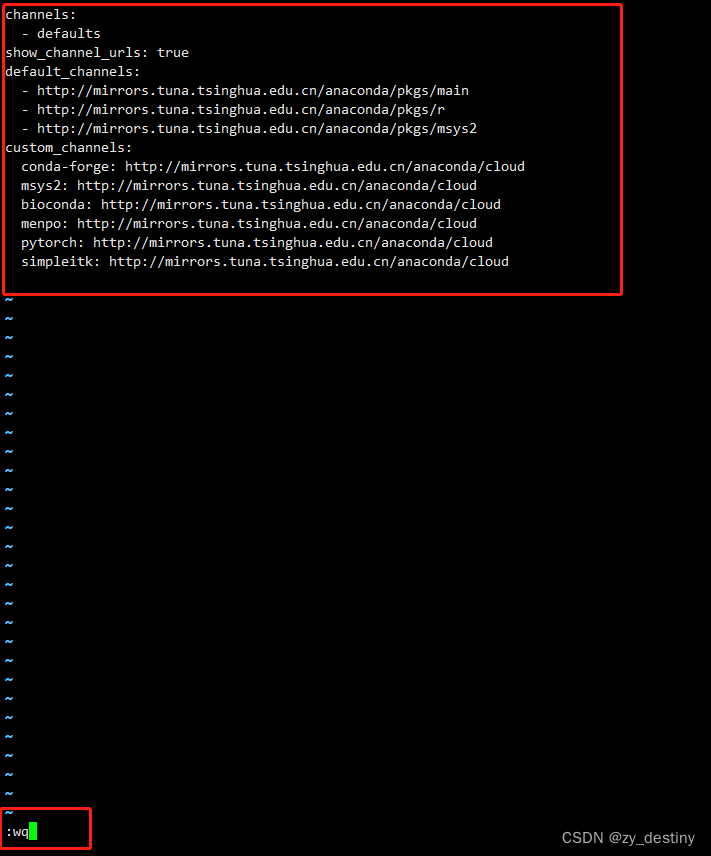
- 第四步:通过i 进入vim编辑模式,添加如下内容:
channels:
  - defaults
show_channel_urls: true
default_channels:
  - http://mirrors.tuna.tsinghua.edu.cn/anaconda/pkgs/main
  - http://mirrors.tuna.tsinghua.edu.cn/anaconda/pkgs/r
  - http://mirrors.tuna.tsinghua.edu.cn/anaconda/pkgs/msys2
custom_channels:
  conda-forge: http://mirrors.tuna.tsinghua.edu.cn/anaconda/cloud
  msys2: http://mirrors.tuna.tsinghua.edu.cn/anaconda/cloud
  bioconda: http://mirrors.tuna.tsinghua.edu.cn/anaconda/cloud
  menpo: http://mirrors.tuna.tsinghua.edu.cn/anaconda/cloud
  pytorch: http://mirrors.tuna.tsinghua.edu.cn/anaconda/cloud
  simpleitk: http://mirrors.tuna.tsinghua.edu.cn/anaconda/cloud

- 第五步:通过 esc + :wq 保存退出。
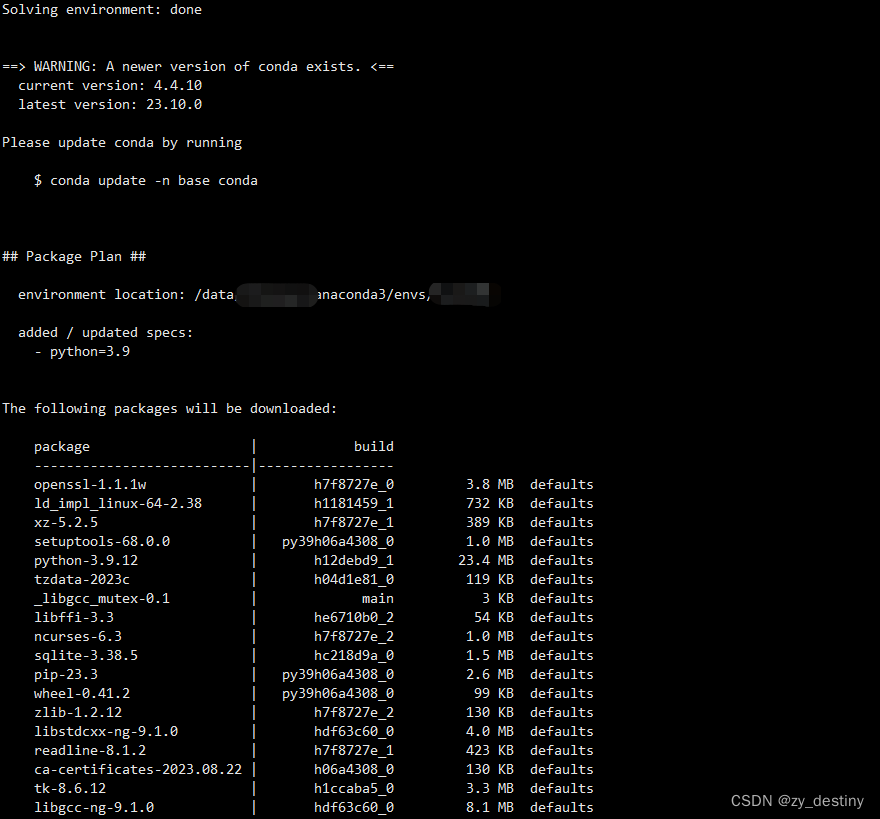
- 第六步:重新conda create -n xxx python=3.9,成功了!😄😄
🐏🐏教训
下次如要安装库,通过pip install xxx -i 镜像源地址的方式自行添加镜像源,不要再魔改condarc文件了。。。
整理不易,欢迎一键三连!!!
送你们一条美丽的--分割线--
🌷🌷🍀🍀🌾🌾🍓🍓🍂🍂🙋🙋🐸🐸🙋🙋💖💖🍌🍌🔔🔔🍉🍉🍭🍭🍋🍋🍇🍇🏆🏆📸📸⛵⛵⭐⭐🍎🍎👍👍🌷🌷


发表评论