cannon.js的特点
1、轻量级和高性能:cannon.js被设计为一个快速而轻便的物理引擎,代码简洁且易于理解。
2、真实的物理模拟:cannon.js提供了一套完整的3d物理模拟功能,包括刚体碰撞、力学模拟和约束等。这使得开发者可以模拟真实世界中的物理效果。
3、灵活的约束系统:cannon.js的约束系统非常灵活,并且支持各种类型的约束,如距离约束、弹簧约束、旋转约束等。开发者可以根据需要创建各种类型的约束。
4、基于webgl:cannon.js与webgl技术结合使用,可以轻松实现在浏览器中展示3d物理效果,并且与其他webgl应用程序进行集成。
5、跨平台兼容性:cannon.js可以在多种浏览器上运行,并且支持移动设备和桌面设备。这使得开发者可以轻松地在各种平台上开发和运行物理模拟应用程序。
cannon-es安装和引入
可以通过npm命令行安装cannon.js模块。
npm install --save cannon-es
在html和js文件中分别引入 cannon-es,three 和 three/jsm 是引入three中的实例的
<script type="importmap">
    {
      "imports": {
        "three": "../js/three.module.js",
        "three/jsm/": "../js/jsm/",
        "cannon-es": "../node_modules/cannon-es/dist/cannon-es.js"
      }
    }
</script>
在js中全局引入
import * as cannon from 'cannon-es'
初始工作
创建我们的3d环境,引入3d 实例。
import * as three from 'three'
import * as cannon from 'cannon-es'
import { orbitcontrols } from '../../js/jsm/controls/orbitcontrols.js'
// 目标:物理引擎 common-es 使用
// 1. 下载引入 cannon-es 包
// 2. 准备球体,地面,灯光和阴影
// 3. 基于 cannon 创建物理世界,创建物理世界的小球(图形+材质)
// 4. 在渲染循环中更新物理世界内的球体运动轨迹,并影响到 3d 物体(核心思想)
let scene, camera, renderer, controls, ball, floor, world, spherebody
function init() {
    scene = new three.scene()
    camera = new three.perspectivecamera(75, window.innerwidth / window.innerheight, 0.1, 1000)
    camera.position.set(0, 0, 30)
    renderer = new three.webglrenderer({ antialias: true })
    renderer.setsize(window.innerwidth, window.innerheight)
    document.queryselector('#app').appendchild(renderer.domelement)
    renderer.shadowmap.enabled = true
    controls = new orbitcontrols(camera, renderer.domelement)
    const axeshelper = new three.axeshelper(5)
    scene.add(axeshelper)
}一、创建准备球体。网格模型表示一个物体,需要通过几何体geometry定义mesh的几何外形,对于body同样道理,你需要设置物体body的几何形状。cannonjs定义几何体形状的api有很多种,比如比如长方体box、球体sphere等等
因为在场景中已经有了一个球体,现在我们需要在 cannon.js 的 world 中也创建一个球体。我们需要使用其 body 类,它可以自由落体并和其他 body 进行碰撞。在创建 body 之前,我们要先定义一个 shape。
//创建屋里小球
const sphereshape = new cannon.sphere(1)
// 创建物理小球材质
const spherematerial = new cannon.material();
二、通过cannon.world类创建一个物理世界。定义物理世界的物理属性,比如设置重力加速度。重力加速度的属性gravity类似body的位置,是一个三维向量vec3。重力加速度x、y、z分量值,实际开发根据自己项目和坐标系设置即可,咱们假设小球所在的场景,y轴竖直向上,这样重力就速度就是y方向负方向。
world = new cannon.world({
   // 自由落体加速度
   gravity: new cannon.vec3(0, -9.8, 0)
})三、使用方法.addbody()把物体添加到物理世界,物理球body添加到物理世界中,这样body就会受到物理世界加速度的影响world。
// 创建物理世界
    spherebody = new cannon.body({
        shape: sphereshape,  // 物体形状
        material: spherematerial, // 物位材质
        position: new cannon.vec3(0,0,0,),
        mass: 1
    })
    // 把物理小球加入到物理世界
    world.addbody(spherebody)
四、创建一个地面,这样就可以作为球体自由落体的参照物。
floor = new three.mesh(new three.planegeometry(10, 10), new three.meshstandardmaterial({color: 0xffff00,}));
    floor.position.set(0, -10, 0);
    floor.rotation.set(-math.pi/2, 0, 0);
    floor.receiveshadow = true;
五、所有的实例和物体都是离不开光照的,没有光,所有的都是看不到的,所以我们是需要添加光照的。我这里就添加的环境光和灯光。
//环境光
const ambientlingth = new three.ambientlight(0xffffff, 1)
//灯光
const directionlight = new three.directionallight(0xffffff, 1)
directionlight.position.set(0, 15, 0)
directionlight.castshadow = true
六、我们需要把我们的球体、地面、环境光、灯光都添加到场景中去。
scene.add(ball)
scene.add(floor)
scene.add(ambientlingth)
scene.add(directionlight)
七、在渲染循环中更新物理世界内的球体运动轨迹,并影响到 3d 物体(核心思想)
const clock = new three.clock()
function renderloop() {
// 4. 在渲染循环中更新物理世界内的球体运动轨迹,并影响到 3d 物体(核心思想)
const time = clock.getdelta()
// 物理世界不断渲染
// 参数1:固定步长,间隔多久重绘物理世界
// 参数2:自上次调用后要经过多长时间
world.step(1 / 160, time)
// 把物理世界小球最新位置更新给 3d 物体小球位置
ball.position.copy(spherebody.position)
renderer.render(scene, camera)
requestanimationframe(renderloop)
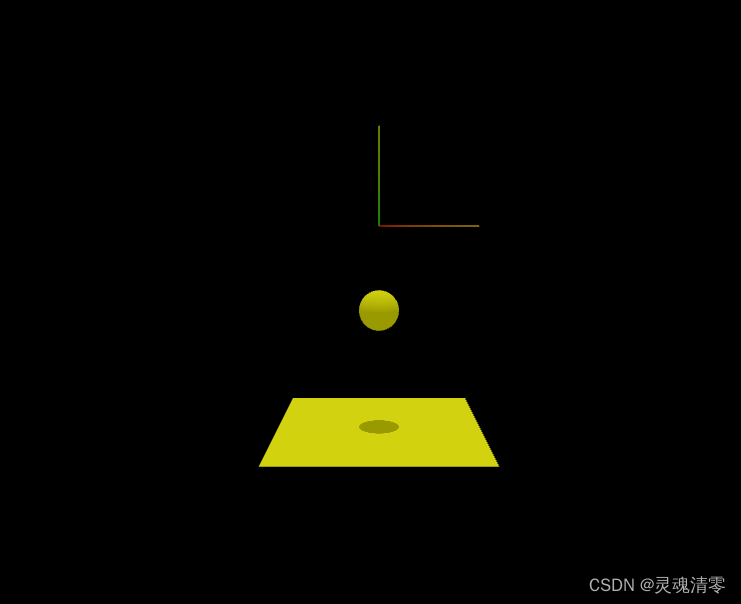
}完整代码和效果图
import * as three from 'three'
import * as cannon from 'cannon-es'
import { orbitcontrols } from '../../js/jsm/controls/orbitcontrols.js'
// 目标:物理引擎 common-es 使用
// 1. 下载引入 cannon-es 包
// 2. 准备球体,地面,灯光和阴影
// 3. 基于 cannon 创建物理世界,创建物理世界的小球(图形+材质)
// 4. 在渲染循环中更新物理世界内的球体运动轨迹,并影响到 3d 物体(核心思想)
let scene, camera, renderer, controls, ball, floor, world, spherebody
function init() {
    scene = new three.scene()
    camera = new three.perspectivecamera(75, window.innerwidth / window.innerheight, 0.1, 1000)
    camera.position.set(0, 0, 30)
    renderer = new three.webglrenderer({ antialias: true })
    renderer.setsize(window.innerwidth, window.innerheight)
    document.queryselector('#app').appendchild(renderer.domelement)
    renderer.shadowmap.enabled = true
    controls = new orbitcontrols(camera, renderer.domelement)
    const axeshelper = new three.axeshelper(5)
    scene.add(axeshelper)
}
const clock = new three.clock()
function renderloop() {
    // 4. 在渲染循环中更新物理世界内的球体运动轨迹,并影响到 3d 物体(核心思想)
    const time = clock.getdelta()
    // 物理世界不断渲染
    // 参数1:固定步长,间隔多久重绘物理世界
    // 参数2:自上次调用后要经过多长时间
    world.step(1 / 160, time)
    // 把物理世界小球最新位置更新给 3d 物体小球位置
    ball.position.copy(spherebody.position)
    renderer.render(scene, camera)
    requestanimationframe(renderloop)
}
// 2. 准备球体,地面,灯光和阴影
function createbase () {
    // 球体
    ball = new three.mesh(new three.spheregeometry(1,32, 16), new three.meshstandardmaterial({color: 0xffff00,}));
    ball.castshadow = true
    // 地面
    floor = new three.mesh(new three.planegeometry(10, 10), new three.meshstandardmaterial({color: 0xffff00,}));
    floor.position.set(0, -10, 0);
    floor.rotation.set(-math.pi/2, 0, 0);
    floor.receiveshadow = true;
    //环境光
    const ambientlingth = new three.ambientlight(0xffffff, 1)
    //灯光
    const directionlight = new three.directionallight(0xffffff, 1)
    directionlight.position.set(0, 15, 0)
    directionlight.castshadow = true
    scene.add(ball)
    scene.add(floor)
    scene.add(ambientlingth)
    scene.add(directionlight)
}
// 3. 基于 cannon 创建物理世界
function createworld () {
    world = new cannon.world({
        // 自由落体加速度
        gravity: new cannon.vec3(0, -9.8, 0)
    })
    //创建屋里小球
    const sphereshape = new cannon.sphere(1)
    // 创建物理小球材质
    const spherematerial = new cannon.material();
    // 创建物理世界
    spherebody = new cannon.body({
        shape: sphereshape,  // 物体形状
        material: spherematerial, // 物位材质
        position: new cannon.vec3(0,0,0,),
        mass: 1
    })
    // 把物理小球加入到物理世界
    world.addbody(spherebody)
}
init()
createbase()
createworld()
settimeout(() => {
    renderloop()
},1000)
到此这篇关于three cannon-es 基础使用的文章就介绍到这了,更多相关three cannon-es 使用内容请搜索代码网以前的文章或继续浏览下面的相关文章希望大家以后多多支持代码网!


发表评论