正文
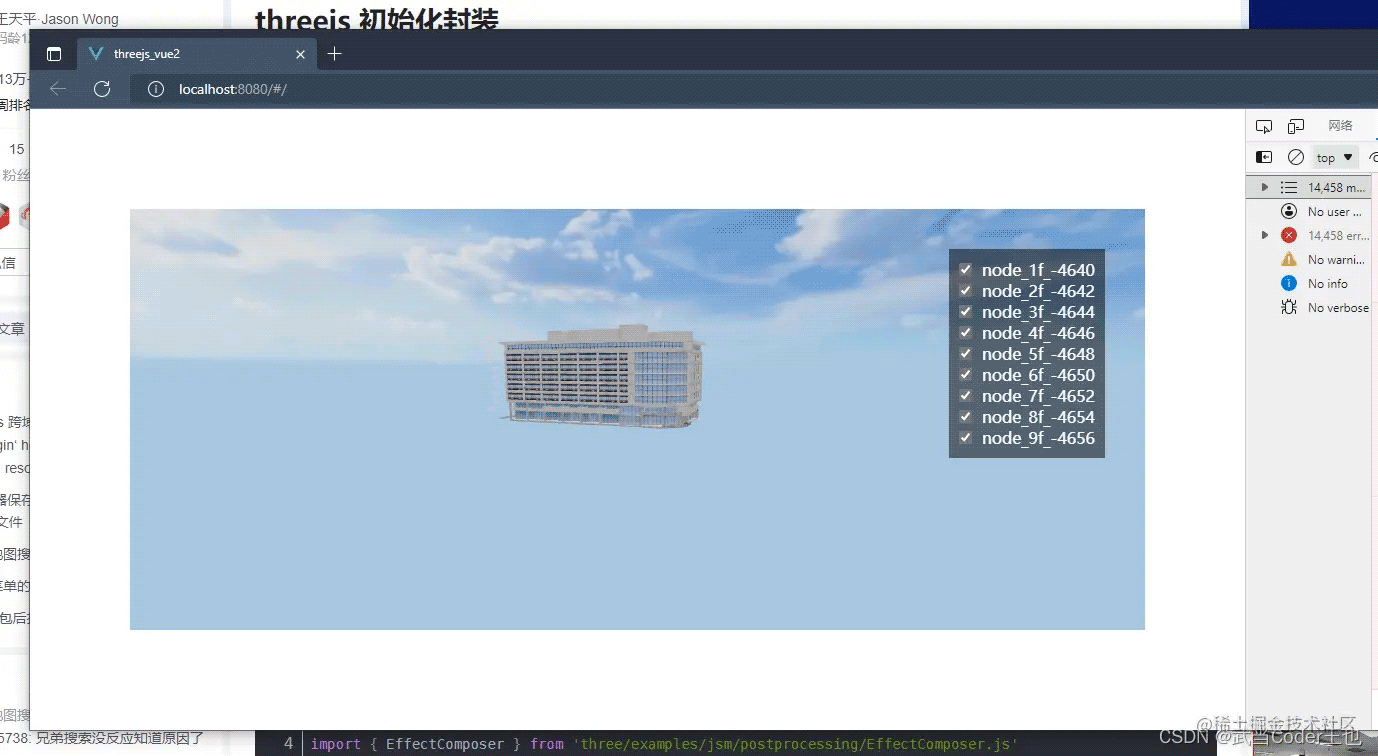
viewer核心库的封装主要是针对threejs场景进行初始封装,以便多项目复用。具体细节我就不多写了,网上一大堆,但是我发现网上的例子都比较雷同,所以我的这一篇文档会着重从我做过的项目上遇到的一些问题来具体描写,详细请看第七、第八小节,主要是第一我们真实项目中,其实你的渲染页面不是整个页面,而且其中的一小块div,所以你的宽高是div而不是windws的(如下图);第二对于页面大小变化的监视,以我的知识结构来说,还没有很好的解决方案来监视div的大小变化。
基础封装初始化包括以下:
一、threejs-es6库引入
引入部分除了threejs核心库的东西外,还有标签渲染器,用于后期在场景中添加标签,还有控制器何和帧率显示器。
import {
  cache,
  webglrenderer,
  acesfilmictonemapping,
  pcfsoftshadowmap,
  srgbencoding,
  perspectivecamera,
  scene,
  color
} from 'three'
// 二维标签渲染器
import { css2drenderer } from 'three/examples/jsm/renderers/css2drenderer'
import { css3drenderer } from 'three/examples/jsm/renderers/css3drenderer'
import { orbitcontrols } from 'three/examples/jsm/controls/orbitcontrols.js'
import stats from 'three/examples/jsm/libs/stats.module.js'
二、初始化渲染器
初始化渲染器部分主要是获取渲染画布的dom,然后初始化场景渲染器,初始化二维标签渲染器,和三维标签渲染器。 这一部分代码我们设置渲染器的大小,这个放到了后面会讲。
_initrenderer () {
    // 获取画布dom
    this.viewerdom = document.getelementbyid(this.id)
    // 初始化渲染器
    this.renderer = new webglrenderer({
      logarithmicdepthbuffer: true,
      antialias: true, // true/false表示是否开启反锯齿
      alpha: true, // true/false 表示是否可以设置背景色透明
      precision: 'highp', // highp/mediump/lowp 表示着色精度选择
      premultipliedalpha: true, // true/false 表示是否可以设置像素深度(用来度量图像的分辨率)
      preservedrawingbuffer: true // true/false 表示是否保存绘图缓冲
    })
    this.renderer.domelement.style.zindex = 1
    // 默认情况下,js的光强数值不真实。为了使得光强更趋于真实值,应该把渲染器的physicallycorrectlights属性设为true
    this.renderer.physicallycorrectlights = true
    // 尽管我们的贴图不是hdr,但使用tone mapping可以塑造更真实的效果。
    this.renderer.tonemapping = acesfilmictonemapping
    // 场景中的阴影自动更新
    this.renderer.shadowmap.enabled = true
    // 设置渲染器开启阴影贴图,并将类型设为pcfsoftshadowmap
    this.renderer.shadowmap.type = pcfsoftshadowmap
    // 这下我们可以看到更亮的材质,同时这也影响到环境贴图。
    this.renderer.outputencoding = srgbencoding
    // 一个canvas,渲染器在其上绘制输出。
    this.viewerdom.appendchild(this.renderer.domelement)
    // 网页标签
    this.labelrenderer = new css2drenderer()
    this.labelrenderer.domelement.style.zindex = 2
    this.labelrenderer.domelement.style.position = 'absolute'
    this.labelrenderer.domelement.style.top = '0px'
    this.labelrenderer.domelement.style.left = '0px'
    // 避免html标签遮挡三维场景的鼠标事件
    this.labelrenderer.domelement.style.pointerevents = 'none'
    this.viewerdom.appendchild(this.labelrenderer.domelement)
    // 三维标签
    this.css3drenderer = new css3drenderer()
    this.css3drenderer.domelement.style.zindex = 0
    this.css3drenderer.domelement.style.position = 'absolute'
    this.css3drenderer.domelement.style.top = '0px'
    this.css3drenderer.domelement.style.left = '0px'
    // 避免html标签遮挡三维场景的鼠标事件
    this.css3drenderer.domelement.style.pointerevents = 'none'
    this.viewerdom.appendchild(this.css3drenderer.domelement)
  }
三、初始化相机
相机参数里面的aspect(摄像机视锥体长宽比),其实应该是画布dom的长宽比,而不是我们浏览器windows的长宽比,请你仔细品品这句话。
参数 构造器 perspectivecamera( fov : number, aspect : number, near : number,> far : number ) fov — 摄像机视锥体垂直视野角度 aspect — 摄像机视锥体长宽比 near — 摄像机视锥体近端面 far — 摄像机视锥体远端面
  _initcamera () {
    // 渲染相机
    this.camera = new perspectivecamera(55, window.innerwidth / window.innerheight, 0.1, 5000)
    this.camera.position.set(50, 0, 50)
    this.camera.lookat(0, 0, 0)
  }
四、初始化场景
  _initscene () {
    // 渲染场景
    this.scene = new scene()
    this.scene.background = new color('rgb(5,24,38)')
  }
五、初始化鼠标控制器
控制器主要是用来控制通过鼠标漫游场景的。
参数 orbitcontrols(object:camera,domelement:htmldomelement) object:(必需)要控制的摄像机。相机不得是其他对象的子对象,除非该对象是场景本身。 domelement:用于事件侦听器的html元素。
  _initcontrol (option) {
    this.controls = new orbitcontrols(this.camera, this.renderer.domelement)
    this.controls.enabledamping = false
    this.controls.maxpolarangle = math.pi * 0.46// 垂直轨道多远 上限
    this.controls.minpolarangle = math.pi * 0.3// 你可以垂直轨道多远,下限
    this.controls.screenspacepanning = false // 定义平移时如何平移相机的位置 控制不上下移动
  }
六、灯光初始化
没有灯光的话,就会一片漆黑,所以需要添加灯光。
  // 全局光不需要
  const ambientlight = new ds.three.ambientlight(0xffffff, 0.2)
  viewer.scene.add(ambientlight)
七、全局渲染的函数-逐帧获取页面大小
这里是全局渲染的函数,通过requestanimationframe函数,可以逐帧去渲染场景。 摄像机视锥体的长宽比,设置渲染器的长宽比,都是这里一直去获取传入的div,而不是window的大小,设置参数(虽然这样写会很耗费性能,但是我也没有找到更好的方法去监听页面的大小变化)。
  function animate () {
      requestanimationframe(animate)
      that._undatedom()
      that._readerdom()
      // 全局的公共动画函数,添加函数可同步执行
      that.animateeventlist.foreach(event => {
        event.fun && event.content && event.fun(event.content)
      })
    }
    animate()
  // 更新dom大小
  _undatedom () {
    const that = this
    that.controls.update()
    // 摄像机视锥体的长宽比,通常是使用画布的宽/画布的高,所以这里的画布指的是dom,就是一个div,而不是window
    that.camera.aspect = that.viewerdom.clientwidth / that.viewerdom.clientheight
    // 更新摄像机投影矩阵。在任何参数被改变以后必须被调用,来使得这些改变生效
    that.camera.updateprojectionmatrix()
    //设置渲染器的长宽比,所以就不需要在代码里面去写window的页面监听,来改变页面大小【】
    that.renderer.setsize(that.viewerdom.clientwidth, that.viewerdom.clientheight)
    //that.renderer.setpixelratio(window.devicepixelratio) // 设置设备像素比
    that.labelrenderer.setsize(that.viewerdom.clientwidth, that.viewerdom.clientheight)
    that.css3drenderer.setsize(that.viewerdom.clientwidth, that.viewerdom.clientheight)
  }
  // 渲染dom
  _readerdom () {
    this.renderer.render(this.scene, this.camera)
    this.labelrenderer.render(this.scene, this.camera)
    this.css3drenderer.render(this.css3dscene, this.camera)
  }
八、全局动画函数
这里我做了一个全局所有动画的管理器,页面上所有的需要动画的函数都可以传入运行,包括模型的动画、加载水面的运动、贴图的uv动画。
动画函数数组用来存储所有的动画函数
  //动画函数数组
  this.animateeventlist = []
对动画函数的添加
  /**
   * 添加全局的动画事件
   * @param animate 函数加参数对象
   * 传入对象 = {
            fun: 函数名称,
            content: 函数参数
        }
   */
  addanimate (animate) {
    this.animateeventlist.push(animate)
  }
这里以状态监视器为例,创建函数,并且添加到全局的动画函数数组里面去
  /**
   * 状态更新
   * @param statscontrols
   */
  _statsupdate (statscontrols) {
    statscontrols.update()
  }
  /**
   * 添加状态监测
   */
  addstats () {
    if (!this.statscontrols) this.statscontrols = new stats()
    this.statscontrols.dom.style.position = 'absolute'
    this.viewerdom.appendchild(this.statscontrols.dom)
    // 添加到动画
    this.statsupdateobject = {
      fun: this._statsupdate, // 函数名称,函数在上面
      content: this.statscontrols // 绑定传入的参数
    }
    this.addanimate(this.statsupdateobject)
  }
对于函数的移除
  /**
   * 移除全局的动画事件
   * @param animate 函数加参数对象
   * 传入对象 = {
            fun: 函数名称,
            content: 函数参数
        }
   */
  removeanimate (animate) {
    this.animateeventlist.map((val, i) => {
      if (val === animate) this.animateeventlist.splice(i, 1)
    })
  }
以移除状态监视器为例
  /**
   * 移除状态检测
   */
  removestats () {
    if (this.statscontrols) this.viewerdom.removechild(this.statscontrols.dom)
    // 添加到动画
    this.statsupdateobject = {
      fun: this._statsupdate,
      content: this.statscontrols
    }
    this.removeanimate(this.statsupdateobject)
  }
九、销毁页面
  beforedestroy () {
    this.scene.traverse((child) => {
      if (child.material) {
        child.material.dispose()
      }
      if (child.geometry) {
        child.geometry.dispose()
      }
      child = null
    })
    this.renderer.forcecontextloss()
    this.renderer.dispose()
    this.scene.clear()
  }
以上就是针对核心viewer库封装的一些记录,也不知道写得行不行,但是里面写得一些也是在工作应用当中遇到的一些真实问题,更多关于threejs核心库viewer封装ds-sdk的资料请关注代码网其它相关文章!


发表评论