通常在一些公司内部的系统中,会在 web 端实现一个 terminal 功能,用户只需要登陆网站就可以使用,而不需要再使用 ssh 的连接方式,使用起来更加便捷。为了实现这一效果,我们可以通过引入 xtermjs 来实现此功能。
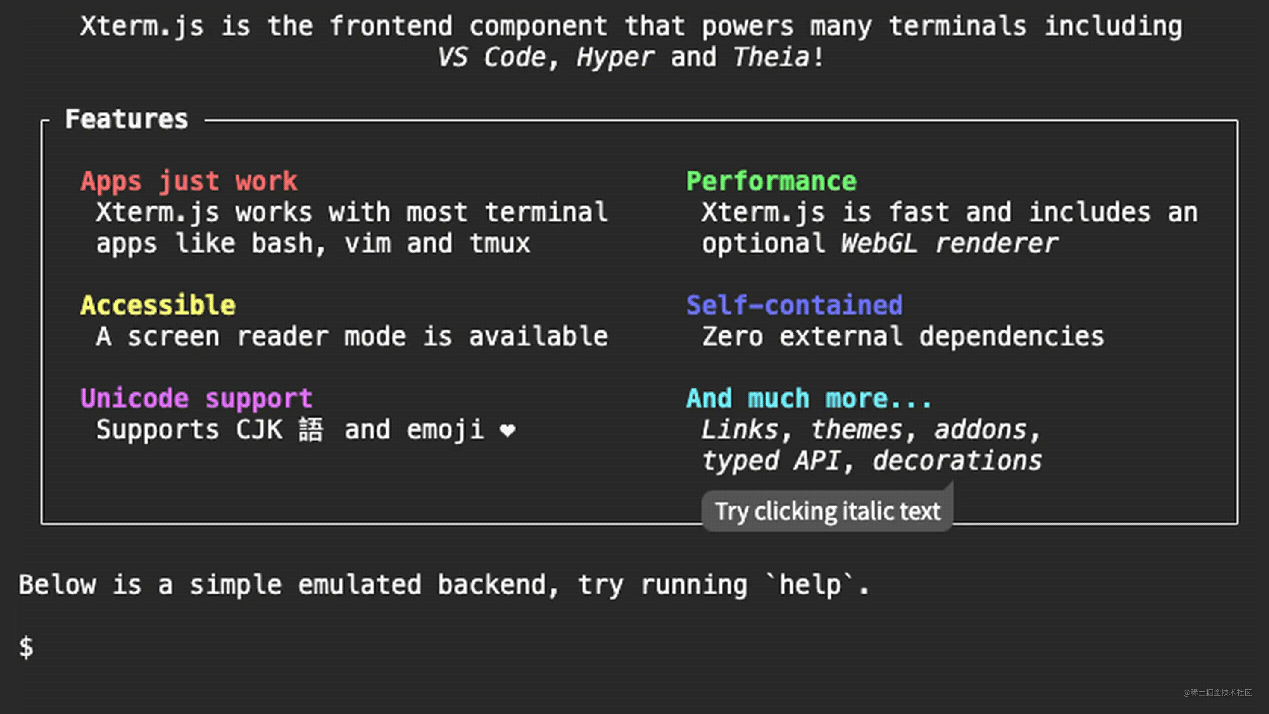
xterm 是一个使用 typescript 编写的前端终端组件,可以直接在浏览器中实现一个命令行终端应用。xterm.js 适用于大多数终端应用程序,如 bash,vim 和 tmux,这包括对基于curses的应用程序和鼠标事件的支持。xterm.js 非常快,它甚至还包括一个gpu加速的渲染器。
- xtermjs api 介绍:xtermjs.org/docs/api/te…
- 一些 api 中文介绍:
在绝大多数的情况下 xtermjs 通过 websocket 和后端建立通信。我们的每一次输入都需要发送到后端,而后端则需要根据我们的每一次输入给予响应,前端则负责将得到的数据渲染出来。
因为我使用的框架是 react,所以后续的所有功能都是在 react 中实现的。
快速上手
npm install xterm
因为考虑到该功能组件可能会在多个页面用到,因此需要将其单独封装成组件名为 xterminal。
import {memo, useeffect, useref} from "react";
import {terminal} from "xterm"
import type {iterminaloptions, iterminalinitonlyoptions} from "xterm"
import "xterm/css/xterm.css"
interface props {
options?: iterminaloptions & iterminalinitonlyoptions, // 定制化配置参数
oninput: (value: string) => void
}
const defaultoptions = {
cols: 20,
rows: 10
}
function xterminal(props: props) {
const {oninput} = props
const terminalref = useref<null | htmldivelement>(null)
useeffect(() => {
const options = {...defaultoptions, ...props.options}
const term = new terminal(options);
// 打开一个已经初始化好的的终端
term.open(terminalref.current as htmldivelement);
// 向终端中写入数据
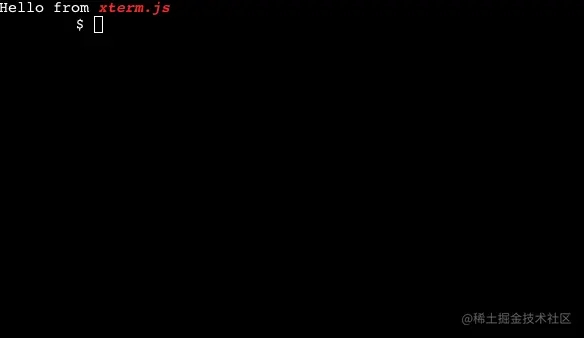
term.write('hello from \x1b[1;3;31mxterm.js\x1b[0m $ ')
term.ondata((value) => {
oninput(value)
term.write(value)
})
}, [])
return (
<div classname="terminal-container">
<div ref={terminalref}></div>
</div>
)
}
export default memo(xterminal)
现在将该组件引入到 app 中,就能够看到一个初始化好的 web 终端:
接下来就是一步步来完成一些细节功能。
首次建立链接
当 websocket 首次建立链接的时候,后端应该会给我一段默认的数据,这时,我们在组件初始化完成后,需要其呈现出来,而不是随随便便的在 write 一些字符串。
interface props {
    options?: iterminaloptions & iterminalinitonlyoptions,  // 定制化配置参数
    code: string | uint8array,
    oninput: (value: string) => void
}
const defaultoptions = {
    cols: 20,
    rows: 10
}
function xterminal(props: props) {
    const {code, oninput} = props
    const terminalref = useref<null | htmldivelement>(null)
    const options = usememo(() => {
        return {...defaultoptions, ...props.options}
    }, [props.options])
    const termref = useref<terminal>(new terminal(options))
    useeffect(() => {
        // 打开一个已经初始化好的的终端
        termref.current.open(terminalref.current as htmldivelement);
        // 向终端中写入数据
        termref.current.ondata((value) => {
            oninput(value)
            termref.current.write(value)
        })
    }, [])
    // 监听code的变化,然后每次接收到响应的时候就写入
    useeffect(() => {
        termref.current.write(code)
    }, [code])
    return (
        <div classname="terminal-container">
            <div ref={terminalref}></div>
        </div>
    )
}
注意:由于终端实例要在不同的地方用到,所以我将其放在了ref中。注意和上面最开始的代码区分。
处理输入逻辑
键盘输入事件,需要用到ondata监听函数,它能够监听到我们键盘输入的每一个字符。
useeffect(() => {
+   termref.current.ondata((value) => {
+        console.log(value)
+        termref.current.write(value)
+     })
}, [])
而在ondata事件中我们还需要来和后端进行交互,所以还需要将输入的value传递给父组件。供父组件进行网络请求。
useeffect(()=>{
    term.current.ondata((value) => {
        oninput(value)
        termref.current.write(value)
    })
},[])

而父组件的oninput就负责处理和后端的交互。到现在一个简单的 webterminal 就已经实现了
接下来的web终端自适应容器、样式修改配置、销毁等操作请关注代码网其它相关文章!


发表评论