安装
官方安装地址:https://docs.openwebui.com/getting-started/
有两种安装方式,docker和源码。
熟悉docker的同学可以采用该方式。
本文以源码的形式进行安装。
环境要求
熟练使用python
🐰 node.js >= 20.10
🐍 python >= 3.11
步骤
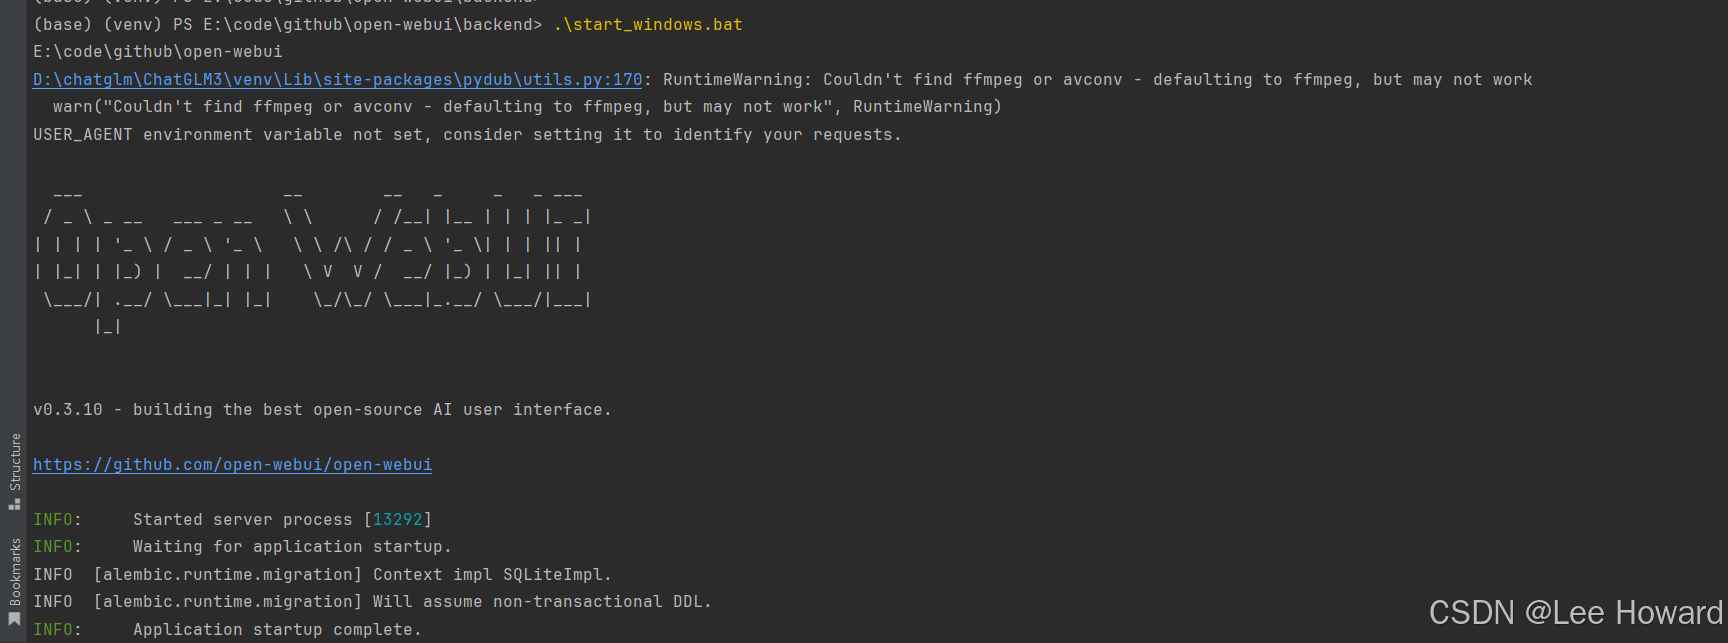
克隆代码
git clone https://github.com/open-webui/open-webui.git

cd open-webui/

拷贝.env文件,可鼠标右键复制粘贴
# copying required .env file
cp -rpp .env.example .env

构建前端页面
# building frontend using node
npm i
npm run build

构建后端
# serving frontend with the backend
cd ./backend
pip install -r requirements.txt -u

启动服务
linux or mac:bash start.sh
windows:start_windows.bat
访问
打开地址:127.0.0.1:8000
第一次打开的时候,需要注册一个账号。(如admin/admin)
册的第一个用户默认为管理员账号,以后注册的账号角色均为pending(待分配权限)。
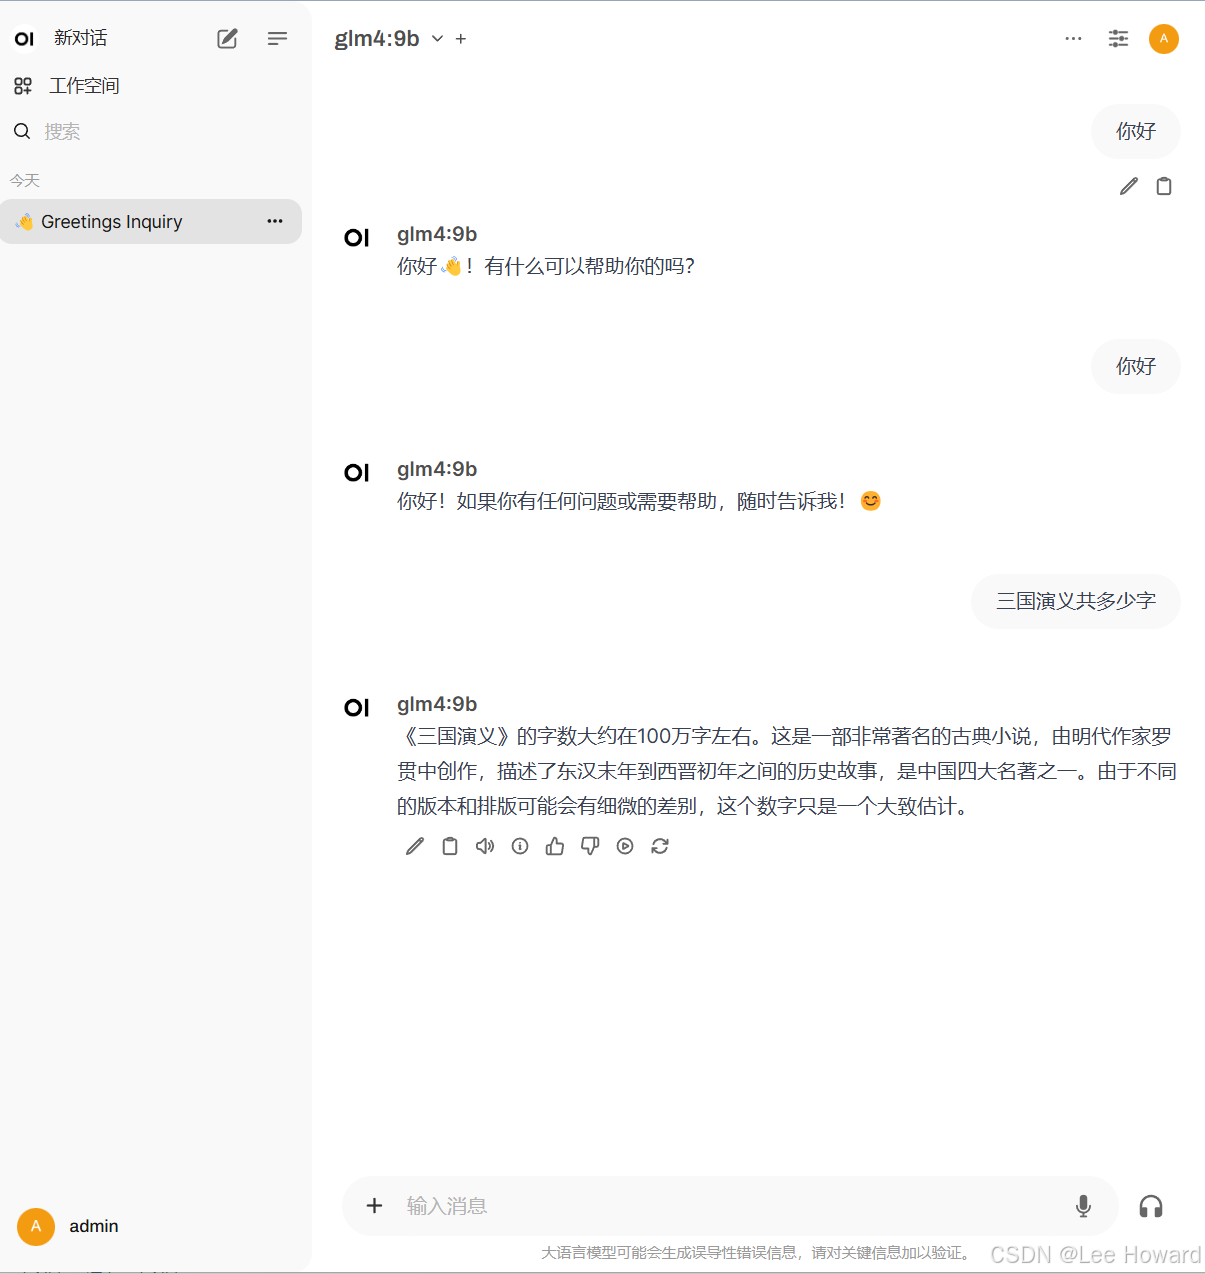
选择模型

开始对话
总结
到此这篇关于ollama整合open-webui的文章就介绍到这了,更多相关ollama整合open-webui内容请搜索代码网以前的文章或继续浏览下面的相关文章希望大家以后多多支持代码网!


发表评论