1、准备工作
(1)打开qq邮箱服务授权
首先进入到qq邮箱主页,点击左上方的设置按钮

进入设置页面后,再点击账号

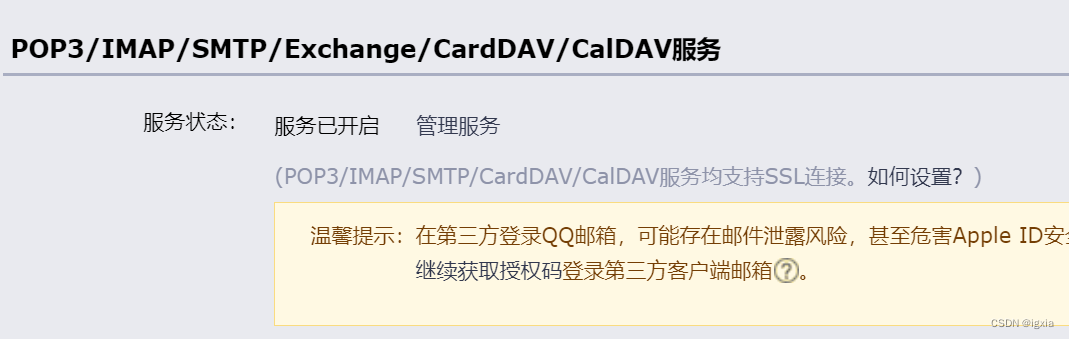
往下滑,然后可以看到 “pop3/imap/smtp/exchange/carddav/caldav服务”
然后点击开启服务(因为我这里是已经开启了,默认情况是没有开启的)
点击开启后会跳转到另一个页面,同样找到“pop3/imap/smtp/exchange/carddav 服务”,然后点击生成授权码
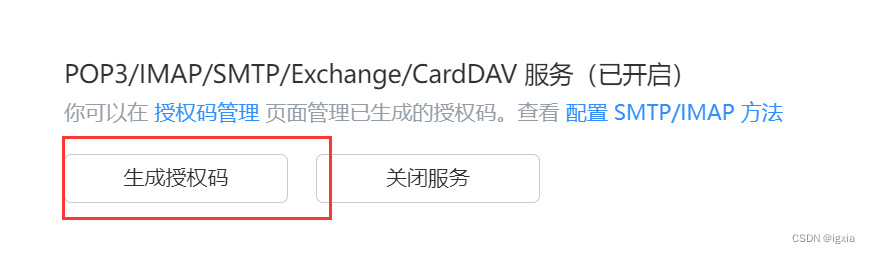
即可生成一段字符串,
!!!将该字符串复制保存下来,不然的话,下次就只能再重新生成授权码了
2、接口调用
(1)引入依赖
再pom.xml文件中引入下方依赖
<dependency>
  	<groupid>org.apache.commons</groupid>
     <artifactid>commons-email</artifactid>
     <version>1.5</version>
 </dependency>
(2)验证码生成函数
这一步大家有其他方法也都可以,这里只是生成验证码字符串
public string achievecode() {  //由于数字 1 、 0 和字母 o 、l 有时分不清楚,所以,没有数字 1 、 0
        string[] beforeshuffle= new string[] { "2", "3", "4", "5", "6", "7", "8", "9", "a", "b", "c", "d", "e", "f",
                "g", "h", "i", "j", "k", "l", "m", "n", "o", "p", "q", "r", "s", "t", "u", "v", "w", "x", "y", "z", "a",
                "b", "c", "d", "e", "f", "g", "h", "i", "j", "k", "l", "m", "n", "o", "p", "q", "r", "s", "t", "u", "v",
                "w", "x", "y", "z" };
        list list = arrays.aslist(beforeshuffle);//将数组转换为集合
        collections.shuffle(list);  //打乱集合顺序
        stringbuilder sb = new stringbuilder();
        for (int i = 0; i < list.size(); i++) {
            sb.append(list.get(i)); //将集合转化为字符串
        }
        return sb.tostring().substring(3, 9);  //截取字符串第4到8
    }
3、接口代码编写
@autowired
    private redisservice redisservice;
    @getmapping("/getotp/{email}")
    public ajaxresult getotp(@pathvariable string email, httpsession session) throws emailexception {
        string otpcode = this.achievecode();
//        session.setattribute(email, otpcode);

        redisservice.setcacheobject("otpcode:" + email, otpcode, 2l, timeunit.minutes);
        htmlemail emails=new htmlemail();
        emails.sethostname("smtp.qq.com");
        emails.setcharset("utf-8");
        emails.setsmtpport(465);
        emails.setsslonconnect(true);
        emails.addto(email);//设置收件人
        emails.setfrom("11111@qq.com","lalala");
        emails.setauthentication("11111@qq.com","gwbtpcktyxnubefc");
        emails.setsubject("验证码来略,快快查收");//设置发送主题
        emails.setmsg(optcode);//设置发送内容
        emails.send();//进行发送
        return success(otpcode);
    }
(如果大家项目没有引入redis,也可以用session代替,因为我这里是一整个业务流程,后续还需要对比验证码,所以需要用到换成,大家测试的话也可以去掉)
再这一段语句里 emails.setauthentication(“11111@qq.com”,“gwbtpcktyxnubefc”);
其中邮箱即为刚才生成授权码的邮箱,后面一段字符串就是授权码。
在编写完上述代码后,即可通过调用此按钮来发送邮件。
4、html型邮件
通过上述代码,只能发送一个简单的字符,但是qq邮箱也是支持html解析的,我们可以在其中设置html代码,让我们的邮件“精致”一点,只需要更改emails.setmsg()中的参数即可
emails.setmsg("<!doctype html>\n" +
                "<html lang=\"en\">\n" +
                "<head>\n" +
                "    <meta charset=\"utf-8\">\n" +
                "    <meta name=\"viewport\" content=\"width=device-width, initial-scale=1.0\">\n" +
                "    <title>email template</title>\n" +
                "</head>\n" +
                "<body style=\"font-family: arial, sans-serif; background-color: #f4f4f4; padding: 20px;\">\n" +
                "\n" +
                "    <div style=\"max-width: 600px; margin: 0 auto; background-color: #ffffff; padding: 20px; border-radius: 10px; box-shadow: 0 0 10px rgba(0, 0, 0, 0.1);\">\n" +
                "\n" +
                "        <h1 style=\"color: #333333; text-align: center;\">我来组成头部</h1>\n" +
                "\n" +
                "        <p style=\"color: #555555; text-align: center;\">我来组成标题</p>\n" +
                "\n" +
                "        <p style=\"color: #555555; text-align: center;\">验证码是" + otpcode + "</p>\n" +
                "\n" +
                "        <p style=\"color: #555555;\">lalalalala^(* ̄(oo) ̄)^,</p>\n" +
                "\n" +
                "        <p style=\"color: #555555;\">lalalalala</p>\n" +
                "\n" +
                "        <p style=\"color: #555555;\">哈哈哈哈哈哈哈哈哈哈哈哈哈哈哈哈哈哈哈哈哈哈哈哈哈哈哈哈哈哈哈</p>\n" +
                "\n" +
                "        <p style=\"color: #555555;\">哈哈哈哈哈哈哈哈哈哈哈哈哈哈哈哈哈哈哈哈哈哈哈哈哈哈哈哈哈哈哈</p>\n" +
                "\n" +
                "        <p style=\"color: #555555;\">哈哈哈哈哈哈哈哈哈哈哈哈哈哈哈哈哈哈哈哈哈哈哈哈哈哈哈哈哈哈哈</p>\n" +
                "\n" +
                "        <p style=\"color: #888888; text-align: center; font-size: 12px; margin-top: 20px;\">© 2024 example company. all rights reserved.</p>\n" +
                "\n" +
                "    </div>\n" +
                "\n" +
                "</body>\n" +
                "</html>\n");//设置发送内容
总结
到此这篇关于使用java来发送qq邮箱邮件的文章就介绍到这了,更多相关java发送qq邮箱邮件内容请搜索代码网以前的文章或继续浏览下面的相关文章希望大家以后多多支持代码网!


发表评论