目录
exchange
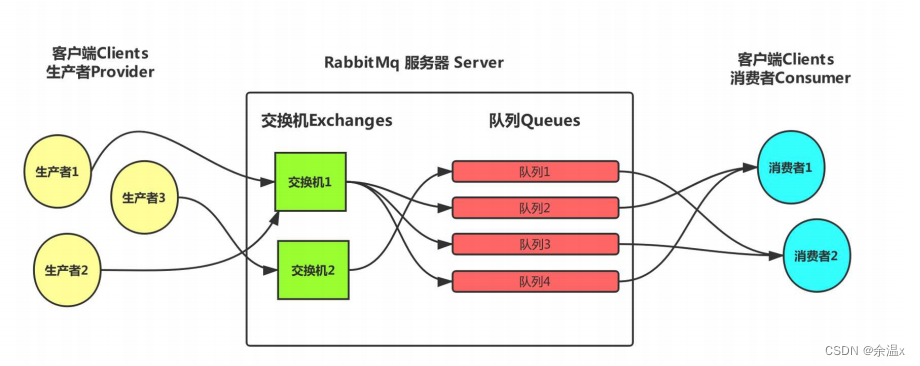
在rabbitmq中,生产者发送信息不会直接将消息投送到队列中,而是先将消息投递到交换机中,在由交换机转换到具体的队列,队列再将消息以推送或者拉取方式给消费者进行消费。
生产者将消息发送到exchange,由exchange再路由到一个或多个队列中
路由键(routingkey)
生产者将信息发送给交换机的时候,会指定routingkey指定路由规则
绑定键(bindingkey)
通过绑定键将交换机与队列关联起来,这样rabbitmq就知道如何正确的将信息路由到队列
交换机类型
直连交换机:direct exchange
direct,完全匹配型交换机,此种类型交换机,通过routingkey路由键将交换机和队列进行绑定, 消息被发送到exchange时,需要根据消息的routingkey,来进行匹配,只将消息发送到完全匹配到此routingkey的队列。
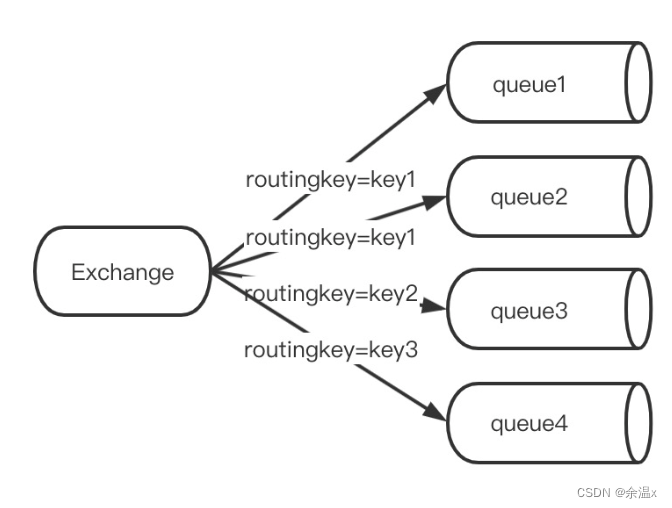
如图,不同的key绑定不同的队列,实现不同消息分发至不同队列。
注意:同一个key,可以绑定多个queue队列。如图中,当匹配到key1时,则会将消息分发送至queue1和queue2,这样两个队列都会有相同的消息数据。
主题交换机:topic exchange
topic,主题类型交换机,此种交换机与direct类似,也是需要通过routingkey路由键进行匹配分发,区别在于topic可以进行模糊匹配,direct是完全匹配。
topic中,将routingkey通过"."来分为多个部分,通过如下功能字符来进行匹配:
- "*":代表一个部分
- "#":代表一个或多个部分
举个例子,加入绑定关系如下图:
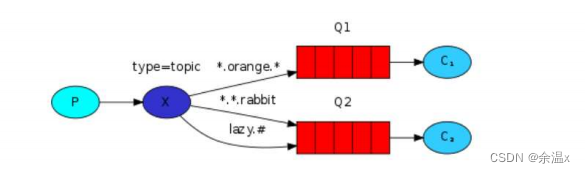
然后发送一条信息,routingkey为"a.b.c.d",那么根据"."将这个路由键分为了4个部分,此条路由键,将会匹配:
- a.b.c. :成功匹配,因为可以代表一个部分
- a.b.# :成功匹配,因为#可以代表一个或多个部分
- a..c.. : 成功匹配,因为第一和第三部分分别为a和c,且为4个部分,刚好匹配
注意:如果绑定的路由键为 "#" 时,则接受所有消息,因为路由键所有都匹配
扇形交换机:fanout exchange
fanout,扇出类型交换机,此种交换机,会将消息分发给所有绑定了此交换机的队列,此时routingkey参数无效。
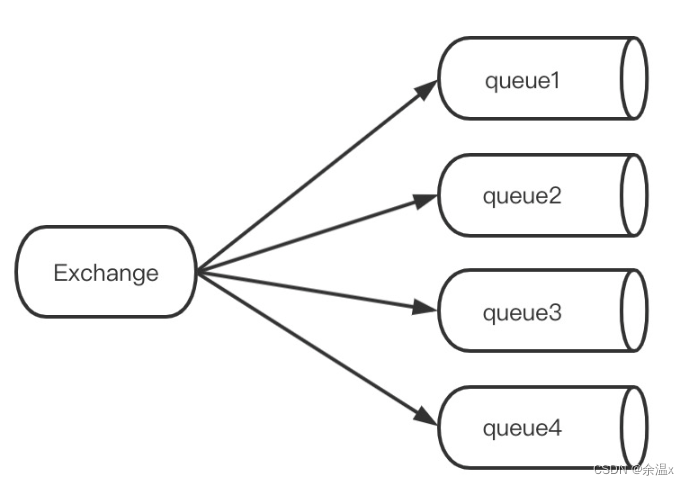
此种方式,最简单快速,性能最好,因为少了中间的匹配判断环节。
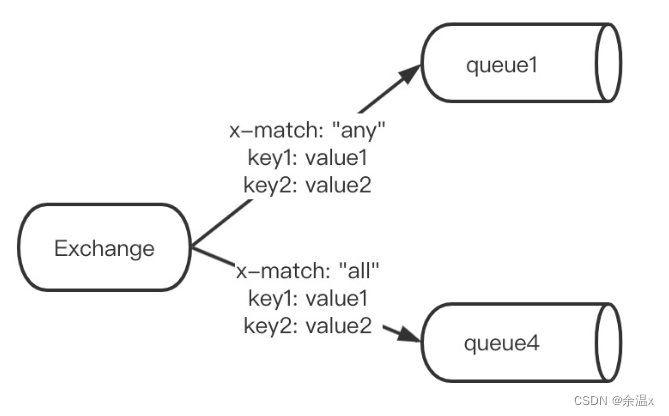
首部交换机:headers exchange
headers,headers信息类型交换机,此类型交换机不通过routingkey路由键来分发消息,而是通过消息内容中的headers属性来进行匹配。headers类型交换器性能差,在实际中并不常用。
虽然不常用,但也可以了解一下其,此种交换机不通过routingkey,但是通过headers进行绑定,也就是在声明binding绑定关系时,需要传入需要匹配的header的key/value键值对。
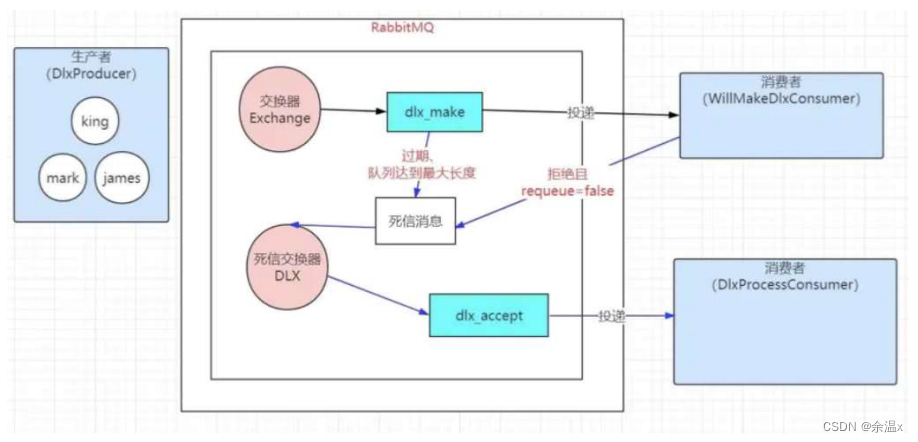
死信交换机:dead letter exchange
当一个队列中的消息满足下列情况之一。就可称为死信。
消费者使用basic.reject或 basic.nack声明消费失败,并且消息的requeue参数设置为false
消息是一个过期消息,超时无人消费
要投递的队列消息满了,无法投递
如果这个包含死信的队列配置了dead-letter-exchange属性,指定了一个交换机,那么队列中的死信就会投递到这个交换机中,而这个交换机称为死信交换机。
交换机的属性
name:交换机名称
type:交换机类型,direct、topic、fanout、headers
durability:是否需要持久化,如果持久性,则rabbitmq重启后,交换机还存在
auto delete:当最后一个绑定到exchange上的队列删除后,自动删除该exchange
internal:当前exchange是否用于rabbitmq内部使用,默认为false
arguments:扩展参数,用于扩展amqp协议定制化使用
代码实战
直连(direct实践)
先写两个队列和自定义一个直连交换机
    @bean
    public queue queue1(){
        return new queue("queue1");
    }
    @bean
    public queue queue2(){
        return new queue("queue2");
    }
    @bean
    public directexchange directexchange(){
        return new directexchange("directexchange");
    }
给交换机分别绑定一个队列
    @bean
    public binding binding01(){
        return bindingbuilder.bind(queue1()).to(directexchange()).with("aa");
    }
    @bean
    public binding binding02(){
        return bindingbuilder.bind(queue2()).to(directexchange()).with("bb");
    }
在控制类给交换机发送一条消息
    @requestmapping("/send2")
    public string send2 () throws exception{
        template.convertandsend("directexchange","aa","hello");
        return "😒";
    }
写两个测试类进行测试
package com.example.consumer;

import com.fasterxml.jackson.databind.objectmapper;
import lombok.extern.slf4j.slf4j;
import org.springframework.amqp.rabbit.annotation.rabbithandler;
import org.springframework.amqp.rabbit.annotation.rabbitlistener;
import org.springframework.beans.factory.annotation.autowired;
import org.springframework.stereotype.component;

@component
@suppresswarnings("all")
@slf4j
@rabbitlistener(queues="queue1")
public class receiverq1 {

    @rabbithandler
    public void process(string msg){
        log.warn("q1接收到:" + msg);
    }
}
package com.example.consumer;

import com.fasterxml.jackson.databind.objectmapper;
import lombok.extern.slf4j.slf4j;
import org.springframework.amqp.rabbit.annotation.rabbithandler;
import org.springframework.amqp.rabbit.annotation.rabbitlistener;
import org.springframework.beans.factory.annotation.autowired;
import org.springframework.stereotype.component;

@component
@suppresswarnings("all")
@slf4j
@rabbitlistener(queues="queue2")
public class receiverq2 {
    @rabbithandler
    public void process(string msg){
        log.warn("q2接收到:" + msg);
    }
}
接着先启动生产者再启动消费者,但是可能会报错

我们需要先去访问一下
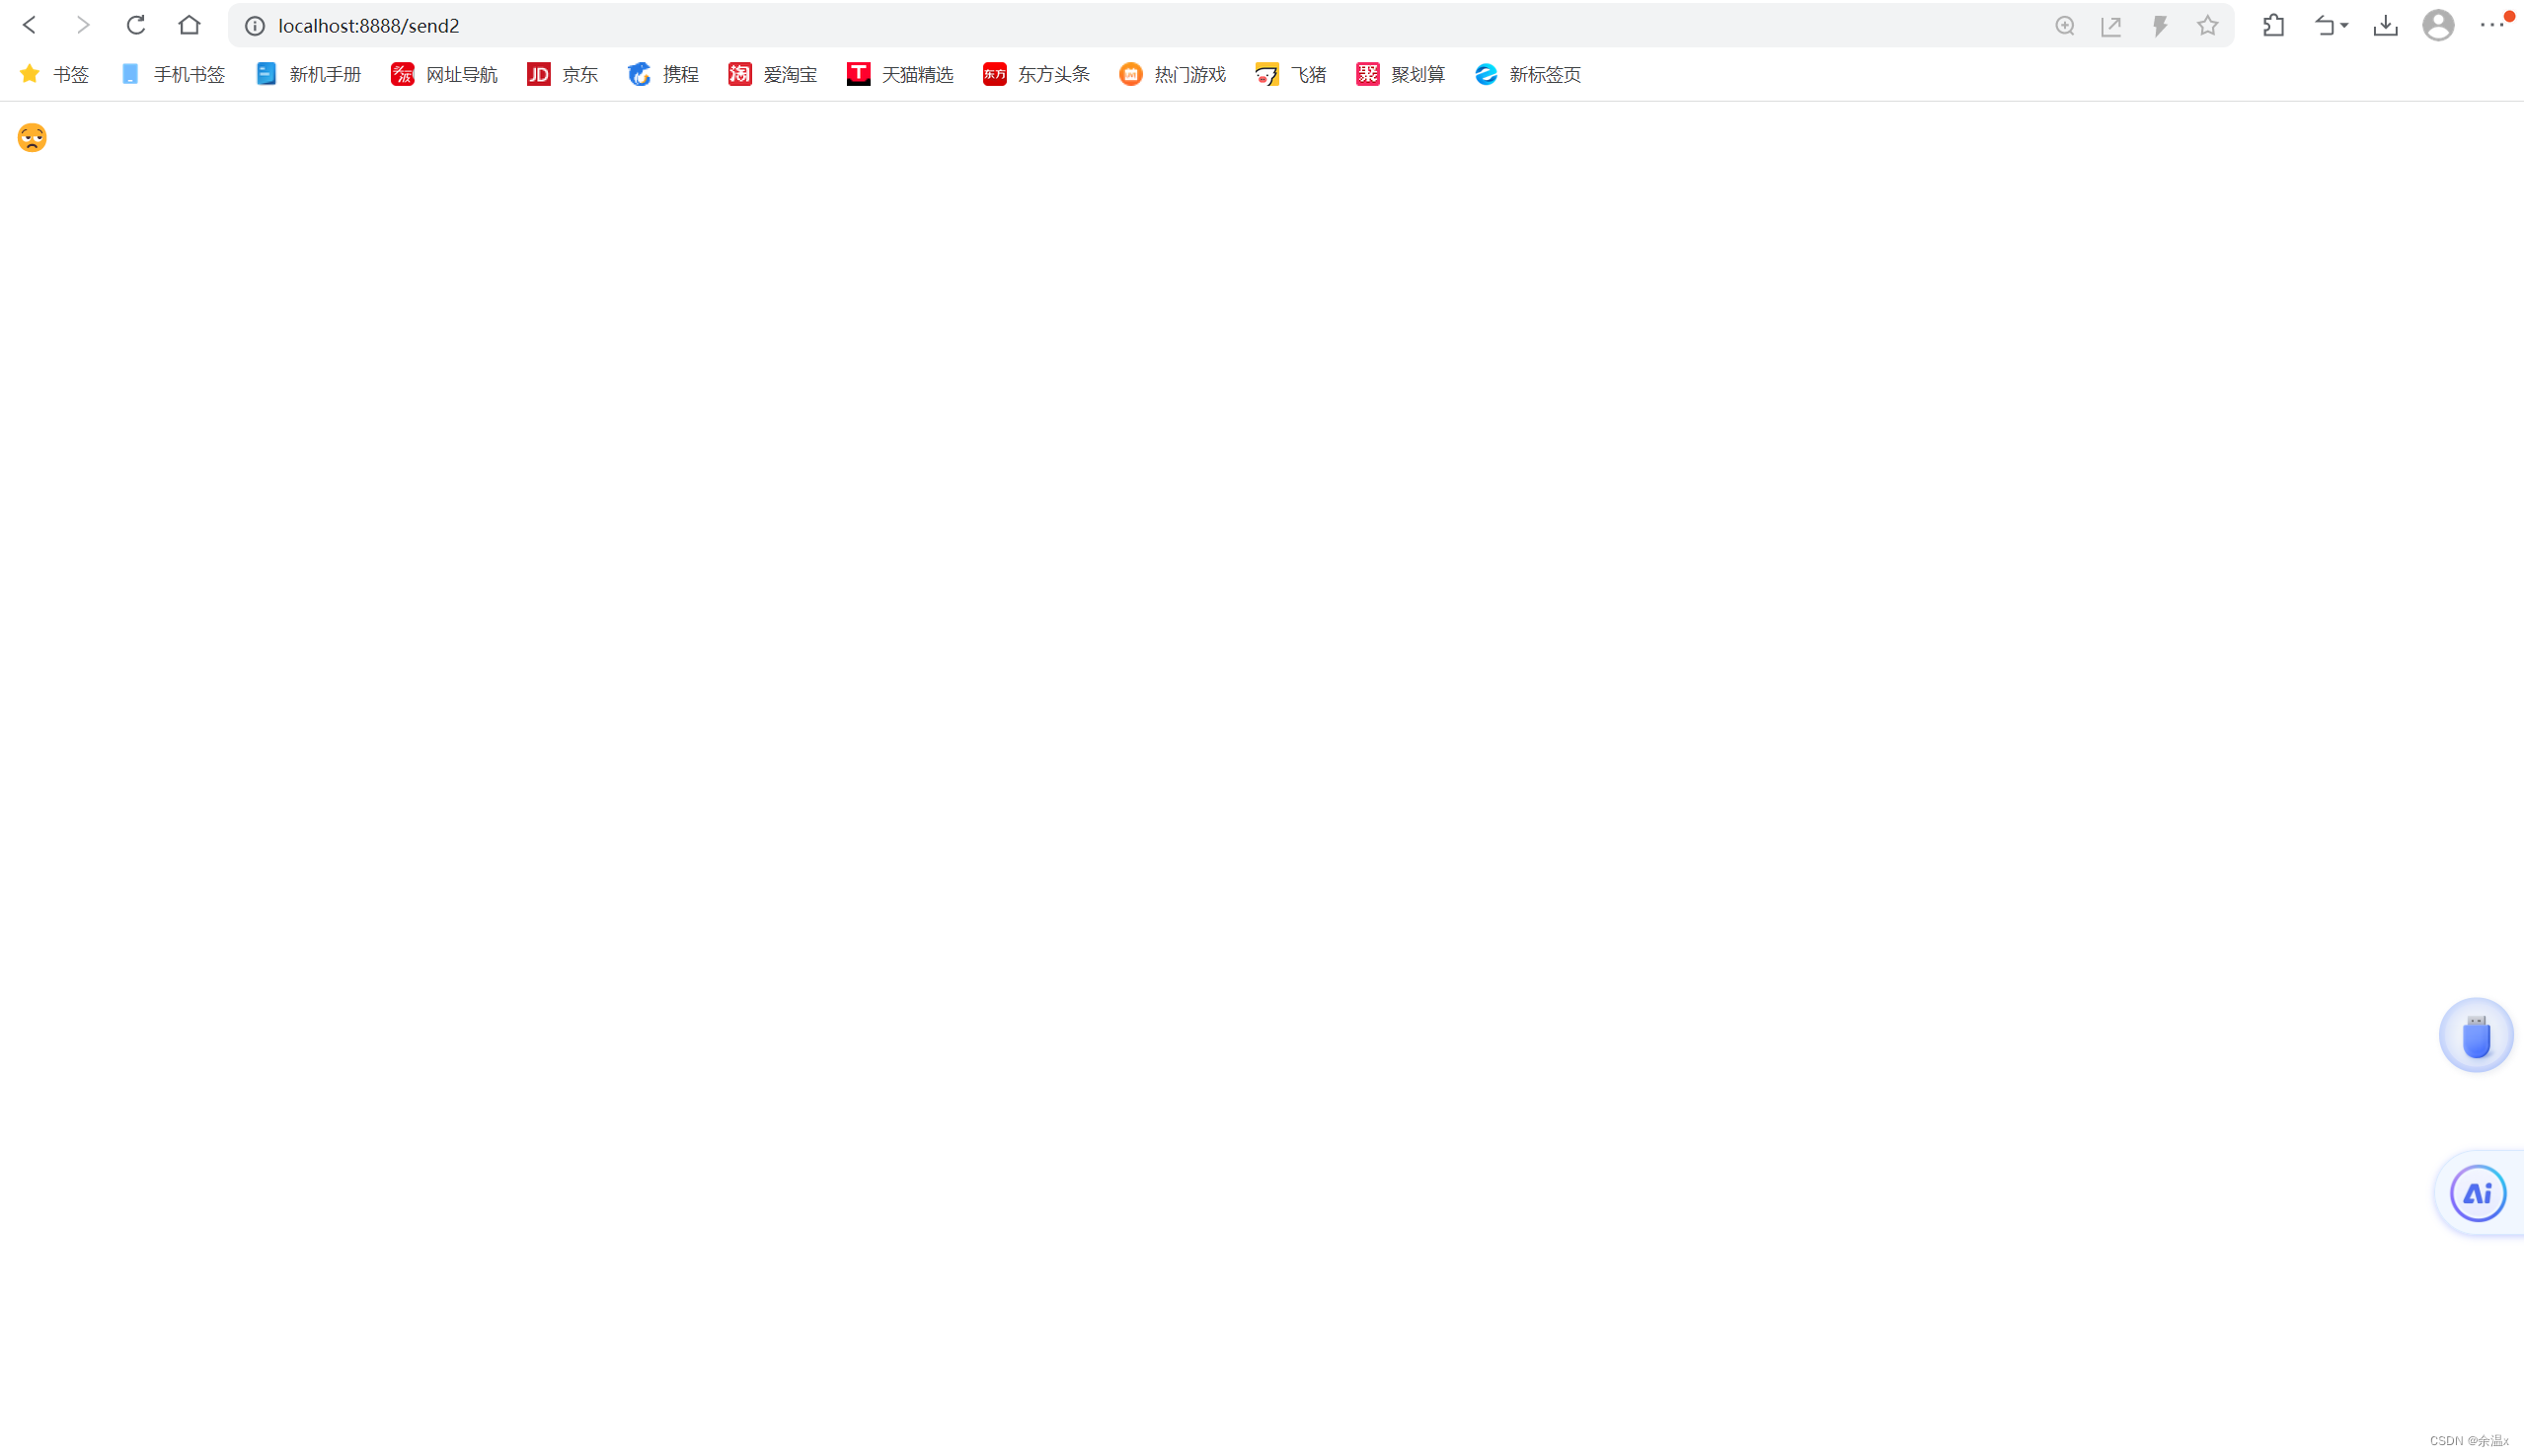
可以发现在rabbitmq中,出现了我们自定义的那个交换机的名称,队列中也有
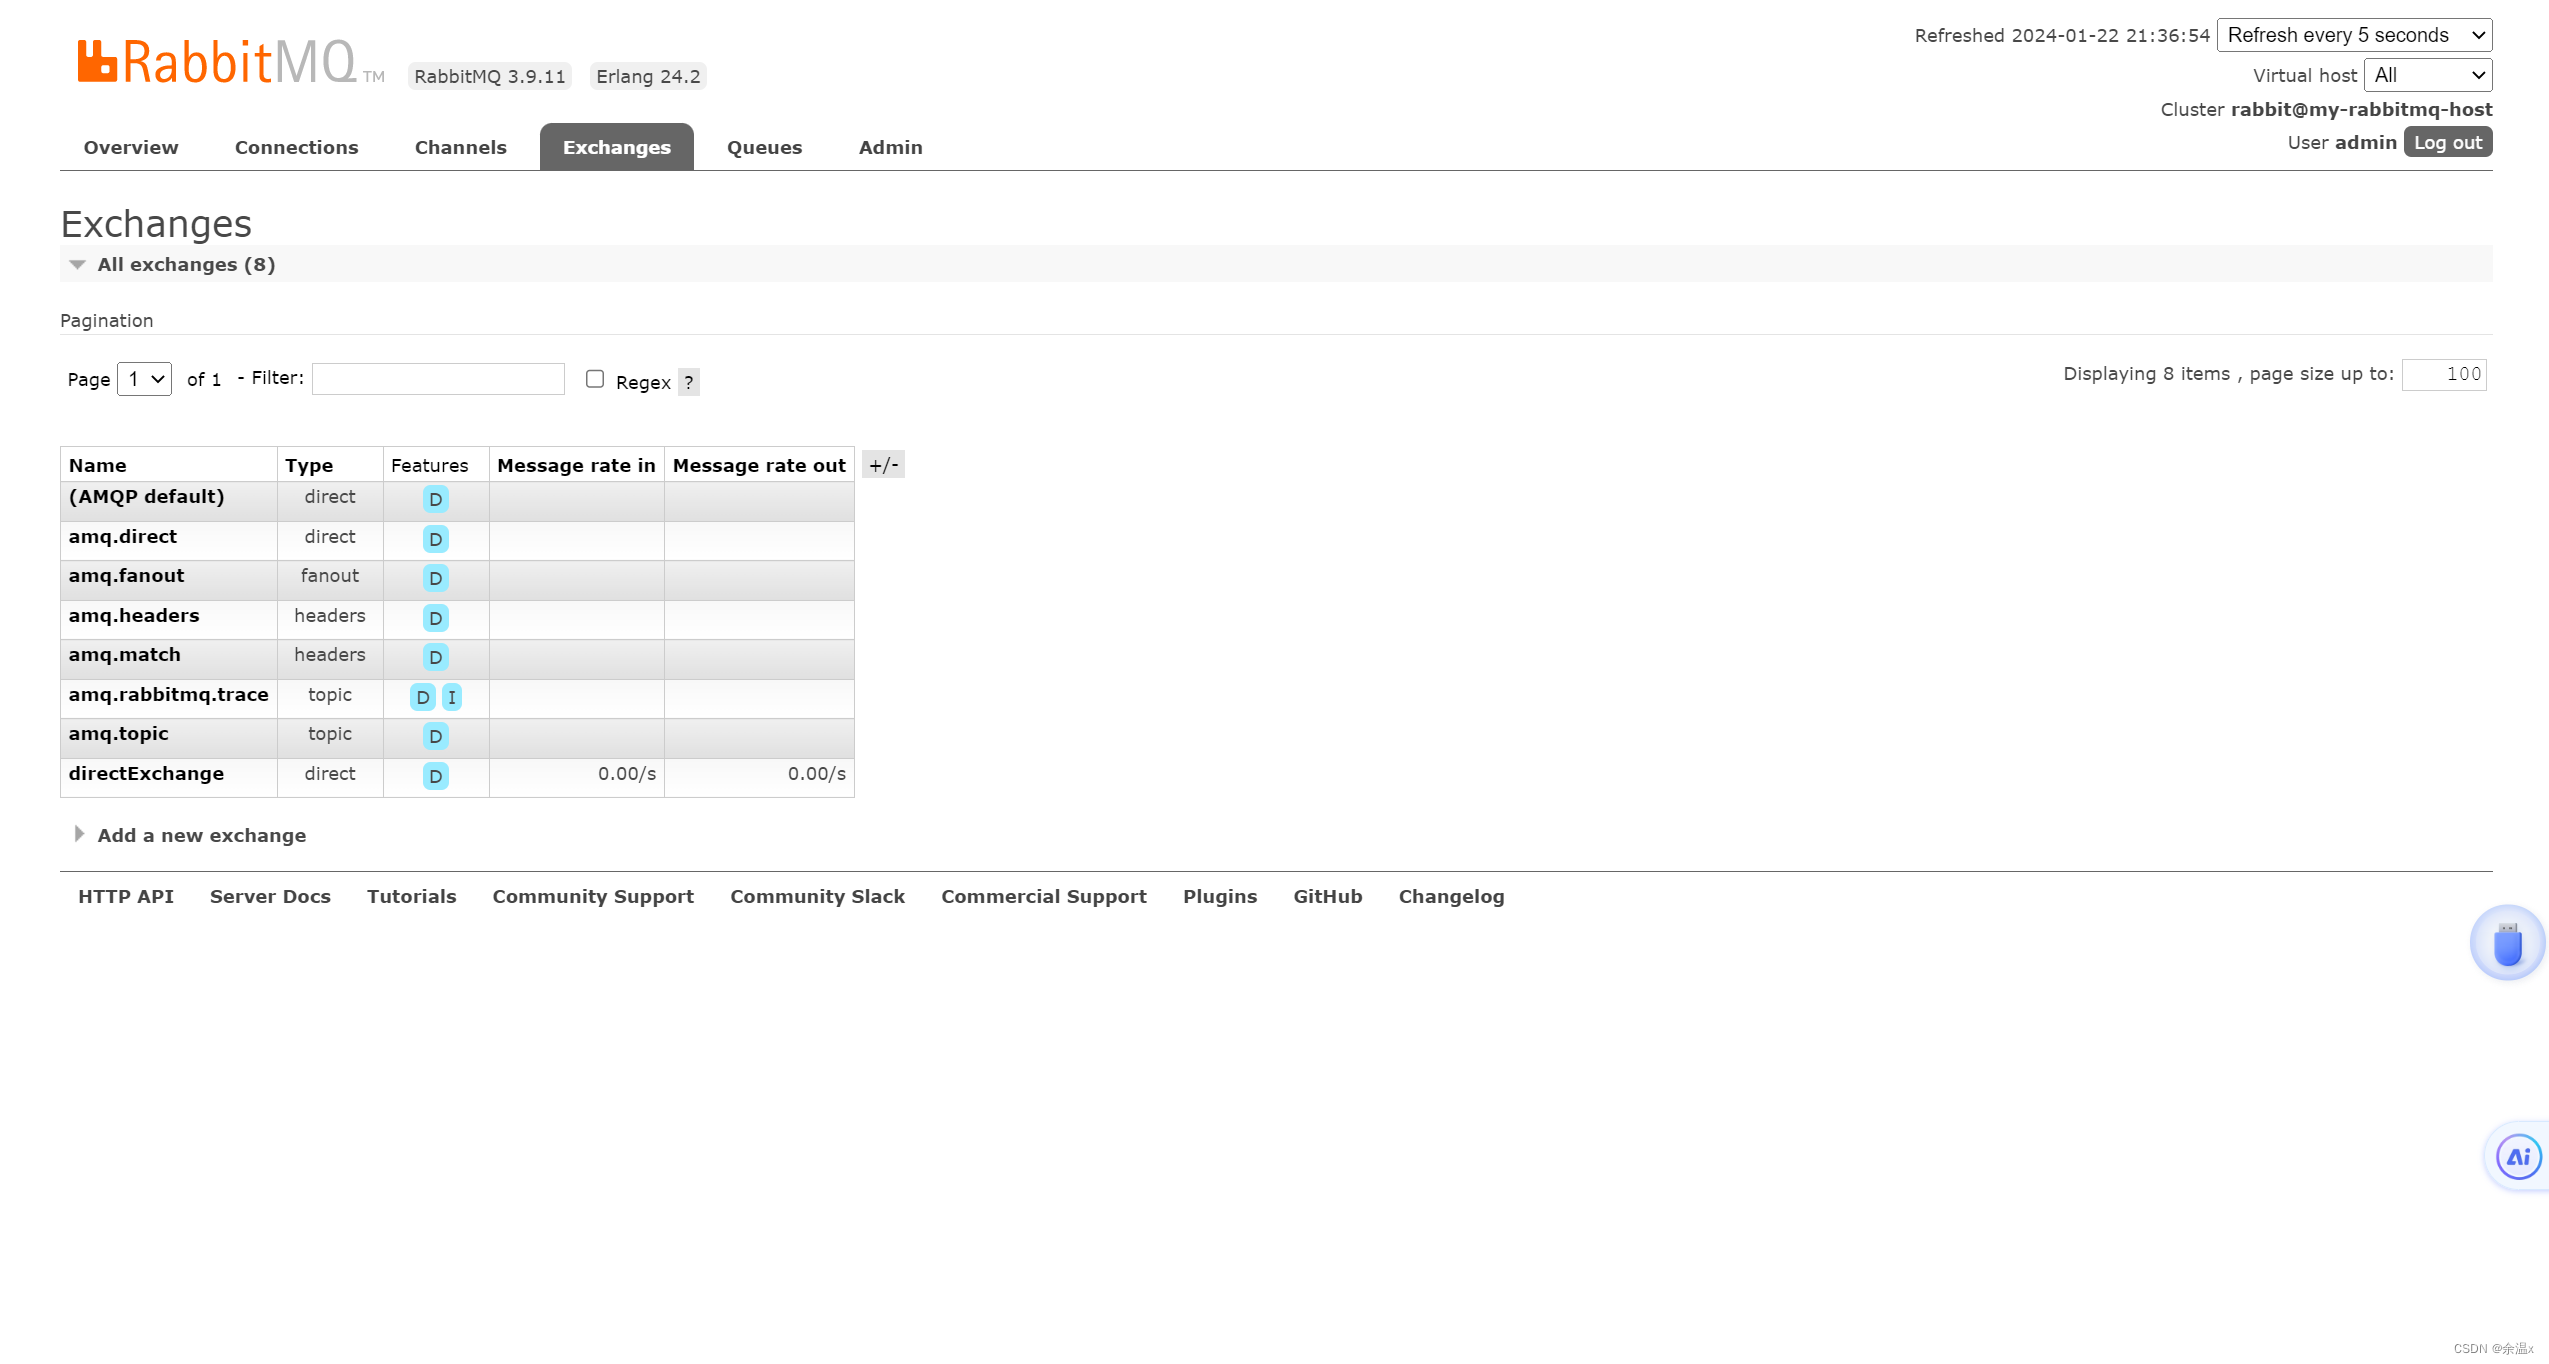
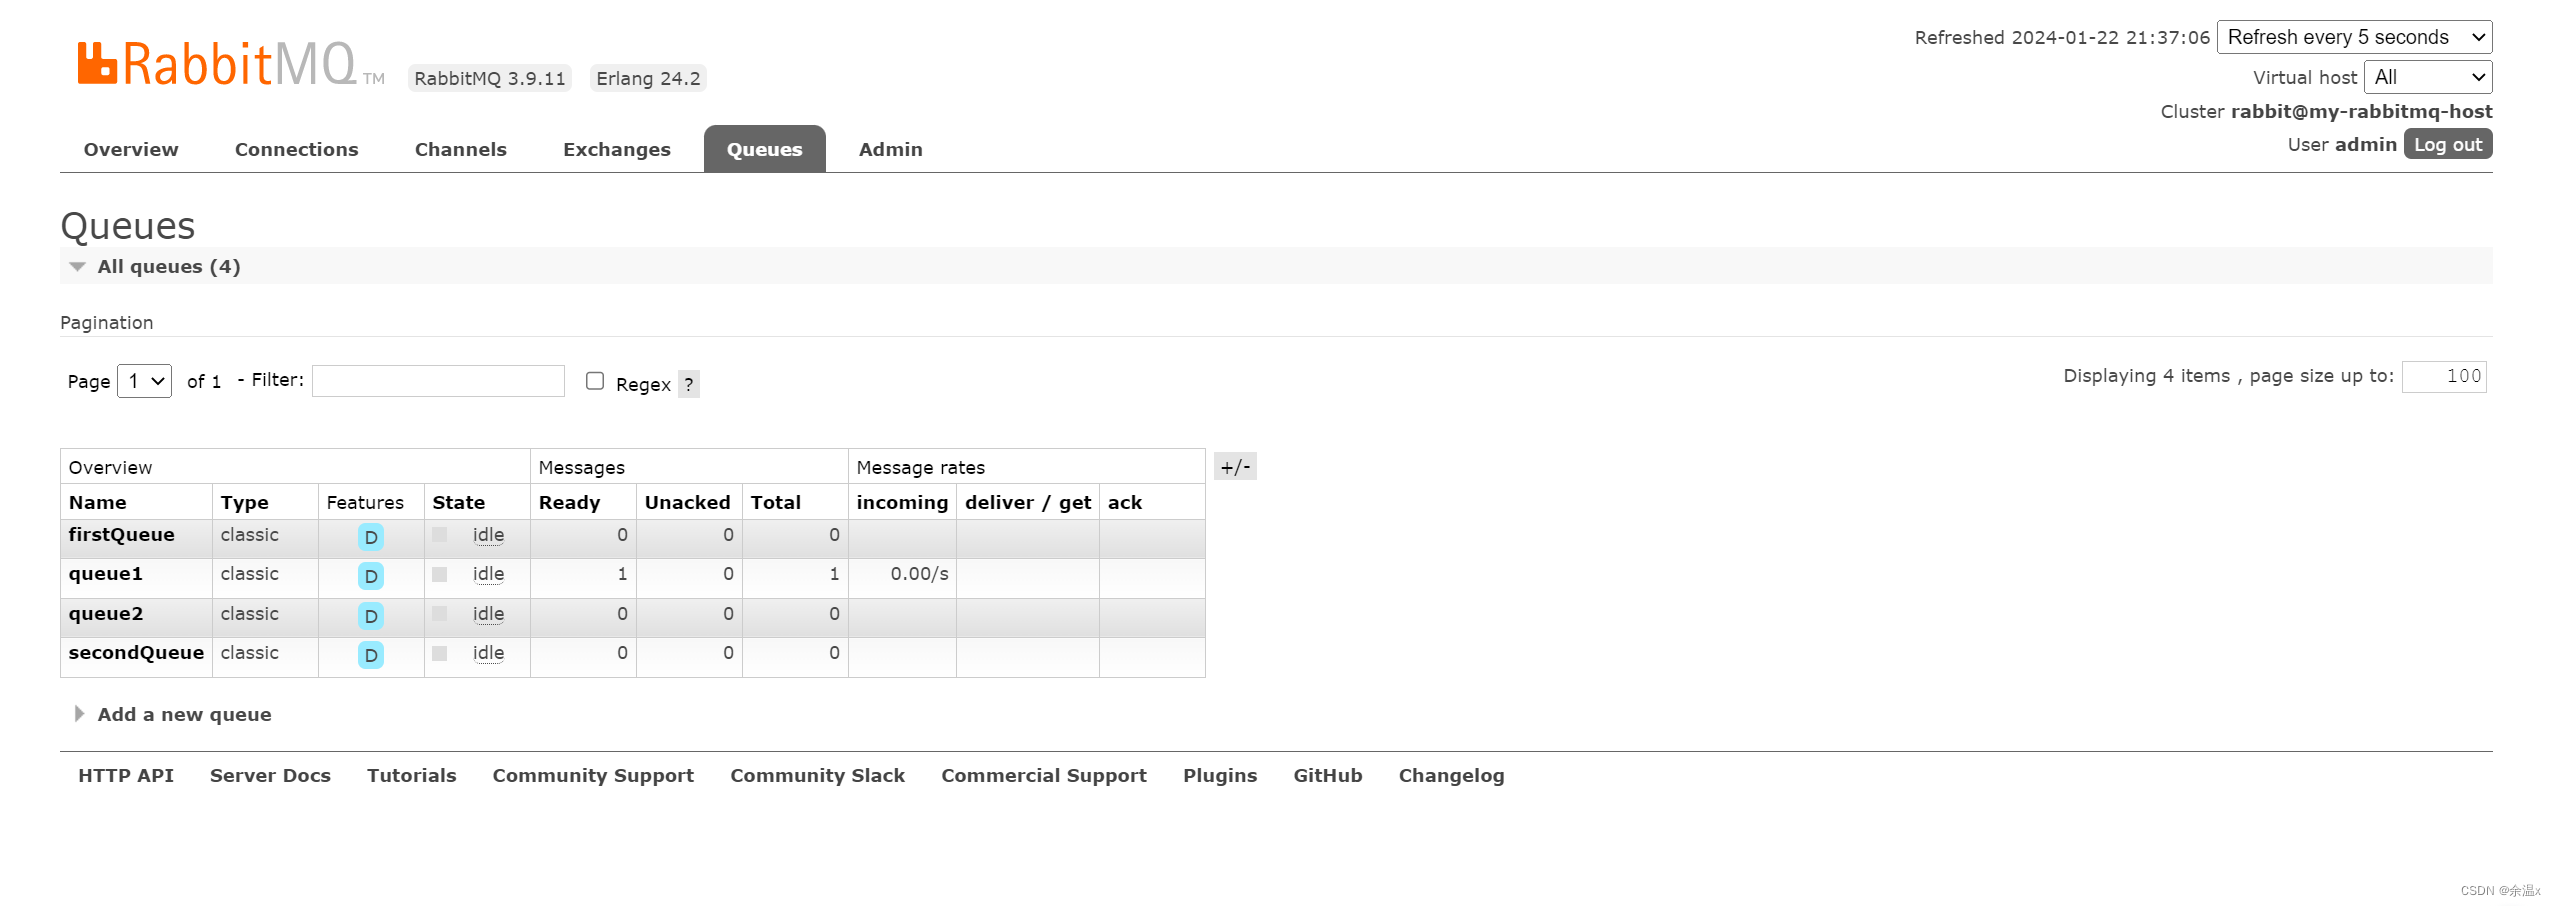
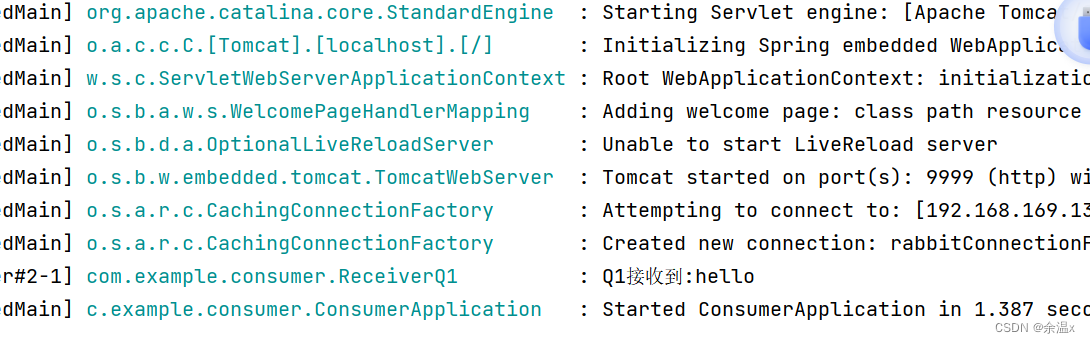
再重新启动消费者就不会报错了
主题 (topic实践)
在这里和上面的步骤一样,在这里测试routingkey的一个部分和多个部分
    //主题交换机
    @bean
    public topicexchange topicexchange(){
        return new topicexchange("topicexchange");
    }
    @bean
    public binding binding03(){
        return bindingbuilder.bind(queue1()).to(topicexchange()).with("*.*.aa");
    }
    @bean
    public binding binding04(){
        return bindingbuilder.bind(queue2()).to(topicexchange()).with("*.*.bb");
    }
    @bean
    public binding binding05(){
        return bindingbuilder.bind(queue1()).to(topicexchange()).with("mq.#");
    }
    @bean
    public binding binding06(){
        return bindingbuilder.bind(queue2()).to(topicexchange()).with("mq.#");
    }
@requestmapping("/send3")
public string send3 (string rex){
template.convertandsend("topicexchange",rex,"hello");
return "😒";
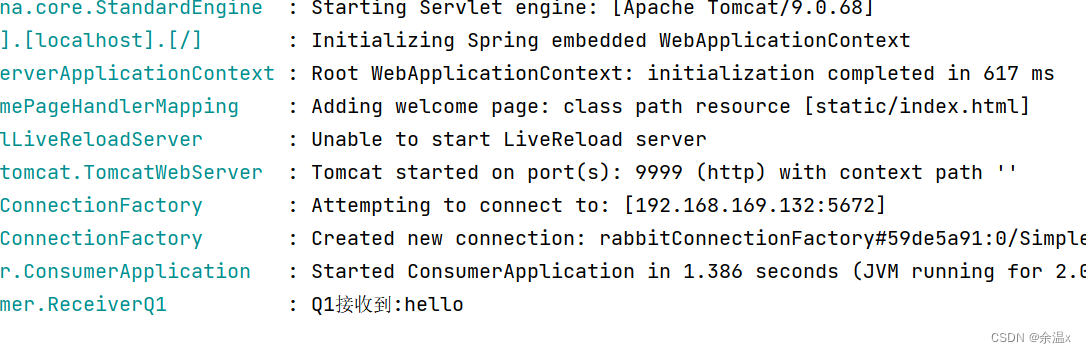
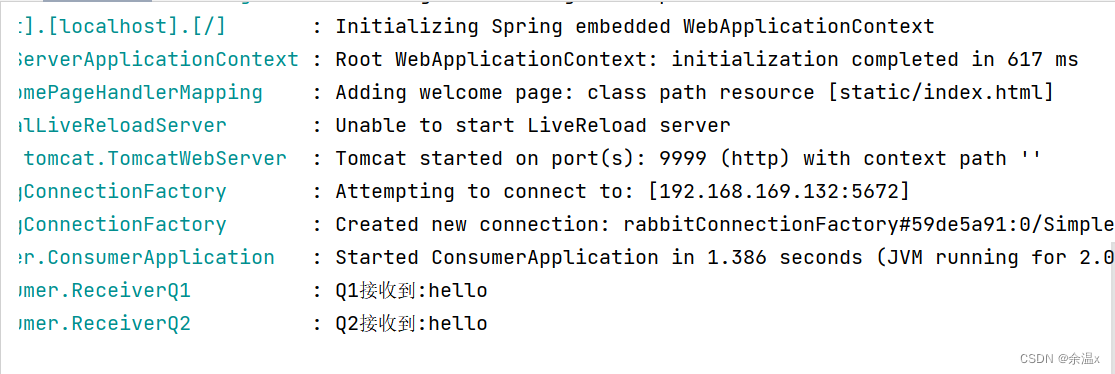
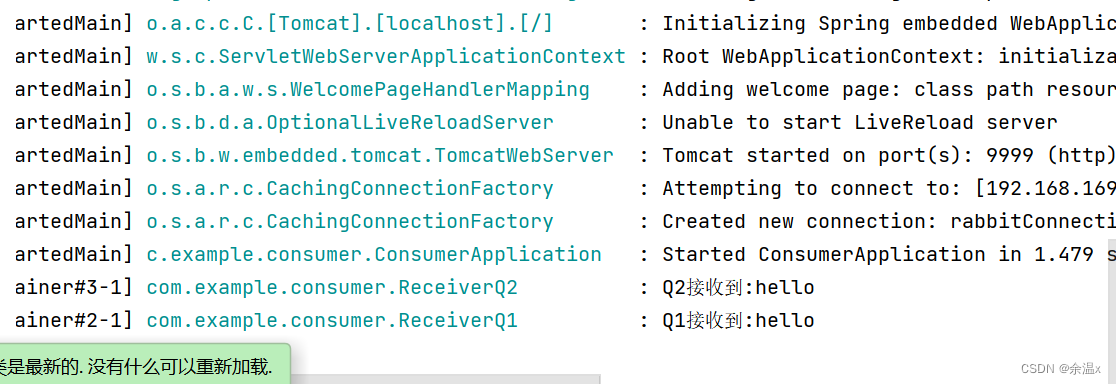
}在页面上运行a.a.aa可以发现这个是进入到了q1
运行a.a.bb是进入到了q2
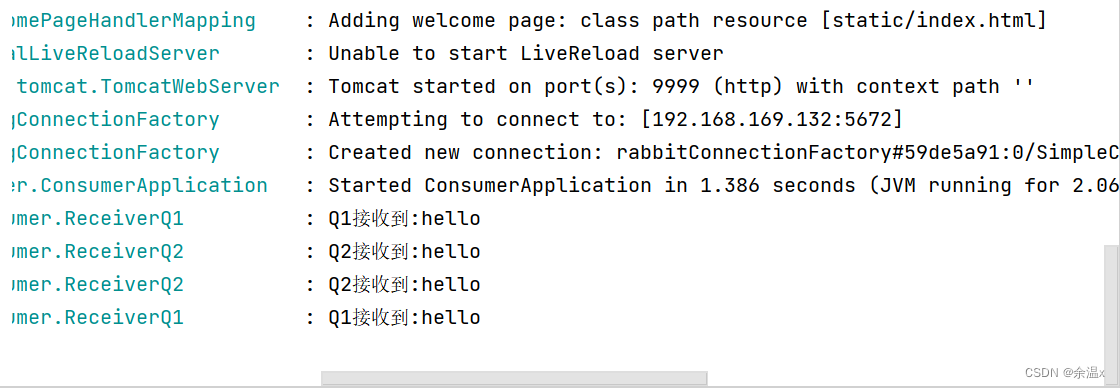
如果两个都想要接收到,就可以在页面上输入mq.a.a

扇形(fanout实践)
步骤同上
    //扇形交换机
    @bean
    public fanoutexchange fanoutexchange(){
        return new fanoutexchange("fanoutexchange");
    }
    @bean
    public binding binding07(){
        return bindingbuilder.bind(queue1()).to(fanoutexchange());
    }
    @bean
    public binding binding08(){
        return bindingbuilder.bind(queue2()).to(fanoutexchange());
    }
    @requestmapping("/send4")
    public string send4(){
        template.convertandsend("fanoutexchange","","hello");
        return "😒";
    }
在页面上运行可以发现两个都可以出来


发表评论