目录
1. 配置文件快速上手
我们在前面讲解tomcat的时候,默认的端口号是8080,如果我们有的程序访问的端口号也是8080的时候,这时候就会发生端口号冲突,所以我们需要通过配置文件来修改程序运行时的端口号.在项目创建的时候,就帮我们自动创建了一个配置文件.他的后缀是.properties.

我们点开配置文件修改程序的端口号:
spring.application.name=demo
server.port=9090
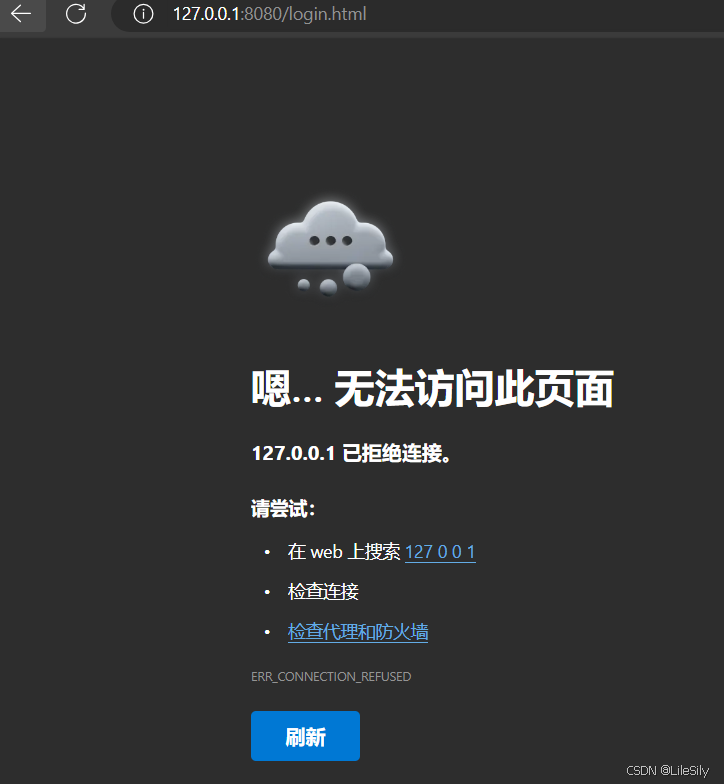
运行程序:我们可以发现程序的端口号变成了9090.

这时候我们通过8080端口号访问其中的html页面的时候,就无法访问了.
2. 配置文件的格式
springboot的配置文件有以下三种:
• application.properties
• application.yml
• application.yaml
其中yml格式和yaml格式其实是等同的.yml是yaml的缩写.
需要注意的一点是,配置文件的文件名只能是以上三个,文件名一旦修改,配置文件就会变成无效配置文件.
- 特殊说明:
- 如果properties和yml存在于同一个项目的时候,两个配置都会加载,但是如果配置文件内容有冲突的时候,.properties文件的优先级更高.
- 虽然他们可以共存,但是我们在实际的也业务当中,我们一般只使用一个文件来配置,这样可以更好的维护.
3. properties配置文件的说明
properties配置文件是最早期的配置文件格式,也是创建springboot项目默认的配置文件
3.1 properties基本语法
properties是以键值的形式配置的,单词和单词之间用.分割,就像导包一样.key和value之间是以=连接的.比如:
spring.application.name=demo
server.port=9090
spring.datasource.url=jdbc:mysql://127.0.0.1:3306/mycnblog?characterencoding=utf8&usessl=false
spring.datasource.name=root
spring.datasource.password=qwe123524
[提示] 配置文件中可以通过在前面加#来注释信息.
3.2 读取配置文件
如果在项目中,想要读取配置文件中的内容,可以使用@value注解来实现.@value注解在后面的参数中使用${}的格式来读取,代码如下:
@restcontroller
@requestmapping("/demo")
public class propertiescontroller {
    @value("${mykey.key}")
    private string key;
    @requestmapping("/key")
    public string key(){
        return key;
    }
}
运行结果:

3.3 properties的缺点
properties配置文件是以key-value的形式来配置的,但是有的时候,配置文件中的信息有些赘余,比如下面的配置,spring.datasource这个内容就是赘余的:
spring.datasource.url=jdbc:mysql://127.0.0.1:3306/mycnblog?characterencoding=utf8&usessl=false
spring.datasource.name=root
spring.datasource.password=qwe123524
要想解决这个问题,我们需要引入yml配置文件的格式了.
4.yml配置文件说明
4.1 yml基本语法
yml是树形结构的配置文件,他的基础语法是:key: value,需要注意的一点是,key和value之间的空格不可以省略.
基础语法如下:
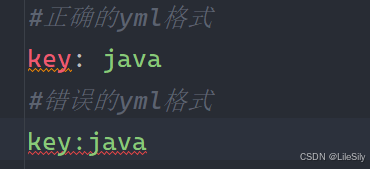
我们看到,要是yml的键值对中间没有空格的话,key是没有语法高亮的,语法就是错误的.
下面我们就把上面连接数据库的案例改写为yml的格式.
spring:
  datasource:
    url: jdbc:mysql://127.0.0.1:3306/mycnblog?characterencoding=utf8&usessl=false
    name: root
    password: qwe123524
我们看到,前面我们所说的"赘余"的信息,在yml下可以合并到一起写了.这里行与行之间的缩进一般是两个空格.
4.2 yml使用进阶
4.2.1 yml配置不同的数据类型及其null
# 字符串
string.value: hello
# 布尔值,true或false
boolean.value: true
boolean.value1: false
# 整数
int.value: 10
# 浮点数
float.value: 3.14159
# null,~代表null
null.value: ~
# "" 空字符串
#, 直接后⾯什么都不加就可以了, 但这种⽅式不直观, 更多的表⽰是使⽤引号括起来
empty.value: ''
这里需要注意的地方只有两点,第一就是空字符串是一个单引号,第二就是null用一个波浪号来表示.
4.2.2 yml配置读取
yml读取配置的方法和properties相同,使用@value注解即可,实现代码如下:
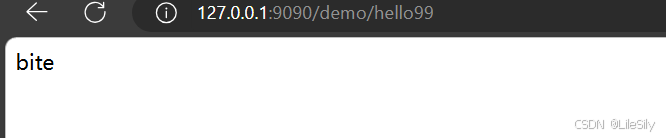
string:
  hello: bite
@requestmapping("/demo")
@restcontroller
public class ymlcontroller {
    @value("${string.hello}")
    public string hello;
    @requestmapping("/hello99")
    public string hello(){
        return this.hello;
    }
}
运行结果:
4.2.3 注意事项:value值佳单引号和双引号
字符串默认不用加上单引号或者是双引号,如果加了的话,有的情况下又会表示特殊含义.
比如在yml文件中配置如下信息:
string:
  str1: hello \n spring boot.
  str2: 'hello \n spring boot.'
  str3: "hello \n spring boot."
@restcontroller
public class readyml {
    @value("${string.str1}")
    private string str1;
    @value("${string.str2}")
    private string str2;
    @value("${string.str3}")
    private string str3;
    @postconstruct
    public string readyml(){
        system.out.println(str1);
        system.out.println(str2);
        system.out.println(str3);
        return "yml";
    }
}

在这里我们可以看到:
- 字符串默认不用加上单引号或者双引号
- 加了单引号之后,特殊字符会被转义,只表示的是一个普通的字符串,加了双引号之后,特殊字符不会被转义.
4.2.4 配置对象
我们还可以在yml中配置对象.如下配置:
student:
  id: 1
  name: java
  age: 20
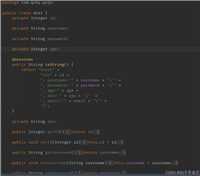
这个时候我们就不可以用@value来配置对象了,此时就要使用到另一个注解:@configurationproperties来读取.具体实现如下:
@component
@configurationproperties(prefix = "student")
@data
public class student {
    public integer id;
    public string name;
    public integer age;
}
@restcontroller
public class studentcontroller {
    @autowired
    private student student;
    @postconstruct
    public void readstudent(){
        system.out.println(student);
    }
}
运行结果:

[注意事项]
- 在一个类中给对象中的属性赋值的时候,这个类必须有set方法,所以我们才要在类的头上加上
@data注解,我们下面不引入注解,手动写入set方法,来验证这种说法的可靠性.
@component
@configurationproperties(prefix = "student")
public class student {
    public integer id;
    public string name;
    public integer age;

    public void setid(integer id) {
        this.id = id;
    }

    public void setname(string name) {
        this.name = name;
    }

    public void setage(integer age) {
        this.age = age;
    }

    @override
    public string tostring() {
        return "student{" +
                "id=" + id +
                ", name='" + name + '\'' +
                ", age=" + age +
                '}';
    }
}
运行结果:

2. 在类的属性中,属性名必须和yml中的字段名是一致的.否则无法对应的上.
4.2.5 配置集合
配置文件还可以配置list集合,(包括数组,set在内都是如下的方法)如下所示:
dbtypes:
  name:
    - mysql
    - sqlserver
    - db2
就是在每一个字符串的前面加上一个横杠,就表示的是列表,和md的语法非常相似.
import java.util.list;
@component
@data
@configurationproperties(prefix = "dbtypes")
public class listconfig {
    public list<string> name;//对应name字段
}
@restcontroller
public class readyml2 {
    @autowired
    public listconfig listconfig;
    @postconstruct
    public void readlist(){
        system.out.println(listconfig);
    }
}
运行结果:

在配置集合的时候,上述代码实际上也是在配置一个对象,所以仍然使用@configurationproperties注解.
4.2.6 配置map
配置文件也可以配置map,如下所示:
maptypes:
  map:
    k1: v1
    k2: v2
    k3: v3
@component
@data
@configurationproperties(prefix = "maptypes")
public class mapconfig {
    //注意字段名的一致性
    public map<string,string> map;
}
@restcontroller
public class readyml3 {
    @autowired
    public mapconfig mapconfig;
    @postconstruct
    public void mapreader(){
        system.out.println(this.mapconfig);
    }
}
运行结果:

5. 综合性练习:验证码案例
5.1 接口文档
- 需求分析
- 生成验证码,并返回验证码
- 校验验证码是否正确:校验验证码是否正确.
- 生成验证码:
- 请求
请求url: /captcha/getcaptcha 请求参数: 无- 响应
验证码内容的图片.浏览器给服务器发送⼀个/captcha/getcaptcha 这样的请求,服务器返回⼀个图片,浏览器显显示在页面上.
- 校验验证码是否正确
- 请求
请求url: /captcha/check 请求参数: captcha=用户输入的验证码- 响应
true or false,验证成功,返回true,验证失败,返回false.
5.2 hutool工具介绍
验证码的图片该怎么生成呢?我们就是通过这个工具来生成的.
官方网站: https://hutool.cn/
参考文档: https://hutool.cn/docs/#/
5.3 后端代码
- 引入hutool依赖
<dependency>
	<groupid>cn.hutool</groupid>
	<artifactid>hutool-captcha</artifactid>
	<version>5.8.22</version>
</dependency>
- 写出验证码的配置项与验证码配置项所对应的类.并注入ioc容器.
captcha:
  width: 100
  height: 40
  session:
    key: captcha_session_key
    date: kaptcha_session_date
配置项中对应的分别是验证码的长和宽,还有用于存储验证码和过期时间.
@component
@configurationproperties(prefix = "captcha")
@data
public class captchaproperties {
    public integer width;
    public integer height;
    public session session;
    public static class session{
        public string key;
        public string date;
    }
}
- 调整生成验证码的controller代码
@restcontroller
@requestmapping("/captcha")
public class captchacontroller {
    @autowired
    public captchaproperties captchaproperties;
    @requestmapping("/getcaptcha")
    public void getcaptcha(httpservletresponse response, httpsession session) throws ioexception {//可以通过这个参数拿到响应中的所有信息
        linecaptcha linecaptcha = captchautil.createlinecaptcha(captchaproperties.getwidth(),captchaproperties.getheight());//创建线条干扰验证码
        //图形验证码写出,可以写出到文件,也可以写出到流
        response.setcontenttype("image/jpeg");//从响应中获取到类型信息,设置为图片格式
        response.setheader("pragma","no-cache");//从响应中获取到header,把pragma键值对设置为没有缓存.
        try {
            linecaptcha.write(response.getoutputstream());
            //把验证码放入session中
            session.setattribute(captchaproperties.getsession().getkey(),linecaptcha.getcode());
            //把过期时间放入session中
            session.setattribute(captchaproperties.getsession().getdate(),system.currenttimemillis());
            response.getoutputstream().close();//关闭输出流
        } catch (ioexception e) {
            throw new runtimeexception(e);
        }
    }
}
接下来我们来访问网页来观察验证码是否生成成功.
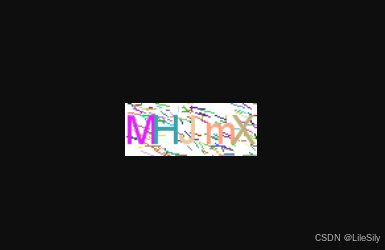
验证码生成成功.
- 校验验证码
    public static final integer max_wait_mills = 60*1000;
    @requestmapping("/check")
    public boolean checkcaptcha(httpsession session,string captcha){
       if (!stringutils.haslength(captcha)){//判断验证码是否有长度
           return false;
       }
       string sessioncode = (string) session.getattribute(captchaproperties.getsession().getkey());
       long sessiondate = (long) session.getattribute(captchaproperties.getsession().getdate());
       if (captcha.equalsignorecase(sessioncode) &&
       system.currenttimemillis()-sessiondate < max_wait_mills){
           return true;//验证码和用户输入的等同且
       }
       return false;
    }
5.4 前端代码
<!doctype html>
<html lang="en">
<head>
<meta charset="utf-8">
<title>验证码</title>
<style>
#inputcaptcha {
height: 30px;
vertical-align: middle;
}
#verificationcodeimg{
vertical-align: middle;
}
#checkcaptcha{
height: 40px;
width: 100px;
}
</style>
</head>
<body>
<h1>输入验证码</h1>
<div id="confirm">
<input type="text" name="inputcaptcha" id="inputcaptcha">
<img id="verificationcodeimg" src="/captcha/getcaptcha" style="cursor: pointer;" title="看不清?换一张" />
<input type="button" value="提交" id="checkcaptcha">
</div>
<script src="https://cdn.bootcdn.net/ajax/libs/jquery/3.6.4/jquery.min.js"></script>
<script>
$("#verificationcodeimg").click(function(){
$(this).hide().attr('src', '/captcha/getcaptcha?dt=' + new date().gettime()).fadein();
});
$("#checkcaptcha").click(function () {
$.ajax({
url: "/captcha/check",
type: "post",
data: { captcha: $("#inputcaptcha").val() },
success: function (result) {
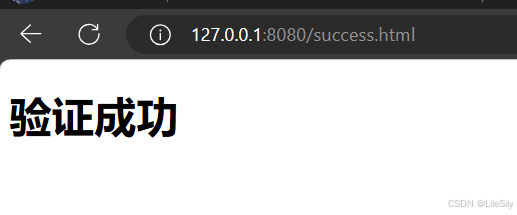
if (result) {
location.href = "success.html";
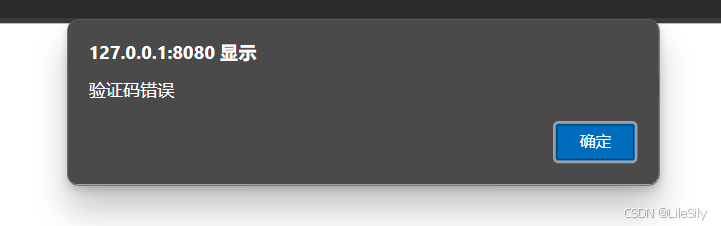
} else {
alert("验证码错误");
$("#inputcaptcha").val("");
}
}
});
});
</script>
</body>
</html>
<!doctype html>
<html lang="en">
<head>
    <meta charset="utf-8">
    <meta name="viewport" content="width=device-width, initial-scale=1.0">
    <title>验证成功页</title>
</head>
<body>
    <h1>验证成功</h1>
</body>
</html>
测试运行:


发表评论