网上看到labview调用halcon 的例子好少,有好多都是培训班的收费课程,交了钱还不一定能成功,所以想自己折腾一下,最新版的halcon来做个猫狗分类玩一下。
下面是准备工作:
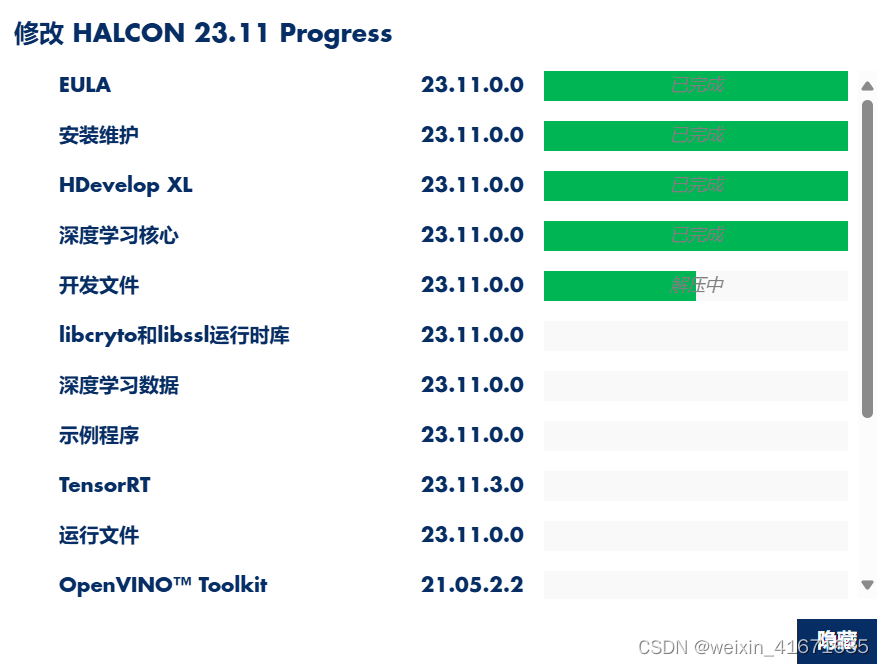
1. halcon 23.11版本,必须64位系统,最好有显卡,不然训练超级慢。
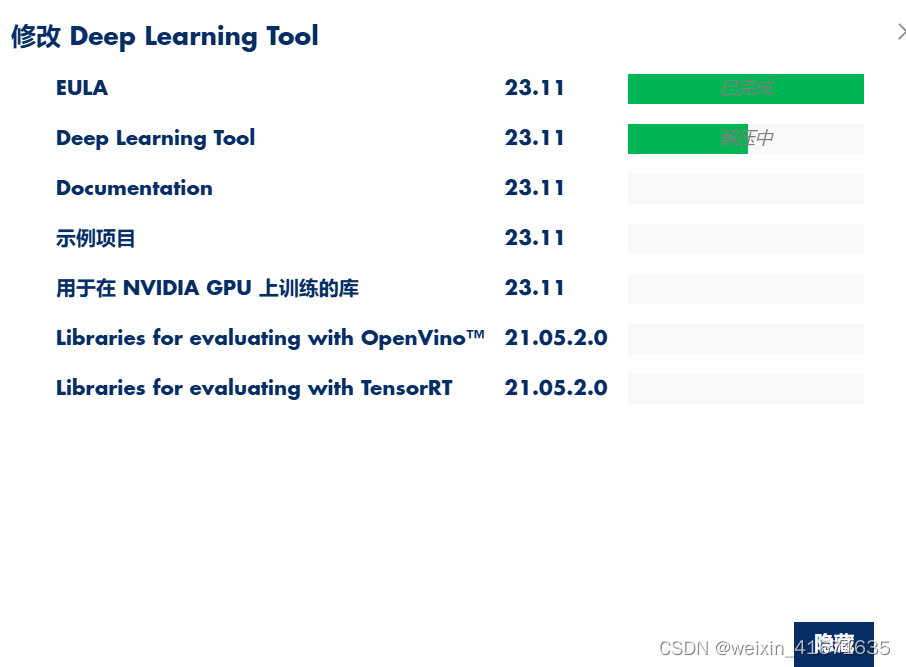
2. mvtec deep learning tool 23.11,这个是halcon的标记工具,功能强大,非常好用。
在安装时建议点击为所有用户安装。
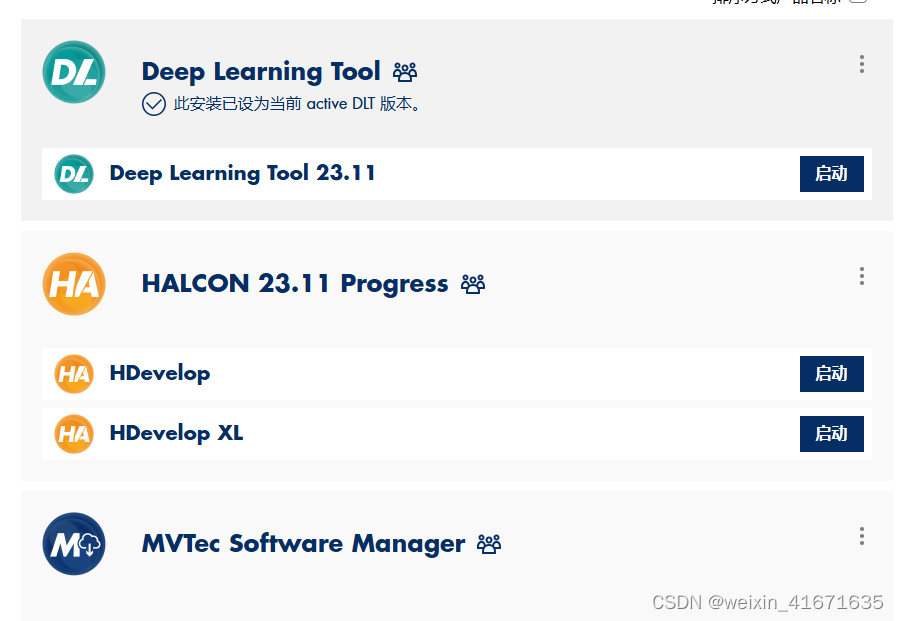
安装完成后会找到如下功能模块。
3. ni labview 2024 q1 (64-bit),必须64位版本,18版以后应该都行。
labview安装就不说了,不会的请问百度。
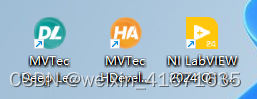
安装后桌面找到如下三个图标:
环境搭建好后可以下载我网盘的相关图片与训练模型。
链接: https://pan.baidu.com/s/1wz5i8wiaztmmyldvqelr4q?pwd=ecrf 提取码: ecrf 复制这段内容后打开百度网盘手机app,操作更方便哦
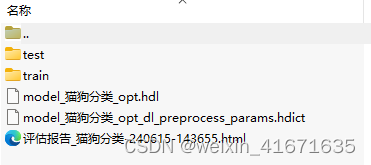
如下图,test是用来测试的图片,train是用来训练的图像。其他三个分别是训练的模型文件与训练时的相关参数文件,还有一个评估报告。
一切准备好后开始用mvtec deep learning tool 23.11训练自己的模型。
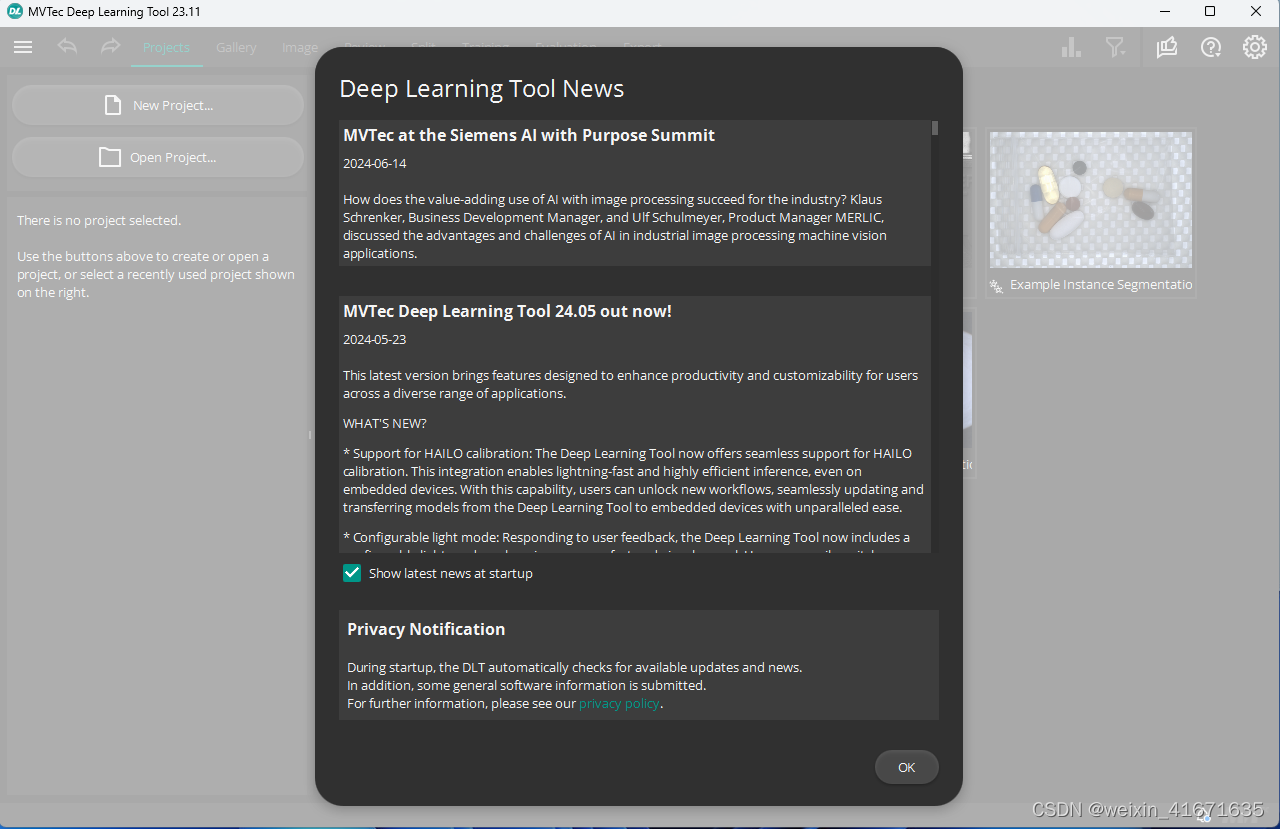
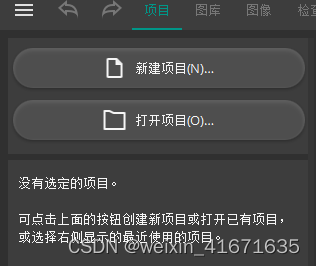
打开mvtec deep learning tool 23.11后界面如下:
第一次运行会跳出如下对话框,勾选后续每次启动不跳出后点ok;
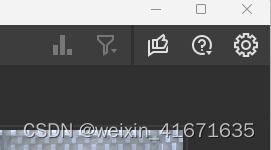
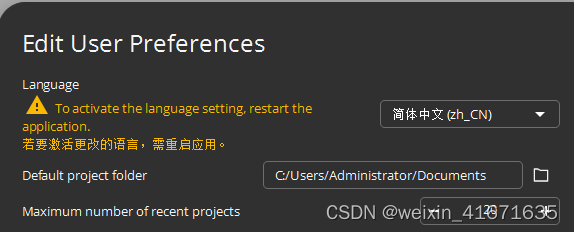
点击ok进入主页面,先选择右上角设置把菜单改为中文,英文还是不太习惯。
好了现在我们可以开始训练我们的第一个模型了。
1. 点击如下图,新建项目
2. 选择分类,然后项目名称,项目路径都根据需要设置一下。
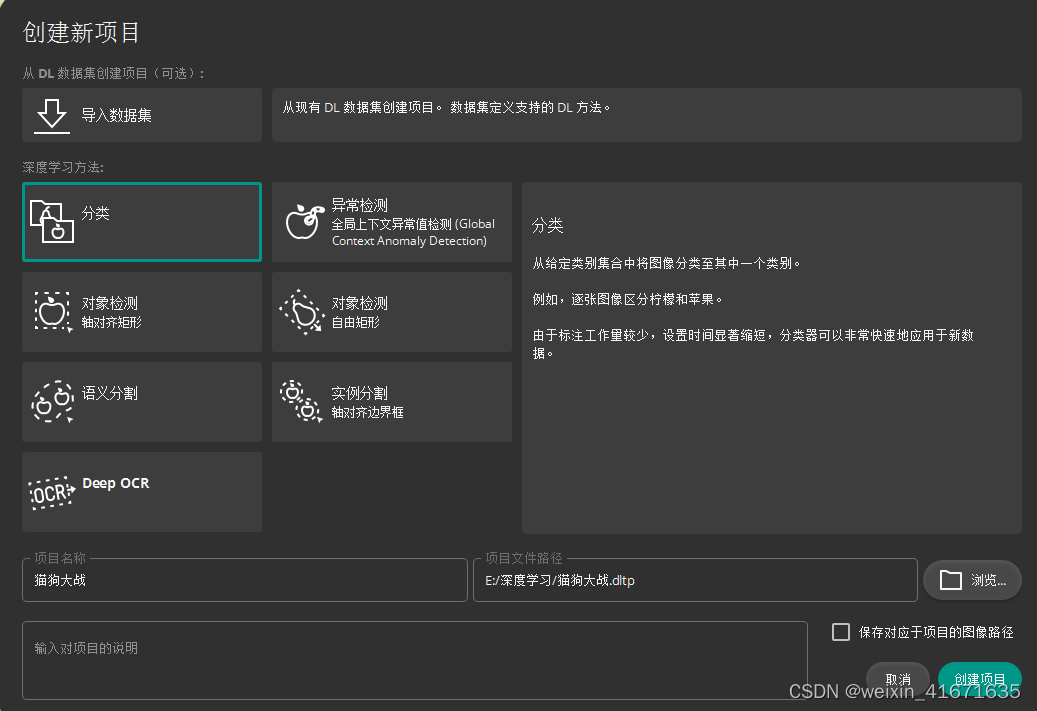
3. 点击创建项目,确定后进入主界面。
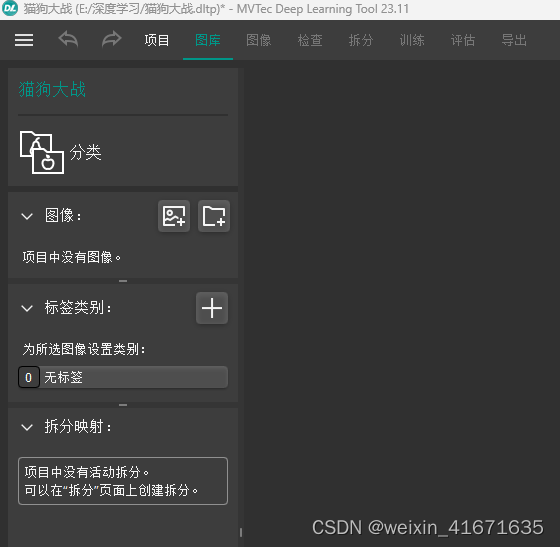
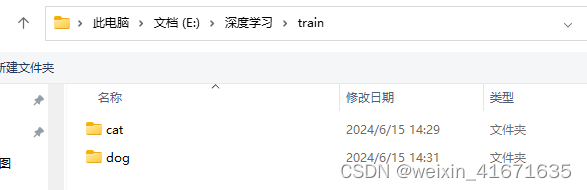
4. 选择图像旁边那个资料夹图标,如下图选择到下载的图片资料夹train文件夹里面,你会看到两个分好类的照片资料夹,点击添加文件夹。
5. 跳出如下图所示页面,点击导入并标注图像。

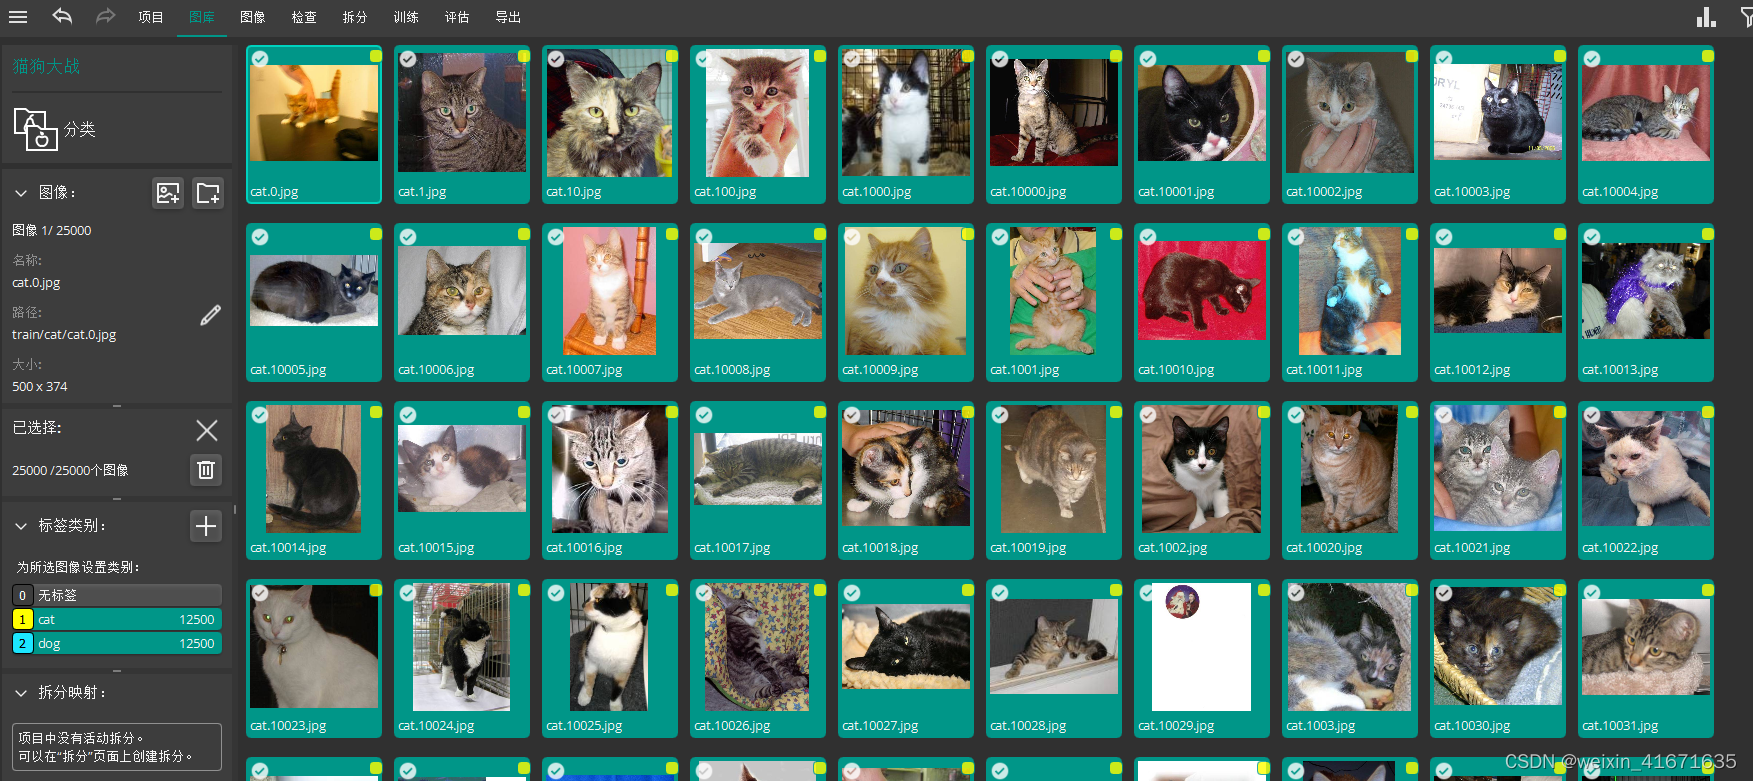
6. 到这里图像打标签就完成了,总共找到25000个图像,
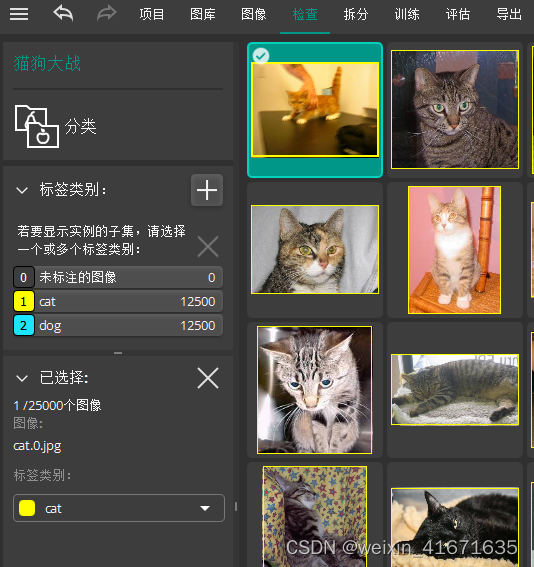
7. 可以在检查窗口对标签进行修改。
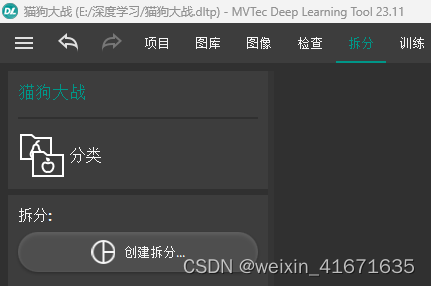
8. 点击拆分,创建拆分数据。
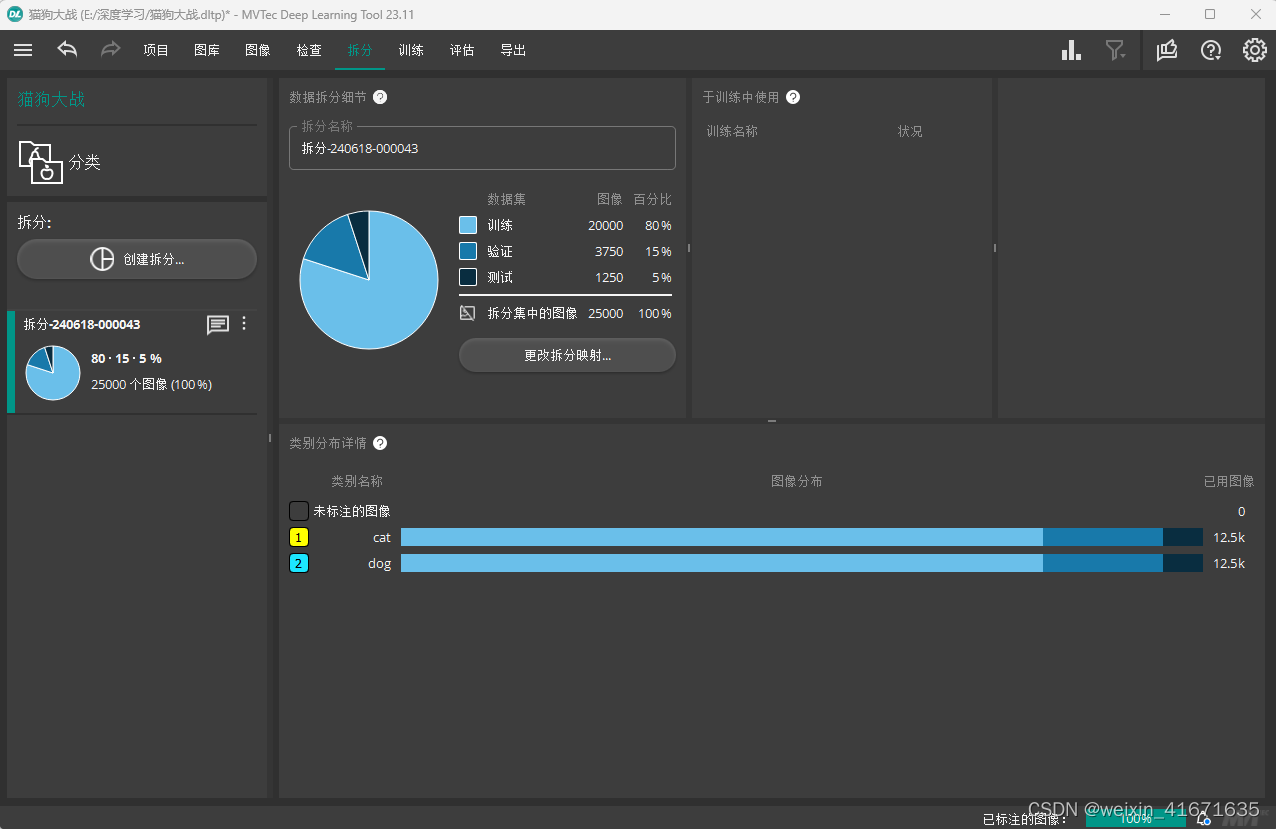
9. 如下,使用默认参数,70%训练,15%验证,15%测试,或者根据样本数来适当修改。

10. 创建成功后如下图。
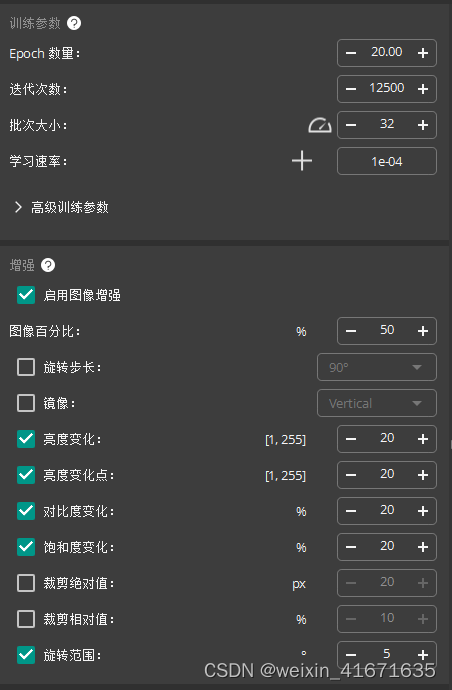
11. 点击训练菜单,选择刚刚的拆分名称,并设置好相应的图像尺寸与增强参数。
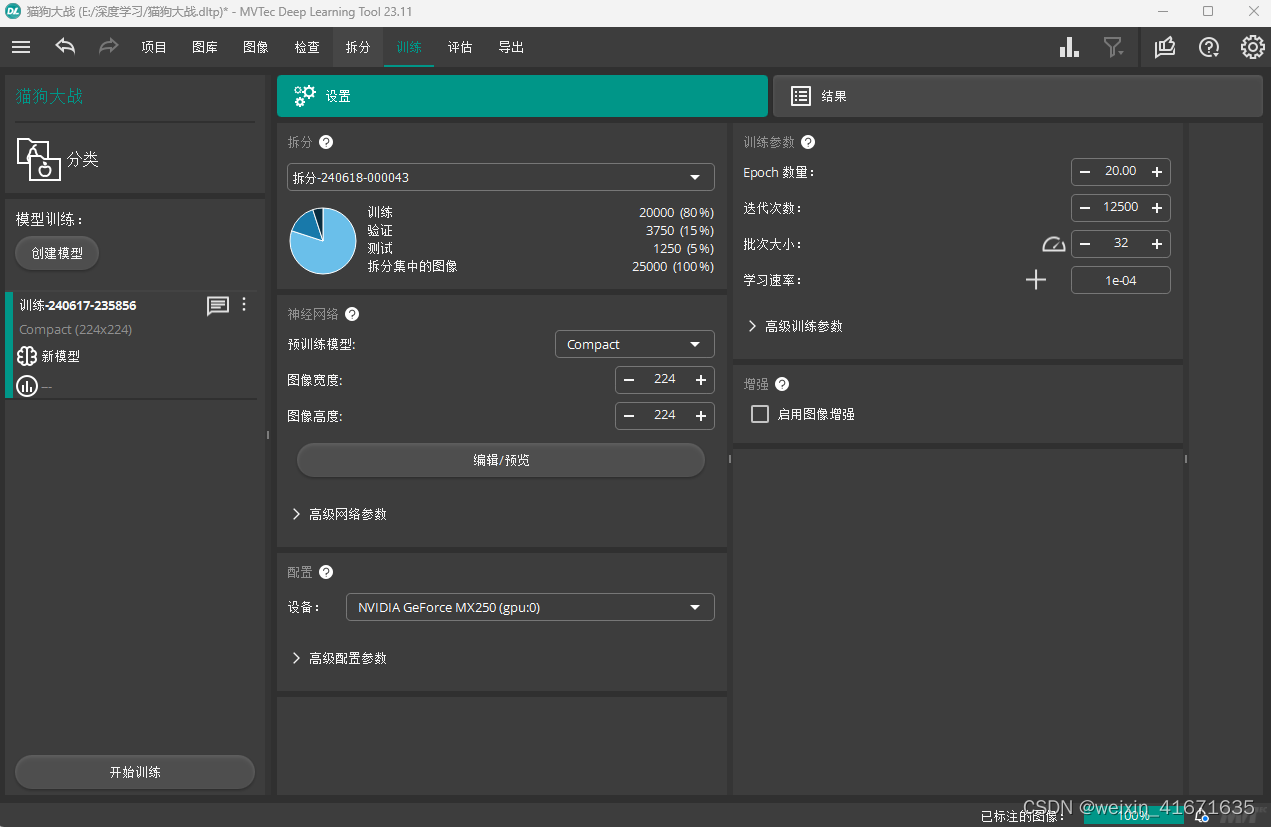
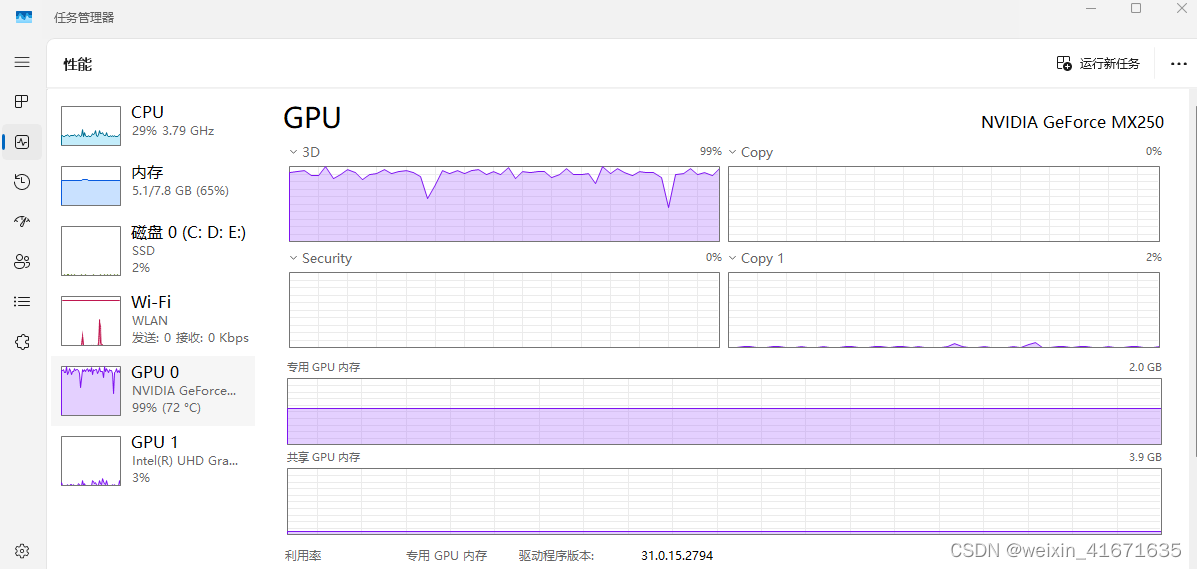
12. 如果有gpu的电脑会在下面设备这里有选择。我这给破笔记本这个mx 250也能用来跑,就用它试试吧。

13. 点击开始训练,我这里出现了这个错误,批次大小应该不对,自动检测一下
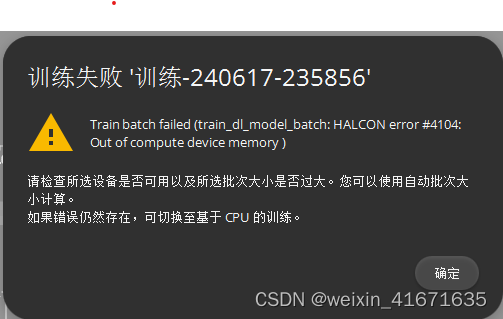
14. 点击迭代次数旁边那个表,就是向车速度表那个玩意,最大只能31,之前是32,改回去试试。

15. 电脑太差,要几个小时,如果只是用来练习可以修改参数来缩短训练时间。
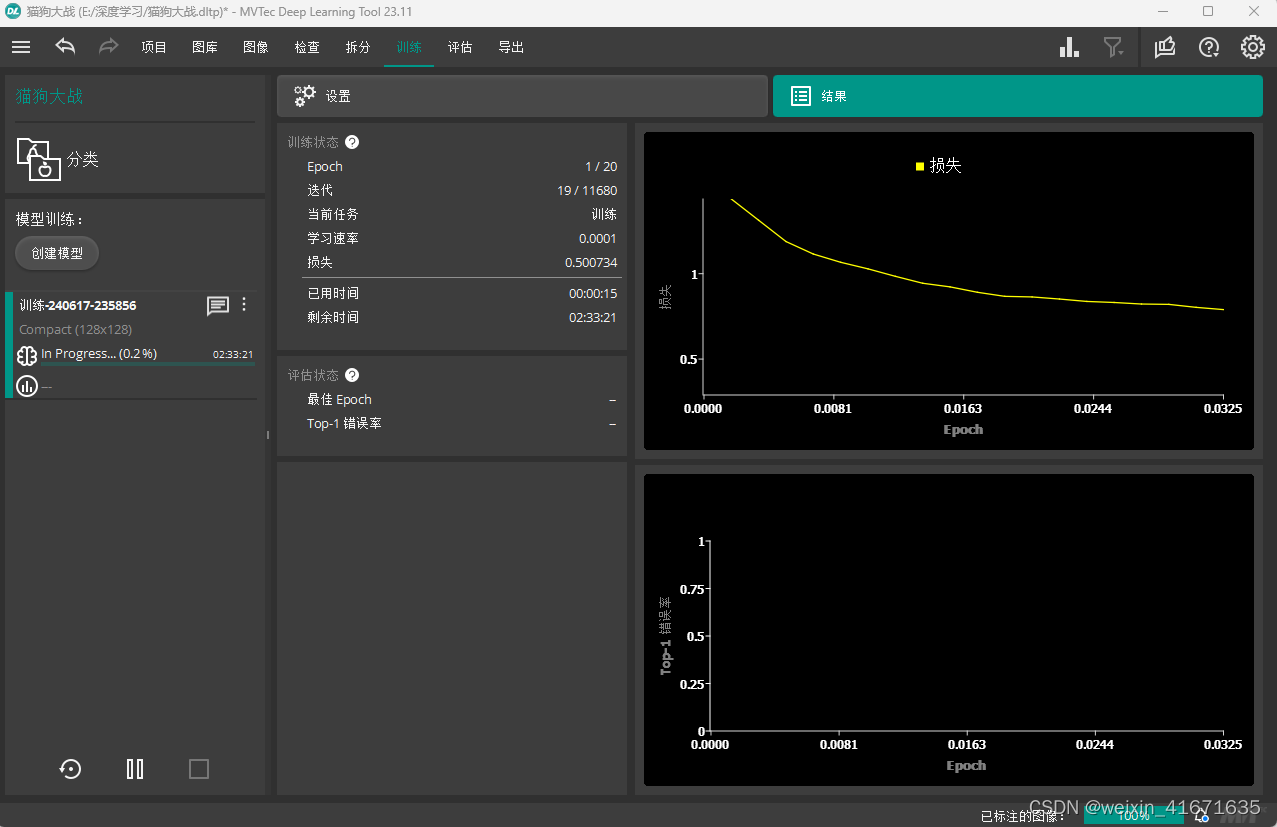
16. 可以看出来gpu的压力还是很大的,持续满负荷运行温度已经到达72度了。
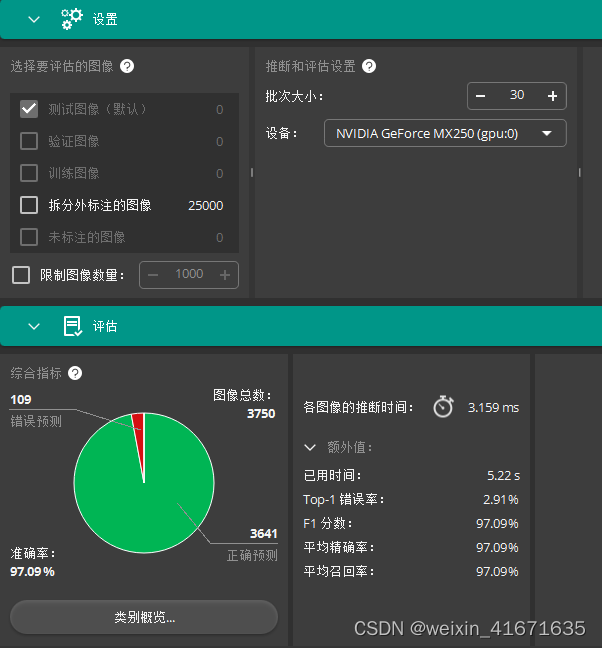
17. 训练完成后先进行评估,如下可以看到准确率只有97,可已将迭代次数调整大一些,用好点的电脑来训练。
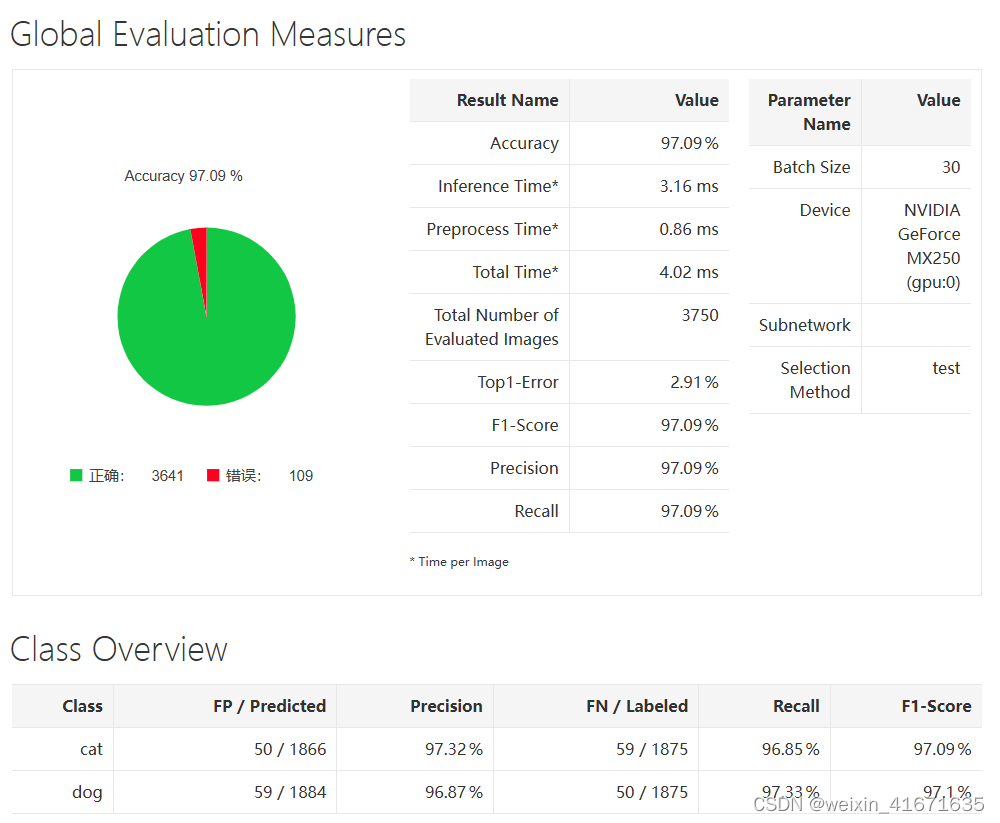
18. 导出模型,和生成报告。
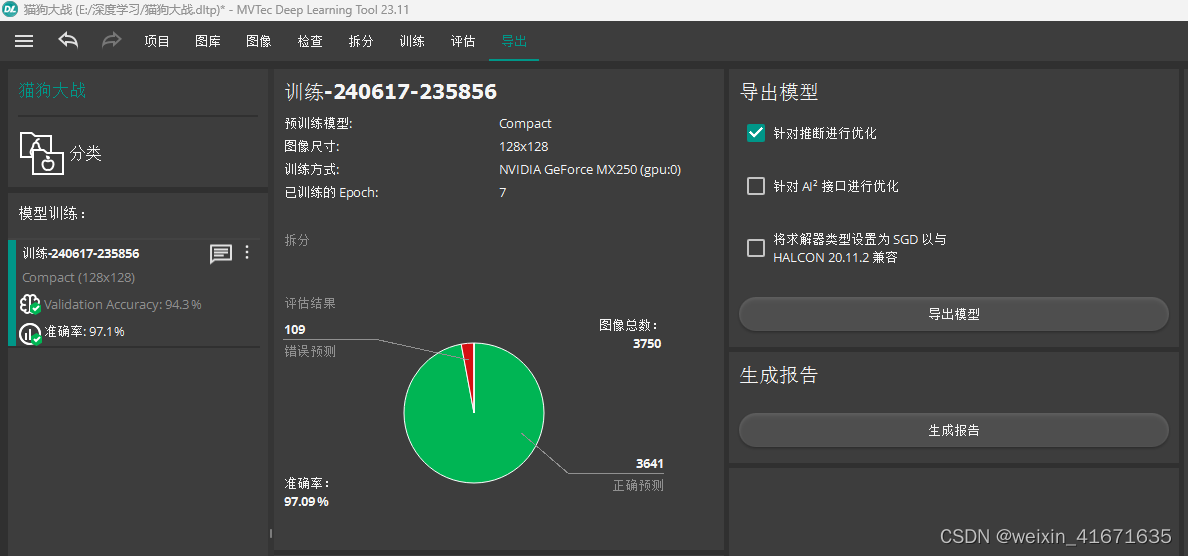

19. 到这里我们就已经完成模型训练了,下面开始打开halcon进行推理。
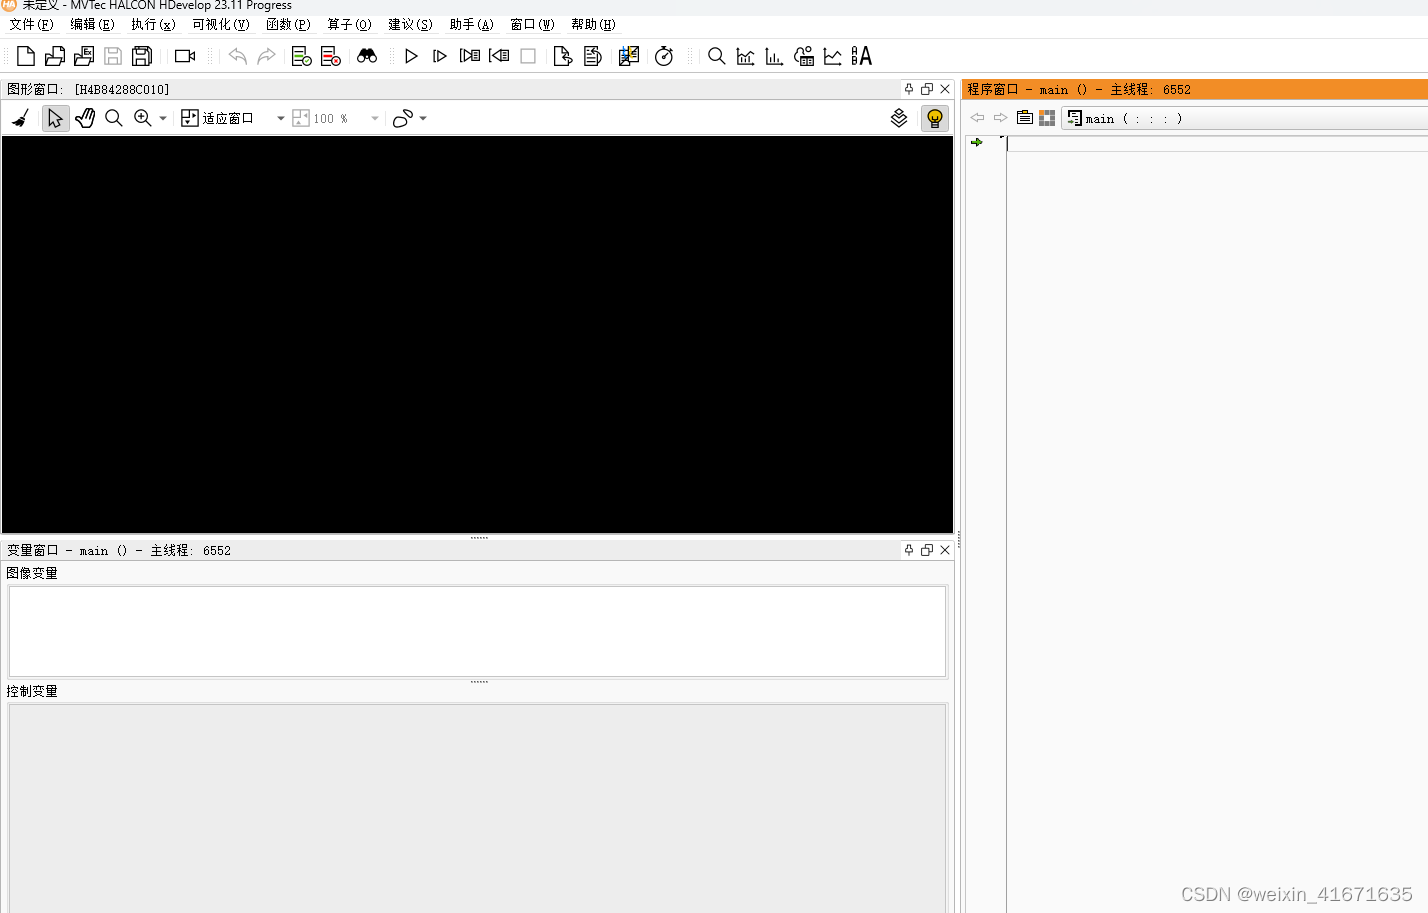
20. 点击左边第3个图标跳出如下实例程序 ,找到深度学习(分类),进入第四个例子。
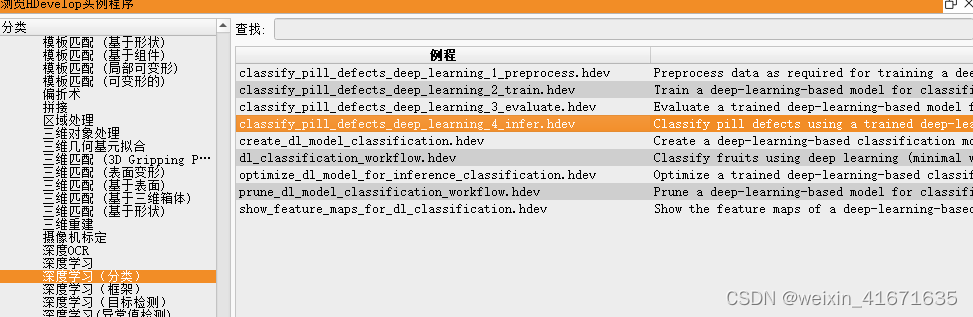
21. 这个例子是药丸分类,我们第一步需要先另存一份这份程序,我另存为猫狗分类,然后打开这个备份的程序,然后删掉不需要部分,其中有两个halcon的库封装函数需要重构,如下。
*生成 dlsamplebatch.
*gen_dl_samples_from_images (imagebatch, dlsamplebatch)
*
*预处理 dlsamplebatch.
*preprocess_dl_samples (dlsamplebatch, dlpreprocessparam)
22. 重构代码如下,这段代码的作用就是先将训练模型中的参数读出来,然后设置送人图片。
*读取创建的模型文件。
read_dl_model (retrainedmodelfilename, dlmodelhandle)
*
*设置批次大小。
set_dl_model_param (dlmodelhandle, 'batch_size', 32)
*
*读取设备硬件信息,主要判断是否有显卡,用第几张显卡进行推理。
query_available_dl_devices (['runtime', 'runtime'], ['gpu', 'cpu'], dldevicehandles)
get_dl_device_param (dldevicehandles, 'type', [cpu_gpu])
dldevice := dldevicehandles[0]
*
*初始化模型以进行推理。
set_dl_model_param (dlmodelhandle, 'device', dldevice)
*
*设置cpu设备以进行推理。
set_dl_model_param (dlmodelhandle, 'runtime', cpu_gpu[0])
*
*从模型中获取标签类名和id。
get_dl_model_param (dlmodelhandle, 'class_names', classnames)
get_dl_model_param (dlmodelhandle, 'class_ids', classids)
*
*获取用于预处理的参数。
read_dict (preprocessparamfilename, [], [], dlpreprocessparam)
*读取批次的图像。
read_image (imagebatch, batch)
*
*生成 dlsamplebatch.
*gen_dl_samples_from_images (imagebatch, dlsamplebatch)
*
*预处理 dlsamplebatch.
*preprocess_dl_samples (dlsamplebatch, dlpreprocessparam)
*
*查询模型设置参数,包含图像尺寸,图像灰度。
get_dict_tuple (dlpreprocessparam, 'image_width', tuplew)
get_dict_tuple (dlpreprocessparam, 'image_height', tupleh)
get_dict_tuple (dlpreprocessparam, 'image_range_max', image_max)
get_dict_tuple (dlpreprocessparam, 'image_range_min', image_min)

*将图片缩放到网络model需求的大小
zoom_image_size (imagebatch, imagebatch, tuplew, tupleh, 'constant')

*将图像转换为32位图像
convert_image_type (imagebatch, imagebatch, 'real')

*灰度值增强
scale_image (imagebatch, imagebatch, image_max, image_min)

*创建一个新的空字典
create_dict (dlsamplebatch)

*向字典中添加图像,将imagebatch添加到字典dlsamplebatch中去
set_dict_object (imagebatch, dlsamplebatch, 'image')

*如果图片不是三通道图,就需要将图像合成三通道图
count_channels (imagebatch, channel)
if (channel != 3)
   compose3(imagebatch, imagebatch, imagebatch, imagebatch)
endif

* 加载模型和图像开始推理
apply_dl_model (dlmodelhandle, dlsamplebatch, [], dlresultbatch)
23. 重构后就可以开始测试刚刚生成的模型了,完整代码如下,将下面代码复制到halcon就可以还原推理过程了。
*默认情况下,此示例使用由mvtec预训练的模型,变量设置为false。
dev_update_off ()
*
*
**************************************************
*           **设置推理的路径和参数**               *
**************************************************
*
*在这个例子中,我们从文件中读取图像。

imagedir := 'e:/深度学习/test'
*
*设置重新训练的模型的路径和相应的预处理参数。

preprocessparamfilename := 'e:/深度学习/labview运行库/model_猫狗分类_opt_dl_preprocess_params.hdict'
retrainedmodelfilename  := 'e:/深度学习/labview运行库/model_猫狗分类_opt.hdl'
*
*
* ************************
* **   inference推理   ***
* ************************
*
*读取创建的模型文件。
read_dl_model (retrainedmodelfilename, dlmodelhandle)
*
*读取设备硬件信息,主要判断是否有显卡,用第几张显卡进行推理。
query_available_dl_devices (['runtime', 'runtime'], ['gpu', 'cpu'], dldevicehandles)

* 初始化参数元组
type_group := []
name_group := []
conversion_group := []

*读取硬件配置
for index := 0 to |dldevicehandles|-1 by 1
    get_dl_device_param(dldevicehandles[index], 'type', type_name)
    get_dl_device_param(dldevicehandles[index], 'name', name_name)
    get_dl_device_param(dldevicehandles[index], 'conversion_supported', conversion_name)

    type_group[index] := type_name[0]
    name_group[index] := name_name[0]
    conversion_group[index] := conversion_name[0]

endfor

*设置cpu设备以进行推理。
set_dl_model_param (dlmodelhandle, 'runtime',type_group[0])
*
*设置批次大小。
set_dl_model_param (dlmodelhandle, 'batch_size', 32)
*
*从模型中获取标签类名和id。
get_dl_model_param (dlmodelhandle, 'class_names', classnames)
get_dl_model_param (dlmodelhandle, 'class_ids', classids)
*
*获取用于预处理的参数。
read_dict (preprocessparamfilename, [], [], dlpreprocessparam)
*
*创建用于显示结果的窗口词典。
windowhandledict := dict{}
*使用显示所需的数据集参数创建字典。
dldatainfo := dict{class_names: classnames, class_ids: classids}
*设置可视化的通用参数。
genparam := dict{scale_windows: 1.1}
*
*读取文件夹所有文件名称
list_image_files (imagedir, 'default', 'recursive', imagefilesall)
*排序文件名称
*tuple_shuffle (imagefilesall, imagefilesall)
*提取前一百个文件名
numsamples := 10
imagefiles := imagefilesall[0:numsamples - 1]
*
*在批量大小为batchsizeinference的所有图像上循环进行推理。
batchsizeinference := 1
for batchindex := 0 to floor(|imagefiles| / real(batchsizeinference)) - 1 by 1
    *
    *获取批次图像的路径。
    batch := imagefiles[batchindex * batchsizeinference:(batchindex + 1) * batchsizeinference - 1]
    *读取批次的图像。
    read_image (imagebatch, batch)
    *
    *生成 dlsamplebatch.
    *gen_dl_samples_from_images (imagebatch, dlsamplebatch)
    *
    *预处理 dlsamplebatch.
    *preprocess_dl_samples (dlsamplebatch, dlpreprocessparam)
    *
    *查询模型设置参数,包含图像尺寸,图像灰度。
    get_dict_tuple (dlpreprocessparam, 'image_width', tuplew)
    get_dict_tuple (dlpreprocessparam, 'image_height', tupleh)
    get_dict_tuple (dlpreprocessparam, 'image_range_max', image_max)
    get_dict_tuple (dlpreprocessparam, 'image_range_min', image_min)

    *将图片缩放到网络model需求的大小
    zoom_image_size (imagebatch, imagebatch, tuplew, tupleh, 'constant')

    *将图像转换为32位图像
    convert_image_type (imagebatch, imagebatch, 'real')

    *灰度值增强
    scale_image (imagebatch, imagebatch, image_max, image_min)

    *创建一个新的空字典
    create_dict (dlsamplebatch)

    *向字典中添加图像,将imagebatch添加到字典dlsamplebatch中去
    set_dict_object (imagebatch, dlsamplebatch, 'image')

    *如果图片不是三通道图,就需要将图像合成三通道图
    count_channels (imagebatch, channel)
    if (channel != 3)
        compose3(imagebatch, imagebatch, imagebatch, imagebatch)
    endif

    * 加载模型和图像开始推理
    apply_dl_model (dlmodelhandle, dlsamplebatch, [], dlresultbatch)

    *
    *后处理和可视化,后面部分主要用于halcon显示用,仅用于调试代码,其他平台重构可不需要这部分。
    *在批次中的每个样品上循环。
    for sampleindex := 0 to batchsizeinference - 1 by 1
        *
        * 获取样本并根据结果。
        dlsample := dlsamplebatch[sampleindex]
        dlresult := dlresultbatch[sampleindex]
        *
        * 显示结果和文本。
        dev_display_dl_data (dlsample, dlresult, dldatainfo, 'classification_result', genparam, windowhandledict)
        windowhandles := windowhandledict.classification_result
        dev_set_window (windowhandles[0])
        set_display_font (windowhandles[0], 16, 'mono', 'true', 'false')
        dev_disp_text ('press run (f5) to continue', 'window', 'bottom', 'right', 'black', [], [])
        stop ()
    endfor
endfor

*
* 关闭用于可视化的窗口。
dev_close_window_dict (windowhandledict)
*
24. 记得修改如下面几个地方的路径。
**测试图片存放路径
imagedir := 'e:/深度学习/test'
**模型存放路径
exampledatadir := 'e:/深度学习'
**模型名称和名称参数名称
preprocessparamfilename := 'model_猫狗分类_opt_dl_preprocess_params.hdict'
retrainedmodelfilename := 'model_猫狗分类_opt.hdl'
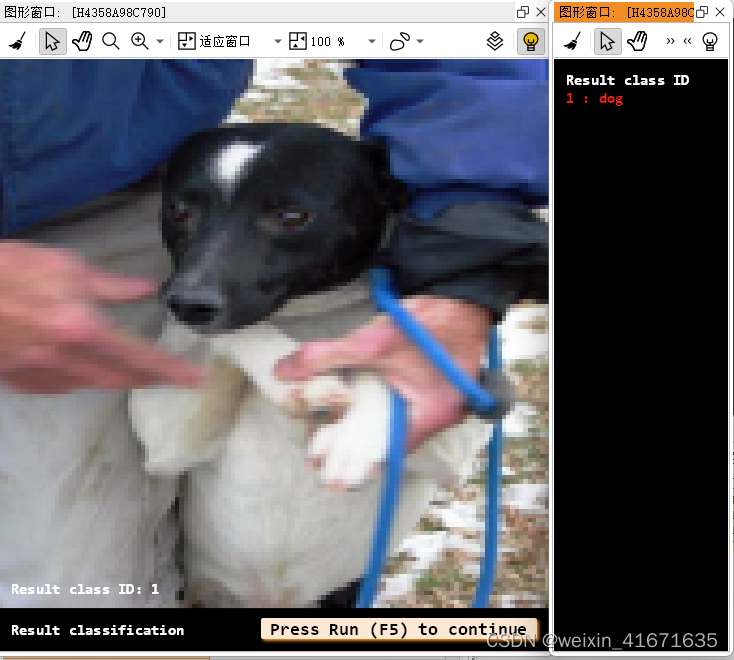
25. 到这里就完成halcon代码的重建了,先按f5进行测试,能够顺利找到并显示就说明代码运行正常。
26. 原本打算一章写完的,慢慢一写发现太长了,还是分两章写算了,请关注我,第二章labview重构推理部分马上上传。


发表评论