文章目录
前言
unity 和 opencv 是两个强大的开发工具,分别用于游戏开发和计算机视觉。结合它们可以实现一些有趣和创新的项目。本篇博客将介绍如何在 unity 中集成 opencv,以及如何利用它们的结合来创建令人惊叹的应用程序。
一、unity 中集成 opencv
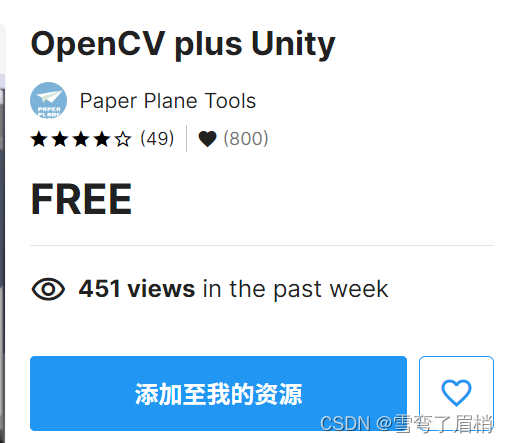
1. 安装opencv plus unity 插件
首先,我们需要在 unity 中安装 opencv plus unity插件。这个插件提供了与 opencv 库集成的功能,使我们能够在 unity 中使用 opencv 的强大功能。
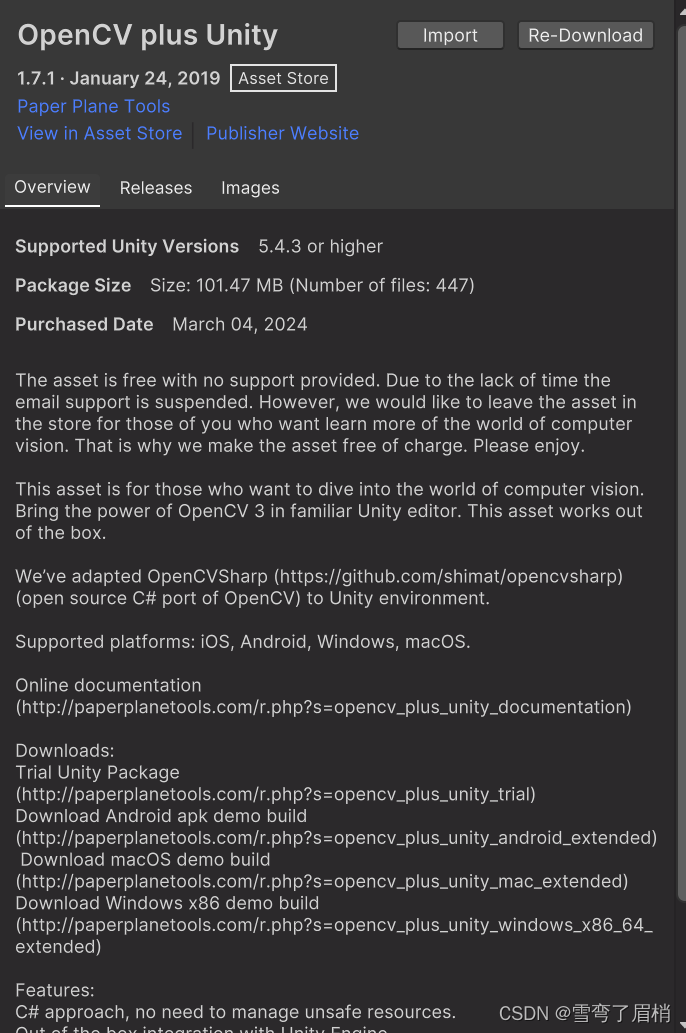
2. 导入 opencv 包
在安装插件后,我们需要导入 opencv 包到 unity 项目中。这将包括所需的库文件和相关的脚本文件,以便我们可以开始在 unity 中使用 opencv。
二、图像处理应用程序的创建
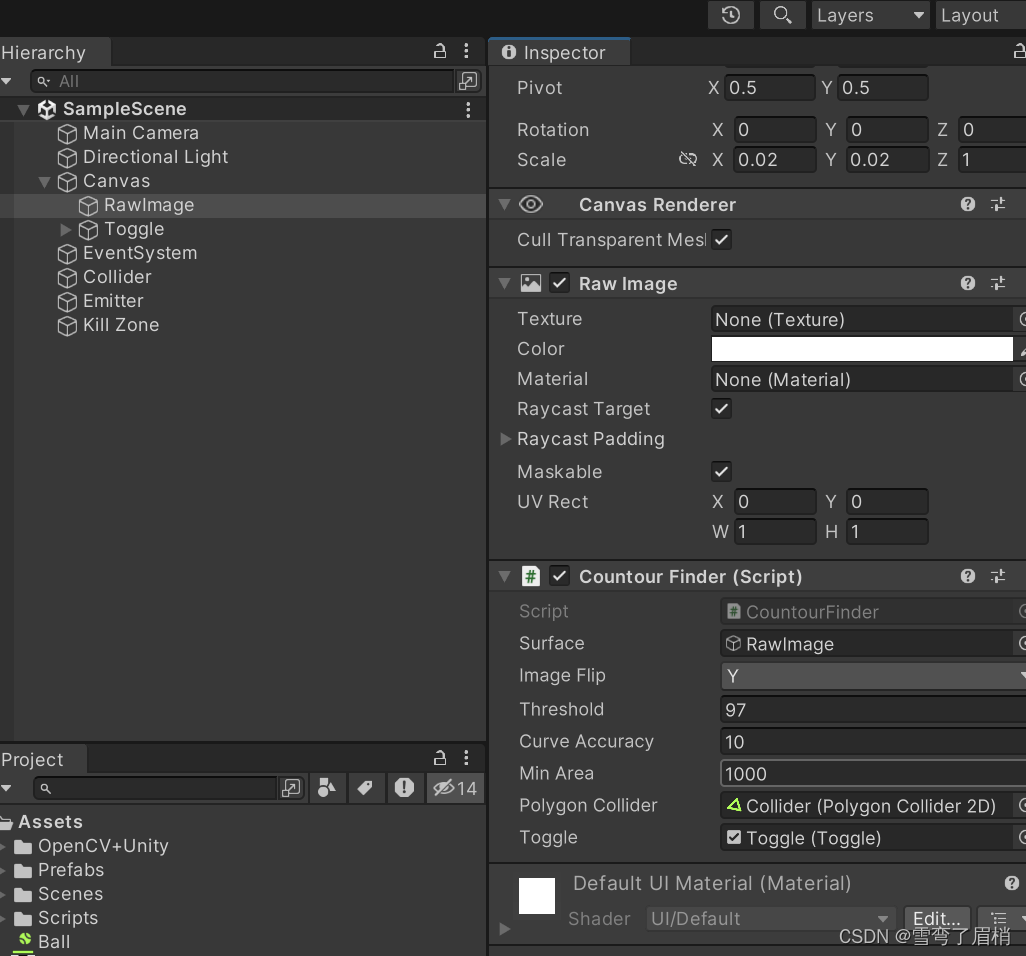
1. 实时轮廓检测
我们将使用 opencv 在 unity 中实现实时轮廓检测。countourfinder.cs将捕获摄像头输入,并使用 opencv 查找图像中的轮廓。检测到的轮廓将被用于在 unity 中绘制形状,并且可以与游戏对象进行交互。
// countourfinder.cs 脚本
// 使用 opencv 在 unity 中实现实时轮廓检测
using system.collections;
using system.collections.generic;
using system.io;
using opencvsharp;
using opencvsharp.demo;
using unityengine;
using unityengine.ui;

//继承 webcamera 类
public class countourfinder : webcamera
{
    // 图像翻转模式
    [serializefield] private flipmode imageflip;
    // 阈值
    [serializefield] private float threshold = 96.4f;
    // 曲线精度
    [serializefield] private float curveaccuracy = 10f;
    // 最小区域
    [serializefield] private float minarea = 5000f;
    // 多边形碰撞器
    [serializefield] private polygoncollider2d polygoncollider;
    // 切换按钮
    [serializefield] private toggle toggle;

    private mat _image; // 图像
    private mat _processimage = new(); // 处理后的图像
    private point[][] contours; // 轮廓
    private hierarchyindex[] _hierarchy; // 层级
    private vector2[] vertorlist; // 点的列表

    // 重写 processtexture 方法,处理图像纹理
    protected override bool processtexture(webcamtexture input, ref texture2d output)
    {
        // 将输入的图像纹理转换为 mat 类型
        _image = opencvsharp.unity.texturetomat(input);

        // 翻转图像
        cv2.flip(_image, _image, imageflip);
        // 转换为灰度图
        cv2.cvtcolor(_image, _processimage, colorconversioncodes.rgb2gray);
        // 阈值化
        cv2.threshold(_processimage, _processimage, threshold, 255, thresholdtypes.binaryinv);
        // 查找图像中的轮廓
        cv2.findcontours(_processimage, out contours, out _hierarchy, retrievalmodes.tree,
            contourapproximationmodes.approxsimple, null);

        // 重置碰撞器路径数
        polygoncollider.pathcount = 0;
        // 遍历每个轮廓
        foreach (point[] contour in contours)
        {
            // 近似多边形
            point[] points = cv2.approxpolydp(contour, curveaccuracy, true);
            // 计算轮廓面积
            var area = cv2.contourarea(contour);
            // 如果面积大于最小面积
            if (area > minarea)
            {
                // 绘制轮廓
                drwacontour(_processimage, new scalar(127, 1271, 127), 2, points);
                // 增加碰撞器路径数
                polygoncollider.pathcount++;
                // 设置碰撞路径
                polygoncollider.setpath(polygoncollider.pathcount - 1, tovertor2(points));
            }
        }

        if (output == null)
        {
            // 将图像转换为纹理
            output = opencvsharp.unity.mattotexture(toggle.ison ? _processimage : _image);
        }
        else
        {
            // 将图像转换为纹理
            opencvsharp.unity.mattotexture(toggle.ison ? _processimage : _image, output);
        }

        return true; // 返回 true
    }

    // 将 point 数组转换为 vector2 数组
    private vector2[] tovertor2(point[] points)
    {
        vertorlist = new vector2[points.length];
        for (int i = 0; i < points.length; i++)
        {
            // 将点转换为 vector2
            vertorlist[i] = new vector2(points[i].x, points[i].y);
        }

        return vertorlist;
    }

    // 绘制轮廓
    private void drwacontour(mat image, scalar color, int thickeness, point[] points)
    {
        for (int i = 1; i < points.length; i++)
        {
            // 绘制线段
            cv2.line(image, points[i - 1], points[i], color, thickeness);
        }

        // 绘制最后一条线段
        cv2.line(image, points[^1], points[0], color, thickeness);
    }
}
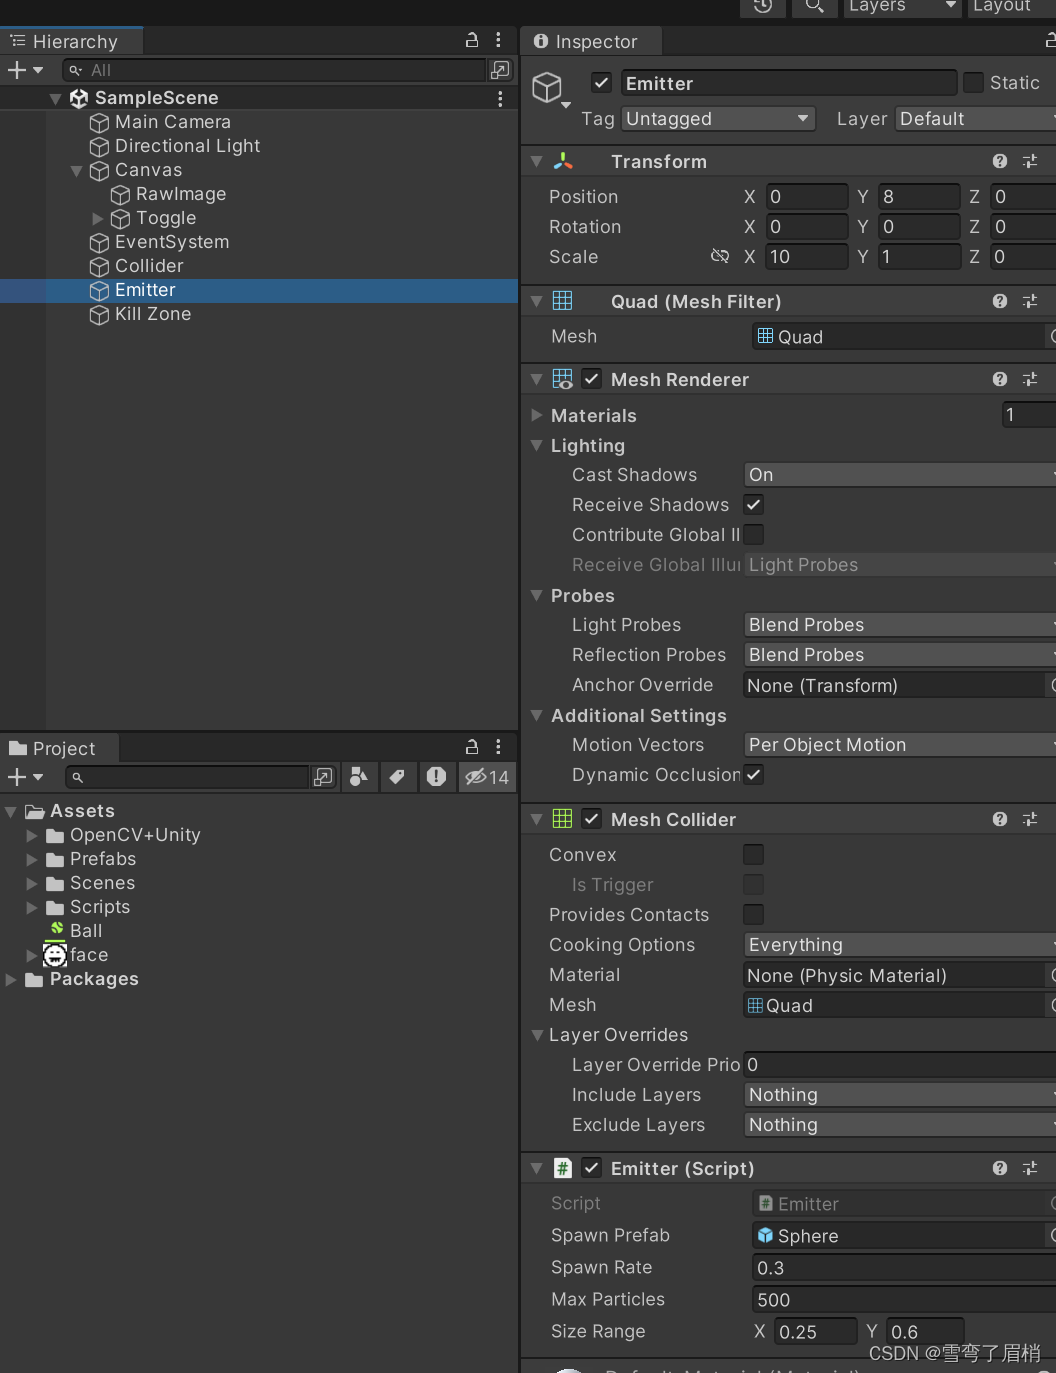
2. 粒子发射器
在 unity 中,我们可以创建一个粒子发射器,用于在场景中生成粒子效果。这个发射器可以与 opencv 实现的图像处理功能结合,根据检测到的图像特征来控制粒子的生成和运动。
using system.collections;
using system.collections.generic;
using unityengine;

public class emitter : monobehaviour
{
    [serializefield] private gameobject spawnprefab; // 生成的预制体
    [serializefield] private float spawnrate = 0.1f; // 生成速率
    [serializefield] private int maxparticles = 3; // 最大粒子数量
    [serializefield] private vector2 sizerange; // 大小范围

    private gameobject[] _pool; // 对象池

    // start is called before the first frame update
    void start()
    {
        initializepool(); // 初始化对象池
        spawn(); // 开始生成粒子
    }

    // update is called once per frame
    void update()
    {

    }

    // 初始化对象池
    private void initializepool()
    {
        _pool = new gameobject[maxparticles]; // 根据最大粒子数量创建对象池
        for (int i = 0; i < maxparticles; i++)
        {
            var particle = instantiate(spawnprefab); // 实例化预制体
            particle.setactive(false); // 初始时将粒子设置为不激活状态
            _pool[i] = particle; // 将粒子添加到对象池中
        }
    }

    // 生成粒子
    private void spawn()
    {
        foreach (var particle in _pool)
        {
            if (!particle.activeself) // 如果粒子不是激活状态
            {
                // 随机生成粒子位置,并转换为世界坐标系下的位置
                particle.transform.position = transform.transformpoint(random.insideunitsphere * 0.5f);
                // 随机设置粒子大小
                particle.transform.localscale = random.range(sizerange.x, sizerange.y) * vector3.one;
                particle.setactive(true); // 激活粒子
                break; // 结束循环
            }
        }

        invoke("spawn", spawnrate); // 延迟 spawnrate 时间后再次调用 spawn 方法
    }
}
3. 碰撞区域
最后,我们将在 unity 中创建一个碰撞区域,用于检测粒子与特定区域的碰撞。当粒子进入碰撞区域时,将触发特定的事件,例如使粒子消失或触发特效。
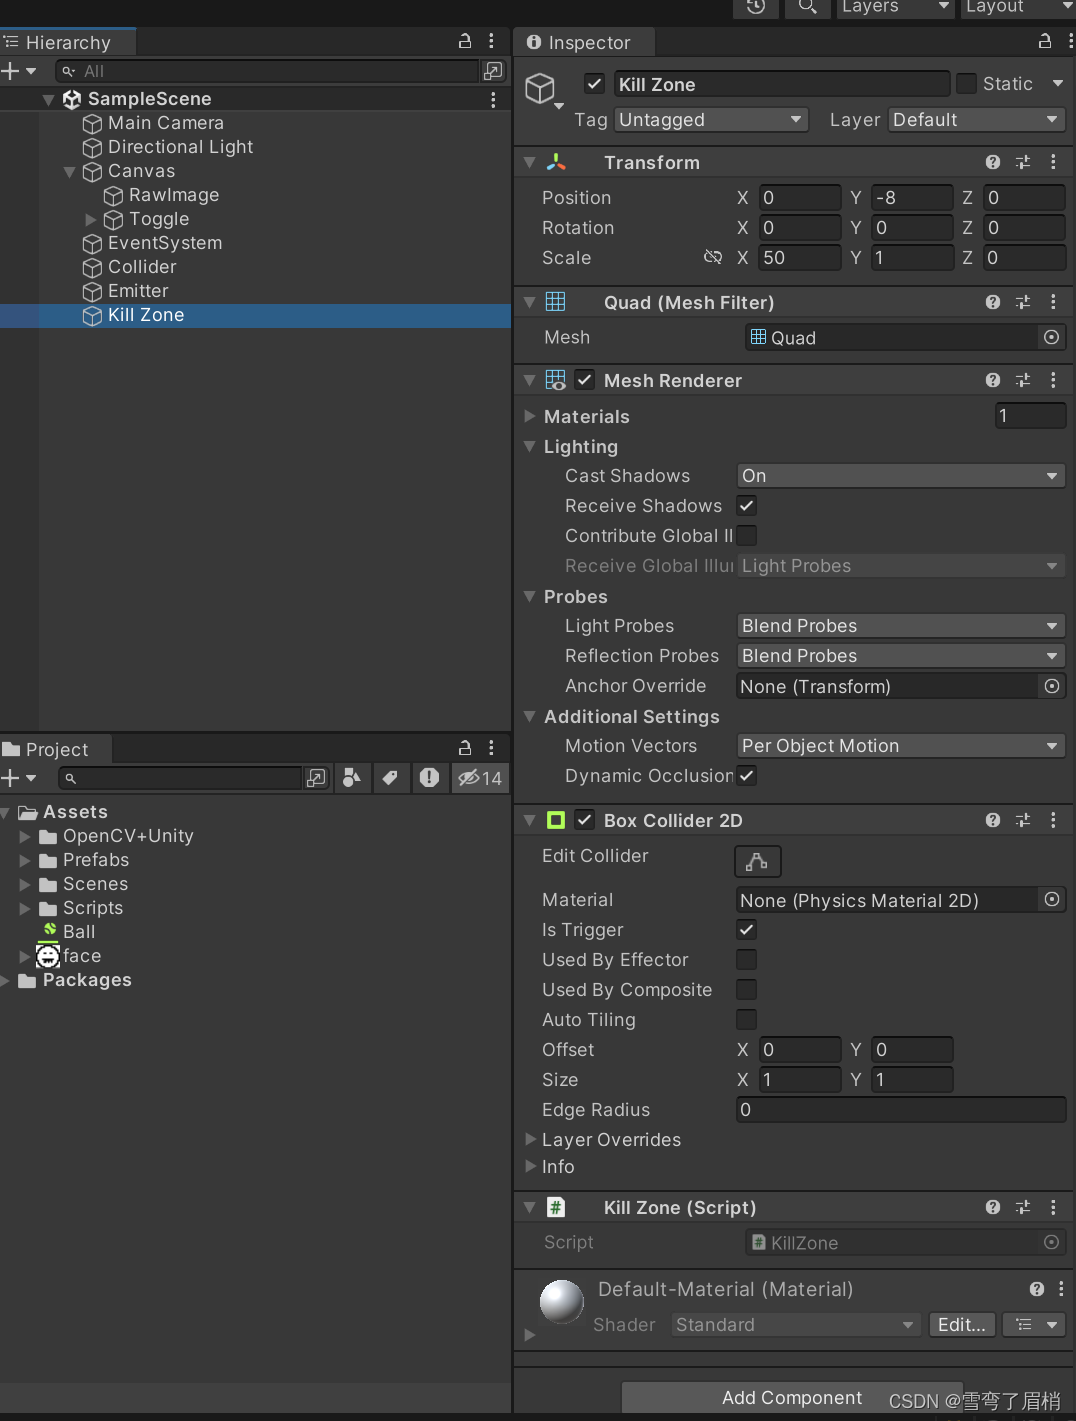
// killzone.cs 脚本
// 在 unity 中创建碰撞区域,用于检测粒子与特定区域的碰撞

using system;
using system.collections;
using system.collections.generic;
using unityengine;

public class killzone : monobehaviour
{
    private void ontriggerenter2d(collider2d col)
    {
        col.gameobject.setactive(false);
    }
}
三、效果

四、总结
结合 opencv 和 unity 可以实现许多有趣和创新的项目。通过利用 opencv 在 unity 中的集成,我们可以创建出令人惊叹的图像处理和游戏开发应用程序。无论是学习者还是专业开发者,都可以从这种结合中受益,并创造出令人印象深刻的作品。

发表评论