1、安装wsl
需要windows版本大于
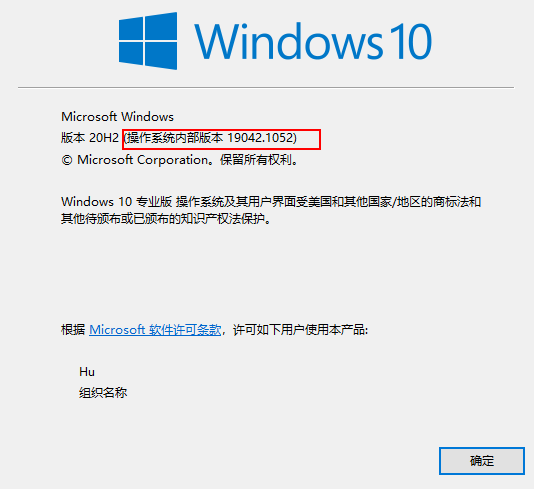
搜索启用或关闭windows功能
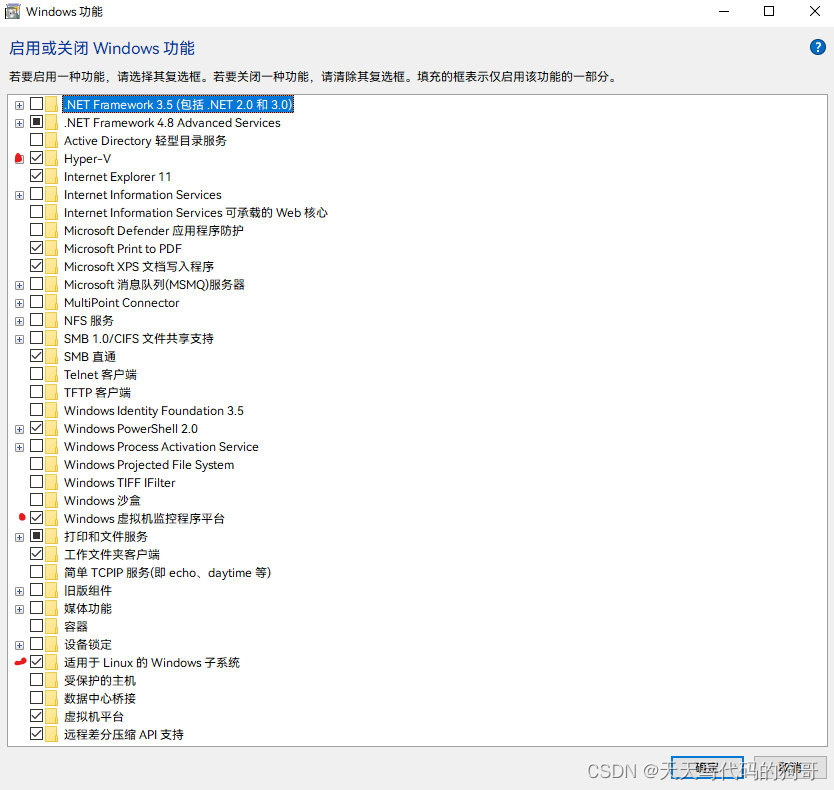
把图片中红点标注的功能勾选,注意勾选hyper-v就不能使用虚拟机类软件,如vm,安卓模拟器一类,点击确定,重启电脑。
打开任务管理器
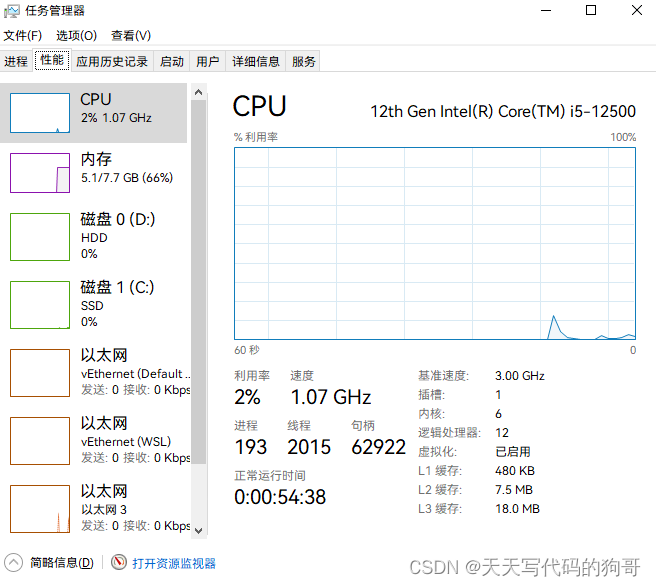
确保虚拟化已经启用,部分设备可能需要去bios设置,自行查阅下相关资料
下载64位wsl2内核升级包 https%3a//wslstorestorage.blob.core.windows.net/wslblob/wsl_update_x64.msi
安装后,设置默认wsl版本
wsl --set-default-version 2安装linux系统
方法一:可以从微软商店搜索安装,有概率会失败
方法二: 翻到页面最下方,下载你需要的版本 旧版 wsl 的手动安装步骤 | microsoft learn在旧版 windows 上手动(而不是使用 wsl 安装命令)安装 wsl 的分步说明。 https://docs.microsoft.com/zh-cn/windows/wsl/install-manual给下载到的文件添加一个.zip后缀,用解压缩软件解压到你想安装的地方
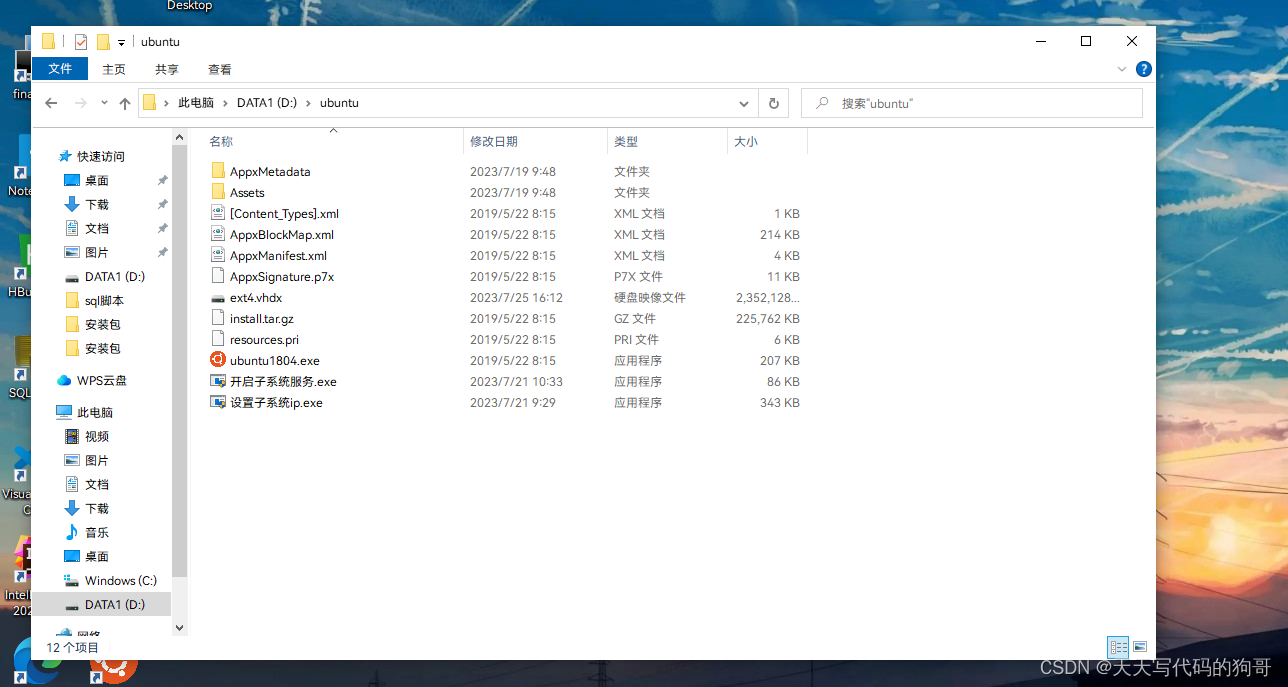
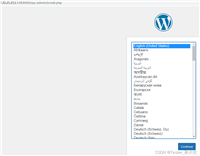
点击里面的ubnutu.exe文件,等待一会就会安装成功
去cmd中输入 wsl -l -v 查看安装的子系统版本
2、安装完成后的设置:
安装完成后会设置自己的用户名,密码(注意不是root账户)
设置root密码
sudo passwd切换root用户测试
su root每次切换root用户很麻烦,可以用powershell执行下面这条命令,默认root用户登录,其中参数自己替换下
c:\users\用户名\appdata\local\microsoft\windowsapps\ubuntu版本.exe config --default-user root开启ssh服务
首先确保是root用户
vi /etc/ssh/sshd_config
进入之后,修改如下配置,可以直接复制我的,(我修改的项加了注释)
#	$openbsd: sshd_config,v 1.101 2017/03/14 07:19:07 djm exp $

# this is the sshd server system-wide configuration file.  see
# sshd_config(5) for more information.

# this sshd was compiled with path=/usr/bin:/bin:/usr/sbin:/sbin

# the strategy used for options in the default sshd_config shipped with
# openssh is to specify options with their default value where
# possible, but leave them commented.  uncommented options override the
# default value.

port 22   #22端口,ssh服务默认端口
#addressfamily any
listenaddress 0.0.0.0  #所有ip都可以联通
#listenaddress ::

#hostkey /etc/ssh/ssh_host_rsa_key
#hostkey /etc/ssh/ssh_host_ecdsa_key
#hostkey /etc/ssh/ssh_host_ed25519_key

# ciphers and keying
#rekeylimit default none

# logging
#syslogfacility auth
#loglevel info

# authentication:

#logingracetime 2m
#permitrootlogin prohibit-password
#strictmodes yes
#maxauthtries 6
#maxsessions 10
permitrootlogin yes  #把上面那行相同的注释掉,新加一行,允许root账户登录

#pubkeyauthentication yes

# expect .ssh/authorized_keys2 to be disregarded by default in future.
#authorizedkeysfile	.ssh/authorized_keys .ssh/authorized_keys2

#authorizedprincipalsfile none

#authorizedkeyscommand none
#authorizedkeyscommanduser nobody

# for this to work you will also need host keys in /etc/ssh/ssh_known_hosts
#hostbasedauthentication no
# change to yes if you don't trust ~/.ssh/known_hosts for
# hostbasedauthentication
#ignoreuserknownhosts no
# don't read the user's ~/.rhosts and ~/.shosts files
#ignorerhosts yes

# to disable tunneled clear text passwords, change to no here!
passwordauthentication yes #允许使用密码登录
#permitemptypasswords no

# change to yes to enable challenge-response passwords (beware issues with
# some pam modules and threads)
challengeresponseauthentication no

# kerberos options
#kerberosauthentication no
#kerberosorlocalpasswd yes
#kerberosticketcleanup yes
#kerberosgetafstoken no

# gssapi options
#gssapiauthentication no
#gssapicleanupcredentials yes
#gssapistrictacceptorcheck yes
#gssapikeyexchange no

# set this to 'yes' to enable pam authentication, account processing,
# and session processing. if this is enabled, pam authentication will
# be allowed through the challengeresponseauthentication and
# passwordauthentication.  depending on your pam configuration,
# pam authentication via challengeresponseauthentication may bypass
# the setting of "permitrootlogin without-password".
# if you just want the pam account and session checks to run without
# pam authentication, then enable this but set passwordauthentication
# and challengeresponseauthentication to 'no'.
usepam yes

#allowagentforwarding yes
#allowtcpforwarding yes
#gatewayports no
x11forwarding yes
#x11displayoffset 10
#x11uselocalhost yes
#permittty yes
printmotd no
#printlastlog yes
#tcpkeepalive yes
#uselogin no
#permituserenvironment no
#compression delayed
#clientaliveinterval 0
#clientalivecountmax 3
#usedns no
#pidfile /var/run/sshd.pid
#maxstartups 10:30:100
#permittunnel no
#chrootdirectory none
#versionaddendum none

# no default banner path
#banner none

# allow client to pass locale environment variables
acceptenv lang lc_*

# override default of no subsystems
subsystem	sftp	/usr/lib/openssh/sftp-server

# example of overriding settings on a per-user basis
#match user anoncvs
#	x11forwarding no
#	allowtcpforwarding no
#	permittty no
#	forcecommand cvs server
重启ssh项目
sudo service ssh restart使用ssh工具测试链接

成功
3、windows下docker-desktop的安装
官网下载docker-desktop的安装包,一定要确保第一步开启的windows功能都开启了
download docker desktop | docker
正常软件安装流程
进入软件,点击小齿轮进入设置
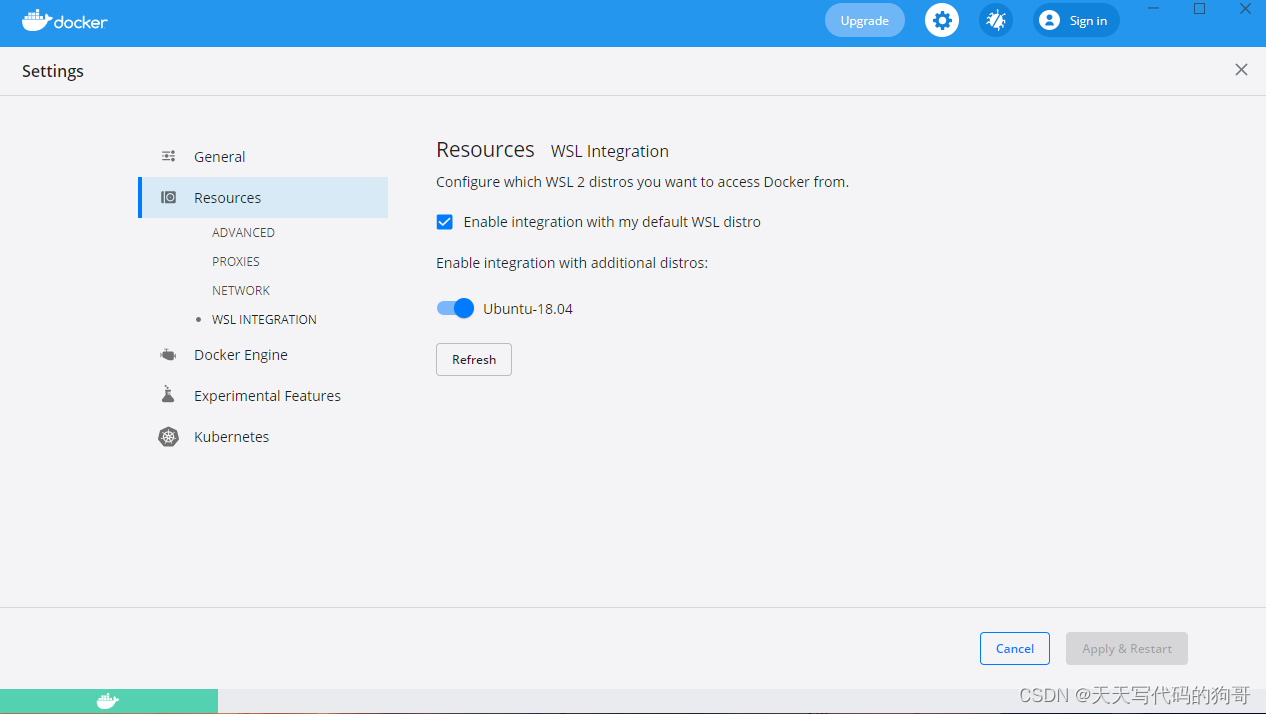
勾选你安装的ubnutu
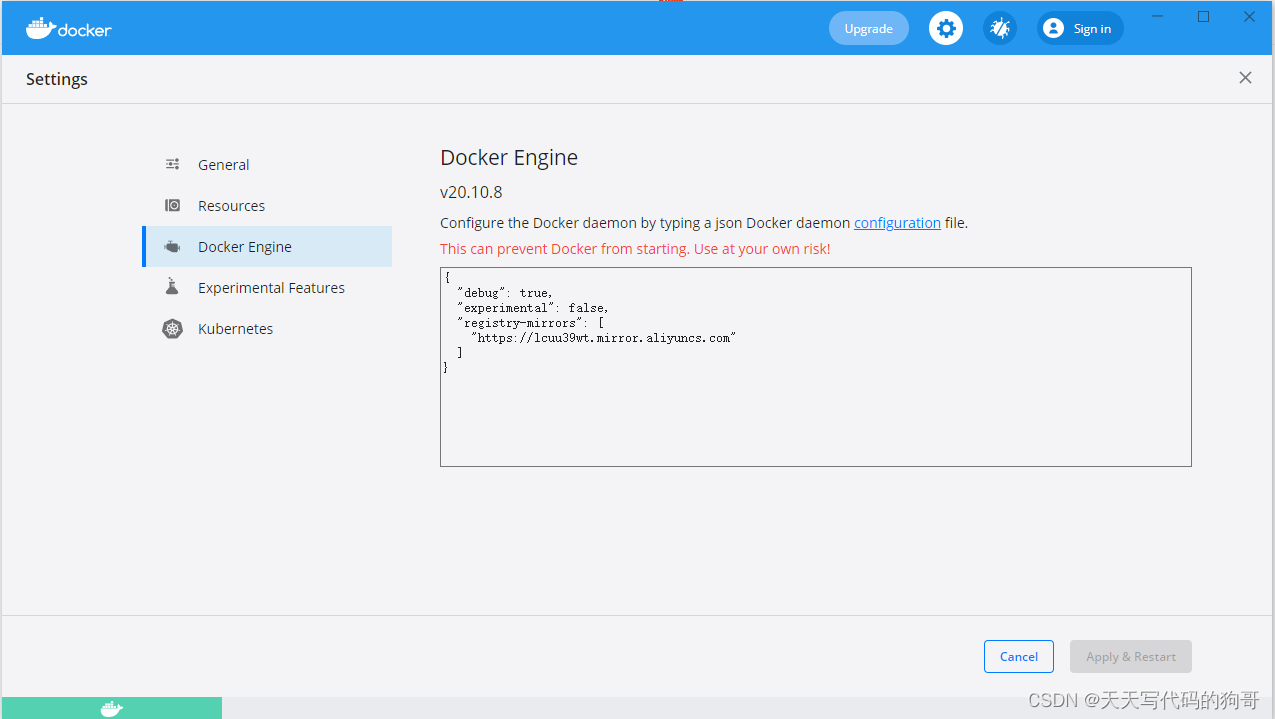
更改镜像仓库地址,我使用的阿里云,网上也有好多,比如中科大等
{
  "debug": true,
  "experimental": false,
  "registry-mirrors": [
    "https://lcuu39wt.mirror.aliyuncs.com"
  ]
}
resource中可以更改docker镜像位置,推荐更改,不然c盘会占用很高
设置完之后,打开终端,输入docker ps
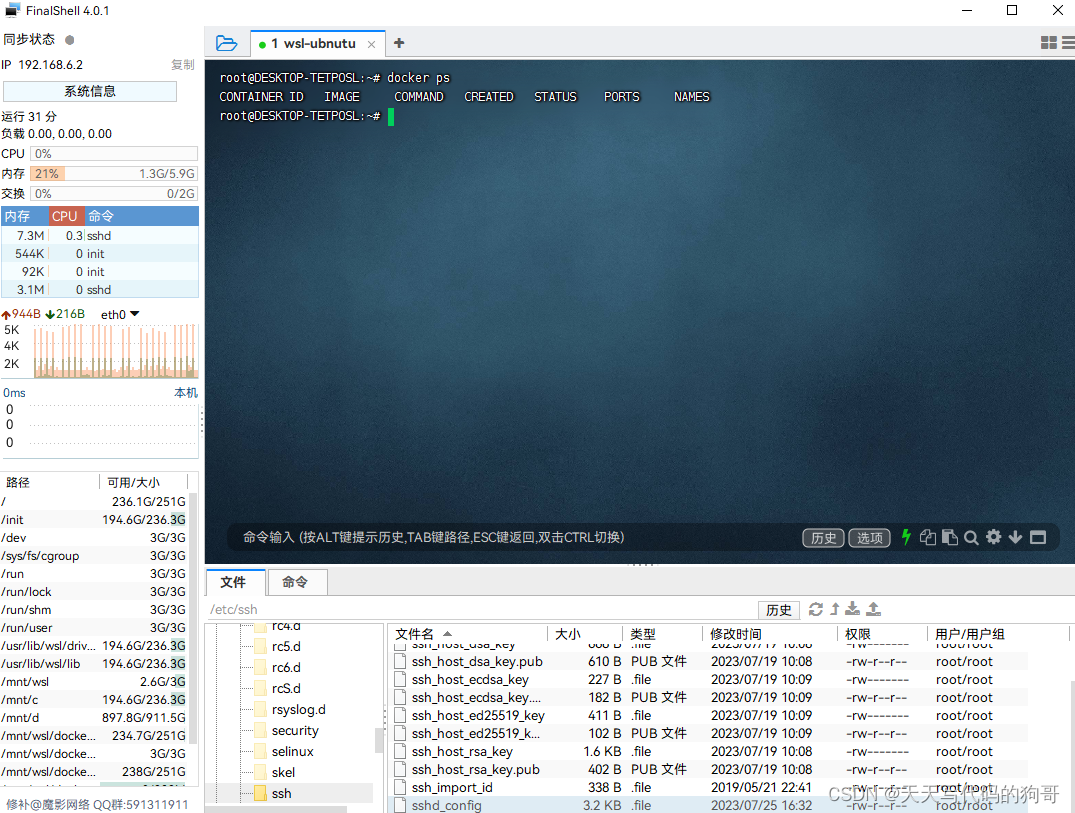
就会发现docker和你的linux子系统已经连接起来了
4、配置wsl2新特性,一定要开,否则会出现内存泄漏,爆内存的情况
c:\users\电脑用户名文件夹下新建一个.wslconfig文件
# settings apply across all linux distros running on wsl 2
[wsl2]
autoproxy=false  # 是否强制 wsl2/wslg 子系统使用 windows 代理设置(请根据实际需要启用)
dnstunneling=true           # wsl2/wslg dns 代理隧道,以便由 windows 代理转发 dns 请求(请根据实际需要启用)
firewall=true               # wsl2/wslg 子系统的 windows 防火墙集成,以便 hyper-v 或者 wpf 能过滤子系统流量(请根据实际需要启用)
guiapplications=true        # 启用 wslg gui 图形化程序支持
ipv6=true                   # 启用 ipv6 网络支持
localhostforwarding=true    # 启用 localhost 网络转发支持
memory=12gb                 # 限制 wsl2/wslg 子系统的最大内存占用
nestedvirtualization=true   # 启用 wsl2/wslg 子系统嵌套虚拟化功能支持
networkingmode=mirrored     # 启用镜像网络特性支持
#pagereporting=true          # 启用 wsl2/wslg 子系统页面文件通报,以便 windows 回收已分配但未使用的内存
processors=4                # 设置 wsl2/wslg 子系统的逻辑 cpu 核心数为 8(最大肯定没法超过硬件的物理逻辑核心数)
#vmidletimeout=-1            # wsl2 vm 实例空闲超时关闭时间,-1 为永不关闭,根据参数说明,目前似乎仅适用于 win11+


[experimental]
automemoryreclaim=gradual       # 启用空闲内存自动缓慢回收,其它选项:dropcache / disabled(立即/禁用)
hostaddressloopback=true        # 启用 wsl2/wslg 子系统和 windows 宿主之间的本地回环互通支持
sparsevhd=true                  # 启用 wsl2/wslg 子系统虚拟硬盘空间自动回收
usewindowsdnscache=false        # 和 dnstunneling 配合使用,决定是否使用 windows dns 缓存池
重启wsl2或重启电脑生效
5、存在的问题及解决思路
ssh服务不会自动开启
解决思路:
重启ssh服务的命令,根据需要修改参数哦,可以写个cmd脚本放在windows自启动文件夹中,开机自己运行就不用每次输入了
c:\users\用户名\appdata\local\microsoft\windowsapps\ubuntu2004.exe run "sudo service ssh restart"


发表评论