随着安全性的要求越来越高,目前许多项目中都使用了验证码,验证码也有各种类型,如 图形验证码、短信验证码、邮件验证码、人脸识别等,这些不同类型的验证码可以根据实际需求和安全性要求进行选择和应用,保护网站和用户免受恶意攻击
在本篇文章中,我们来学习图形验证码的实现
验证码的实现方式有很多,可以由前端实现,也可以由后端进行实现,也有很多的插件和工具包可以使用,在这里,我们使用 hutool 提供的小工具实现
验证码需要实现功能:
1. 页面生成验证码,点击图片可进行刷新
2. 输入验证码,点击提交,验证用户输入验证码是否正确,正确则进行页面跳转
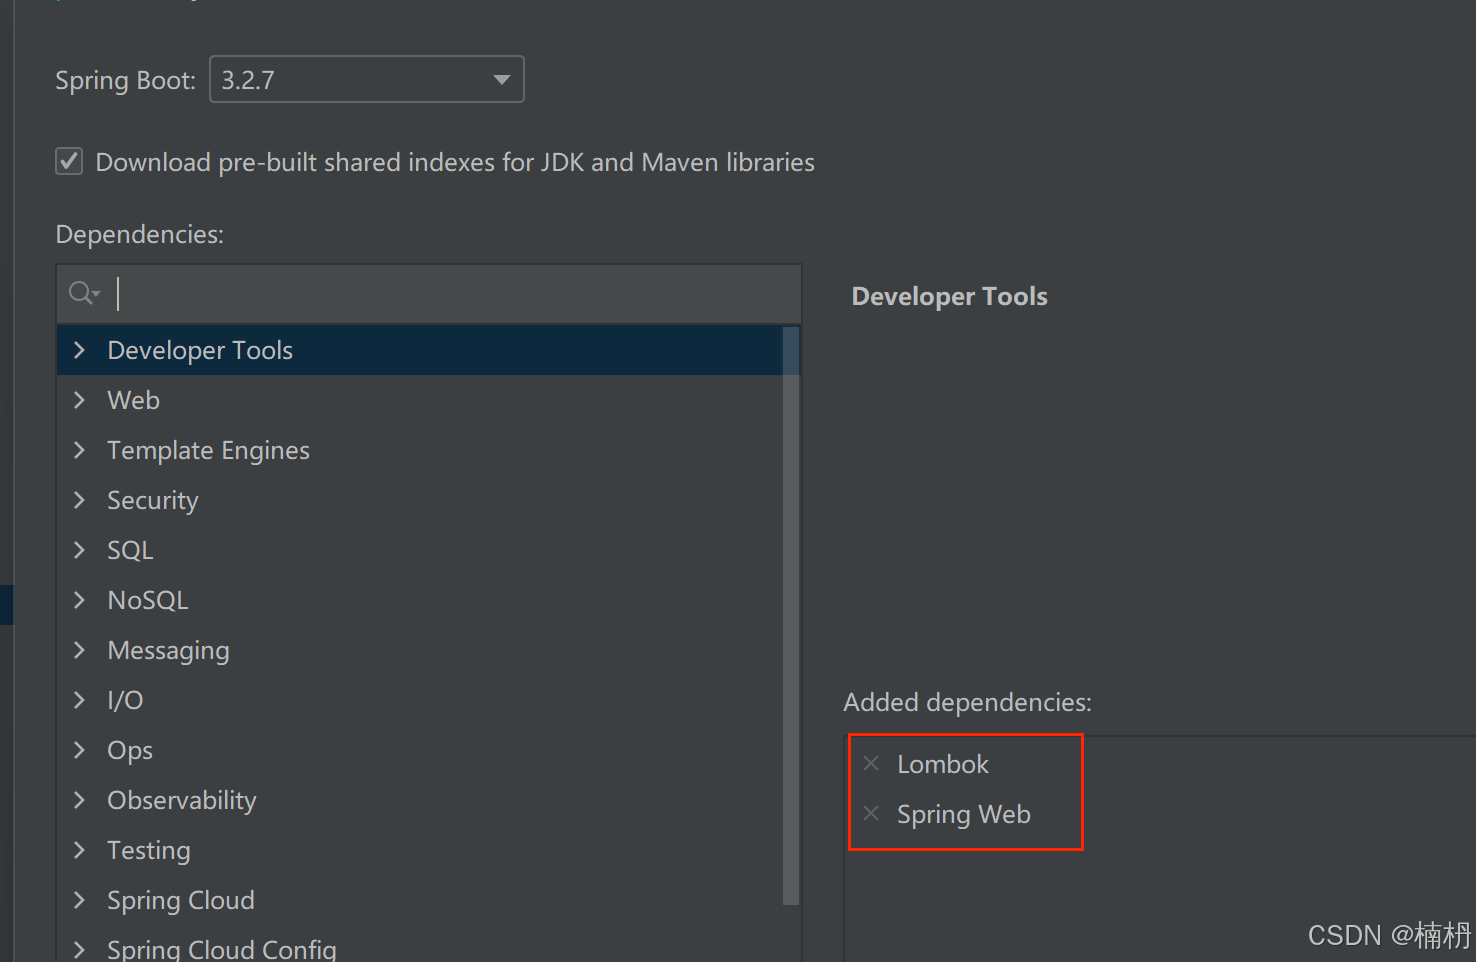
项目创建
我们首先创建项目,并引入相关依赖
前端代码实现
接下来,我们实现两个简单的前端界面:
1. 验证码界面
2. 验证成功后跳转的界面
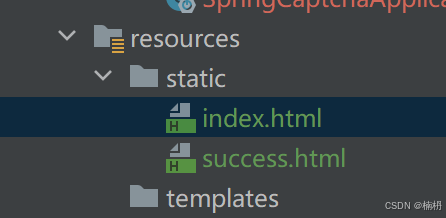
index.html
<!doctype html>
<html lang="en">
<head>
<meta charset="utf-8">
<title>验证码</title>
<style>
#inputcaptcha {
height: 30px;
vertical-align: middle;
}
#verificationcodeimg{
vertical-align: middle;
}
#checkcaptcha{
height: 40px;
width: 100px;
}
</style>
</head>
<body>
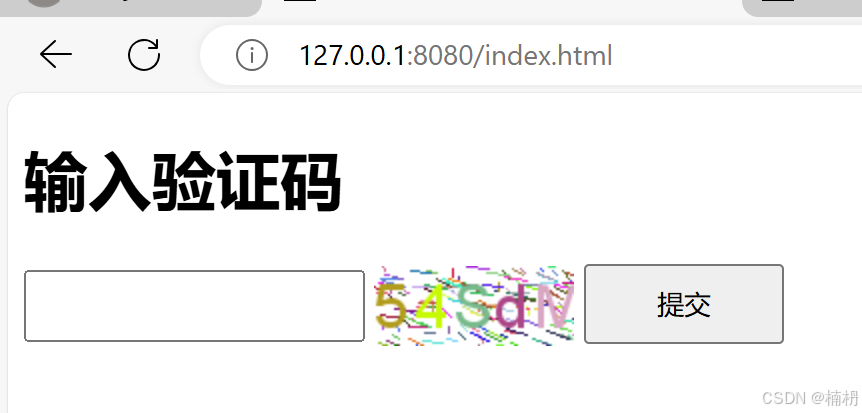
<h1>输入验证码</h1>
<div id="confirm">
<input type="text" name="inputcaptcha" id="inputcaptcha">
<img id="verificationcodeimg" src="/captcha/getcaptcha" style="cursor: pointer;" title="看不清?换一张" />
<input type="button" value="提交" id="checkcaptcha">
</div>
<script src="https://cdn.bootcdn.net/ajax/libs/jquery/3.6.4/jquery.min.js"></script>
<script>
$("#verificationcodeimg").click(function(){
$(this).hide().attr('src', '/captcha/getcaptcha?dt=' + new date().gettime()).fadein();
});
$("#checkcaptcha").click(function () {
alert("判断验证码是否正确");
});
</script>
</body>
</html>success.html
<!doctype html>
<html lang="en">
<head>
<meta charset="utf-8">
<meta name="viewport" content="width=device-width, initial-scale=1.0">
<title>验证成功</title>
</head>
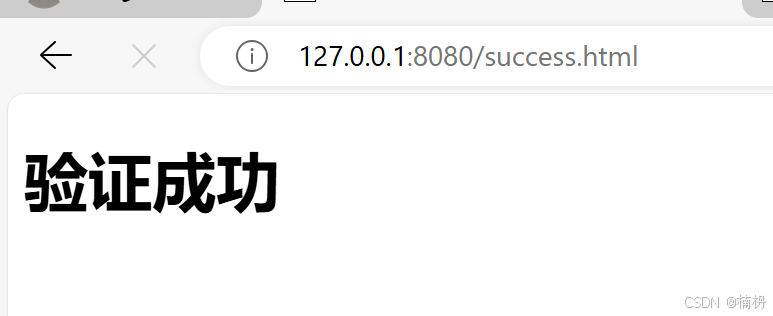
<body>
<h1>验证成功</h1>
</body>
</html>约定前后端交互接口
需求分析
后端需要提供两个服务:
1. 生成验证码,并返回
2. 校验验证码是否正确
接口定义
1. 生成验证码
[url]
get /captcha/getcaptcha
[请求参数]
[响应]
{
   验证码图片内容
}
2. 校验验证码是否正确
[url]
post /captcha/check
[请求参数]
captcha=xmad
[响应]
{
   true
}
根据用户输入的验证码,校验验证码是否正确,校验成功,返回true;校验失败,返回false
hutool工具
我们使用 hutool 提供的小工具来实现验证码
hutool是一个java工具包类库,对文件、流、加密解密、转码、正则、线程、xml等jdk方法进行封装,组成各种util工具类
hutool是一个小而全的java工具类库,通过静态方法的封装,降低相关api学习成本,提高效率
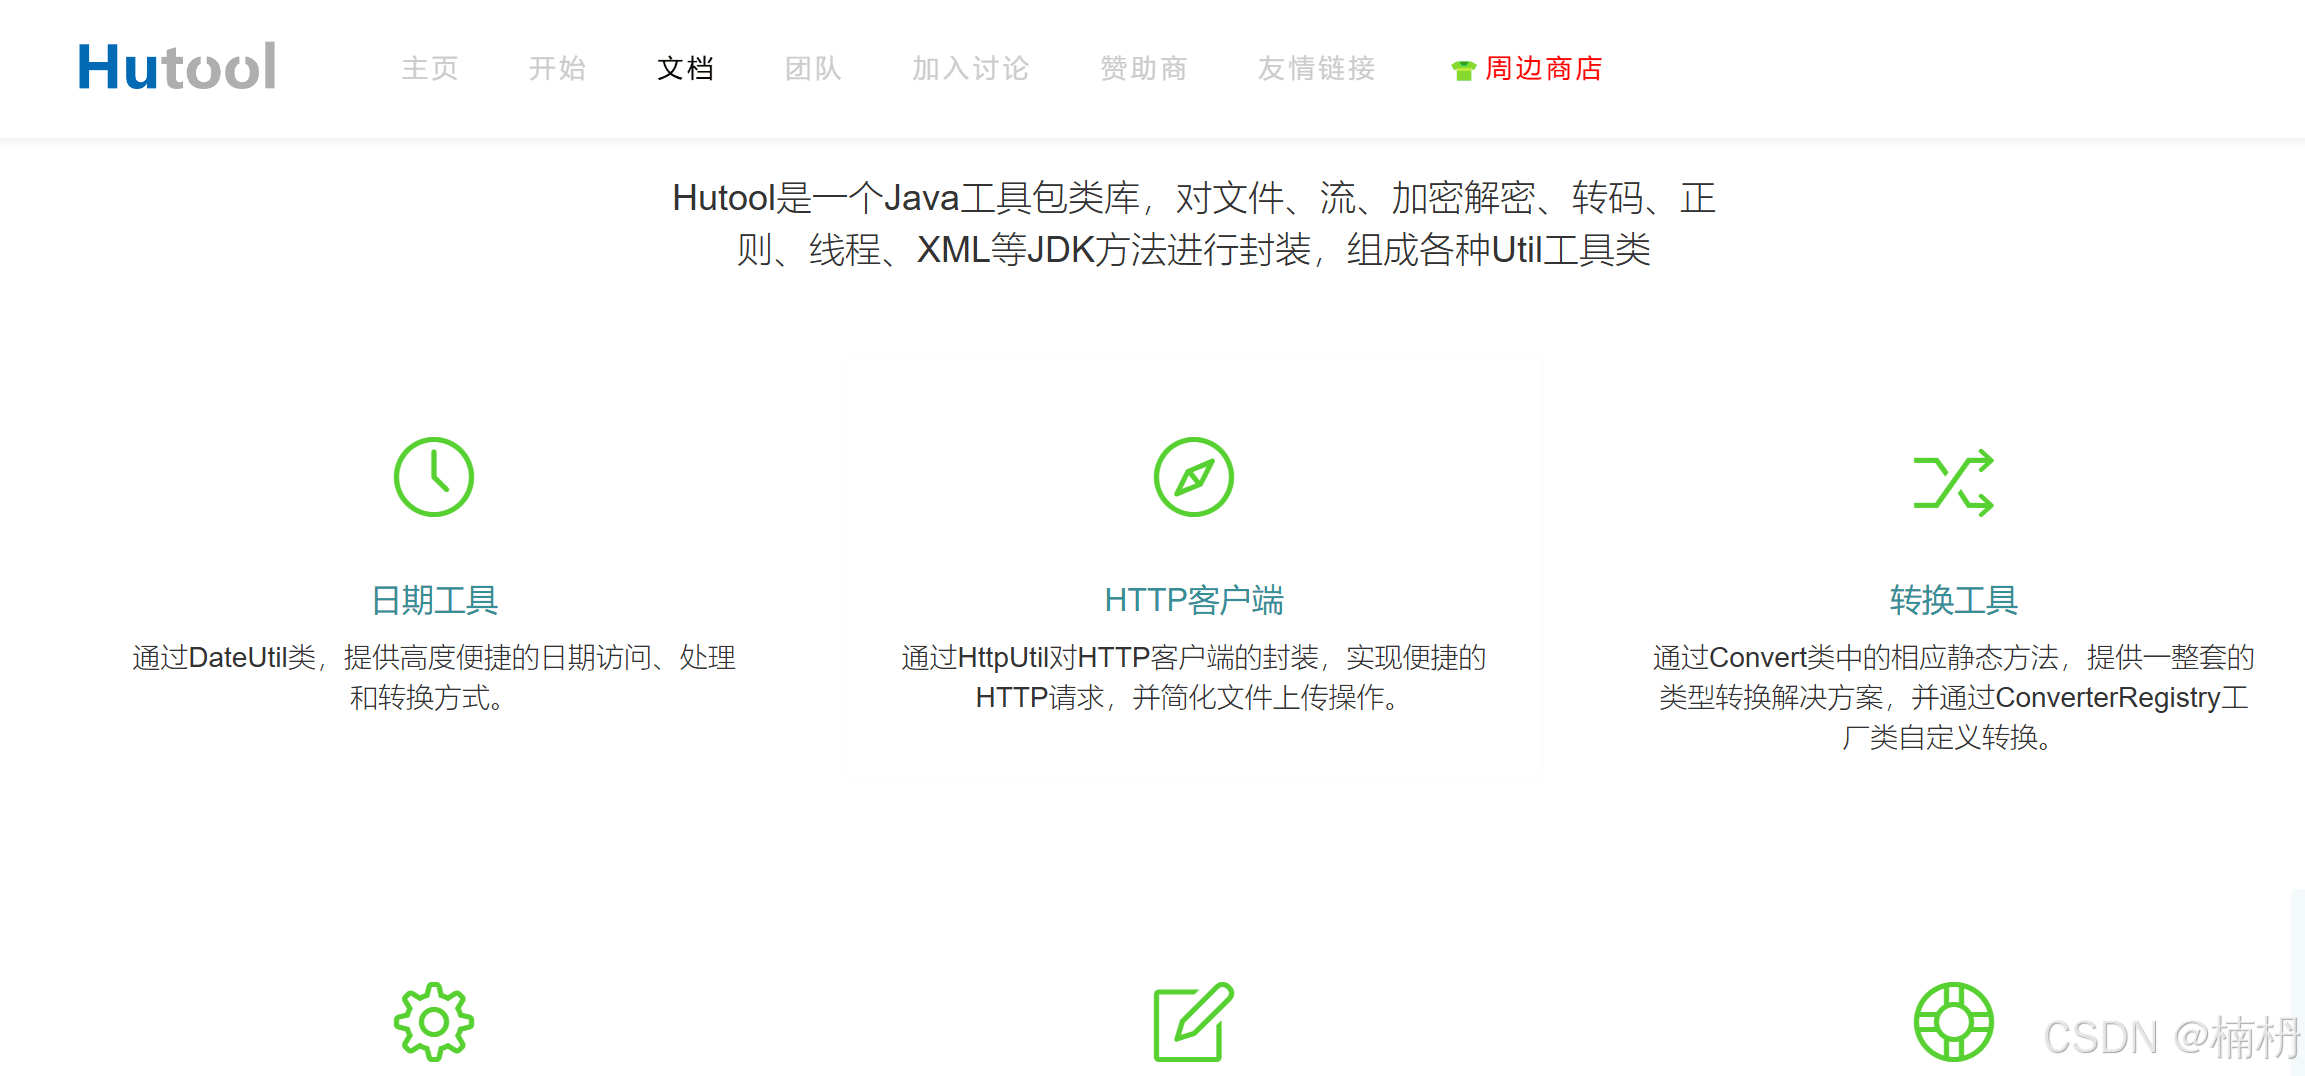
hutool官网:https://hutool.cn
实现服务器端代码
引入依赖
        <dependency>
            <groupid>cn.hutool</groupid>
            <artifactid>hutool-captcha</artifactid>
            <version>5.8.26</version>
        </dependency>
由于我们只需要实现验证码相关功能,因此只需要引入验证码部分依赖
获取验证码

我们可以通过提供的指南来学习如何使用
其中提供了:线段干扰验证码、圆圈干扰验证码、扭曲干扰验证码以及自定义验证码
我们通过其提供的例子来学习:
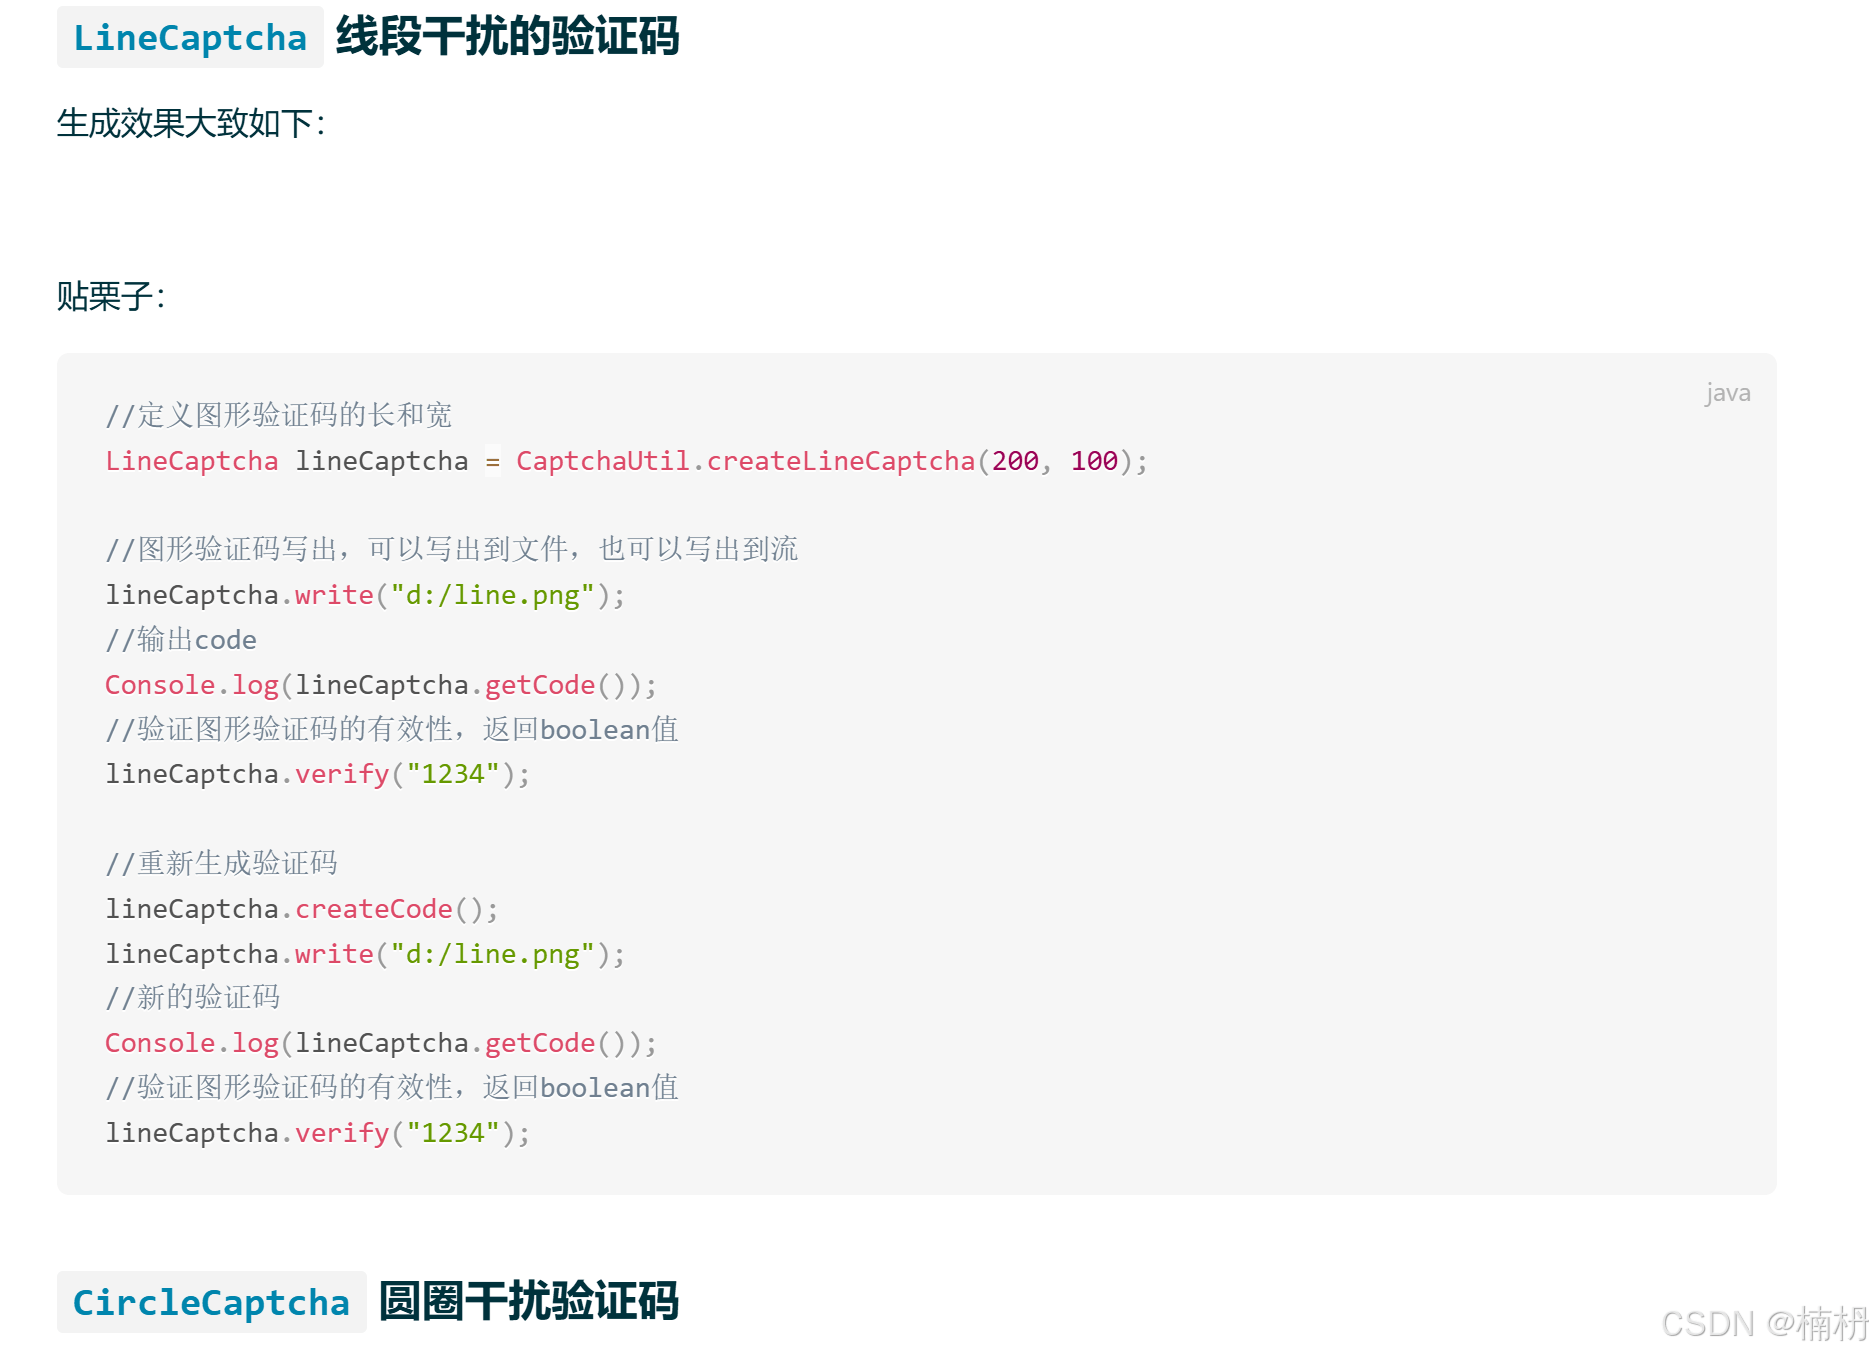
我们在 test 中 学习验证码的生成:
@springboottest
class captchacontrollertest {
    @test
    void getcaptcha() {
        //定义图形验证码的长和宽
        linecaptcha linecaptcha = captchautil.createlinecaptcha(200, 100);
        //图形验证码写出,可以写出到文件,也可以写出到流
        linecaptcha.write("d:/line.png");
        //输出code
        system.out.println("生成验证码:" + linecaptcha.getcode());
    }
}
运行,观察结果:
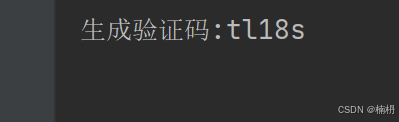
且在d盘下成功生成验证码:

同样的,我们可以生成圆圈干扰验证码、扭曲干扰验证码等,大家可自行进行实现
接下来,我们实现验证码的生成
在实现验证码时,需要指定图片的长、宽和验证码的过期时间(也可指定验证码字符个数、干扰元素个数等),我们在 constants 中进行定义
public class constants {
    public static final integer captcha_width = 100;
    public static final integer captcha_height = 40;
    public static final long expiration_time = 60 * 1000;
}由于当用户输入验证码时,我们需要进行校验,因此,我们需要对生成的验证码进行存储,同时,需要存储验证码的生成时间,以便判断验证码是否超时
public class constants {
    public static final integer captcha_width = 100;
    public static final integer captcha_height = 40;
    public static final long expiration_time = 60 * 1000;
    public static final string captcha_key = "captcha";
    public static final string captcha_date = "date";
}
接下来我们来实现 captchacontroller
@requestmapping("/captcha")
@restcontroller
@slf4j
public class captchacontroller {
    /**
     * 生成验证码
     * @param session
     * @param response
     */
    @getmapping("/getcaptcha")
    public void getcaptcha(httpsession session, httpservletresponse response) {
        // 定义图形验证码的长和宽
        linecaptcha linecaptcha = captchautil.createlinecaptcha(constants.captcha_width, constants.captcha_height);
        // 设置返回数据类型
        response.setcontenttype("image/jpeg");
        // 禁止使用缓存
        response.setheader("pragma", "no-cache");
        try {
            // 输出到页面
            linecaptcha.write(response.getoutputstream());
            // 将 生成的验证码 和 验证码生成时间 存储到session中
            session.setattribute(constants.captcha_key, linecaptcha.getcode());
            session.setattribute(constants.captcha_date, new date());
            // 关闭流
            response.getoutputstream().close();
        } catch (ioexception e) {
            throw new runtimeexception(e);
        }
    }
}
运行程序,此时成功生成验证码
验证码校验
    /**
     * 验证码校验
     * @param captcha
     * @param session
     * @return
     */
    @postmapping("/check")
    public boolean checkcaptcha(string captcha, httpsession session) {
        log.info("接收到验证码: {}", captcha);
        // 参数校验
        if(!stringutils.haslength(captcha)) {
            return false;
        }
        // 获取存储的验证码和生成时间
        string code = (string) session.getattribute(constants.captcha_key);
        date createtime = (date) session.getattribute(constants.captcha_date);
        // 判断验证码是否正确(验证码一般忽略大小写)
        if(captcha.equalsignorecase(code)) {
            // 判断验证码是否过时
            if(createtime == null || system.currenttimemillis() - createtime.gettime() < constants.expiration_time) {
                return true;
            }
            return false;
        }
        return false;
    }
将用户输入的验证码与存储在 session 中的验证码进行对比,判断其是否相同,若相同且在1min内,则验证成功
在这里,我们就不对其进行测试了,在调整前端代码后,一起进行测试
调整前端代码
接下来,我们修改 index.html
<script>
$("#verificationcodeimg").click(function(){
$(this).hide().attr('src', '/captcha/getcaptcha?dt=' + new date().gettime()).fadein();
});
$("#checkcaptcha").click(function () {
$.ajax({
url: "/captcha/check",
type: "post",
data: {
captcha: $("#inputcaptcha").val()
},
success: function(result) {
if(result) {
location.href = "success.html";
}else {
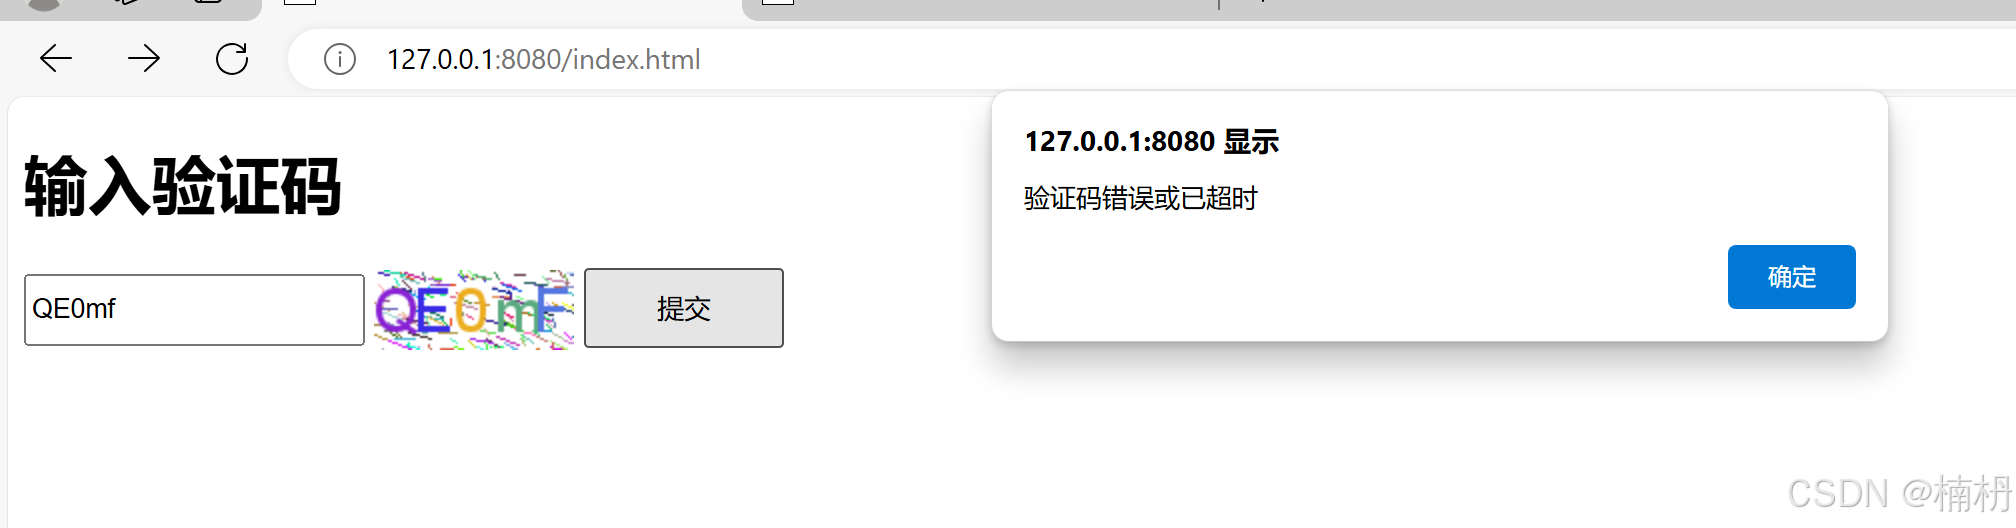
alert("验证码错误或已超时");
}
}
})
});
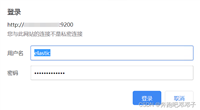
</script>再次运行程序,此时输入验证码进行验证:

验证成功:
验证失败:
到此这篇关于springboot实现图形验证码的文章就介绍到这了,更多相关springboot图形验证码内容请搜索3w代码以前的文章或继续浏览下面的相关文章希望大家以后多多支持3w代码!

发表评论