一、配置
1.修改配置文件
修改配置文件 config/elasticsearch.yml,写入以下配置:
xpack.security.enabled: true
discovery.type: single-node
xpack.security.transport.ssl.enabled: true
2.设置密码
执行命令:
./bin/elasticsearch-setup-passwords interactive
会为4个用户设置密码:
- elastic, kibana, logstash_system,beats_system
其中:
- elastic 账号:内置的超级用户,拥有 superuser 角色。
- kibana 账号:用来连接 elasticsearch 并与之通信。kibana 服务器以该用户身份提交请求以访问集群监视 api 和 .kibana 索引,不能访问 index。
- logstash_system 账号:用户 logstash 在 elasticsearch 中存储监控信息时使用。
3.修改密码
以下命令将 elastic 密码修改为 “123456”:
curl -h "content-type:application/json" -xpost -u elastic 'http://127.0.0.1:9200/_xpack/security/user/elastic/_password' -d '{ "password" : "123456" }'
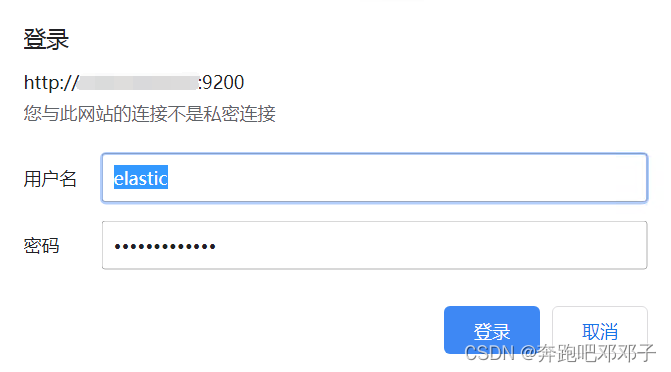
二、验证
访问 http://ip地址:9200/
总结
到此这篇关于elasticsearch设置密码的方法与验证的文章就介绍到这了,更多相关elasticsearch设置密码内容请搜索代码网以前的文章或继续浏览下面的相关文章希望大家以后多多支持代码网!


发表评论