这是一个基于flask和pyqt的排班系统,可以将web界面嵌入到桌面应用程序中。
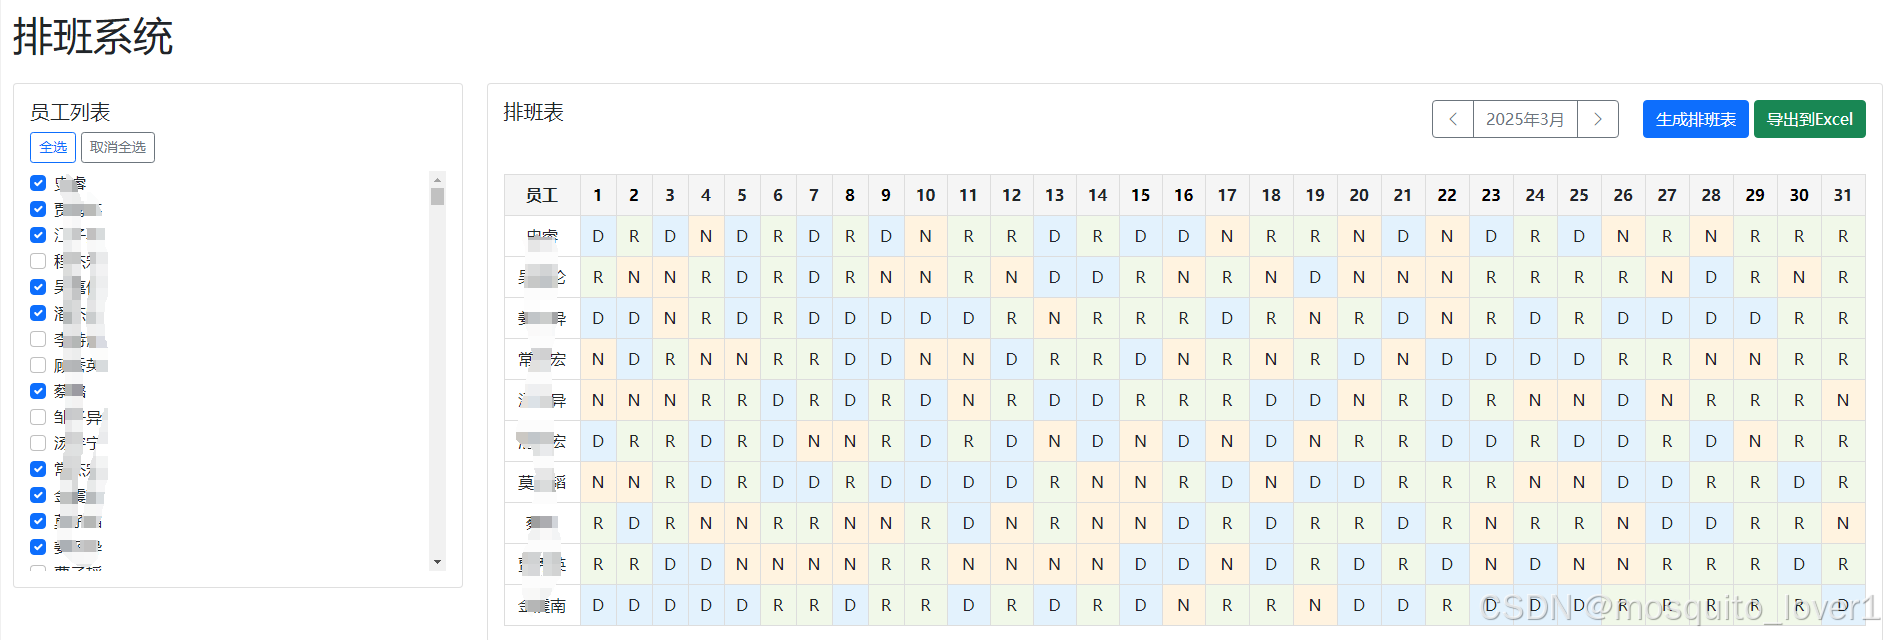
系统界面
功能特点
- 读取员工信息和现有排班表
- 自动生成排班表
- 美观的web界面
- 独立的桌面应用程序
整体架构
系统采用前后端分离的架构设计,通过 pyqt5 的 webengine 组件将 web 界面嵌入到桌面应用中。
├── 桌面应用层 (pyqt5)
│ └── webengine 视图
├── web 层 (flask)
│ ├── 路由控制
│ └── 业务逻辑
└── 数据层
├── csv 数据文件
└── excel 导出
核心模块
主程序模块 (main.py)
- 负责初始化 pyqt5 应用
- 集成 flask 服务器
- 管理主窗口和 web 视图
后端服务模块 (app.py)
- 提供 restful api
- 处理排班算法
- 管理数据导入导出
前端界面模块 (templates/index.html)
- 员工列表管理
- 排班表显示
- 用户交互处理
核心代码:main.py
import sys
import time
from pyqt5.qtwidgets import qapplication, qmainwindow, qwidget, qvboxlayout
from pyqt5.qtwebenginewidgets import qwebengineview
from pyqt5.qtcore import qurl
from flask import flask
import threading
import os

class mainwindow(qmainwindow):
    def __init__(self):
        super().__init__()
        self.setwindowtitle("排班系统")
        self.setgeometry(100, 100, 1200, 800)

        # 创建中心部件
        central_widget = qwidget()
        self.setcentralwidget(central_widget)
        layout = qvboxlayout(central_widget)

        # 创建web视图
        self.web_view = qwebengineview()
        layout.addwidget(self.web_view)

        # 启动flask服务器
        self.start_flask_server()

        # 等待服务器启动后加载页面
        time.sleep(1)  # 给服务器一点启动时间
        self.web_view.seturl(qurl("http://127.0.0.1:3863"))

    def start_flask_server(self):
        # 在新线程中启动flask服务器
        threading.thread(target=self.run_flask, daemon=true).start()

    def run_flask(self):
        from app import app
        app.run(host='127.0.0.1', port=3863)

def main():
    app = qapplication(sys.argv)
    window = mainwindow()
    window.show()
    sys.exit(app.exec_())

if __name__ == '__main__':
    main()
核心代码:app.py
from flask import flask, render_template, request, jsonify, send_file
import pandas as pd
from datetime import datetime, timedelta
import calendar
import json
import numpy as np
import os

app = flask(__name__)

# 班次定义
shifts = {
    '白班': 'd',
    '晚班': 'n',
    '休息': 'r'
}

# 读取员工数据
def load_employee_data():
    try:
        df = pd.read_csv('employee.csv', encoding='utf-8')
        # 只返回员工姓名列
        return pd.dataframe({'name': df["employee'sname"]})
    except exception as e:
        print(f"error loading employee data: {e}")
        return pd.dataframe({'name': []})

# 读取排班表
def load_schedule():
    try:
        df = pd.read_excel('客户服务部排班表20250301-20250331.xls')
        return df
    except exception as e:
        print(f"error loading schedule: {e}")
        return pd.dataframe()

def get_month_calendar(year, month):
    cal = calendar.monthcalendar(year, month)
    return cal

def generate_monthly_schedule(employees, year, month):
    num_days = calendar.monthrange(year, month)[1]
    num_employees = len(employees)

    # 将employees列表转换为numpy数组
    employees_array = np.array(employees)

    # 创建排班表
    schedule = pd.dataframe(index=employees, columns=range(1, num_days + 1))
    schedule.fillna('r', inplace=true)  # 默认全部休息

    # 为每一天分配班次
    for day in range(1, num_days + 1):
        # 确保每天有足够的白班和晚班
        day_employees = employees_array.copy()
        np.random.shuffle(day_employees)

        # 分配白班(约40%的员工)
        day_shifts = int(num_employees * 0.4)
        schedule.loc[day_employees[:day_shifts], day] = 'd'

        # 分配晚班(约30%的员工)
        night_shifts = int(num_employees * 0.3)
        schedule.loc[day_employees[day_shifts:day_shifts+night_shifts], day] = 'n'

    # 确保每周至少休息两天
    for employee in employees:
        for week in range(0, num_days, 7):
            week_schedule = schedule.loc[employee, week+1:min(week+7, num_days)]
            rest_days = (week_schedule == 'r').sum()
            if rest_days < 2:
                work_days = list(week_schedule[week_schedule != 'r'].index)
                if work_days:  # 确保有工作日可以调整
                    np.random.shuffle(work_days)
                    for i in range(min(2-rest_days, len(work_days))):
                        schedule.loc[employee, work_days[i]] = 'r'

    return schedule

@app.route('/')
def index():
    return render_template('index.html')

@app.route('/api/employees')
def get_employees():
    df = load_employee_data()
    return jsonify(df.to_dict('records'))

@app.route('/api/calendar/<int:year>/<int:month>')
def get_calendar(year, month):
    cal = get_month_calendar(year, month)
    return jsonify(cal)

@app.route('/api/generate_schedule', methods=['post'])
def generate_schedule():
    try:
        data = request.get_json()
        year = data.get('year', 2025)
        month = data.get('month', 1)
        selected_employees = data.get('employees', [])

        if not selected_employees:
            return jsonify({"status": "error", "message": "请选择员工"})

        schedule = generate_monthly_schedule(selected_employees, year, month)

        # 将dataframe转换为字典格式
        schedule_dict = {}
        for employee in selected_employees:
            schedule_dict[employee] = schedule.loc[employee].to_dict()

        return jsonify({
            "status": "success",
            "schedule": schedule_dict,
            "message": "排班表生成成功"
        })
    except exception as e:
        return jsonify({"status": "error", "message": str(e)})

@app.route('/api/export_schedule', methods=['post'])
def export_schedule():
    try:
        data = request.get_json()
        year = data.get('year', 2025)
        month = data.get('month', 1)
        schedule_data = data.get('schedule', {})

        # 创建新的排班表
        df = pd.dataframe.from_dict(schedule_data, orient='index')

        # 设置列名为日期
        df.columns = [str(i) for i in range(1, len(df.columns) + 1)]

        # 重置索引,将员工名称作为一列
        df.reset_index(inplace=true)
        df.rename(columns={'index': '姓名'}, inplace=true)

        # 保存文件
        output_file = f'客户服务部排班表{year}{month:02d}01-{year}{month:02d}{calendar.monthrange(year, month)[1]}.xlsx'

        # 使用 openpyxl 引擎保存为 xlsx 格式
        df.to_excel(output_file, index=false, engine='openpyxl')

        # 返回文件下载路径
        return send_file(
            output_file,
            as_attachment=true,
            download_name=output_file,
            mimetype='application/vnd.openxmlformats-officedocument.spreadsheetml.sheet'
        )
    except exception as e:
        print(f"export error: {str(e)}")  # 添加错误日志
        return jsonify({"status": "error", "message": f"导出失败: {str(e)}"})

if __name__ == '__main__':
    app.run(host='127.0.0.1', port=3863, debug=true)
到此这篇关于python+flask编写一个简单实用的自动排班系统的文章就介绍到这了,更多相关python flask自动排班系统内容请搜索代码网以前的文章或继续浏览下面的相关文章希望大家以后多多支持代码网!


发表评论