前言
通过上一章节《最新spring security实战教程(一)初识spring security安全框架》的讲解介绍相信大家已经认识 spring security 安全框架,在我们创建第一个项目演示中,相信大家发现了默认表单登录的局限性spring security 默认提供的登录页虽然快速可用,但存在三大问题:
- 界面风格与业务系统不匹配
- 登录成功/失败处理逻辑固定
- 缺乏扩展能力(如验证码、多因子认证)
本章节我们将spring security 默认表单进行登录定制到处理逻辑的深度改造
改造准备
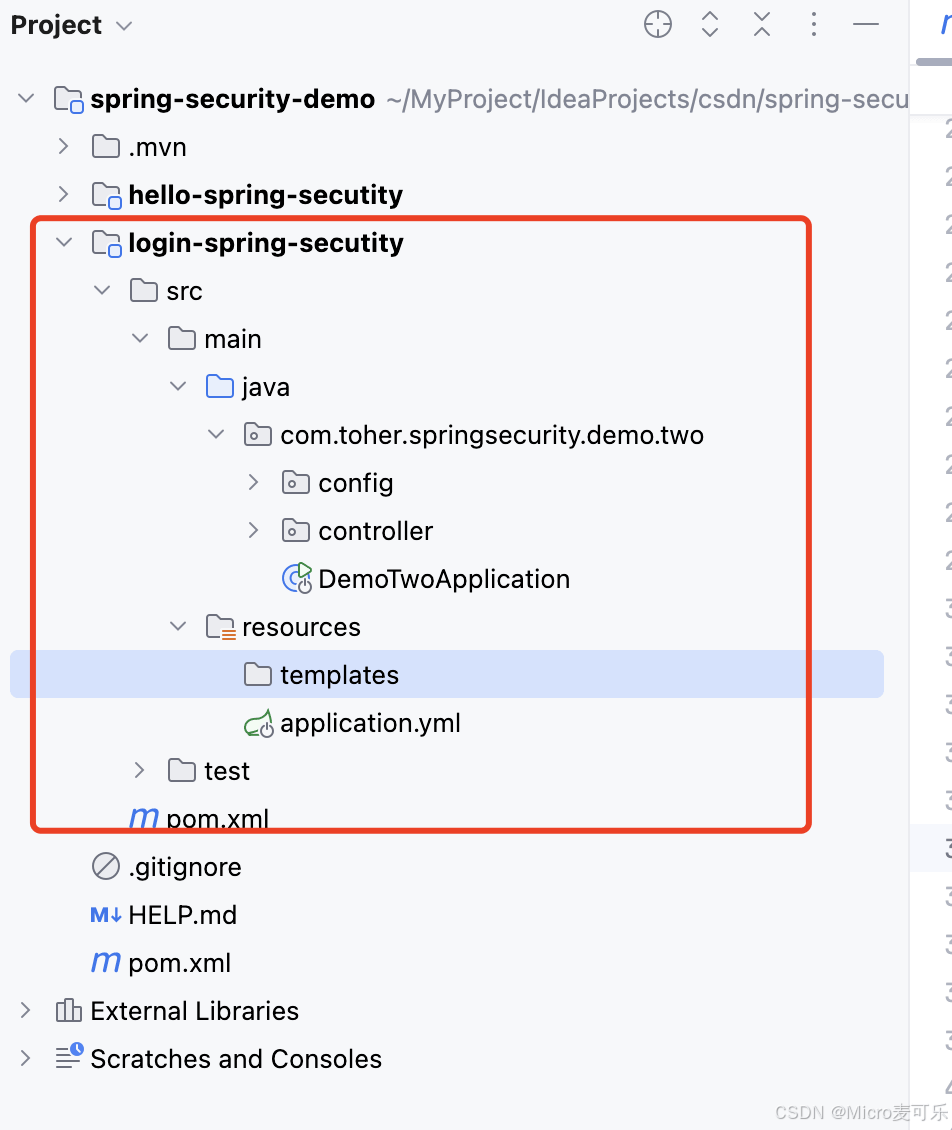
现在在之前的maven项目中创建第二个子模块,命名 login-spring-secutity ,由于我们需要自定义登陆页,还需要追加引入 thymeleaf 模版框架
<dependency>
    <groupid>org.springframework.boot</groupid>
    <artifactid>spring-boot-starter-thymeleaf</artifactid>
</dependency>
完整的maven项目结构如下:
开始登录页改造
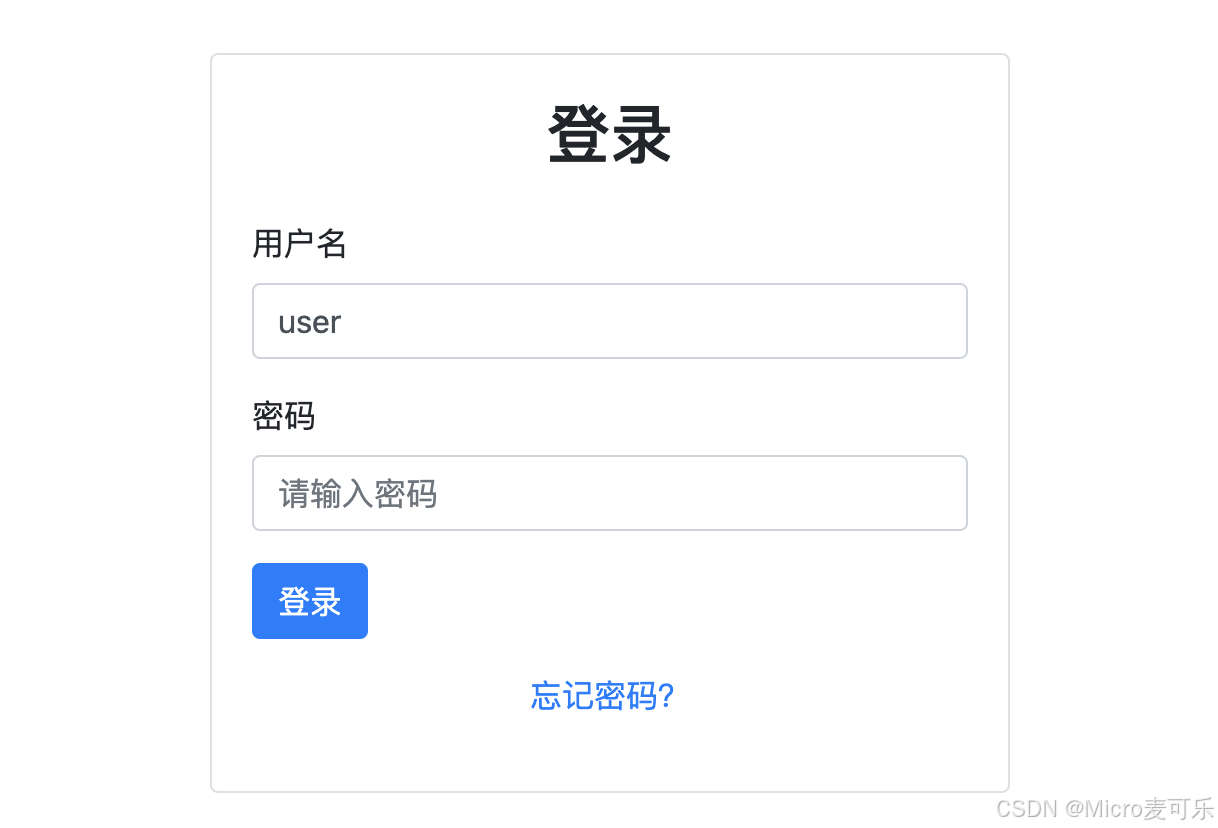
我们第一步需要自定义自己的带验证码的登陆页,在 resources/templates 目录下创建login.html
<!-- src/main/resources/templates/login.html -->
<!doctype html>
<html xmlns:th="http://www.thymeleaf.org">
<head>
    <meta charset="utf-8">
    <title>企业级登录系统</title>
    <link rel="stylesheet" href="https://maxcdn.bootstrapcdn.com/bootstrap/4.5.2/css/bootstrap.min.css" rel="external nofollow"  rel="external nofollow"  rel="external nofollow" >
</head>
<body>
<div class="container d-flex justify-content-center align-items-center vh-100">
    <div class="w-100" style="max-width: 400px;">
        <div class="card">
            <div class="card-body">
                <h2 class="card-title text-center mb-4">登录</h2>
                <form th:action="@{/login}" method="post">
                    <div class="mb-3">
                        <label for="username" class="form-label">用户名</label>
                        <input type="text" class="form-control" name="username" id="username" placeholder="请输入用户名">
                    </div>
                    <div class="mb-3">
                        <label for="password" class="form-label">密码</label>
                        <input type="password" class="form-control" name="password" id="password" placeholder="请输入密码">
                    </div>
                    <div class="d-grid gap-2">
                        <button type="submit" class="btn btn-primary">登录</button>
                    </div>
                    <p class="mt-3 text-center"><a href="#" rel="external nofollow"  rel="external nofollow" >忘记密码?</a></p>
                </form>
            </div>
        </div>
    </div>
</div>
</body>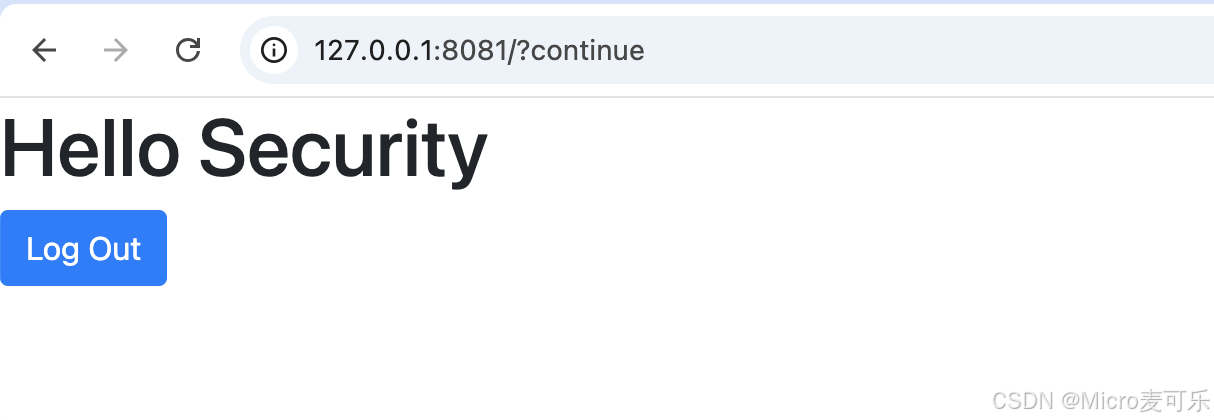
</html>添加一个默认首页index.html,显示登出按钮
<!-- src/main/resources/templates/index.html -->
<html xmlns:th="https://www.thymeleaf.org">
<head>
    <meta charset="utf-8">
    <title>企业级登录系统</title>
    <link rel="stylesheet" href="https://maxcdn.bootstrapcdn.com/bootstrap/4.5.2/css/bootstrap.min.css" rel="external nofollow"  rel="external nofollow"  rel="external nofollow" >
</head>
<body>
<h1>hello security</h1>
<!-- 测试过程不需要关闭csrf防护 -->
<form th:action="@{/login}" method="post">
    <button type="submit" class="btn btn-primary">log out</button>
</form>
<!-- 测试过程需要关闭csrf防护 否则404 -->
<a th:href="@{/logout}" rel="external nofollow" >log out</a>
</body>
</html>
添加 contrller 配置首页以及登陆页
@controller
public class demotowcontroller {
    @getmapping("/login")
    public string login() {
        return "login";
    }
    @getmapping("/")
    public string index() {
        return "index";
    }
}
最后对 spring security 进行配置
@configuration
public class basicsecurityconfig {
    // 配置安全策略
    @bean
    public securityfilterchain filterchain(httpsecurity http) throws exception {
        http.
                authorizehttprequests(authorize -> authorize
                        .anyrequest().authenticated()
                )
                .formlogin(form -> form
                        .loginpage("/login") // 自定义登录页路径
                        .permitall() //不需要对login认证
                )
                .logout(withdefaults())
                .csrf(csrf -> csrf.disable()) //关闭csrf防护
        ;
        return http.build();
    }
}
测试访问默认访问主页,由于主页被拦截会自动跳转自login登陆页
输入正确用户名密码后,自动返回主页,点击登出按钮自动回到登录页
特别说明:
注意登录页以及主页登出,action 采用 @{} 生成url,spring security会自动帮我们生成name为_csrf 的隐藏表单,作用于 csrf 防护

如果你登出页是 a 连接形式,为了保证登出不会404的问题
1、我们先关闭 csrf 防护 http.csrf(csrf -> csrf.disable())
2、登出按钮使用表单方式 th:action="@{/logout}"
自定义用户名密码
到这里有小伙伴又要说了,每次密码都是spring security自动生成的uuid,能自定义用户名密码,答案是肯定的。spring security提供了在spring boot配置文件设置用户密码功能
# 默认安全配置(可通过application.yml覆盖)
spring:
  security:
    user:
      name: admin
      password: admin
登陆成功失败跳转问题
通过上述代码,小伙伴们看到登陆成功后,默认返回系统主页 即:index.html页面,因为业务需求需要跳转到别的页面,如何配置?
spring security 配置类中 formlogin 提供了两个参数 defaultsuccessurl 和 failureurl 方便我们进行配置
http.formlogin(form -> form
    .loginpage("/login") // 自定义登录页路径
    .defaultsuccessurl("/home", true) // 登录成功后跳转路径
    .failureurl("/login?error=true")  // 登录失败后跳转路径
    .permitall() //不需要对login认证
)
自定义登出
登出和登录基本相同,由于篇幅问题这里博主就不配置登出的页面以及登出成功页面了,主要看以下配置,相信大家都能理解了
http.logout(logout -> logout
    .logouturl("/logout") //自定义登出页
    .logoutsuccessurl("/login?logout") //登出成功跳转
)
前后端分离适配方案
上述的案例中针对的是前后端都在一个整体中的情况,针对现在前后端分离的项目我们如何来进行改造?我们处理以下问题:
- 用户登陆成功返回登陆成功 / 失败 返回对应json
- 用户登出成功返回登出成功 / 失败 返回对应json
这里博主首先引入官方的一个介绍图,如下:
我们发现在身份认证管理器 authenticationmanager中, 有两个结果 success 以及 failure ,最终交给 authenticationsuccesshandler 以及 authenticationfailurehandler 处理器处理。
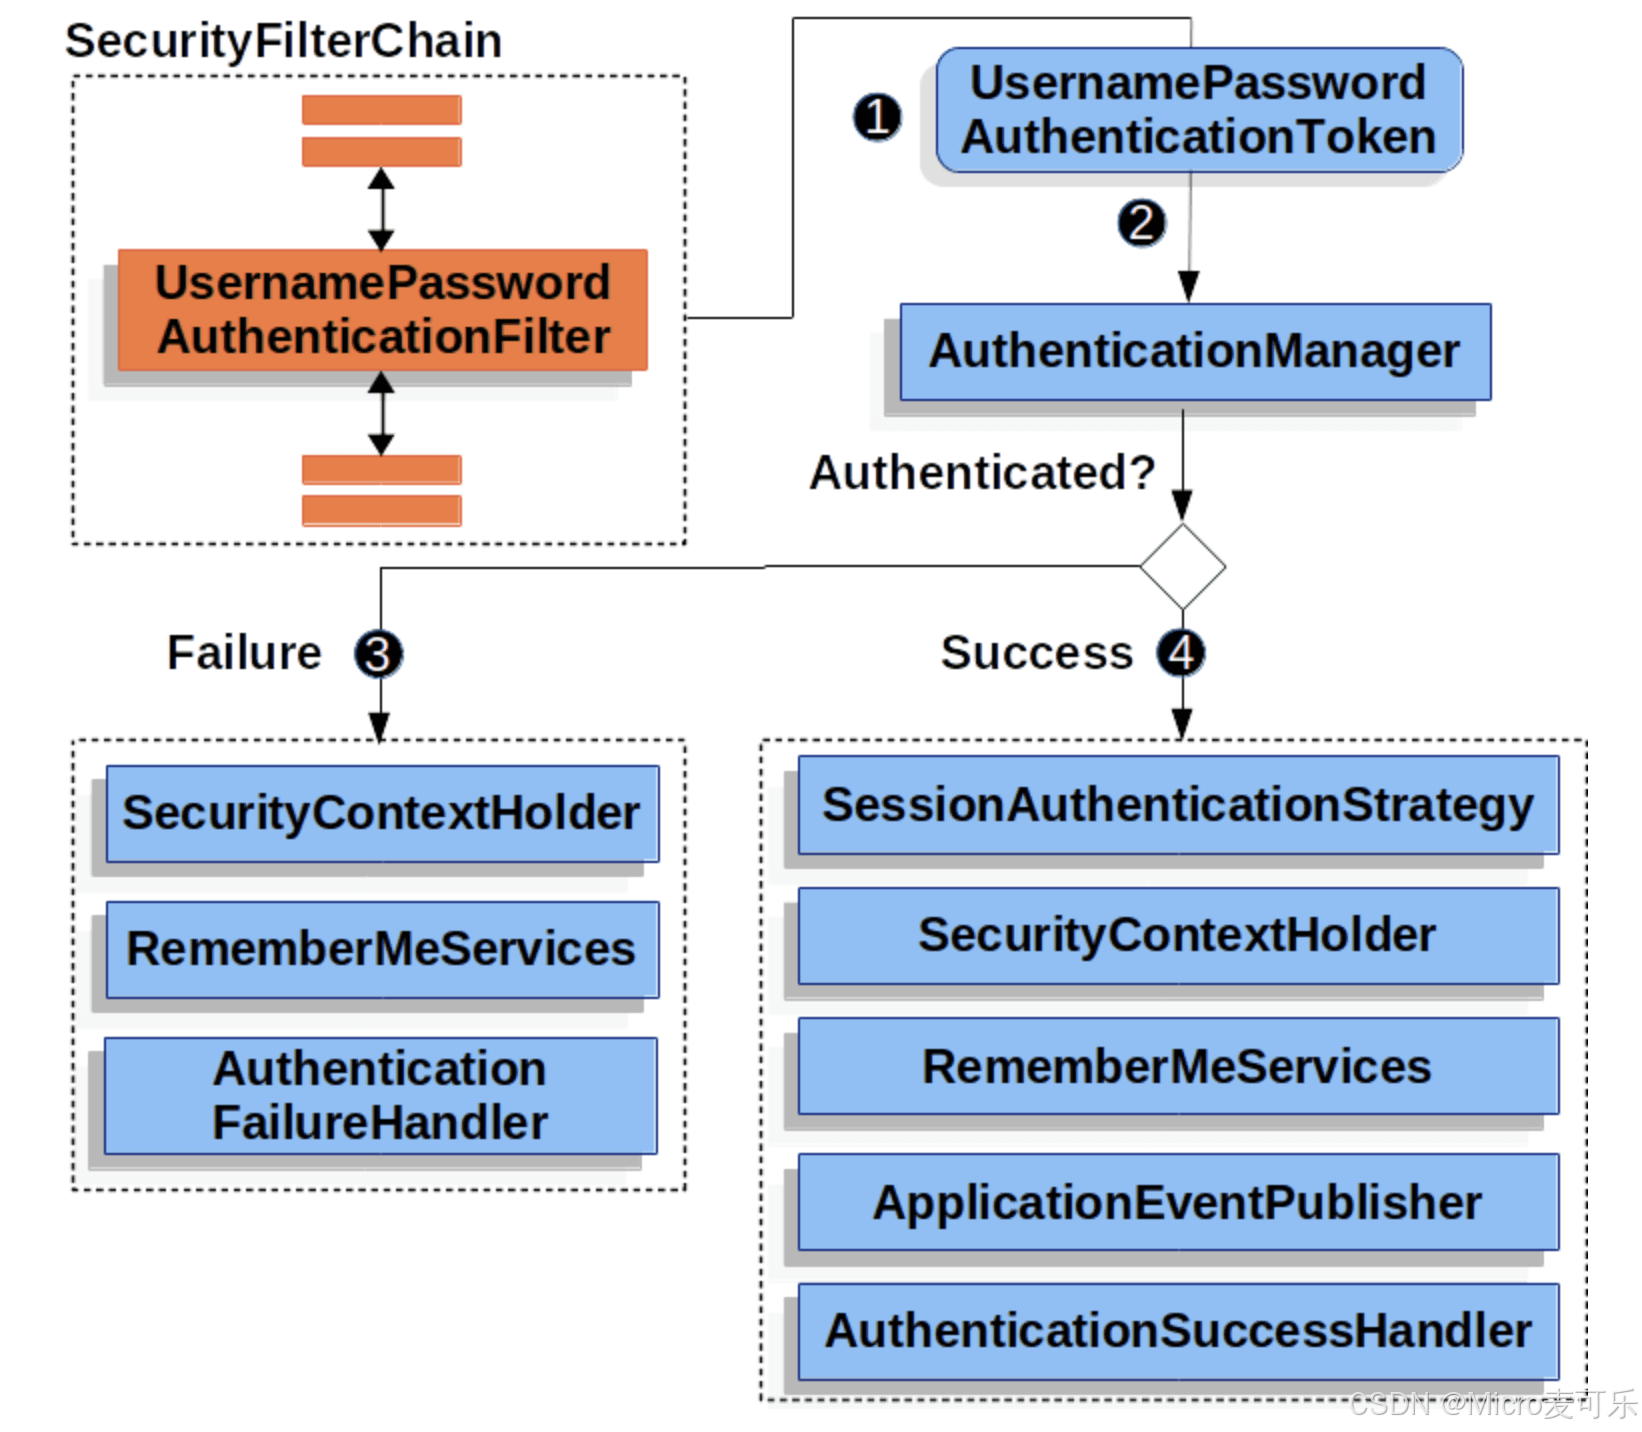
简单总结:
- 登录成功调用:authenticationsuccesshandler
- 登录失败调用:authenticationfailurehandler
通过上面的讲解,我们只需要自定义这两个处理器即可,我们在配置文件中增加这两个处理器,完整代码如下:
 // 自定义登录成功处理器
@configuration
public class basicsecurityconfig {
    // 配置安全策略
    @bean
    public securityfilterchain filterchain(httpsecurity http) throws exception {
        http.
                authorizehttprequests(authorize -> authorize
                        .requestmatchers("/ajaxlogin").permitall() //ajax登陆页不需要认证
                        .anyrequest().authenticated()
                )
                .formlogin(form -> form
                        .loginpage("/login") // 自定义登录页路径
//                        .defaultsuccessurl("/", true)        // 登录成功后跳转路径
//                        .failureurl("/login?error=true")         // 登录失败后跳转路径
                        .successhandler(loginsuccesshandler())
                        .failurehandler(loginfailurehandler())
                        .permitall() //不需要对login认证
                )
                .logout(withdefaults())
                .csrf(csrf -> csrf.disable()) //关闭csrf防护
        ;
        return http.build();
    }
    // 自定义登录成功处理器
    @bean
    public authenticationsuccesshandler loginsuccesshandler() {
        return (request, response, authentication) -> {
            if (isajaxrequest(request)) {
                response.setcontenttype("application/json");
                response.setcharacterencoding("utf-8");
                response.getwriter().write("{\"code\":200, \"message\":\"/认证成功\"}");
            } else {
                response.sendredirect("/");
            }
        };
    }
    // 自定义登录失败处理器
    @bean
    public authenticationfailurehandler loginfailurehandler() {
        return (request, response, exception) -> {
            if (isajaxrequest(request)) {
                response.setcharacterencoding("utf-8");
                response.getwriter().write("{\"code\":401, \"message\":\"认证失败\"}");
            } else {
                response.sendredirect("/login?error=true");
            }
        };
    }
    //判断是否ajax请求
    public boolean isajaxrequest(httpservletrequest request) {
        string xrequestedwith = request.getheader("x-requested-with");
        return "xmlhttprequest".equals(xrequestedwith);
    }
最后新增一个ajaxlogin.html 使用ajax发送请求(为了测试方便这里就简单创建一个,不使用vue等工程了)
<!-- src/main/resources/templates/ajaxlogin.html -->
<!doctype html>
<html xmlns:th="http://www.thymeleaf.org">
<head>
    <meta charset="utf-8">
    <title>企业级登录系统</title>
    <link rel="stylesheet" href="https://maxcdn.bootstrapcdn.com/bootstrap/4.5.2/css/bootstrap.min.css" rel="external nofollow"  rel="external nofollow"  rel="external nofollow" >
    <script src="http://libs.baidu.com/jquery/2.0.0/jquery.min.js"></script>
</head>
<body>
<div class="container d-flex justify-content-center align-items-center vh-100">
    <div class="w-100" style="max-width: 400px;">
        <div class="card">
            <div class="card-body">
                <h2 class="card-title text-center mb-4">登录</h2>
                <form>
                    <div class="mb-3">
                        <label for="username" class="form-label">用户名</label>
                        <input type="text" class="form-control" name="username" id="username" placeholder="请输入用户名">
                    </div>
                    <div class="mb-3">
                        <label for="password" class="form-label">密码</label>
                        <input type="password" class="form-control" name="password" id="password" placeholder="请输入密码">
                    </div>
                    <div class="d-grid gap-2">
                        <button type="submit" class="btn btn-primary">登录</button>
                    </div>
                    <p class="mt-3 text-center"><a href="#" rel="external nofollow"  rel="external nofollow" >忘记密码?</a></p>
                </form>
            </div>
        </div>
    </div>
</div>
<script>
    $(document).ready(function () {
        $('form').submit(function (event) {
            event.preventdefault();
            var username = $('#username').val();
            var password = $('#password').val();
            $.ajax({
                type: 'post',
                url: '/login',
                data: {
                    username: username,
                    password: password
                },
                success: function (response) {
                    console.log(response)
                    if(response.code ==200){
                        window.location.href = '/';
                    }
                }
            })
        })
    })
</script>
</body>
</html>
controller 中追加页面展示
@getmapping("/ajaxlogin")
public string ajaxlogin() {
return "ajaxlogin";
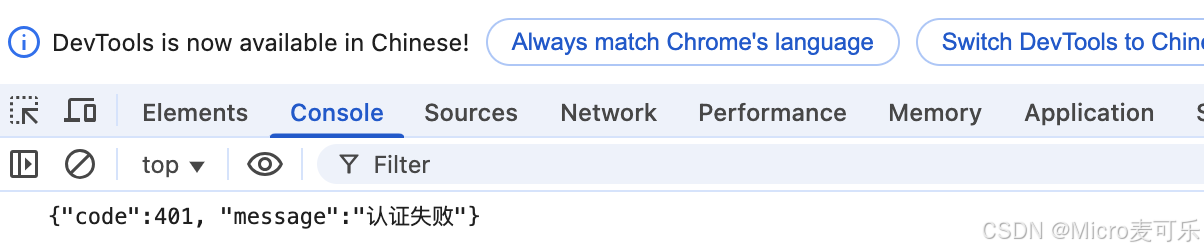
}最后启动spring boot项目,访问 /ajaxlogin 登陆页,测试输入正确和不正确的账号密码进行测试,并观察浏览器控制台输出
结语
本章节介绍了如何通过spring security实现从配置自定义登录页面、表单登录处理逻辑的配置,并简单模拟了前后分离的适配方案。小伙伴们可以跟着博主的样例代码自己敲一遍进行相关测试!如果本本章内容对您有所帮助,希望 一键三连 给博主一点点鼓励,如果您有任何疑问或建议,请随时留言讨论!
在接下来的章节中,我们将逐步深入 spring security 的各个技术细节,带你从入门到精通,全面掌握这一安全技术的方方面面。欢迎继续关注!
到此这篇关于最新spring security实战教程之表单登录定制到处理逻辑的深度改造(最新推荐)的文章就介绍到这了,更多相关spring security表单登录内容请搜索代码网以前的文章或继续浏览下面的相关文章希望大家以后多多支持代码网!


发表评论