引言
项目开发中,经常遇到图片上传功能,发现如果图片比较大时,在查看、预览、下载速度会特别慢,考虑到浪费流量以及文件服务器的存储空间,决定在后端优化处理完再上传,以减少存储空间与优化传输速率。这里使用java自带的imageio进行处理分享给大家。
1、java常见的图像处理插件
- java自带的
imageio - google的thumbnails(实现也相对于比较简单,功能也更加丰富)-- 可自行了解
本文将使用两种工具实现图片的压缩,在保持清晰度的前提下,去减少图片的大小,以达到减少存储空间与提高文件传输速率的目的。
2、图片压缩优化实战
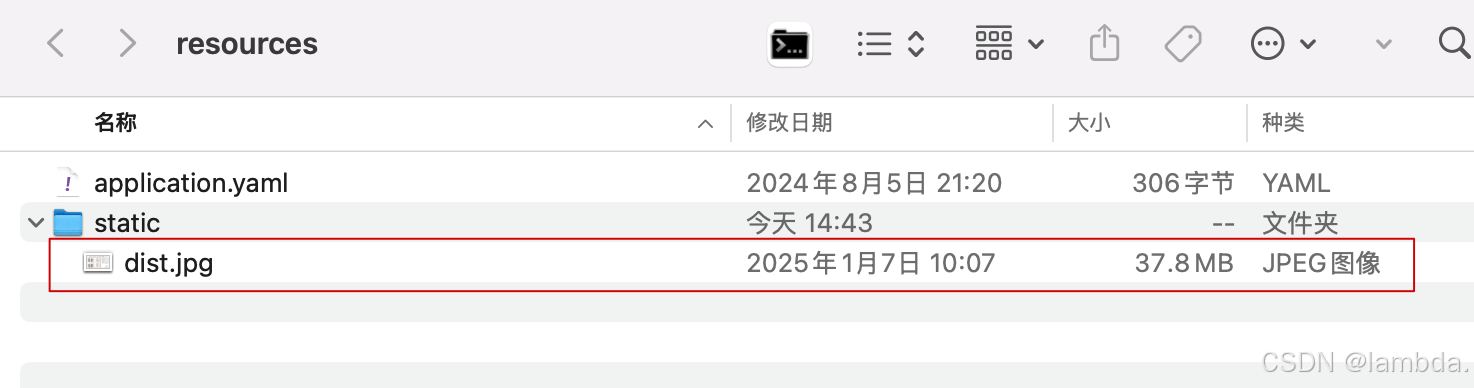
以压缩jpg文件为例,详见下图现有接近40mb的jpg文件。
google的thumbnails
1.先引入依赖
<!-- https://mvnrepository.com/artifact/net.coobird/thumbnailator -->
<dependency>
    <groupid>net.coobird</groupid>
    <artifactid>thumbnailator</artifactid>
    <version>0.4.20</version>
</dependency>
代码实现
@test
public void test4() {
    string filepath = "/static/dist.jpg"; // 文件路径
    classpathresource resource = new classpathresource(filepath);
    inputstream inputstream = null;
    try {
        inputstream = resource.getinputstream();
        int i = 0;
        for (float quality = 0.9f; quality > 0.0f; quality -= 0.1f) {
            string path = strutil.format("src/main/resources/static/compression_dist_{}.jpg", ++i);
            file distfile = new file(path);
            thumbnails.of(inputstream)
                    .scale(quality)
                    .outputquality(1) // 输出的图片质量
                    .tofile(distfile);
            long length = distfile.length();
            if (length / 1024 <= 5120) { // 压缩至5mb左右
                system.out.println(length / (1024 * 1024) + "mb");
                break;
            }
            if (objectutil.isnull(inputstream) || inputstream.available() == 0) {
                inputstream = new fileinputstream(distfile);
            }
            distfile.delete();
        }
    } catch (ioexception ex) {
        log.error(ex.getmessage());
        ex.printstacktrace();
    } finally {
        ioutil.close(inputstream);
    }
}
java自带的imageio
@test
public void test() {
    // 1.准备jpg图像编写器
    iterator<imagewriter> writers = imageio.getimagewritersbyformatname("jpg");
    imagewriter writer = writers.next();

    imagewriteparam writeparam = writer.getdefaultwriteparam();
    writeparam.setcompressionmode(imagewriteparam.mode_explicit); // 设置压缩模式

    // 2.准备源文件(要压缩的文件)
    string filepath = "/static/dist.jpg"; // 文件路径
    classpathresource resource = new classpathresource(filepath);

    // 3.指定目标压缩文件大小(这里按kb计算)
    int targetsize = 5120; // 5mb
    try (inputstream inputstream = resource.getinputstream()) {
        int available = inputstream.available();
        // 4.判断源文件大小是否小于目标压缩大小
        if ((available / 1000) <= targetsize) {
            log.error(strutil.format("[{}] 文件小于 {}kb 无需压缩!", resource.getfilename(), targetsize));
            return;
        }
        bufferedimage inputimage = imageio.read(inputstream);
        // 设定压缩比例(接近目标文件大小)
        for (float quality = 0.95f; quality > 0.0f; quality -= 0.05f) {
            string path = strutil.format("src/main/resources/static/compression_dist_{}.jpg", quality);
            file distfile = new file(path);
            // 输出参数
            imageoutputstream imageoutputstream = imageio.createimageoutputstream(distfile);
            writer.setoutput(imageoutputstream);

            writeparam.setcompressionquality(quality); // 设置压缩比例(0-1之间)
            writer.write(null, new iioimage(inputimage, null, null), writeparam);

            // 是否接近于目标大小
            if (distfile.length() / 1024 <= targetsize) {
                ioutil.close(imageoutputstream);
                break;
            }
            distfile.delete();
        }
    } catch (ioexception ex) {
        log.error(ex.getmessage());
        ex.printstacktrace();
    }

    // ioutil.close(imageoutputstream);
    writer.dispose();
}
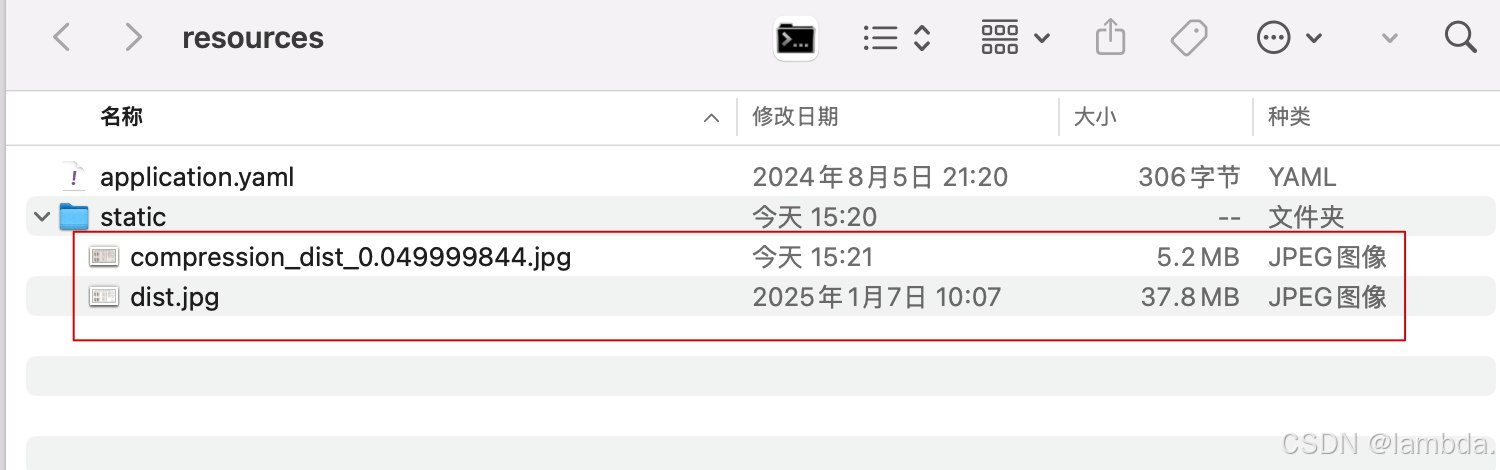
再来看压缩效果(dist.jpg为原文件),可以打开文件进行对比(清晰度基本没啥变化)
到此这篇关于java实现把图片处理到指定大小的操作方法的文章就介绍到这了,更多相关java图片指定大小内容请搜索代码网以前的文章或继续浏览下面的相关文章希望大家以后多多支持代码网!


发表评论