示例代码:
def chuli(color):
import cv2
import numpy as np
# 定义颜色名称到hsv阈值范围的映射
color_thresholds = {
'red': ([0, 100, 100], [10, 255, 255], [160, 100, 100], [180, 255, 255]),
'yellow': ([20, 100, 100], [30, 255, 255]),
'blue': ([90, 100, 100], [130, 255, 255])
}
# 读取图片
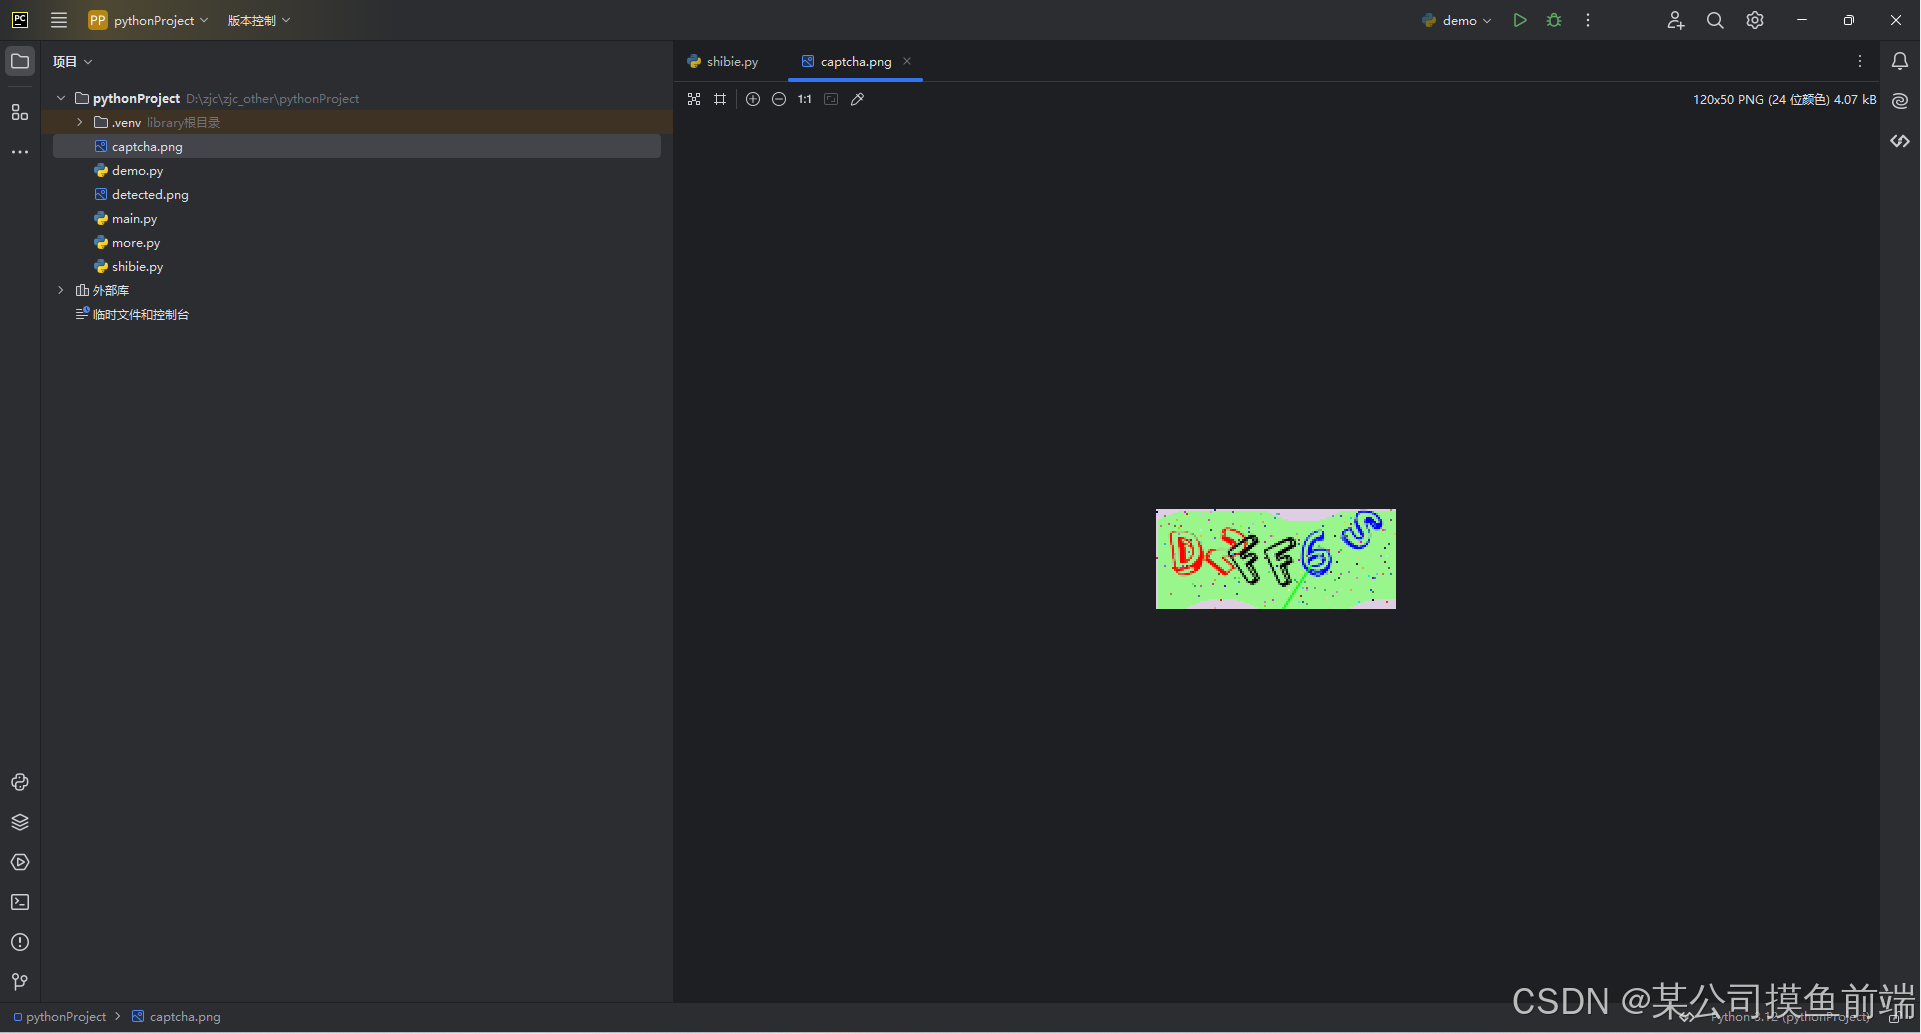
image = cv2.imread('captcha.png')
# 将图片从bgr转换到hsv颜色空间
hsv_image = cv2.cvtcolor(image, cv2.color_bgr2hsv)
# 获取用户输入的颜色名称
color_name = color.lower()
# 检查颜色名称是否在映射中
if color_name in color_thresholds:
# 获取该颜色的hsv阈值范围
thresholds = color_thresholds[color_name]
# 创建掩码
mask = none
for i in range(0, len(thresholds), 2):
lower = np.array(thresholds[i])
upper = np.array(thresholds[i + 1])
mask_color = cv2.inrange(hsv_image, lower, upper)
if mask is none:
mask = mask_color
else:
mask = cv2.bitwise_or(mask, mask_color)
# 对掩码进行膨胀和腐蚀
mask = cv2.dilate(mask, none, iterations=2)
mask = cv2.erode(mask, none, iterations=2)
# 使用掩码提取原图中的颜色区域
result = cv2.bitwise_and(image, image, mask=mask)
# 保存结果为图片
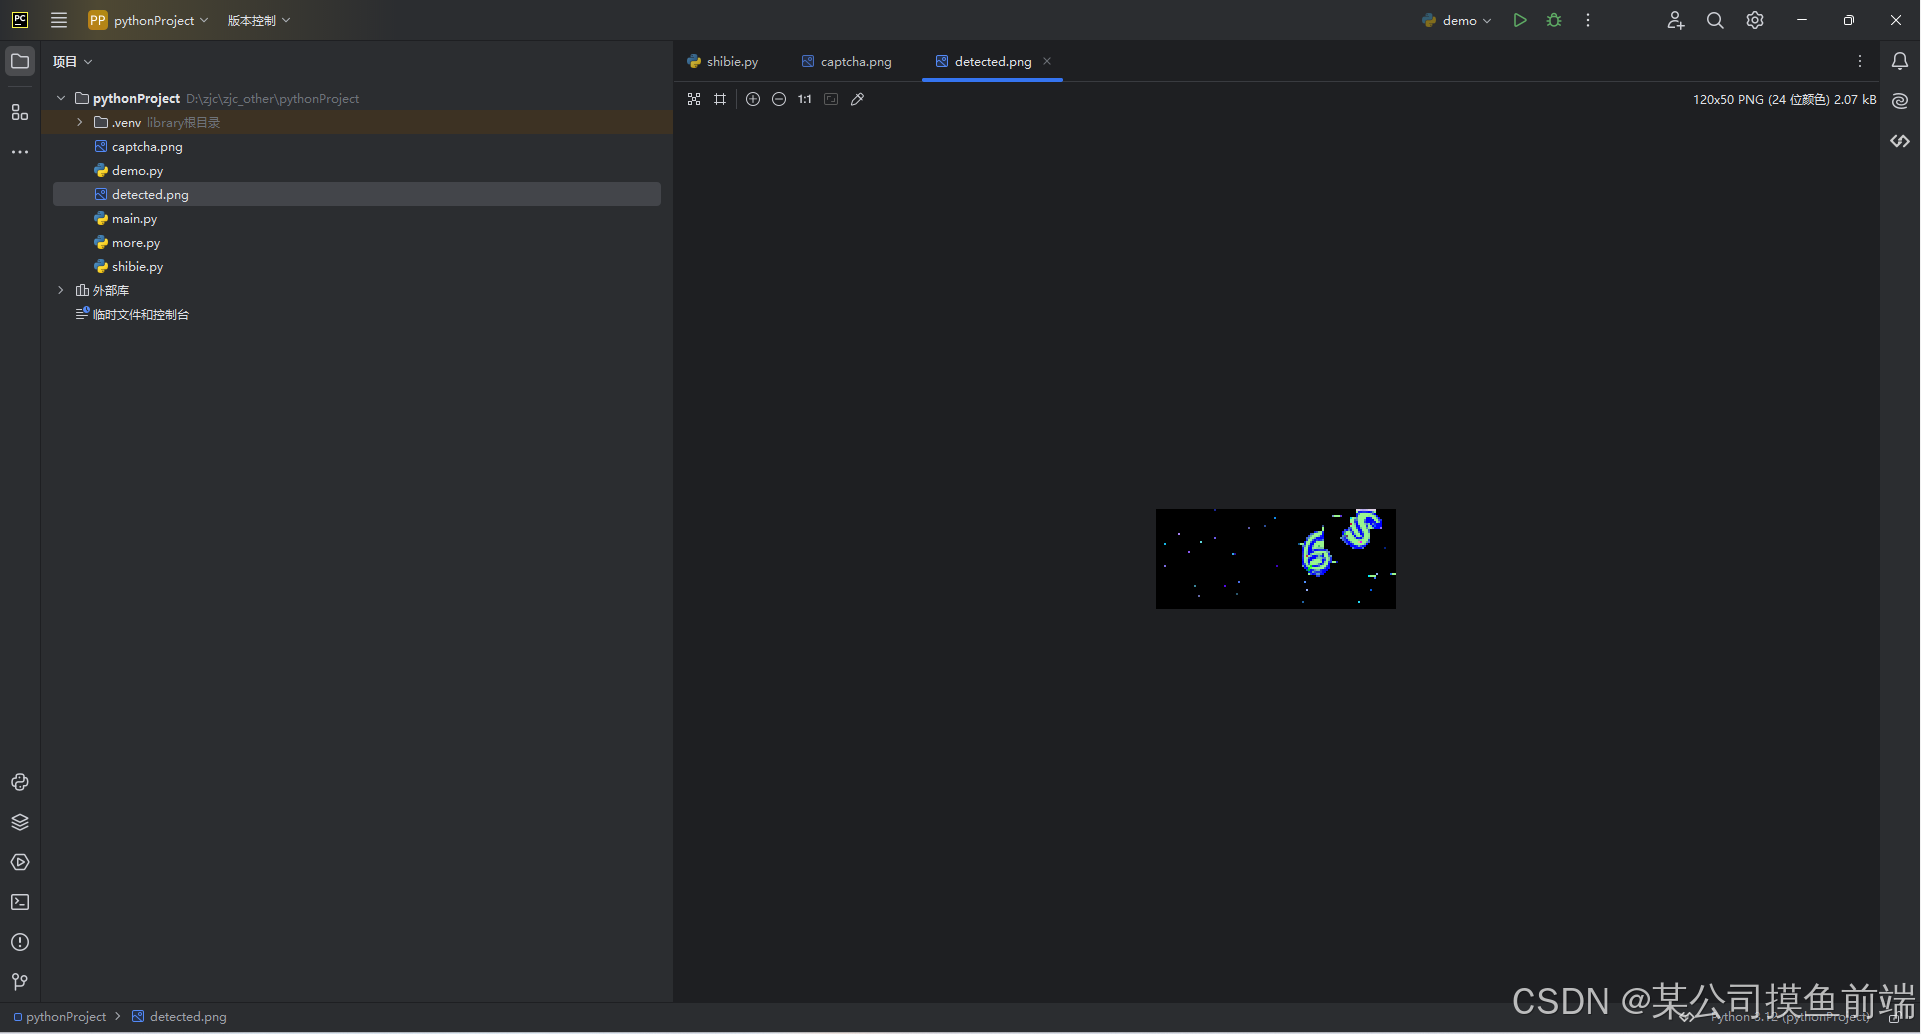
result_filename = 'detected.png'
cv2.imwrite(result_filename, result)
print(f"result saved as {result_filename}")
else:
print("invalid color name. please choose from 'red', 'yellow', or 'blue'.")
chuli('blue')效果展示:
到此这篇关于python识别图片中指定颜色的图案并保存为图片的文章就介绍到这了,更多相关python识别图片指定颜色的图案内容请搜索代码网以前的文章或继续浏览下面的相关文章希望大家以后多多支持代码网!


发表评论