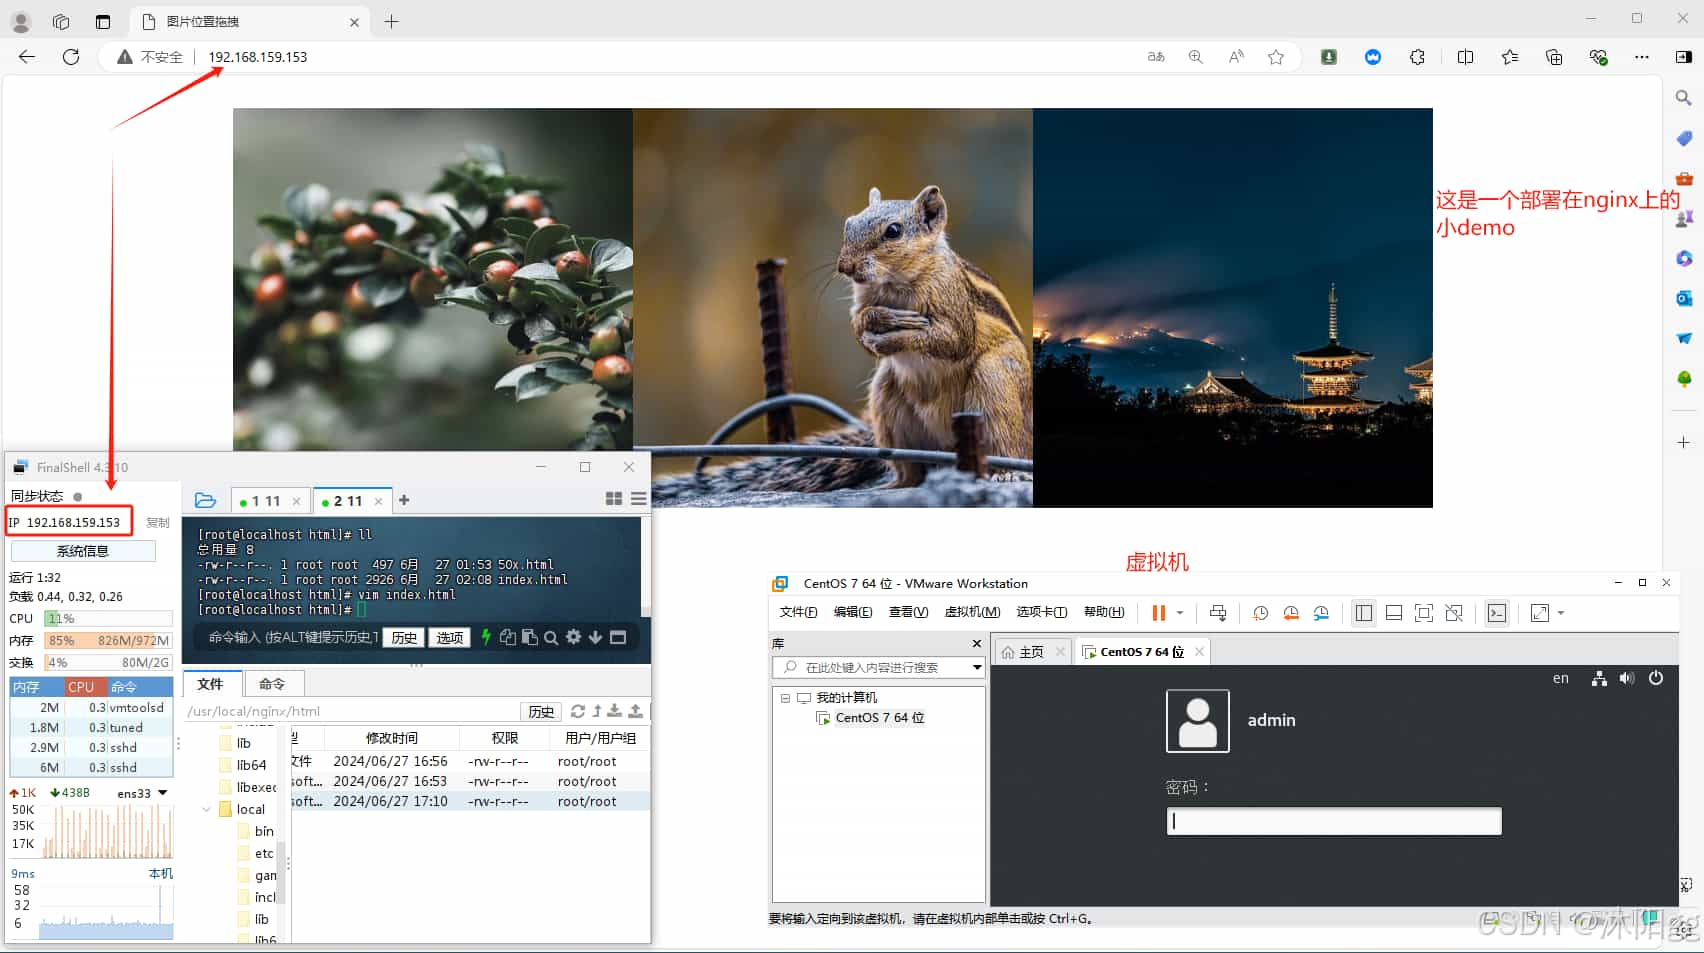
1、先上成品图
2、安装nginx运行所需插件:
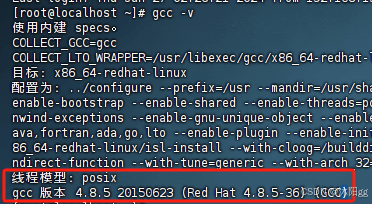
gcc:gcc编译器用于编译编程语言。
//通过gcc -v查看版本,如果有就不管【centos7是有的】
gcc -v

//如果没有gcc就通过下面的命令安装
yum -y install gcc
安装截图:
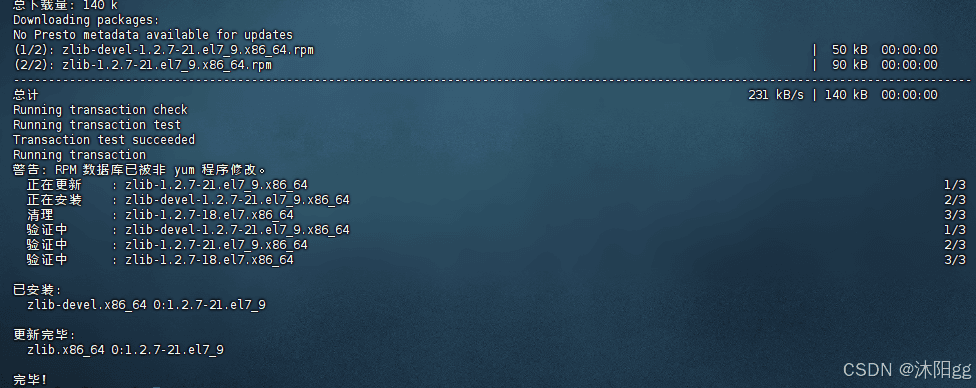
zlib解压软件:
zlib库是用于解压和压缩的。nginx下载下来是压缩包,需要解压。
安装命令:
yum install -y zlib zlib-devel
安装截图:
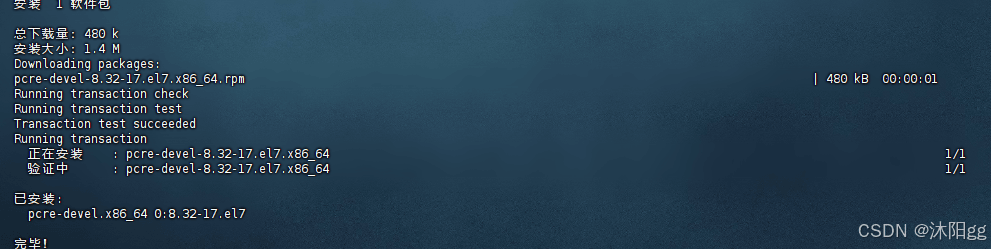
pcre、pcre-devel插件:
pcre是正则表达式的库,nginx中http模块需要用到pcre解析正则表达式。安装命令: yum install -y pcre pcre-devel
安装截图:
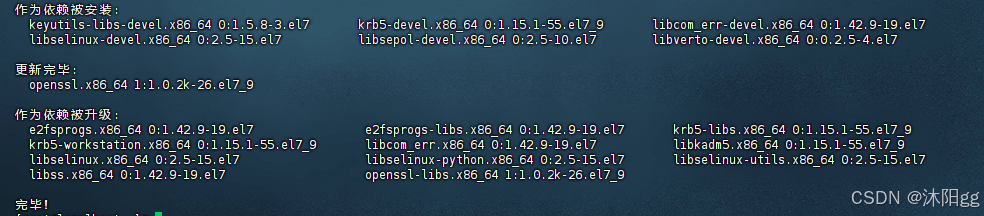
openssl插件:
网络通信加密插件。安装命令: yum install -y openssl openssl-devel
安装截图:
3、安装nginx
从官网下载压缩包,需要用到wget软件,centos7都自带有,如果没有的话,通过下面命令安装。
yum install wget
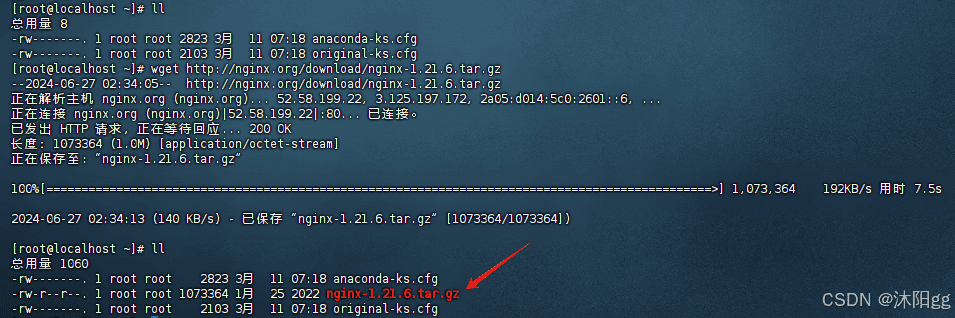
下载nginx安装包:
wget http://nginx.org/download/nginx-1.21.6.tar.gz
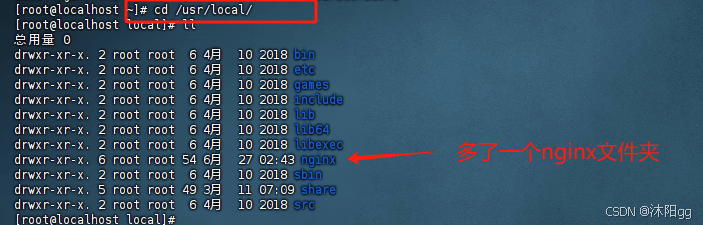
通过命令ll查看本地会多一个文件:
解压压缩包:
tar -zxvf nginx-1.21.6.tar.gz
解压后,通过命令ll查看,得到一个文件夹:

编译安装:
①、先进入到解压得到的nginx-1.21.6文件夹里面:cd nginx-1.21.6

②、执行./configure文件,编译nginx环境,使其之后的nginx就安装到/usr/local/nginx目录下:
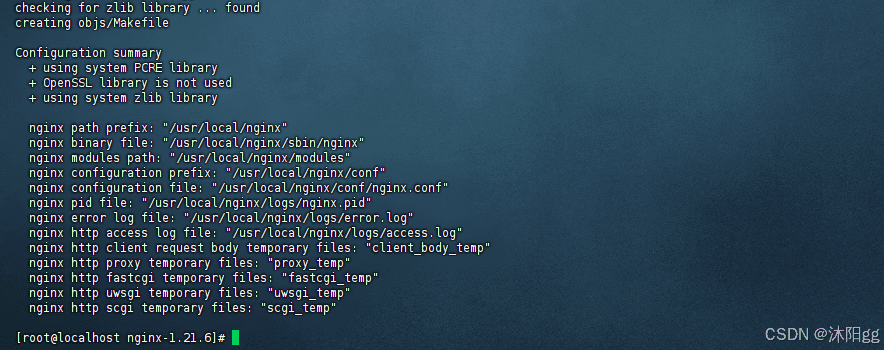
③、继续执行命令:
# 在当前目录下执行
make & make install
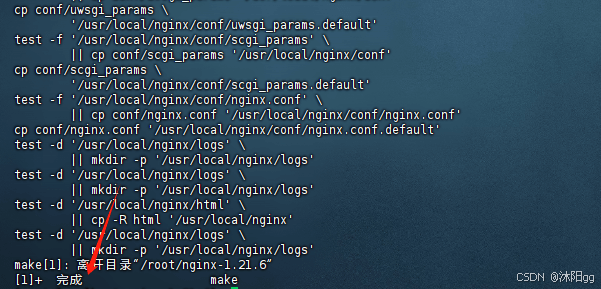
到这里,关于nginx已经安装好了,我们可以查看一下,多了些什么东西:
4、启动nginx:
- 如果要启动nginx,需要找到其启动命令,先进入到命令所在的文件夹:
命令:
cd /usr/local/nginx/sbin/
nginx这个就是启动命令。
关闭防火墙,不然启动之后访问不了,关闭防火墙命令:
systemctl stop firewalld.service
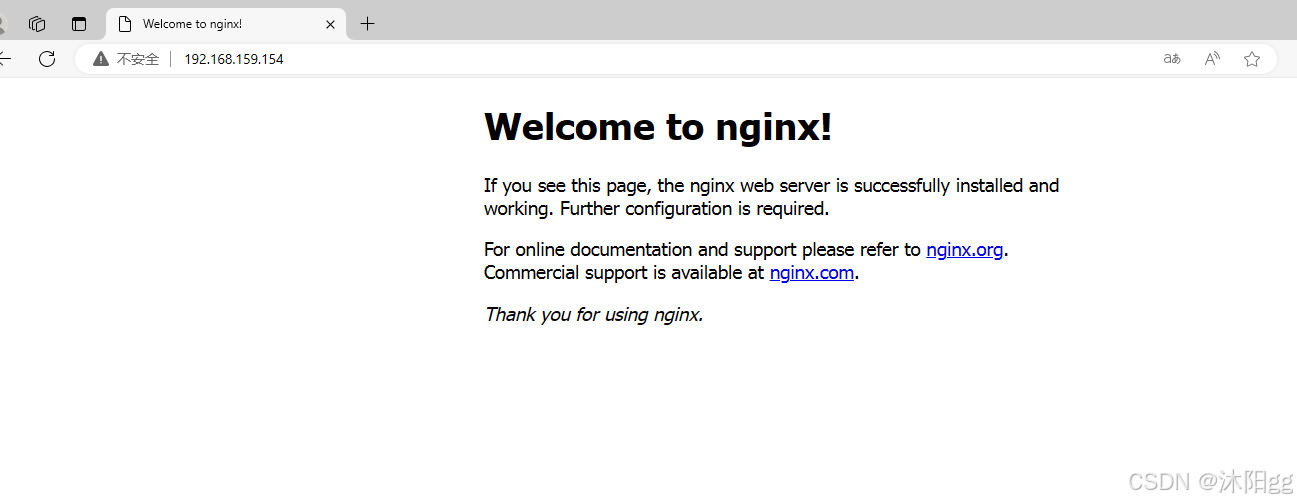
启动nginx(不要离开/usr/local/nginx/sbin/):
./nginx
通过宿主机浏览器访问:
5、更改主页信息
到这里,nginx已经安装并且启动好了,那么接下来我们可以将这个页面更改一番,在这里我提供了一段html代码。
<!doctype html>
<html lang="en">

<head>
  <meta charset="utf-8">
  <meta http-equiv="x-ua-compatible" content="ie=edge">
  <meta name="viewport" content="width=device-width, initial-scale=1.0">
  <title>图片位置拖拽</title>
  <style>
    #main {
      display: flex;
      justify-content: center;
    }

    .img {
      width: 100px;
      user-select: none;
      height: 100px;
      background: no-repeat center center;
      background-size: cover;
    }

    .bg1 {
      background-image: url('https://cdn.pixabay.com/photo/2020/02/05/22/01/bush-4822500__480.jpg')
    }

    .bg2 {
      background-image: url('https://cdn.pixabay.com/photo/2022/01/24/13/51/temple-6963458__480.jpg')
    }

    .bg3 {
      background-image: url('https://cdn.pixabay.com/photo/2020/12/02/01/06/chipmunk-5795916__480.jpg')
    }

    .zw {
      background-color: #999;
      width: 100px;
      height: 100px;
      display: none;
    }
  </style>
</head>

<body>
  <div id="main">
    <span class="img bg1" data-index="0"></span>
    <span class="img bg2" data-index="1"></span>
    <span class="img bg3" data-index="2"></span>
    <span class="zw"></span>
  </div>
</body>
<script>
  const imgs = document.queryselectorall('.img')
  const main = document.queryselector('#main')
  const zw = document.queryselector('.zw')
  const ismobile = navigator.useragent.match(/mobile/)
  let isdrag = false
  let index
  let py = {
    left: 0,
    top: 0
  }
  const move = (el, x, y) => {
    el.setattribute('style', `pointer-events:none;position:absolute;left:${x}px;top:${y}px`)
  }
  document.addeventlistener(ismobile ? 'touchstart' : 'mousedown', e => {
    ismobile && (e = e.touches[0])
    index = e.target.dataset.index
    if (index && !isdrag) {
      py.left = e.pagex - imgs[index].offsetleft
      py.top = e.pagey - imgs[index].offsettop
      zw.style.display = 'block'
      main.insertbefore(zw, imgs[index])
      move(imgs[index], e.pagex - py.left, e.pagey - py.top)
    }
    isdrag = true
  })
  document.addeventlistener(ismobile ? 'touchmove' : 'mousemove', e => {
    ismobile && (e = e.touches[0])
    if (isdrag && index) {
      move(imgs[index], e.pagex - py.left, e.pagey - py.top)
    }
  })
  document.addeventlistener(ismobile ? 'touchend' : 'mouseup', e => {
    isdrag = false
    zw.style.display = ''
    if (imgs[index]) {
      imgs[index].setattribute('style', '')
      main.insertbefore(imgs[index], zw)
    }
  })
  imgs.foreach(v => {
    v.addeventlistener(ismobile ? 'touchmove' : 'mouseenter', e => {
      ismobile && (e = e.touches[0])
      if (isdrag) {
        const list = [...main.children]
        const imgindex = list.findindex(el => v == el)
        const zwindex = list.findindex(el => zw == el)
        if (zwindex < imgindex) {
          main.insertbefore(v, zw)
        } else {
          main.insertbefore(zw, v)
        }
      }
    })
  })
</script>

</html>
找到nginx的index.html
页面在:/usr/local/nginx/html/这个文件夹里面cd /usr/local/nginx/html/


将我前面准备好的一段代码,替换掉原本的代码:
自己操作,删除,再粘贴
再次在宿主机浏览器中搜索
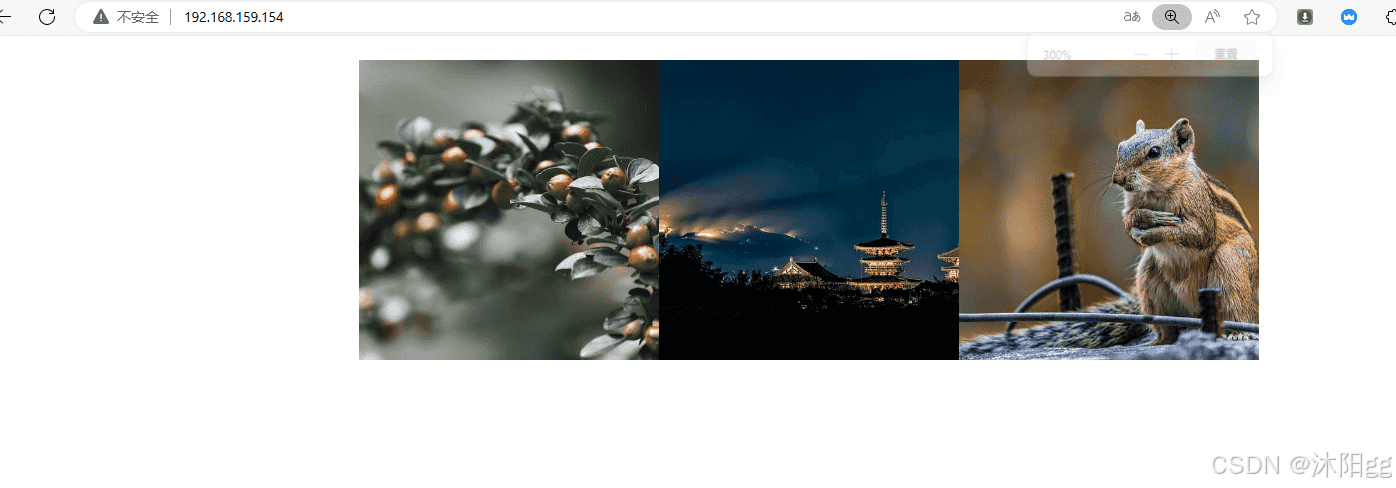
到这里,我们自己的html页面就放进来了。
6、目录结构
nginx安装完成后,nginx里面的目录结构如下:
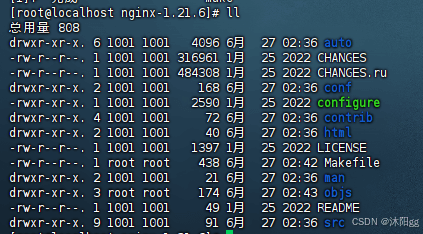
重点目录和文件如下:
| 目录/文件 | 说明 |
| conf | 配置文件存放目录 |
| conf/nginx.conf | nginx核心配置文件 |
| html | 存放静态资源(html,css,js) |
| logs | 存放nginx日志 |
| sbin/nginx | 二进制文件,用于启动/停止nginx |
nginx更多知识还需要更系统的学习,目前这个小demo就到这里了,bye~~~
总结
到此这篇关于服务器部署之虚拟机安装nginx并部署web网页的文章就介绍到这了,更多相关虚拟机安装nginx部署web网页内容请搜索代码网以前的文章或继续浏览下面的相关文章希望大家以后多多支持代码网!


发表评论