前言
在之前的博客中,曾将讲了在springboot中如何使用event来进行大文件上传的解耦,原文地址:使用springevent解决webuploader大文件上传解耦问题,在这篇博客当中,我们使用event机制成功的将大文件的上传和解析的功能进行分离,已经实现了解耦的需求。但是在真实项目中会存在一个问题,就是解耦是解耦了。但是我们期望程序能够做到异步,也就是将文件的上传和解析进行彻底的异步化。后台程序在接收前端请求的文件时,文件上传完成后就结束。而对于上传文件的处理和解析等操作则放到解析程序中。整个过程给人的感觉就是到上传就完成了,解析则可以在后台慢慢运行,等待执行完成即可。

这里我们仍然以大文件上传为例,首先讲解在未进行程序异步化的时候,程序的运行机制和表现。然后讲解如何进行异步化的改造,让程序进行异步执行。通过本文不仅能让你掌握如何进行event的事件开发,同时还能掌握在spring中如何进行异步开发,熟悉@async的具体用法。
一、场景再现
为了能让大家对故事的场景有更加直观的认识,这里我们将场景进行再现,让大家看到具体的问题。带着问题,我们一起来寻找解决办法,这样对前因后果更加清楚。
1、event的同步机制
首先我们来看一下原来的事件分离处理代码,关键代码如下:
@eventlistener
public void fileuploadeventregister(fileuploadevent event){
	try {
		sys_user_logger.info("当前处理线程名称:" + thread.currentthread().getname());
		fileentity fileentity = event.getfileentity();
		if(stringutils.isnotempty(fileentity.gettablename())){
			fileuploadserviceregisterenum rigisterenum = null;
			if(stringutils.isnotblank(fileentity.getbiztype())) {//业务类型不为空,则根据表名和业务名称来查找执行service
				rigisterenum = fileuploadserviceregisterenum.getenumbytablenameandbiztype(fileentity.gettablename(), fileentity.getbiztype());
			}else {
				rigisterenum = fileuploadserviceregisterenum.getenumbytablename(fileentity.gettablename());
			}
			if(null != rigisterenum && stringutils.isnotempty(rigisterenum.getexecservice())){
				string execservice = rigisterenum.getexecservice();
				ifileuploadcallbackservice service = springutils.getbean(execservice);
				service.process(fileentity);
			}else{
				sys_user_logger.info("未注册文件上传监听回调处理器.");
			}
		}
	} catch (exception e) {
		sys_user_logger.error("文件上传事件监听发生错误.",e);
	}
}
在这里为了让文件处理的时间加长,我们可以把文件处理的逻辑加上一个线程的等待时间比如休眠等待35秒钟。代码如下:
@override
@transactional(propagation=propagation.required,rollbackfor=exception.class)
public void process(fileentity fileentity) throws exception {
	if(null != fileentity && stringutils.isnotempty(fileentity.getbid())){
		string pkid = fileentity.getbid();
		student stu = studentservice.selectstudentbyid(long.valueof(pkid));
		//system.out.println(fileentity.getpath());
		//system.out.println(stu.getname() + "\t" + stu.getaddress());
		logger.info("开始处理........");
		thread.sleep(35 * 1000);//休眠35秒测试
		logger.info("执行结束");
	}
}
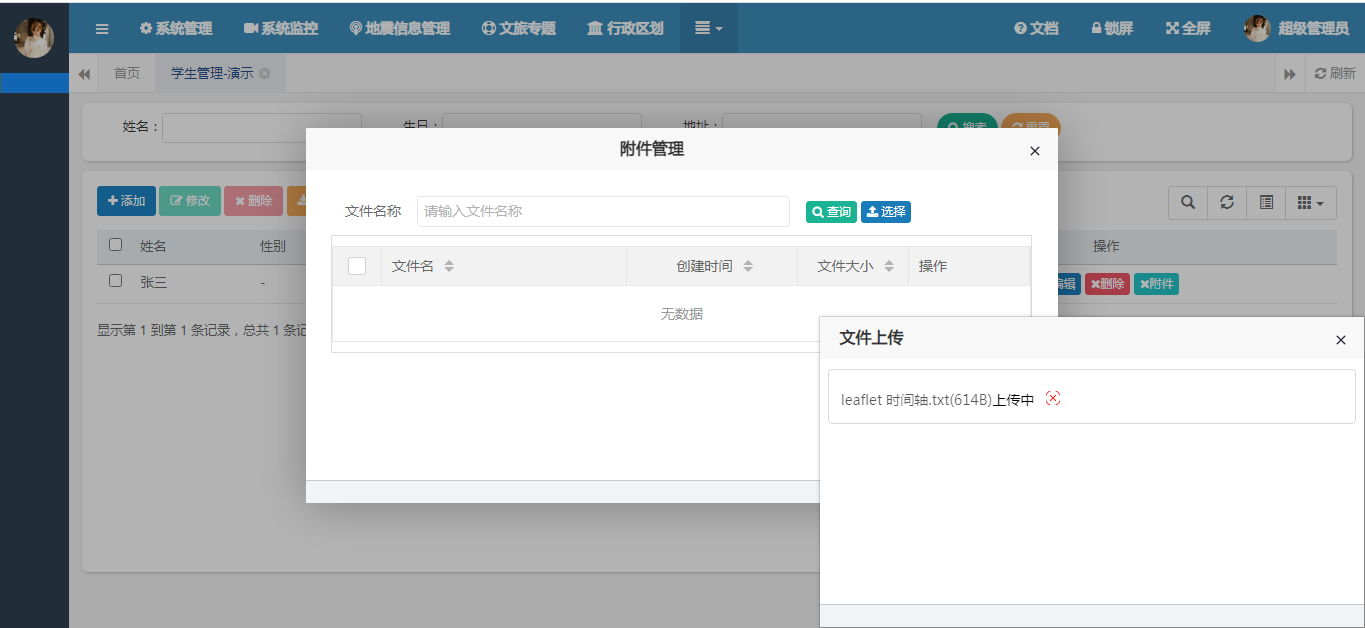
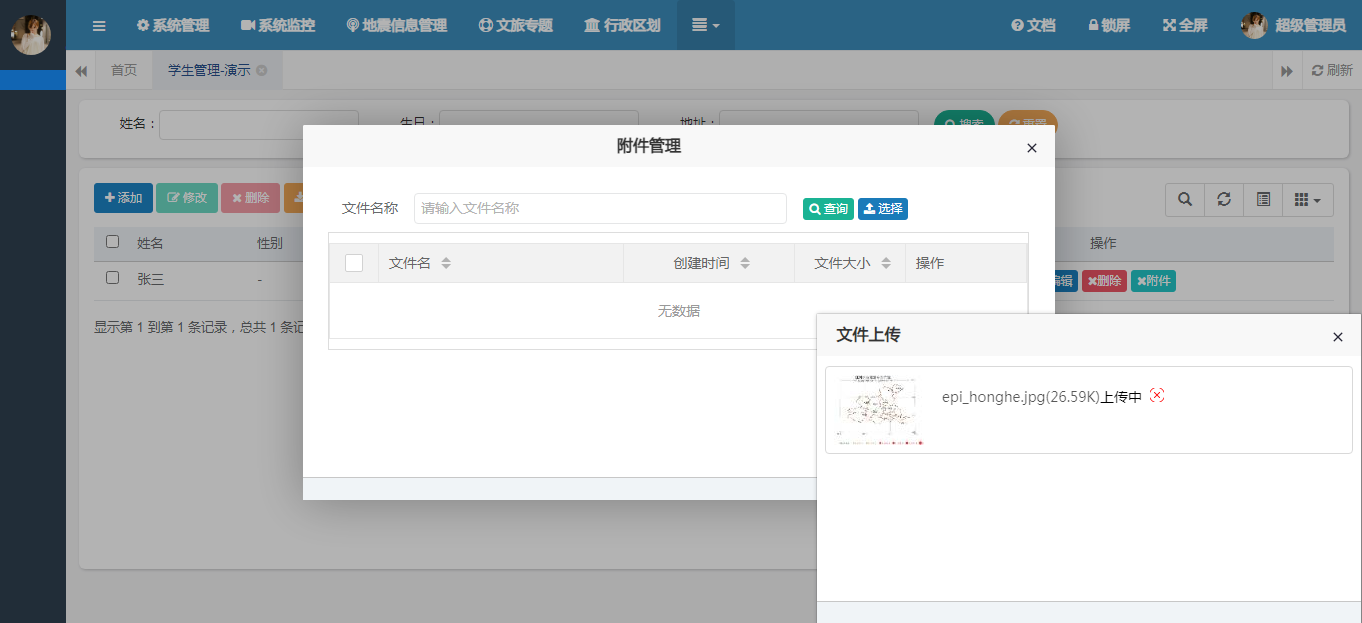
在这里,我们使用thread.sheep这个方法来让线程进行休眠等待。模拟文件上传后,解析很慢的场景。由于卡顿变慢,下面的界面也一直处于等待的状态。

下面是原来的处理线程信息,通过日志可以看到,相关的执行线程都是[http-nio-8080-exec-26]:
20:27:11.280 [http-nio-8080-exec-26] info sys-user - [fileuploadeventregister,32] - 当前处理线程名称:http-nio-8080-exec-26
20:27:11.281 [http-nio-8080-exec-26] debug c.y.p.e.s.m.s.selectbyid - [debug,137] - ==> preparing: select id,name,sex,birthday,address,remark,create_by,create_time,update_by,update_time from biz_student where id=?
20:27:11.284 [http-nio-8080-exec-26] debug c.y.p.e.s.m.s.selectbyid - [debug,137] - ==> parameters: 1811048705298571266(long)
20:27:11.287 [http-nio-8080-exec-26] debug c.y.p.e.s.m.s.selectbyid - [debug,137] - <== total: 1
20:27:11.288 [http-nio-8080-exec-26] info sys-user - [process,32] - 开始处理........
20:27:36.235 [schedule-pool-2] info c.y.f.s.w.s.onlinewebsessionmanager - [validatesessions,100] - invalidation sessions...
20:27:36.240 [schedule-pool-2] debug c.y.p.m.o.m.u.selectonlinebyexpired - [debug,137] - <== total: 0
20:27:36.240 [schedule-pool-2] info c.y.f.s.w.s.onlinewebsessionmanager - [validatesessions,165] - finished invalidation session. no sessions were stopped.
20:27:46.289 [http-nio-8080-exec-26] info sys-user - [process,34] - 执行结束
大约经过了40秒钟之后,后台执行完成,前端的界面才响应结束。 试想一下,如果您是操作的用户,估计早就夺门而出了。
使用这种方法开发完成后,可以看到,前面哪怕上传一个很小的txt,它的处理时间都是要35秒以上。而我们的预期是这部分解析的功能是相对独立的,在文件成功上传后,前台界面就可以关闭,文件解析的工作在后台自动运行。
二、性能优化
在遇到上面的性能和执行流程的问题后,我们应该怎么来解决这个事情呢?试想一下,可能有以下几种方法。比如在后台加快处理能力,加大运算能力。当然这种方法在遇到海量的文件处理的青提下,性能不一定有明显的提升。是一种花了成本未必有很好的效果的做法。还有一种可能的做法就是将后台的处理异步,文件的上传和解析完全异步。文件上传成功后,返回响应给前端,然后前端可以继续去做其它的事情,而后台自动去做后续的文件处理的相关事宜。这是一个非常友好,也是推荐的做法。因此这里引出我们今天的主角,异步async调用。
1、异步支持配置
要想在spring中实现异步的支持,有很多种方式,这里介绍一种比较简单易用的方式。首先在我们的事件监听器中增加@async的注解,第一版代码如下:
@async
@eventlistener
public void fileuploadeventregister(fileuploadevent event){
	try {
		// do something
	} catch (exception e) {
		sys_user_logger.error("文件上传事件监听发生错误.",e);
	}
}
通过上述的代码呢就实现了一个简单的异步申明,请记住,如果只是在这里声明这个方法是异步的,并没有什么效果。同时还要在应用程序的入口增加开启异步工作的注解:
@enableasync
你可以把这个注解增加到application的主入口当中。当然,如果到这里,其实也是可以的了。因为我们已经实现了整个异步工作的闭环,开启异步处理的支持,同时在方法中申明了异步的方法。上面的做法似乎是比较完美的一种做法,仔细想一下,是否真的是这样呢?还有更好的方法吗?可以在执行的时候看一下,当前方法的工作线程是什么?
2、自定义处理线程池扩展
为了保证这个业务的可用性,其实我们可以自己定义一个线程池来执行独立的文件解析处理的服务。如果在应用程序中还有其它的服务的话,彼此之间是不会不想影响的。这也是独立线程池的好处,同时性能也是得到了大大的提升。
那么这里将重点说一下如何自定义线程池,如何把线程池应用到处理方法中呢?首先我们来定义个线程池,在java中创建线程池的关键代码如下:
package com.yelang.framework.config;
import java.util.concurrent.executor;
import java.util.concurrent.threadpoolexecutor;
import org.springframework.aop.interceptor.asyncuncaughtexceptionhandler;
import org.springframework.context.annotation.bean;
import org.springframework.context.annotation.configuration;
import org.springframework.scheduling.annotation.asyncconfigurer;
import org.springframework.scheduling.annotation.enableasync;
import org.springframework.scheduling.concurrent.threadpooltaskexecutor;
/**
 * 文件上传处理线程池对象,切记:@enableasync一定要标记上
 * @author 夜郎king
 *
 */
@configuration
@enableasync
public class fileuploadthreadpoolconfig implements asyncconfigurer{
	// 核心线程池大小
    private int corepoolsize = 50;
    // 最大可创建的线程数
    private int maxpoolsize = 200;
    // 队列最大长度
    private int queuecapacity = 1000;
    // 线程池维护线程所允许的空闲时间
    private int keepaliveseconds = 300;
    @bean(name = "fileuploadtaskexecutor")
    public threadpooltaskexecutor threadpooltaskexecutor()
    {
        threadpooltaskexecutor executor = new threadpooltaskexecutor();
        executor.setmaxpoolsize(maxpoolsize);
        executor.setcorepoolsize(corepoolsize);
        executor.setqueuecapacity(queuecapacity);
        executor.setkeepaliveseconds(keepaliveseconds);
        executor.setthreadnameprefix("async-fileupload-thread-");
        // 线程池对拒绝任务(无线程可用)的处理策略
        executor.setrejectedexecutionhandler(new threadpoolexecutor.callerrunspolicy());
        return executor;
    }
	@override
	public executor getasyncexecutor() {
		return asyncconfigurer.super.getasyncexecutor();
	}
	@override
	public asyncuncaughtexceptionhandler getasyncuncaughtexceptionhandler() {
		return asyncconfigurer.super.getasyncuncaughtexceptionhandler();
	}
}
在这里,我们定义了线程对象的前缀,主要是用于确定在执行文件解析的时候,是否是使用线程池中的线程进行解析工作的。同时我们将@enableasync这个注解从application的主入口转移到了这个配置类中。请注意,这个线程池中的初始容量,最大容量,队列长度都是固定的,实际情况下可以根据配置和任务情况进行调整,同时设置了线程的拒绝策略。
3、将线程池配置类绑定到异步方法
将线程池配置类定义好之后,为了让程序能够运行起来,我们还需要将线程池配置类绑定到异步方法的注解中,如下所示:
//在这里指定用fileuploadtaskexecutor这个线程池去处理
@async(value="fileuploadtaskexecutor")
@eventlistener
public void fileuploadeventregister(fileuploadevent event){
	try {
		// do somethings
	} catch (exception e) {
		sys_user_logger.error("文件上传事件监听发生错误.",e);
	}
}
在执行的监听器中绑定注册线程池之后,我们来看一下实际的执行效果。同时主要观察在实际的执行过程中,是否是使用设置的线程池中的线程来进行执行相应的业务的。从前台的上传来看,界面很快有了返回。速度是很快的。同时在后台可以看到相关的线程处理信息,入下所示:
20:52:48.959 [async-fileupload-thread-1] info sys-user - [fileuploadeventregister,32] - 当前处理线程名称:async-fileupload-thread-1
20:52:48.967 [async-fileupload-thread-1] debug c.y.p.e.s.m.s.selectbyid - [debug,137] - ==> preparing: select id,name,sex,birthday,address,remark,create_by,create_time,update_by,update_time from biz_student where id=?
20:52:48.968 [async-fileupload-thread-1] debug c.y.p.e.s.m.s.selectbyid - [debug,137] - ==> parameters: 1811048705298571266(long)
20:52:48.971 [async-fileupload-thread-1] debug c.y.p.e.s.m.s.selectbyid - [debug,137] - <== total: 1
20:52:48.972 [async-fileupload-thread-1] info sys-user - [process,32] - 开始处理........
20:52:48.983 [http-nio-8080-exec-71] debug c.y.p.w.m.f.selectlist_count - [debug,137] - ==> preparing: select count(0) from biz_file where (f_state = ? and b_id = ? and table_name = ? and biz_type = ?)
20:52:48.984 [http-nio-8080-exec-71] debug c.y.p.w.m.f.selectlist_count - [debug,137] - ==> parameters: 1(integer), 1811048705298571266(string), biz_student(string), 123a(string)
20:52:49.003 [http-nio-8080-exec-71] debug c.y.p.w.m.f.selectlist_count - [debug,137] - <== total: 1
20:52:49.008 [http-nio-8080-exec-71] debug c.y.p.w.m.f.selectlist - [debug,137] - ==> preparing: select id, f_id, b_id, f_type as type, f_name as name, f_desc as desc, f_state as state, f_size as size, f_path as path, table_name, md5code, directory, biz_type, create_by, create_time, update_by, update_time from biz_file where (f_state = ? and b_id = ? and table_name = ? and biz_type = ?) order by create_time desc limit ?
20:53:23.973 [async-fileupload-thread-1] info sys-user - [process,34] - 执行结束
可以很明显的看到,文件的解析程序是使用async-fileupload-thread开头的线程来进行处理的,即表名是正常的使用线程池来进行处理相关的业务。也说明的我们的设计达到了预期,即实现了程序的完全异步化。
三、总结
以上就是本文的主要内容,本文以大文件上传为例,首先讲解在未进行程序异步化的时候,程序的运行机制和具体表现。然后讲解如何进行异步化的改造,让程序进行异步执行。通过本文不仅能让你掌握如何进行event的事件开发,同时还能掌握在spring中如何进行异步开发,熟悉@async的具体用法。行文仓促,难免有不足之处,如果有表达不当的地方或者不足之处,还请各位专家批评指正,在评论区留下您的真知灼见,万分荣幸。
到此这篇关于spring中使用async进行异步功能开发实战的文章就介绍到这了,更多相关spring async异步开发内容请搜索代码网以前的文章或继续浏览下面的相关文章希望大家以后多多支持代码网!


发表评论