
作者主页:
ansible专栏:点击!
创作时间:2024年4月23日15点18分
ansible 是一款功能强大且易于使用的it自动化工具,可用于配置管理、应用程序部署和云端管理。它使用无代理模式(agentless mode)来完成任务,这意味着您无需在目标主机上安装任何额外的软件。ansible 通过 ssh 连接到目标主机并执行任务。
什么是无代理模式?
ansible 的无代理模式是一种无需在目标主机上安装任何额外软件的管理方式。与传统的基于代理的配置管理工具不同,ansible 通过 ssh 连接到目标主机并执行任务。
ansible 的工作原理
可以概括为以下几个步骤:
ansible 的核心组件
ansible 的核心组件包括:
ansible 的优势
ansible 具有以下优势:
1.安装教程
1.首先第一步配置网络源(需要扩展包)
我之前写过配置源的文章:
配置方法 http://t.csdnimg.cn/uqi7c
[root@localhost ~]# yum install -y ansible
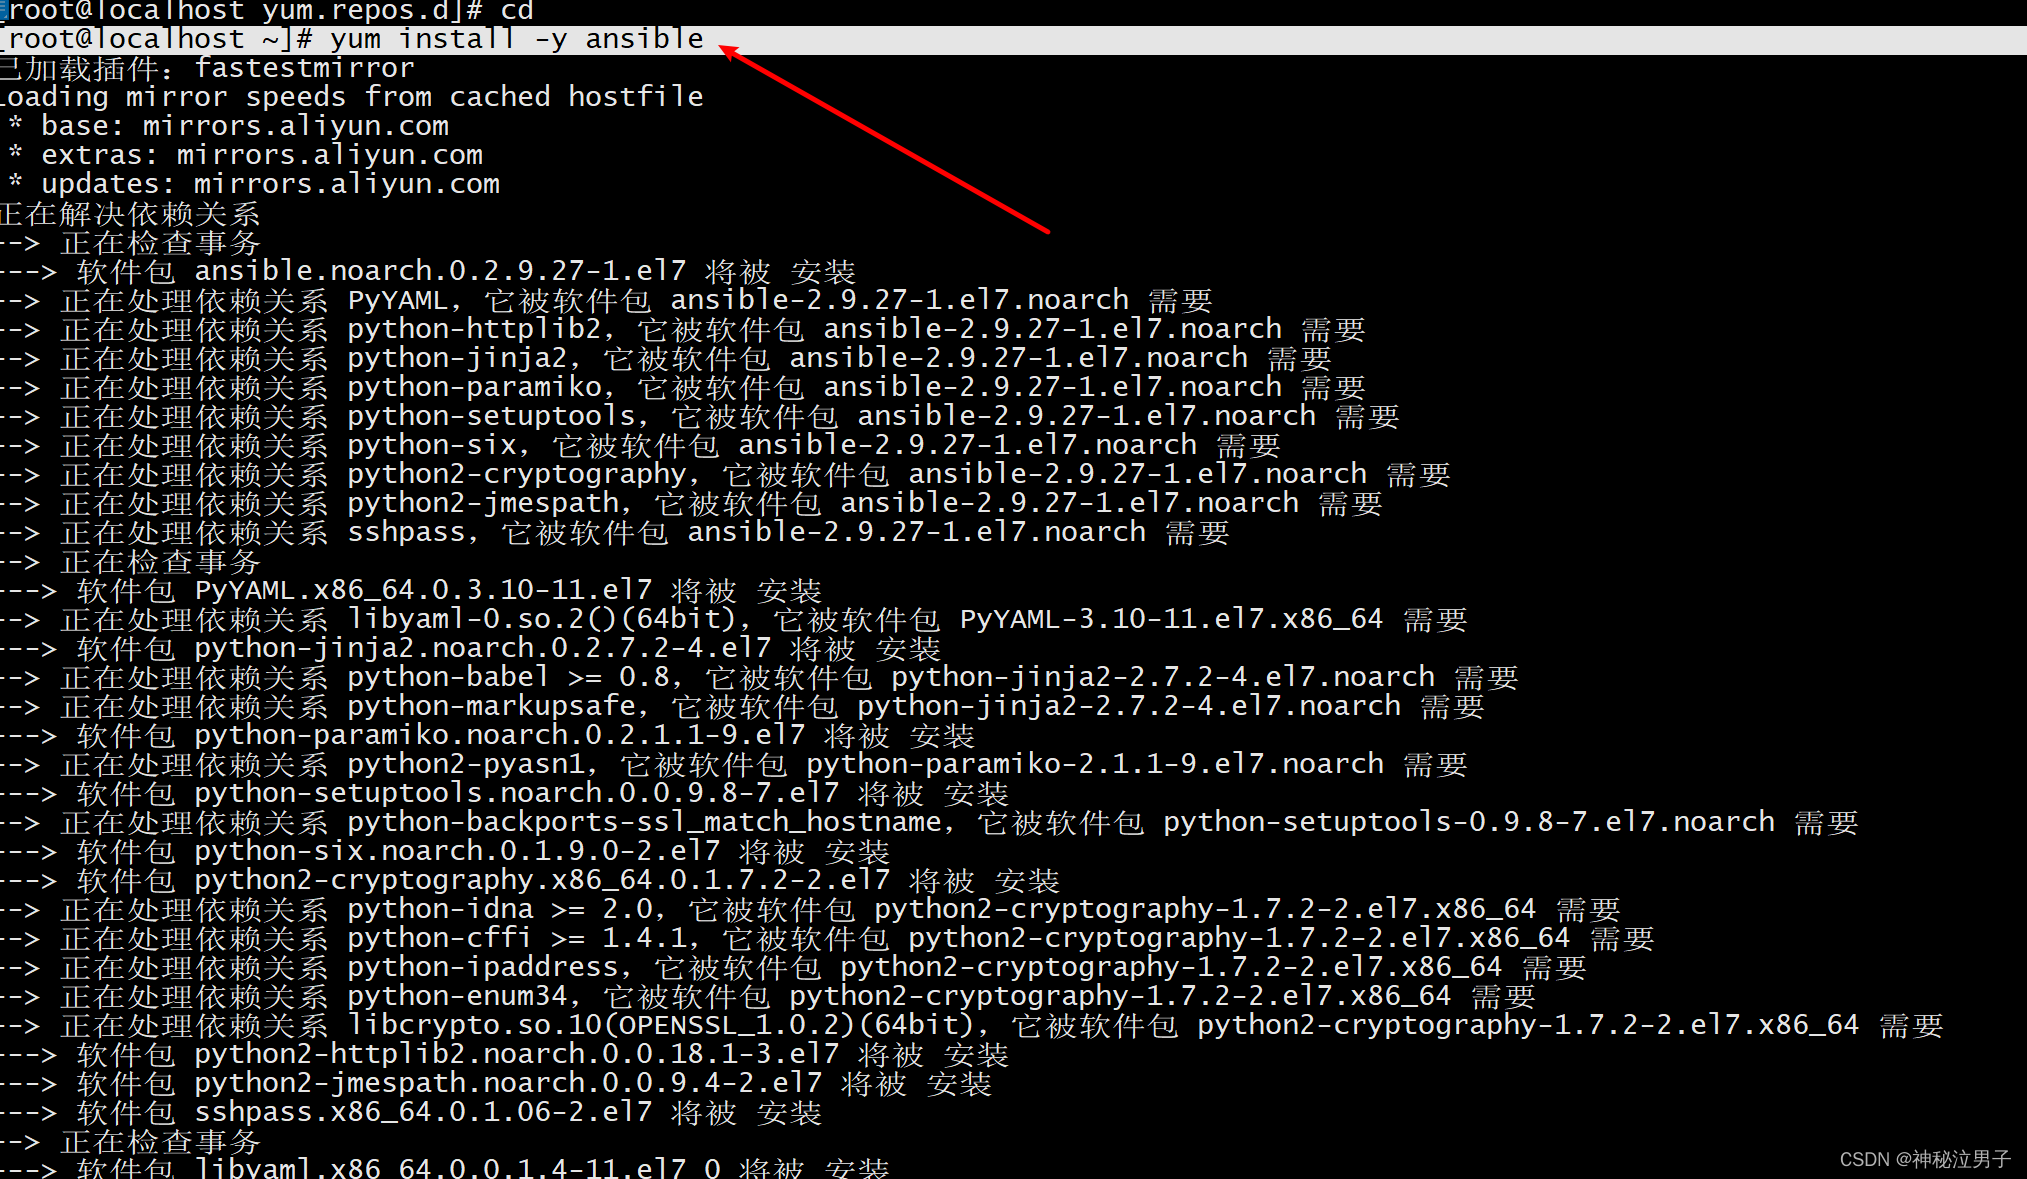
安装完成之后查看是否成功
rpm -ql ansible	列出他的所有相关文件

rpm -qc ansible	列出配置文件

ansible-doc -l	 查看它的所有模块
安装完成之后我们来做一个小测试带大家理解ansible
2实验
以下实验环境
3台centos7
1台用于部署ansible服务器
2台用来被控制(其中一台免密登录,一台需用账户和密码登录)
主机名映射
[root@ansible ~]# vim /etc/hosts

1.设置ssh-key
ssh密钥(secure shell key)是ssh(secure shell)协议中用于身份验证的凭证。与传统的基于密码的身份验证相比,它提供了一种更安全的方式连接到远程服务器。
[root@localhost ~]# ssh-keygen
generating public/private rsa key pair.
enter file in which to save the key (/root/.ssh/id_rsa):
enter passphrase (empty for no passphrase):
enter same passphrase again:
your identification has been saved in /root/.ssh/id_rsa.
your public key has been saved in /root/.ssh/id_rsa.pub.
the key fingerprint is:
47:b6:e3:55:27:5c:8f:93:03:be:fc:87:28:a8:6d:cc root@localhost.localdomain
the key's randomart image is:
+--[ rsa 2048]----+
|            .   .|
|           . o +.|
|          o . o o|
|         o o o = |
|        s + +    |
|         + o o . |
|       o. o . o .|
|       oe  .   . |
|      ...        |
+-----------------+
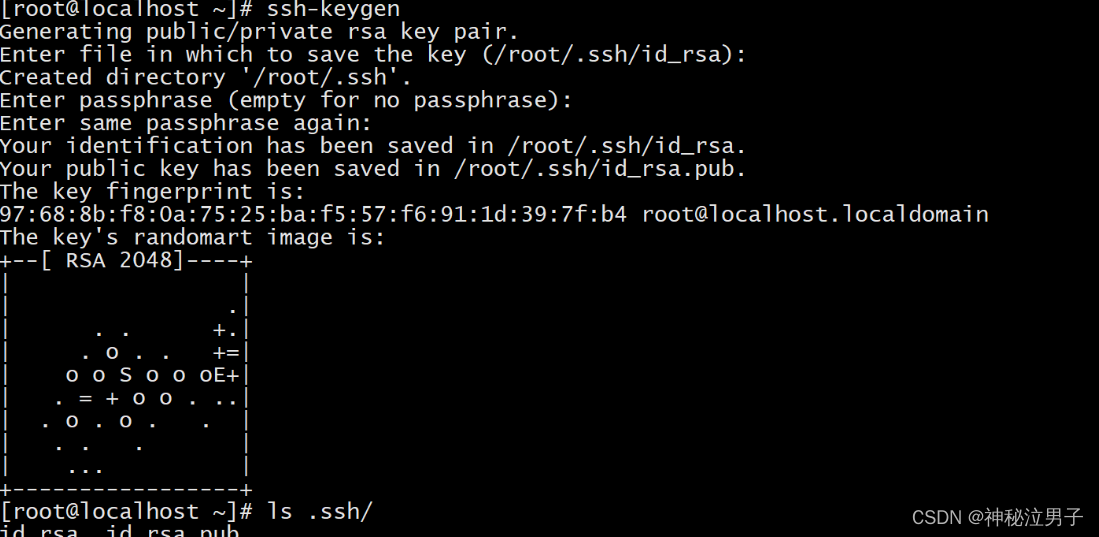
查看是否成功
[root@localhost ~]# ls .ssh/
id_rsa  id_rsa.pub
[root@localhost ~]# ssh-copy-id 192.168.93.112
the authenticity of host '192.168.93.112 (192.168.93.112)' can't be established.
ecdsa key fingerprint is e8:64:5f:06:f8:8c:63:6d:c9:eb:73:7d:78:d5:93:2b.
are you sure you want to continue connecting (yes/no)? yes
/usr/bin/ssh-copy-id: info: attempting to log in with the new key(s), to filter out any that are already installed

/usr/bin/ssh-copy-id: info: 1 key(s) remain to be installed -- if you are prompted now it is to install the new keys
root@192.168.93.112's password:

number of key(s) added: 1

now try logging into the machine, with:   "ssh '192.168.93.112'"
and check to make sure that only the key(s) you wanted were added.
2.定义主机清单
[root@localhost ~]# vim /etc/ansible/hosts 在配置文件的最后一行加入如下配置

3.测试连通性
免密登录
ping的结果显示绿色就是成功的
[root@localhost ~]# ansible localhost -m ping	对本机进行测试
localhost | success => {
    "changed": false,
    "ping": "pong"
}
[root@localhost ~]# ansible host1 -m ping		对host1进行测试

the authenticity of host 'host1 (192.168.93.112)' can't be established.
ecdsa key fingerprint is e8:64:5f:06:f8:8c:63:6d:c9:eb:73:7d:78:d5:93:2b.
are you sure you want to continue connecting (yes/no)? yes
host1 | success => {
    "ansible_facts": {
        "discovered_interpreter_python": "/usr/bin/python"
    },
    "changed": false,
    "ping": "pong"

简洁化显示
[root@localhost ~]# ansible host1 -m ping -o
host1 | success => {"ansible_facts": {"discovered_interpreter_python": "/usr/bin/python"}, "changed": false, "ping": "pong"}
用户名密码登录
[root@localhost ~]# ansible host2 -m ping -o -u root -k出现报错的情况下

host2 | failed! => {
    "msg": "using a ssh password instead of a key is not possible because host key checking is enabled and sshpass does not support this.  please add this host's fingerprint to your known_hosts file to manage this host."
}
解决办法
这个时候需要登录一次 再使用上边的命令才可以成功(因为你的密码自动输出给yes/no的选项中)
[root@localhost ~]# ansible host2 -m ping
the authenticity of host 'host2 (192.168.93.113)' can't be established.
ecdsa key fingerprint is e8:64:5f:06:f8:8c:63:6d:c9:eb:73:7d:78:d5:93:2b.
are you sure you want to continue connecting (yes/no)? yes
host2 | success => {
    "ansible_facts": {
        "discovered_interpreter_python": "/usr/bin/python"
    },
    "changed": false,
    "ping": "pong"
}
一并输出
[root@localhost ~]# ansible all -m ping -o

这边报错正常的因为 host2没有设置免密登录需要账号密码来登录


发表评论