一个简单的c#实例。包括:grpc文件的创建生成、服务端和客户端函数类库的封装、创建服务端和客户端调用测试。若有错误或更好的方法还请指正。
1、创建并生成grpc服务文件
(1)打开vs2022,创建新项目控制台应用(其他应用好像不行)。
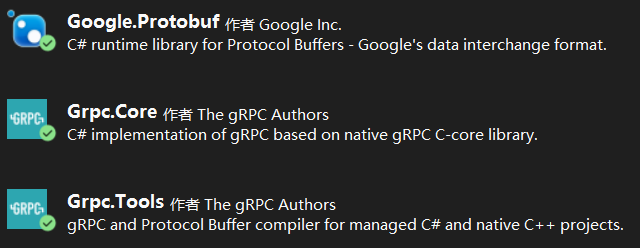
(2)需要安装三个nuget包,如图:
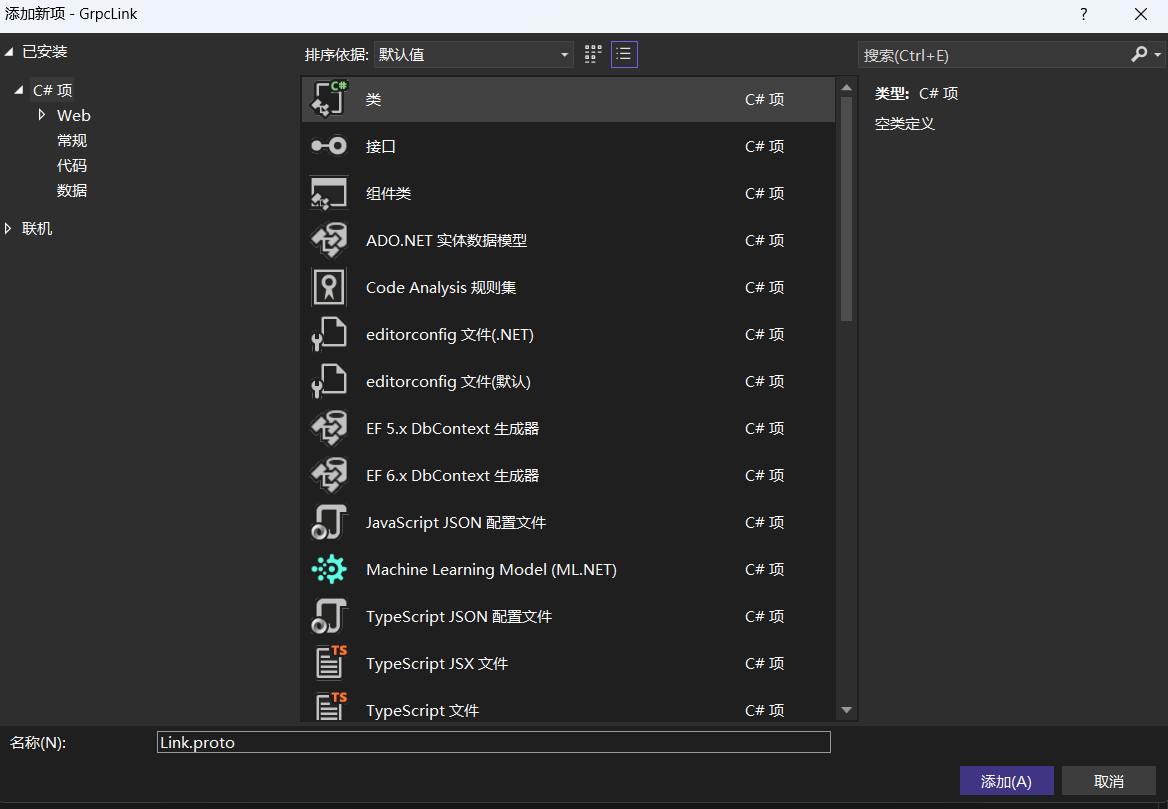
(3)项目添加新建项,选择类,修改名称为link.proto,添加后把内容全部删除。
(4)添加如下代码。测试实例为服务端和客户端传输字符串消息,所以博主只定义了一个方法(客户端调用,服务端重写),传输内容包括请求字符串和回复字符串。此处可自行定义。
proto
syntax = "proto3";
option csharp_namespace = "linkservice";
service link
{
rpc getmessage(mes) returns (mes);
}
message mes
{
string strrequest = 1;
string strreply = 2;
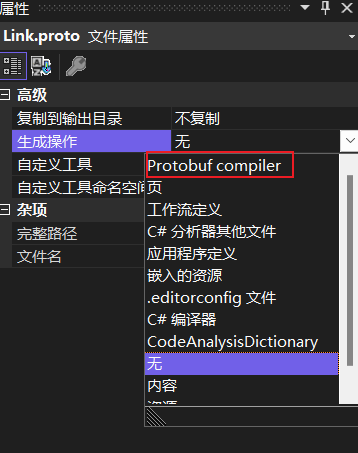
}(5)右键link.proto文件选择属性,生成操作选择如图:
(6)生成解决方案。在下图路径得到自动生成的两个类。
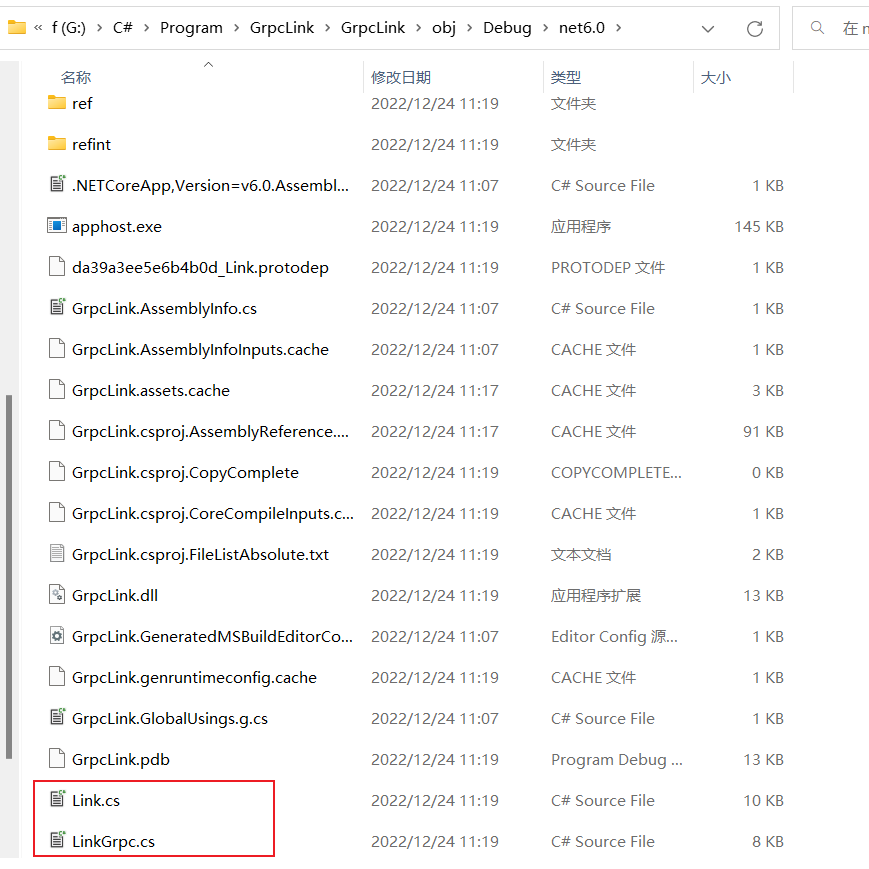
至此,获得grpc服务需要的三个文件:link.proto、link.cs、linkgrpc.cs。可以将这三个文件放在一个项目中直接使用,需要重写一下服务端方法、创建服务端和客户端的启动方法。但是如果不同的项目软件之间通讯需要各自如此开发。可以先封装成一个grpc类库供其他项目直接调用。
2、服务端和客户端函数类库的封装
(1)vs2022创建类库(.net framework)项目。
项目添加现有项,上面获得的三个文件。安装nuget包:grpc.core和google.protobuf。
(2)此处创建两个类:linkfunc用于放此类库可用于外部引用调用的方法。linkserverfunc基于link.linkbase,用于重写在proto文件中定义的方法。
对于不同的项目,在客户端请求时,服务端要根据自身情况回复想回的内容,因此可以提供一个委托供外部自行开发回复函数。
在linkfunc类中定义如下:
public static func<string, string> replymes;
1)在linkserverfunc类重写getmessage方法如下:
linkserverfunc
 using grpc.core;
using linkservice;
using system;
using system.collections.generic;
using system.linq;
using system.text;
using system.threading.tasks;
using static linkservice.link;

namespace grpclink
{
    public class linkserverfunc : linkbase
    {
        public override task<mes> getmessage(mes request, servercallcontext context)
        {
            mes mes = new mes();
            mes.strreply = linkfunc.replymes(request.strrequest);
            return task.fromresult(mes);
        }
    }
}
2)开始写linkfunc类。
linkfunc
 using grpc.core;
using linkservice;
using system;
using system.collections.generic;
using system.linq;
using system.net.mail;
using system.text;
using system.threading.tasks;
using static linkservice.link;

namespace grpclink
{
    public class linkfunc
    {
        // 用于服务端回复委托
        public static func<string, string> replymes;

        // 定义服务端和客户端
        public static server linkserver;
        public static linkclient linkclient;

        // 服务端启动
        public static void linkserverstart(string host, int port)
        {
            linkserver = new server
            {
                services =
                    {
                        bindservice(new linkserverfunc())
                    },
                ports = { new serverport(host, port, servercredentials.insecure) }
            };
            linkserver.start();
        }

        // 服务端关闭
        public static void linkserverclose()
        {
            linkserver?.shutdownasync().wait();
        }

        // 客户端启动
        public static void linkclientstart(string strip)
        {
            channel prechannel = new channel(strip, channelcredentials.insecure);
            linkclient = new linkclient(prechannel);
        }

        // 客户端发送消息函数
        public static string sendmes(string strrequest)
        {
            mes mes = new mes();
            mes.strrequest = strrequest;
            var res = linkclient.getmessage(mes);
            return res.strreply;
        }
    }
}
(3)生成解决方案。debug中可以得到项目的dll文件grpclink.dll,其他项目可以引用使用了。
3、创建服务端和客户端调用测试
(1)vs2022创建两个windows窗体应用(.net framework)项目。将上述grpclink.dll文件分别放入两个项目中,并添加dll引用。安装nuget包:grpc.core和google.protobuf。
(2)服务端testserver项目。
窗体:
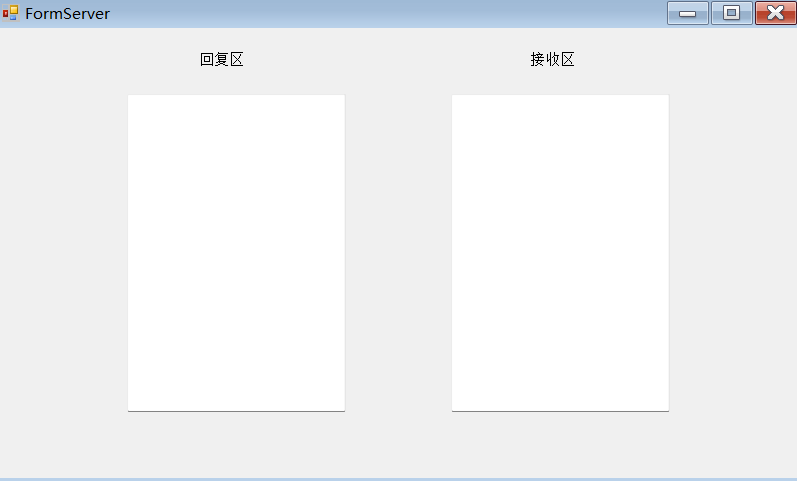
窗体代码:
testserver
 using grpclink;
using system;
using system.collections.generic;
using system.componentmodel;
using system.data;
using system.drawing;
using system.linq;
using system.text;
using system.threading.tasks;
using system.windows.forms;

namespace testserver
{
    public partial class formserver : form
    {
        public formserver()
        {
            initializecomponent();
            linkfunc.linkserverstart("127.0.0.1", 9008);
            linkfunc.replymes = replymes;
        }

        public string replymes(string strrequest)
        {
            invoke(new action(() => { tbreply.text = strrequest; }));

            string reply = tbrequest.text;
            return reply;
        }
    }
}
(3)客户端testcilent项目。
窗体:

窗体代码:
testcilent
using grpclink;
using system;
using system.collections.generic;
using system.componentmodel;
using system.data;
using system.drawing;
using system.linq;
using system.text;
using system.threading.tasks;
using system.windows.forms;
namespace testcilent
{
public partial class formcilent : form
{
public formcilent()
{
initializecomponent();
linkfunc.linkclientstart("127.0.0.1:9008");
}
private void btnsend_click(object sender, eventargs e)
{
string strmes = tbrequest.text;
string strres = linkfunc.sendmes(strmes);
tbreply.text = strres;
}
}
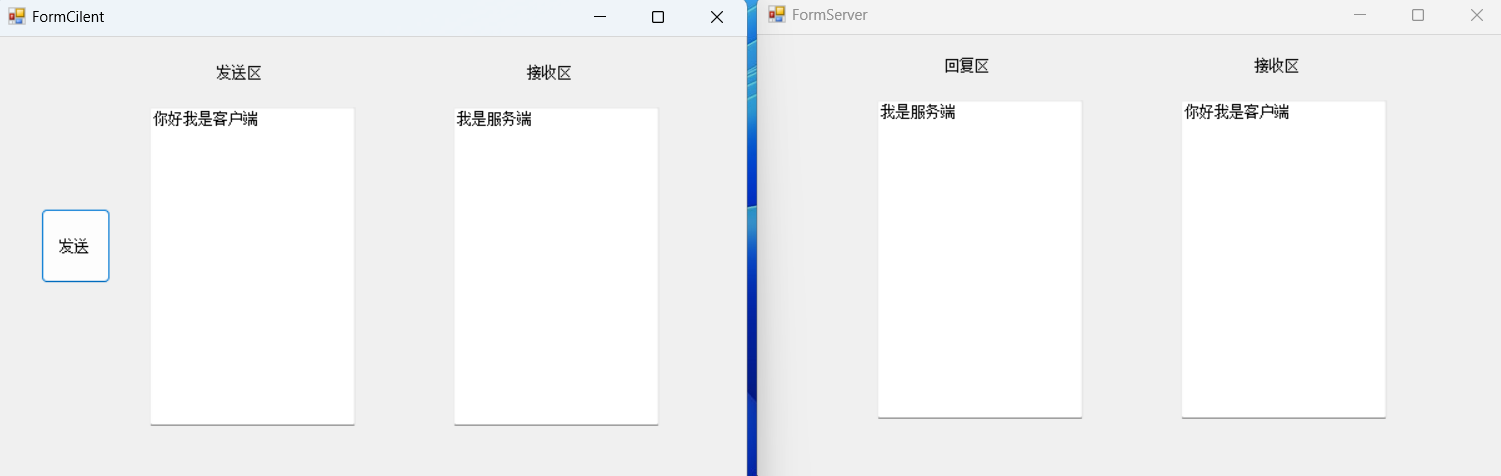
}(4)运行两个项目进行测试。
在客户端的发送区输入要发送的内容。
在服务端的回复区输入要回复的内容。
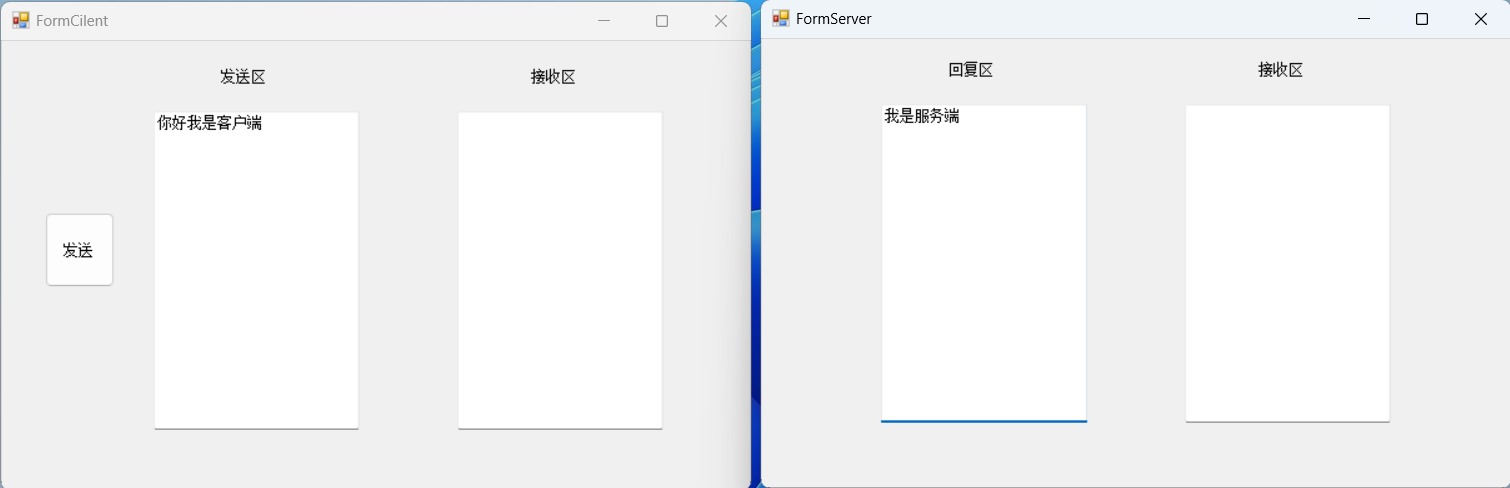
点击发送:
到此这篇关于浅析c#封装grpc类库及调用简单实例的文章就介绍到这了,更多相关c#封装grpc类库内容请搜索代码网以前的文章或继续浏览下面的相关文章希望大家以后多多支持代码网!


发表评论