一、pytest介绍
pytest是一个非常流行且高效的python测试框架,提供丰富功能和灵活用法,让测试用例的编写与运行变得简单高效
官方文档地址:pytest
1.1 pytest的优点
- 简单易用:语法简洁清晰,对编写测试用例非常友好,上手速度快;
- 强大的断言库:内置丰富断言库,可轻松判断测试结果;
- 支持参数化测试:允许用不同参数多次运行同一个测试函数,大幅提升测试效率;
- 丰富的插件生态系统:可通过插件扩展多种功能(如覆盖率测试、测试报告生成、失败用例重复执行等),还支持与selenium、requests、appinum等结合,实现web自动化、接口自动化、app自动化测试;
- 灵活的测试控制:允许跳过指定用例,或标记预期失败的用例,支持重复执行失败用例。
1.2 主流python接口自动化框架对比
| 维度 | unittest(python内置) | pytest | robot framework |
|---|---|---|---|
| 安装方式 | 无需安装(python标准库) | pip install pytest | pip install robotframework |
| 语法风格 | 基于类(需继承testcase) | 函数式或面向对象(无需样板代码) | 关键字驱动(表格化用例) |
| 断言方法 | self.assertequal() 等 | 原生assert表达式 | 关键字断言(如should be equal) |
| 参数化支持 | 需subtest 或第三方库 | 内置(@pytest.mark.parametrize) | 数据驱动(test template) |
| 插件生态 | 少(依赖扩展库如htmltestrunner) | 丰富(如pytest-html、pytest-xdist、allure-pytest等) | 一般(需安装额外库如requestslibrary) |
| 测试报告 | 需插件生成报告 | 支持多格式报告(html、allure等) | 自带详细日志和报告 |
| 学习曲线 | 中等(需熟悉xunit模式) | 低(语法简洁) | 高(需掌握关键字和语法) |
| bdd支持 | 不支持 | 支持(通过pytest-bdd插件) | 支持(通过robotframework-bdd) |
| 适用场景 | 简单项目或遗留系统维护 | 复杂项目、高扩展性需求 | 团队协作、非技术人员参与 |
二、安装
安装命令:
pip install pytest

安装成功验证:
安装完成后,可通过pip list命令查看当前项目下pytest包是否安装成功。同时需确认pycharm中python解释器已更新,安装pytest前后的代码运行差异如下:
- 未安装pytest:需编写main函数手动调用测试用例;
- 安装pytest:测试方法名前会出现直接运行标志,无需手动编写调用代码。
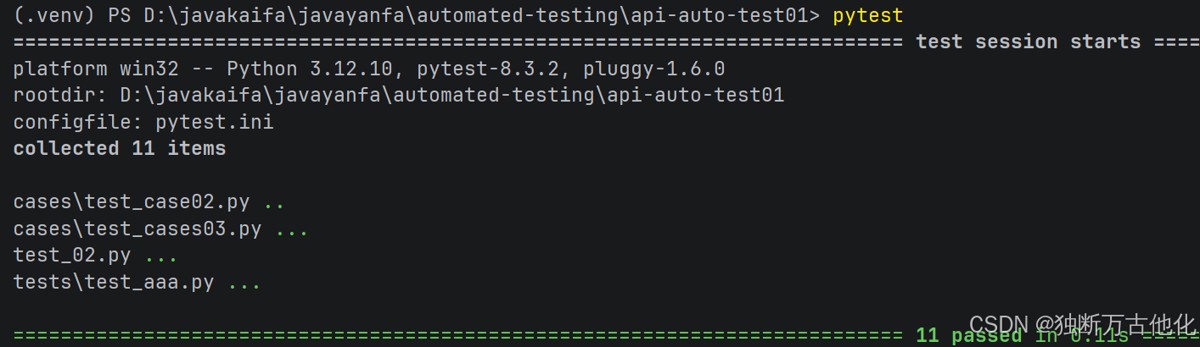
三、用例运行规则
要让pytest自动发现并运行测试用例,需遵循以下命名规则:
- 文件名必须以
test_开头或者_test结尾; - 测试类必须以
test开头,并且不能有_ _init_ _方法; - 测试方法必须以
test开头。
运行示例:
满足规则后,可通过命令行执行pytest命令直接运行符合条件的用例:
注意事项:
python测试类中不可添加__init__方法,否则pytest会抛出pytest_collectionwarning警告,无法收集该测试类。原因是pytest采用自动发现机制收集测试用例,会自动实例化测试类并调用其test开头的方法,若存在__init__方法,可能掩盖测试逻辑并引入额外副作用,影响测试结果准确性。
若测试类需初始化操作,可使用setup()和teardown()方法、类属性或fixture函数替代。
四、pytest命令参数
4.1 常见参数
pytest提供丰富的命令行选项控制测试执行,常用参数及说明如下:
| 命令 | 描述 | 备注 |
|---|---|---|
| pytest | 在当前目录及其子目录中搜索并运行测试 | - |
| pytest -v | 增加输出的详细程度 | - |
| pytest -s | 显示测试中的print语句 | - |
| pytest test_module.py | 运行指定的测试模块 | - |
| pytest test_dir/ | 运行指定目录下的所有测试 | - |
| pytest -k | 只运行测试名包含指定关键字的测试 | - |
| pytest -m | 只运行标记为指定标记的测试 | - |
| pytest -q | 减少输出的详细程度 | - |
| pytest --html=report.html | 生成html格式的测试报告 | 需要安装pytest-html插件 |
| pytest --cov | 测量测试覆盖率 | 需要安装pytest-cov插件 |
4.2 命令使用示例
运行符合规则的用例(不显示print内容):
详细打印并显示print内容(-s和-v可连写为-sv):

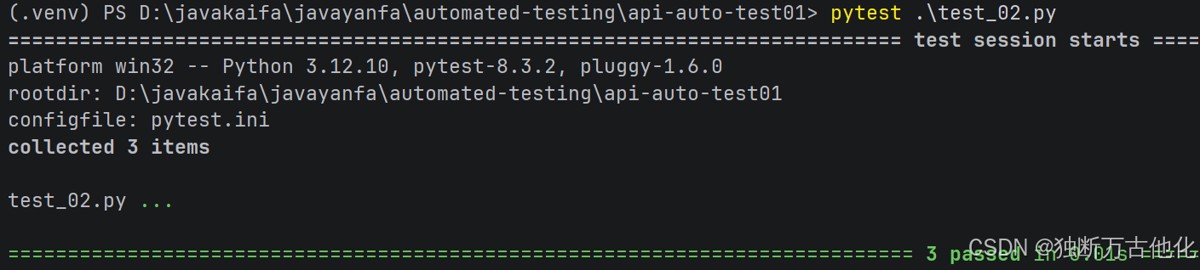
指定文件/测试用例运行:
五、pytest配置文件
当需要频繁使用复杂命令参数时,可将配置统一写入pytest.ini文件(项目根目录下创建),避免重复输入。
5.1 常见配置选项
| 参数 | 解释 |
|---|---|
| addopts | 指定在命令行中默认包含的选项 |
| testpaths | 指定搜索测试的目录 |
| python_files | 指定发现测试模块时使用的文件匹配模式 |
| python_classes | 指定发现测试类时使用的类名前缀或模式 |
| python_functions | 指定发现测试函数和方法时使用的函数名前缀或模式 |
| norecursedirs | 指定在搜索测试时应该避免递归进入的目录模式 |
| markers | 定义测试标记,用于标记测试用例 |
5.2 配置示例
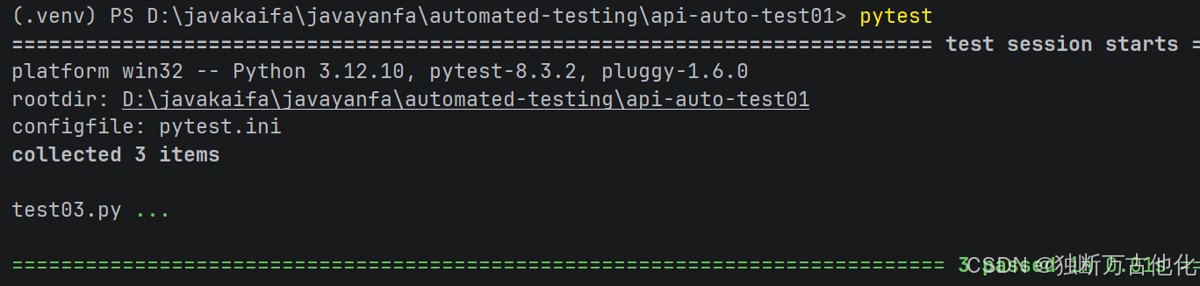
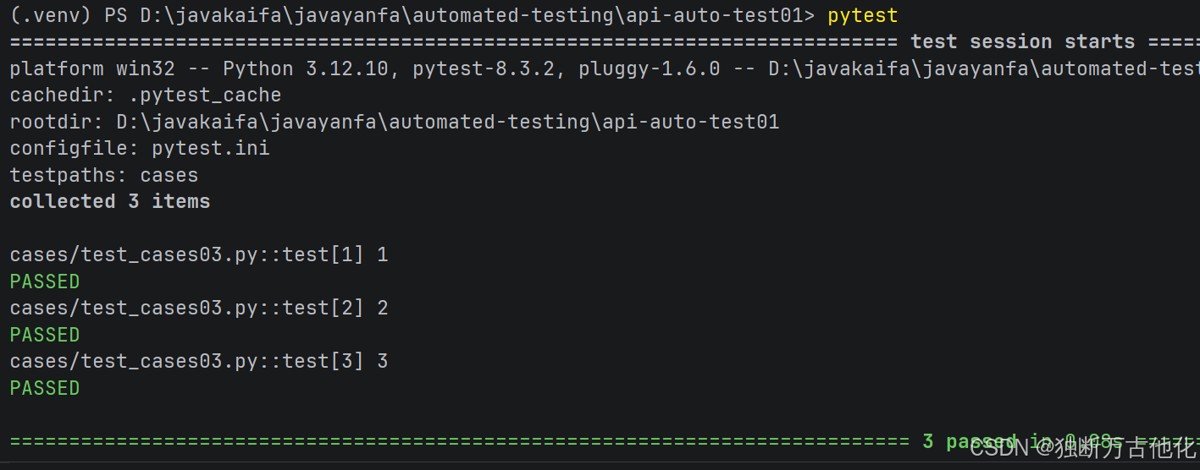
配置pytest.ini文件,实现详细输出cases包下文件名以test_开头、类名以test开头的所有用例:
[pytest]
addopts = -vs
testpaths = cases
python_files = test03.py
配置完成后,命令行直接执行pytest命令即可,无需额外指定参数,运行结果如下:
六、前后置操作
前后置操作用于在测试用例执行前后完成环境设置、数据准备、资源清理等工作,pytest提供三种实现方式:
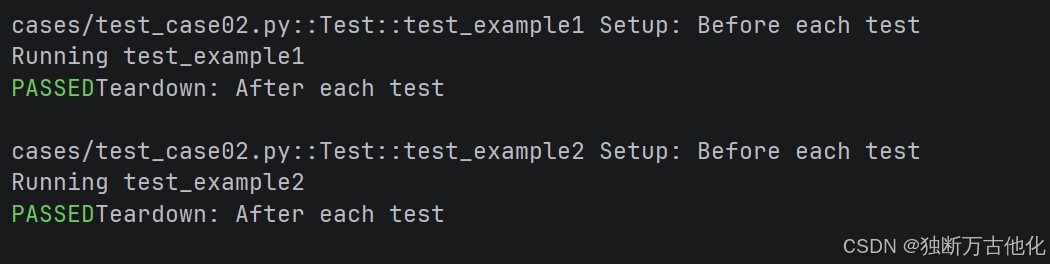
6.1 setup_method 和 teardown_method
用于类中每个测试方法的前置和后置操作,每个测试方法执行前都会触发setup_method,执行后触发teardown_method。
示例代码:
import pytest
class testexample:
    def setup_method(self):
        print("setup: before each test")
    def teardown_method(self):
        print("teardown: after each test")
    def test_example1(self):
        print("running test_example1")
    def test_example2(self):
        print("running test_example2")
运行结果:
6.2.setup_class 和 teardown_class
用于整个测试类的前置和后置操作,测试类中所有方法执行前触发一次setup_class,所有方法执行后触发一次teardown_class。
示例代码:
class testexample:
    def setup_class(self):
        print("setup: before all test")
    def teardown_class(self):
        print("teardown: after all test")
    def test_example1(self):
        print("running test_example1")
    def test_example2(self):
        print("running test_example2")
运行结果:

七、断言
断言(assert)是⼀种调试辅助工具,用于检查程序状态是否符合预期,若断言失败(条件为假),python解释器会抛出assertionerror异常。pytest支持使用标准pythonassert语句验证预期值与实际值。
基本语法:
assert 条件, 错误信息
- 条件:必须是布尔表达式;
- 错误信息:条件为假时显示的提示信息(可选)。
断言示例:
7.1 基本数据类型断言:
# 断言整数
a = 1
b = 2
assert a == b, "a和b不相等"
# 断言字符串
str = "hello"
assert "hello" == str
7.2 数据结构断言:
def test():
    # 断言列表
    expect_list = [1, 'apple', 3.14]
    actual_list = [1, 'apple', 3.14]
    # 断言元组
    expect_tuple = (1, 'apple', 3.14)
    actual_tuple = (1, 'apple', 3.14)
    # 断言字典
    expect_dict = {'name': 'alice', 'age': 25}
    actual_dict = {'name': 'alice', 'age': 25}
    # 断言集合
    expect_set = {1, 2, 3, 'apple'}
    actual_set = {1, 2, 3, 'apple'}
    assert expect_list == actual_list
    assert expect_tuple == actual_tuple
    assert expect_dict == actual_dict
    assert expect_set == actual_set
7.3 函数断言:
def divide(a, b):
    assert b != 0, "除数不能为0"
    return a / b
# 正常情况
print(divide(10, 2))  # 输出 5.0
# 触发断言
print(divide(10, 0))  # 抛出 assertionerror: 除数不能为0
7.4 接口返回值断言:
import requests
from jsonschema.validators import validate
# 断言接口返回值完整字段和值
def test1():
    url = "http://jsonplaceholder.typicode.com/posts/1"
    r = requests.get(url=url)
    expect_data = {
        "userid": 1,
        "id": 1,
        "title": "sunt aut facere repellat provident occaecati excepturi optio reprehenderit",
        "body": "quia et suscipit\nsuscipit recusandae consequuntur expedita et cum\nreprehenderit molestiae ut ut quas totam\nnostrum rerum est autem sunt rem eveniet architecto"
    }
    print(r.json())
    assert r.json() == expect_data
    assert r.json()['userid'] == 1
# 断言接口返回值重要字段
def test2():
    url = "http://jsonplaceholder.typicode.com/comments?postid=1"
    r = requests.get(url=url)
    print(r.json())
    assert r.json()[1]['id'] == 1
# 断言接口html返回值
def test3():
    url = "http://jsonplaceholder.typicode.com/"
    r = requests.get(url=url)
    assert "use your own data" in r.text
八、参数化
参数化设计可让测试用例通过不同参数多次运行,提高测试效率和覆盖度,pytest通过@pytest.mark.parametrize装饰器实现参数化,支持在测试函数、类、模块级别使用。
8.1 测试函数参数化
示例代码:
import pytest
@pytest.mark.parametrize("test_input, expected", [("3+5", 8), ("2+4", 6), ("6*9", 42)])
def test_eval(test_input, expected):
assert eval(test_input) == expected装饰器定义了三组(test_input, expected)元组,test_eval函数会依次使用每组参数运行三次。
8.2 测试类参数化
示例代码:
import pytest
@pytest.mark.parametrize("n, expected", [(1, 2), (3, 4)])
class testclass:
    def test_simple_case(self, n, expected):
        assert n + 1 == expected
    def test_weird_simple_case(self, n, expected):
        assert (n * 1) + 1 == expected
参数集将作用于类中所有测试方法,每个方法都会使用每组参数运行。
8.3 模块级别参数化
通过给pytestmark全局变量赋值,实现模块内所有测试的参数化:
import pytest
pytestmark = pytest.mark.parametrize("n, expected", [(1, 2), (3, 4)])
class testclass:
    def test_simple_case(self, n, expected):
        assert n + 1 == expected
    def test_weird_simple_case(self, n, expected):
        assert (n * 1) + 1 == expected
8.4 自定义参数化数据源
示例代码:
def data_provider():
    return ["a", "b"]
# 定义测试函数,依赖自定义数据源
@pytest.mark.parametrize("data", data_provider())
def test_data(data):
    assert data is not none
    print(f"testing with data provider: {data}")
除了使用 @parametrize 添加参数外,pytest.fixture() 允许对 fixture 函数进行参数化,详情参考下一篇文章。
到此这篇关于python pytest 框架通关指南:自动化测试不再难的文章就介绍到这了,更多相关python pytest 框架内容请搜索代码网以前的文章或继续浏览下面的相关文章希望大家以后多多支持代码网!


发表评论