一、创建项目,pom文件
<?xml version="1.0" encoding="utf-8"?>
<project xmlns="http://maven.apache.org/pom/4.0.0"
xmlns:xsi="http://www.w3.org/2001/xmlschema-instance"
xsi:schemalocation="http://maven.apache.org/pom/4.0.0 http://maven.apache.org/xsd/maven-4.0.0.xsd">
<modelversion>4.0.0</modelversion>
<groupid>com.qcby</groupid>
<artifactid>springmvc12</artifactid>
<version>1.0-snapshot</version>
<packaging>war</packaging>
<properties>
<maven.compiler.source>8</maven.compiler.source>
<maven.compiler.target>8</maven.compiler.target>
<project.build.sourceencoding>utf-8</project.build.sourceencoding>
<spring.version>5.0.2.release</spring.version>
</properties>
<dependencies>
<dependency>
<groupid>org.springframework</groupid>
<artifactid>spring-context</artifactid>
<version>${spring.version}</version>
</dependency>
<dependency>
<groupid>org.springframework</groupid>
<artifactid>spring-web</artifactid>
<version>${spring.version}</version>
</dependency>
<dependency>
<groupid>org.springframework</groupid>
<artifactid>spring-webmvc</artifactid>
<version>${spring.version}</version>
</dependency>
<dependency>
<groupid>javax.servlet</groupid>
<artifactid>servlet-api</artifactid>
<version>2.5</version>
<scope>provided</scope>
</dependency>
<dependency>
<groupid>javax.servlet.jsp</groupid>
<artifactid>jsp-api</artifactid>
<version>2.0</version>
<scope>provided</scope>
</dependency>
</dependencies>
</project>
二、web.xml
<?xml version="1.0" encoding="utf-8"?>
<web-app xmlns="http://xmlns.jcp.org/xml/ns/javaee"
xmlns:xsi="http://www.w3.org/2001/xmlschema-instance"
xsi:schemalocation="http://xmlns.jcp.org/xml/ns/javaee http://xmlns.jcp.org/xml/ns/javaee/web-app_4_0.xsd"
version="4.0">
<!--前端控制器-->
<servlet>
<servlet-name>dispatcherservlet</servlet-name>
<servlet-class>org.springframework.web.servlet.dispatcherservlet</servlet-class>
<init-param>
<param-name>contextconfiglocation</param-name>
<param-value>classpath:spring-mvc.xml</param-value>
</init-param>
<!--配置启动加载-->
<load-on-startup>1</load-on-startup>
</servlet>
<servlet-mapping>
<servlet-name>dispatcherservlet</servlet-name>
<url-pattern>*.do</url-pattern>
</servlet-mapping>
</web-app>
三、spring-mvc.xml
<?xml version="1.0" encoding="utf-8"?>
<beans xmlns="http://www.springframework.org/schema/beans"
xmlns:mvc="http://www.springframework.org/schema/mvc"
xmlns:context="http://www.springframework.org/schema/context"
xmlns:xsi="http://www.w3.org/2001/xmlschema-instance"
xsi:schemalocation="
http://www.springframework.org/schema/beans
http://www.springframework.org/schema/beans/spring-beans.xsd
http://www.springframework.org/schema/mvc
http://www.springframework.org/schema/mvc/spring-mvc.xsd
http://www.springframework.org/schema/context
http://www.springframework.org/schema/context/spring-context.xsd">
<!-- 配置spring创建容器时要扫描的包 -->
<context:component-scan base-package="com.qcby.controller"></context:component-scan>
<!-- 配置视图解析器 -->
<bean id="viewresolver" class="org.springframework.web.servlet.view.internalresourceviewresolver">
<property name="prefix" value="/web-inf/pages/"></property>
<property name="suffix" value=".jsp"></property>
</bean>
<!-- 配置spring开启注解mvc的支持-->
<!-- <mvc:annotation-driven></mvc:annotation-driven>-->
</beans>
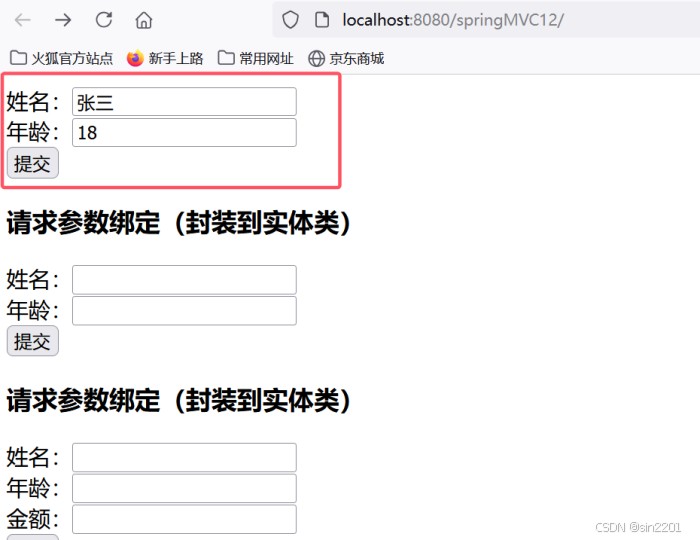
四、index.jsp
<%@ page contenttype="text/html;charset=utf-8" language="java" %>
<html>
<head>
<title>请求参数绑定</title>
</head>
<body>
<form action="user/save1.do" method="post">
姓名:<input type="text" name="username" />
年龄:<input type="text" name="age" />
<input type="submit" value="提交" />
</form>
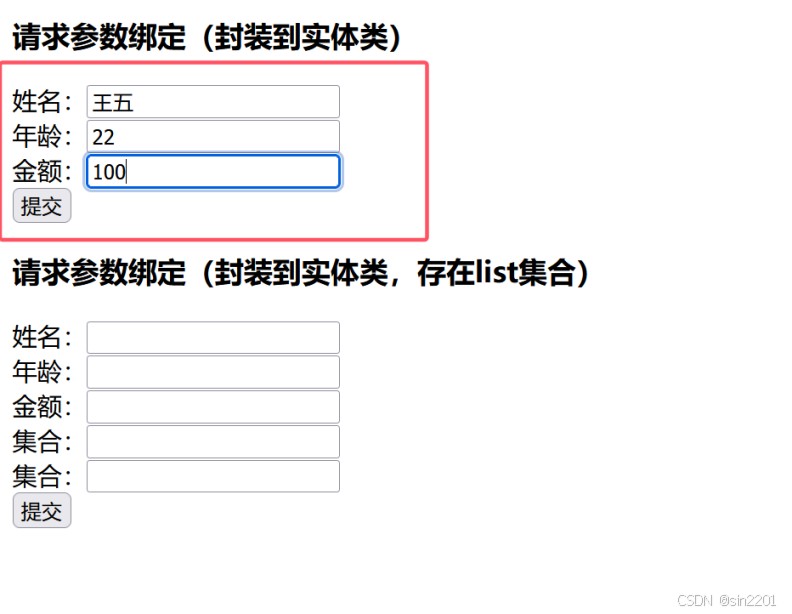
<h3>请求参数绑定(封装到实体类)</h3>
<form action="user/save2.do" method="post">
姓名:<input type="text" name="username" />
年龄:<input type="text" name="age" />
<input type="submit" value="提交" />
</form>
<h3>请求参数绑定(封装到实体类)</h3>
<form action="user/save3.do" method="post">
姓名:<input type="text" name="username" />
年龄:<input type="text" name="age" />
金额:<input type="text" name="address.money" />
<input type="submit" value="提交" />
</form>
<h3>请求参数绑定(封装到实体类,存在list集合)</h3>
<form action="user/save4.do" method="post">
姓名:<input type="text" name="username" />
年龄:<input type="text" name="age" />
金额:<input type="text" name="address.money" />
集合:<input type="text" name="list[0].money" />
集合:<input type="text" name="list[1].money" />
<input type="submit" value="提交" />
</form>
</body>
</html>五、实体类
address类
import java.io.serializable;
public class address implements serializable {
    private double money;
    public double getmoney() {
        return money;
    }
    public void setmoney(double money) {
        this.money = money;
    }
    @override
    public string tostring() {
        return "address{" +
                "money=" + money +
                '}';
    }
}
user类
import java.io.serializable;
import java.util.list;
public class user implements serializable {
    private string username;
    private integer age;
    // 引用对象
    private address address;
    // list集合
    private list<address> list;
    public string getusername() {
        return username;
    }
    public void setusername(string username) {
        this.username = username;
    }
    public integer getage() {
        return age;
    }
    public void setage(integer age) {
        this.age = age;
    }
    public address getaddress() {
        return address;
    }
    public void setaddress(address address) {
        this.address = address;
    }
    public list<address> getlist() {
        return list;
    }
    public void setlist(list<address> list) {
        this.list = list;
    }
    @override
    public string tostring() {
        return "user{" +
                "username='" + username + '\'' +
                ", age=" + age +
                ", address=" + address +
                ", list=" + list +
                '}';
    }
}
六、usercontroller类
import com.qcby.pojo.user;
import org.springframework.stereotype.controller;
import org.springframework.web.bind.annotation.requestmapping;
@controller
@requestmapping("/user")
public class usercontroller {
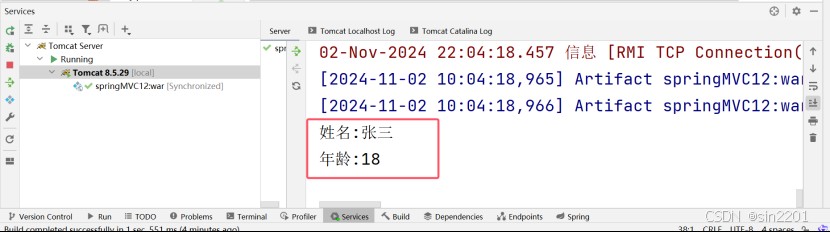
@requestmapping("/save1.do")
public string save(string username,integer age){
system.out.println("姓名:"+username);
system.out.println("年龄:"+age);
return "success";
}
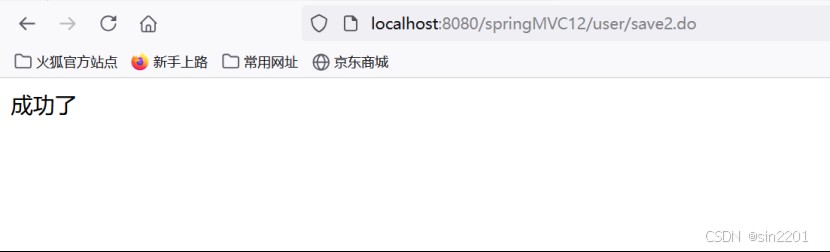
@requestmapping("/save2.do")
public string save2(user user){
system.out.println("user对象:"+user);
return "success";
}
@requestmapping("/save3.do")
public string save3(user user){
system.out.println("user对象:"+user);
return "success";
}
@requestmapping("/save4.do")
public string save4(user user){
system.out.println("user对象:"+user);
return "success";
}
}七、请求参数解决中文乱码
<!-- 配置过滤器,解决中文乱码的问题 -->
<filter>
<filter-name>characterencodingfilter</filter-name>
<filter-class>org.springframework.web.filter.characterencodingfilter</filter-class>
<!-- 指定字符集 -->
<init-param>
<param-name>encoding</param-name>
<param-value>utf-8</param-value>
</init-param>
</filter>
<filter-mapping>
<filter-name>characterencodingfilter</filter-name>
<url-pattern>/*</url-pattern>
</filter-mapping>
现在的web.xml:
<?xml version="1.0" encoding="utf-8"?>
<web-app xmlns="http://xmlns.jcp.org/xml/ns/javaee"
xmlns:xsi="http://www.w3.org/2001/xmlschema-instance"
xsi:schemalocation="http://xmlns.jcp.org/xml/ns/javaee http://xmlns.jcp.org/xml/ns/javaee/web-app_4_0.xsd"
version="4.0">
<!-- 配置过滤器,解决中文乱码的问题 -->
<filter>
<filter-name>characterencodingfilter</filter-name>
<filter-class>org.springframework.web.filter.characterencodingfilter</filter-class>
<!-- 指定字符集 -->
<init-param>
<param-name>encoding</param-name>
<param-value>utf-8</param-value>
</init-param>
</filter>
<filter-mapping>
<filter-name>characterencodingfilter</filter-name>
<url-pattern>/*</url-pattern>
</filter-mapping>
<!--前端控制器-->
<servlet>
<servlet-name>dispatcherservlet</servlet-name>
<servlet-class>org.springframework.web.servlet.dispatcherservlet</servlet-class>
<init-param>
<param-name>contextconfiglocation</param-name>
<param-value>classpath:spring-mvc.xml</param-value>
</init-param>
<!--配置启动加载-->
<load-on-startup>1</load-on-startup>
</servlet>
<servlet-mapping>
<servlet-name>dispatcherservlet</servlet-name>
<url-pattern>*.do</url-pattern>
</servlet-mapping>
</web-app>
八、配置tomcat,然后启动tomcat
1.

2.
3.

4.

九、接收map类型
1.直接接收map类型
如果想直接接收前端传过来的map参数,应该使用两个注解(requestbody或requestparam;requestparam--get和post请求都可以,requestbody只能post请求,底层封装都是linkedhashmap)
(1)get请求
第一种情况,什么注解也没有
usercontroller类里加一个方法
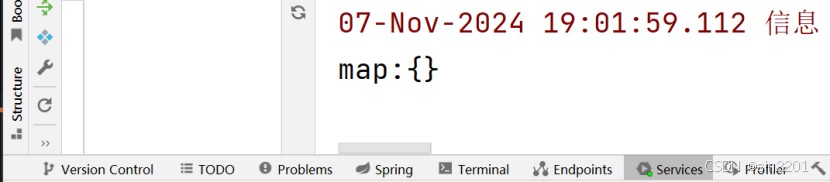
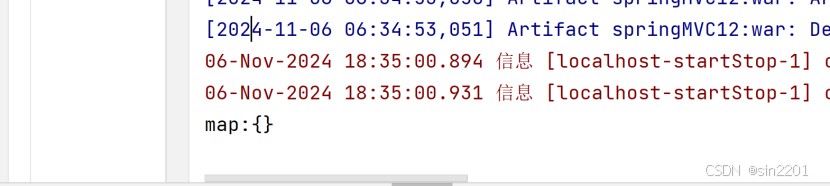
@requestmapping("/mapsave1.do")
public string mapsave1(map<string, objects> map){
    system.out.println("map:"+map);
    return "success";
}
没有jsp页面,启动tomcat
控制台:什么输出也没有,没有值
第二种情况:传个值
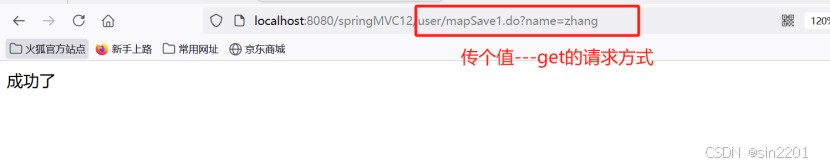
控制台:还是什么都没有

第三种情况:声明是get请求
usercontroller类的mapsave1()方法:
@requestmapping(value = "/mapsave1.do",method = requestmethod.get)

public string mapsave1(map<string, objects> map){

    system.out.println("map:"+map);

    return "success";

}
再启动:
控制台:还是没有值
所以跟请求是什么没关系,要想接收就要加注解
第四种情况:加@requestparam
@requestmapping(value = "/mapsave1.do")

public string mapsave1(@requestparam map<string, objects> map){

    system.out.println("map:"+map);

    return "success";

}
再运行:
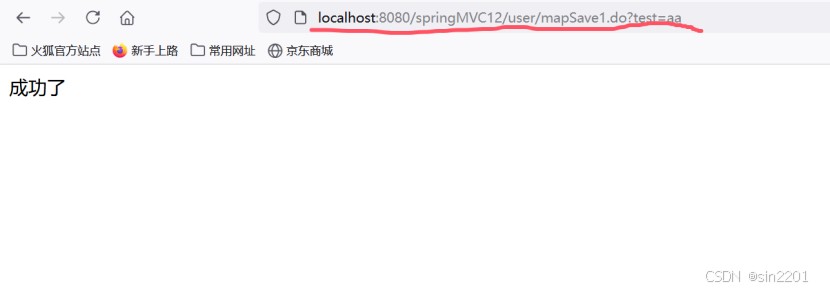
所以,我传递一个map在后端接收,用get请求必须加@requestparam注解
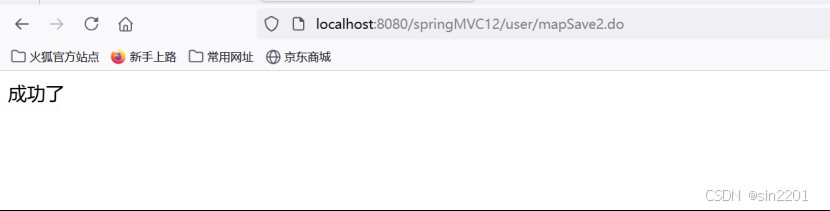
(2)post请求:
第一种情况:什么注解也没有
@requestmapping(value = "/mapsave2.do")
public string mapsave1(map<string, objects> map){
system.out.println("map:"+map);
return "success";
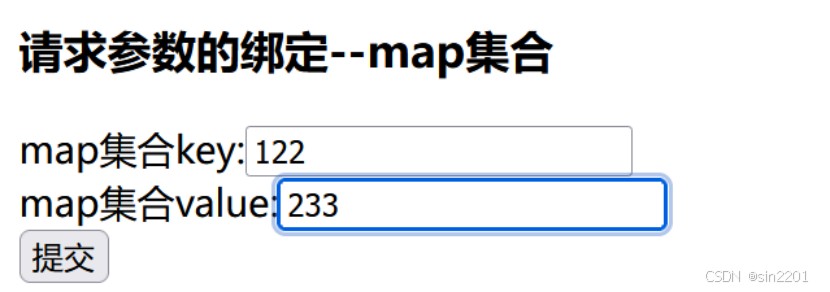
}前端页面:加一个表单
<h3>请求参数的绑定--map集合</h3>
<form action="user/mapsave2.do" method="post">
    map集合key:<input type="text" name="map.key" />
    map集合value:<input type="text" name="map.value" />
    <input type="submit" value="提交" />
</form>
运行
点提交
控制台:什么也没有

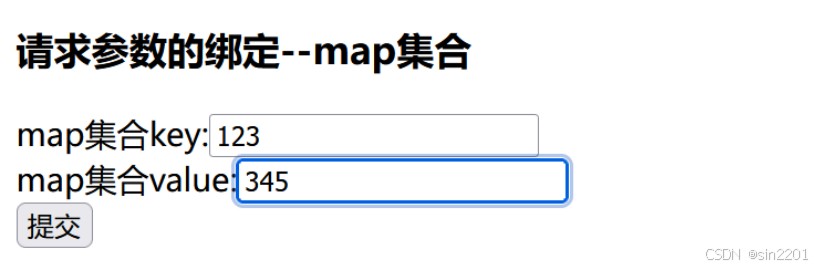
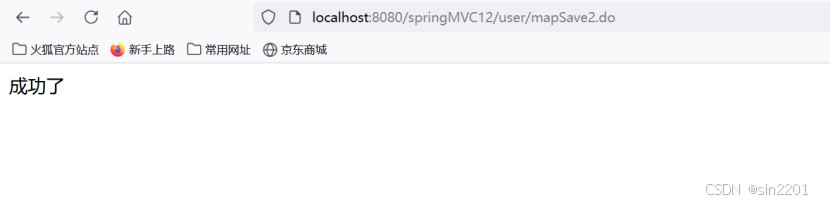
第二种情况:声明是post请求
@requestmapping(value = "/mapsave2.do",method = requestmethod.post)
public string mapsave2(map<string, objects> map){
    system.out.println("map:"+map);
    return "success";
}
再运行:
点提交
控制台:
说明跟get的一样,不加注解是没有办法接收到的
第三种情况:加上@requestparam注解
@requestmapping(value = "/mapsave2.do",method = requestmethod.post)
public string mapsave2(@requestparam map<string, objects> map){
    system.out.println("map:"+map);
    return "success";
}
运行:
点提交
控制台:
可以看出,get请求和post请求都可以用@requestparam注解
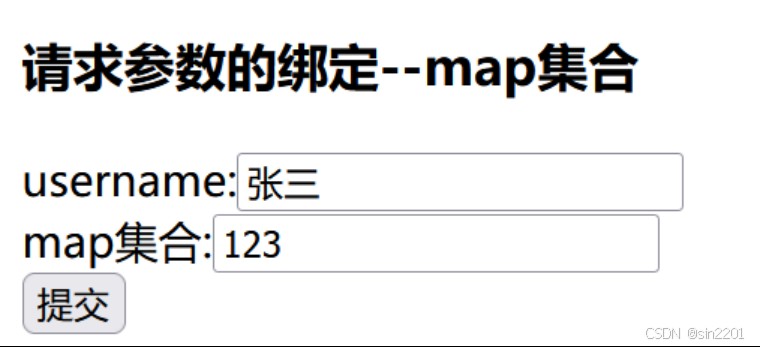
表单和controller类中的方法改改(加个username)
表单:
<h3>请求参数的绑定--map集合</h3>
<form action="user/mapsave2.do" method="post">
    username:<input type="text" name="username">
    map集合:<input type="text" name="test1">
<%-- test1就是map的key,输入框中的就是map的value --%>
    <input type="submit" value="提交" />
</form>
方法:
@requestmapping(value = "/mapsave2.do")
public string mapsave2(@requestparam map<string, objects> map,string username){
    system.out.println("map:"+map);
    system.out.println("username:"+username);
    return "success";
}
运行:
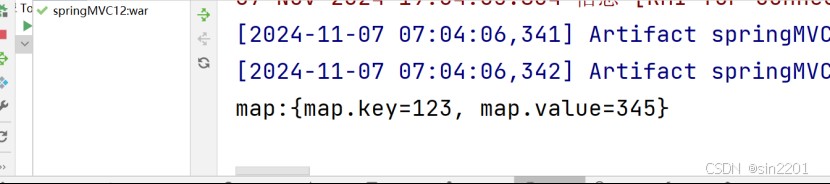
点提交:
控制台:
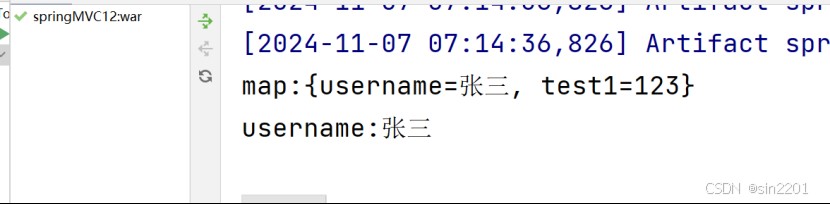
可以看到:表单中的数据都被封装到了map集合中
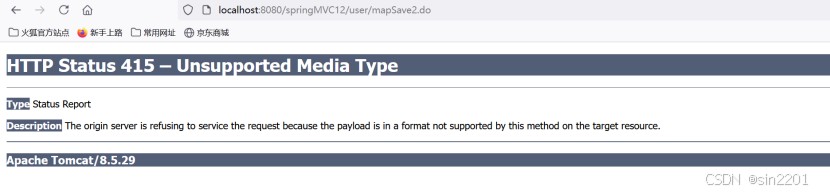
第四种情况:加@requestbody注解
但是这样的话,它只能接收json数据
现在用表单接收就会报错:
@requestmapping(value = "/mapsave2.do")
public string mapsave2(@requestbody map<string, objects> map, string username){
    system.out.println("map:"+map);
    system.out.println("username:"+username);
    return "success";
}
运行:
点提交:(报错)
总结:无注解时,什么都接收不了;@requestparam注解时,将参数包装成linkedhashmap对象,参数的key是map的key,参数的值是map的value,get和
post请求都支持;@requestbody注解接收json类型的数据(跟表单不一样,表单传不了),也会包装成linkedhashmap对象,该注解不支持get请求,get请求没有请求体,不能传json
2.用对象接收map
(1)user类里加一个map
private map<string,address> usermap;
(2)前端:
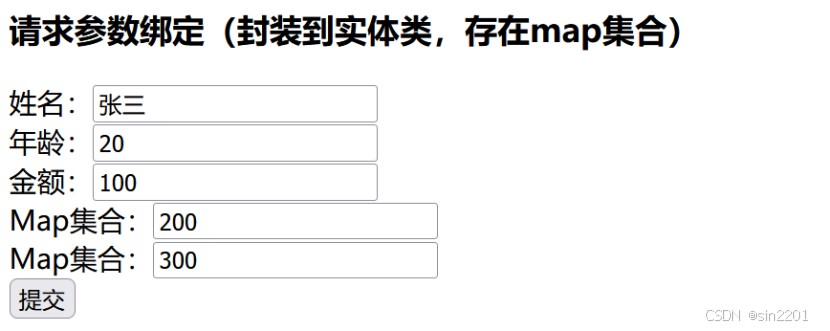
<h3>请求参数绑定(封装到实体类,存在map集合)</h3>
<form action="user/save5.do" method="post">
    姓名:<input type="text" name="username" />
    年龄:<input type="text" name="age" />
    金额:<input type="text" name="address.money" />
    map集合:<input type="text" name="usermap['one'].money" />
    map集合:<input type="text" name="usermap['two'].money" />
    <input type="submit" value="提交" />
</form>
(3)运行:
点提交:
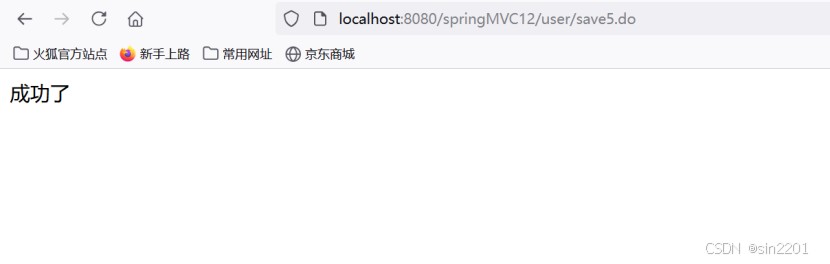
控制台:

十、在控制器中使用原生的servletapi对象
只需要在控制器的方法参数定义httpservletrequest和httpservletresponse对象
usercontroller里加:
/*原生的api*/
@requestmapping("/save6.do")
public string save6(httpservletrequest request, httpservletresponse response){
    system.out.println(request);
    // 获取到httpsession对象
    httpsession session = request.getsession();
    system.out.println(session);
    system.out.println(response);
    return "success";
}
运行:

控制台:

到此这篇关于springmvc请求参数的绑定的项目实践的文章就介绍到这了,更多相关springmvc请求参数的绑定内容请搜索代码网以前的文章或继续浏览下面的相关文章希望大家以后多多支持代码网!


发表评论