概述
随着站点的内容越来越多,图片所占据项目的空间越来越大,需要开始考虑到幽络源图像的压缩了,本教程将会提供一个图像的压缩脚本来实现对png、jpg、jpeg、webp图像的压缩,另外试过自己压缩图像的用户可能会特别注意png的压缩,png是一种无损图像,普通的pillow库已不足以实现对png的压缩,本教程所提供脚本同样适用于png的压缩。
压缩脚本
import os
import sys
from pil import image
import subprocess
def compress_png_aggressively(input_path, quality):
    """直接覆盖源文件的png压缩方案"""
    try:
        # 1. 使用pngquant直接覆盖源文件(添加--speed 1加快速度)
        subprocess.run([
            "pngquant",
            "--force",
            "--speed", "1",  # 加速处理
            "--quality", f"{max(10, 100 - quality)}-100",
            "--output", input_path,  # 直接输出到原文件
            "--",
            input_path
        ], check=true)
        # 2. 直接运行optipng覆盖原文件(添加-clobber覆盖写入)
        subprocess.run([
            "optipng",
            "-o5",
            "-quiet",
            "-clobber",  # 允许覆盖原文件
            input_path
        ], check=true)
    except subprocess.calledprocesserror as e:
        print(f"压缩失败(已保留原文件): {e}")
    except exception as e:
        print(f"未知错误: {e}")
def compress_image_by_quality(input_path, quality):
    """
    按质量压缩图片并覆盖原文件
    :param input_path: 图片路径
    :param quality: 压缩质量 (0-100)
    """
    if not os.path.isfile(input_path):
        print(f"文件不存在: {input_path}")
        return
    file_ext = os.path.splitext(input_path)[1].lower()
    supported_formats = ['.jpg', '.jpeg', '.png', '.webp']
    if file_ext not in supported_formats:
        print(f"不支持的图片格式: {input_path}")
        return
    original_size = os.path.getsize(input_path) / 1024  # kb
    try:
        if file_ext in ['.jpg', '.jpeg']:
            img = image.open(input_path)
            img.save(input_path, quality=quality, optimize=true, progressive=true)
        elif file_ext == '.png':
            # 对png使用强力压缩
            compress_png_aggressively(input_path, quality)
        elif file_ext == '.webp':
            img = image.open(input_path)
            img.save(input_path, quality=quality, method=6)
        compressed_size = os.path.getsize(input_path) / 1024
        print(
            f"压缩完成: {os.path.basename(input_path)} 质量: {quality} 大小: {original_size:.2f}kb -> {compressed_size:.2f}kb")
    except exception as e:
        print(f"压缩过程中出错: {e}")
def compress_images_in_directory(directory, quality):
    """
    压缩目录下的所有图片
    :param directory: 目录路径
    :param quality: 压缩质量 (0-100)
    """
    if not os.path.isdir(directory):
        print(f"目录不存在: {directory}")
        return
    print(f"开始压缩目录: {directory},质量设置: {quality}")
    for filename in os.listdir(directory):
        filepath = os.path.join(directory, filename)
        if os.path.isfile(filepath):
            compress_image_by_quality(filepath, quality)
    print("所有图片压缩完成")
if __name__ == "__main__":
    # 检查必要工具是否安装
    try:
        subprocess.run(["pngquant", "--version"], check=true, stdout=subprocess.pipe)
        subprocess.run(["optipng", "--version"], check=true, stdout=subprocess.pipe)
    except:
        print("警告: 请先安装pngquant和optipng以获得最佳png压缩效果")
        print("ubuntu/debian: sudo apt-get install pngquant optipng")
        print("centos/rhel: sudo yum install pngquant optipng")
        print("macos: brew install pngquant optipng")
        sys.exit(1)  # 工具未安装时直接退出
    directory = r"/www/wwwroot/www.youluoyuan.com/wp-content/uploads/2025/01" #含有图片的目录
    try:
        quality = 60 #压缩质量 范围1~100,建议50~75,数字越小则压缩越强,但图片质量会更低
        if not 0 <= quality <= 100:
            raise valueerror
    except valueerror:
        print("错误: 质量参数必须是0到100之间的整数")
        sys.exit(1)
    try:
        compress_images_in_directory(directory, quality)
        print("\n✅ 已全部压缩完成")  # 新增完成提示
        sys.exit(0)  # 正常退出
    except exception as e:
        print(f"\n❌ 压缩过程中发生严重错误: {e}")
        sys.exit(1)  # 异常退出
脚本解释
在上面的脚本中
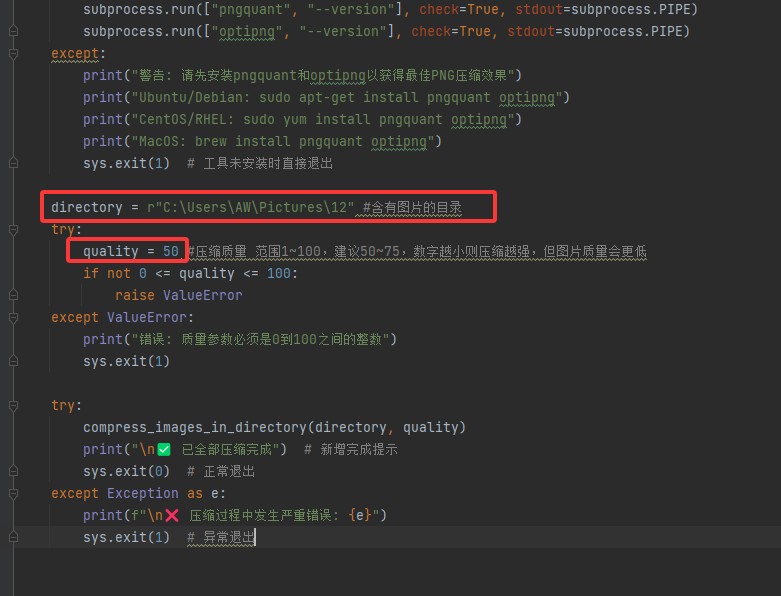
directory是指包含图片的目录,windows与linux系统都可以
quality表示期望压缩的质量,范围1~100,建议50~75,数字越小则压缩越强,但图片质量会更低
脚本使用
安装必备库
对于linux系统,执行如下对应命令即可安装pngquant、optipng库,这两个库主要是特定针对png的压缩
# ubuntu/debian
sudo apt-get install pngquant optipng
# centos/rhel
sudo yum install pngquant optipng
# macos
brew install pngquant optipng
对于windows系统,方式之一是手动下载pngquant、optipng并配置环境变量,幽络源这里已提供适用于windows的pngquant、optipng库
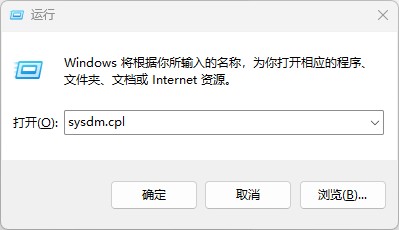
按照如图快捷进入环境变量配置
再将optipng和pngquant配置到path中去,如图

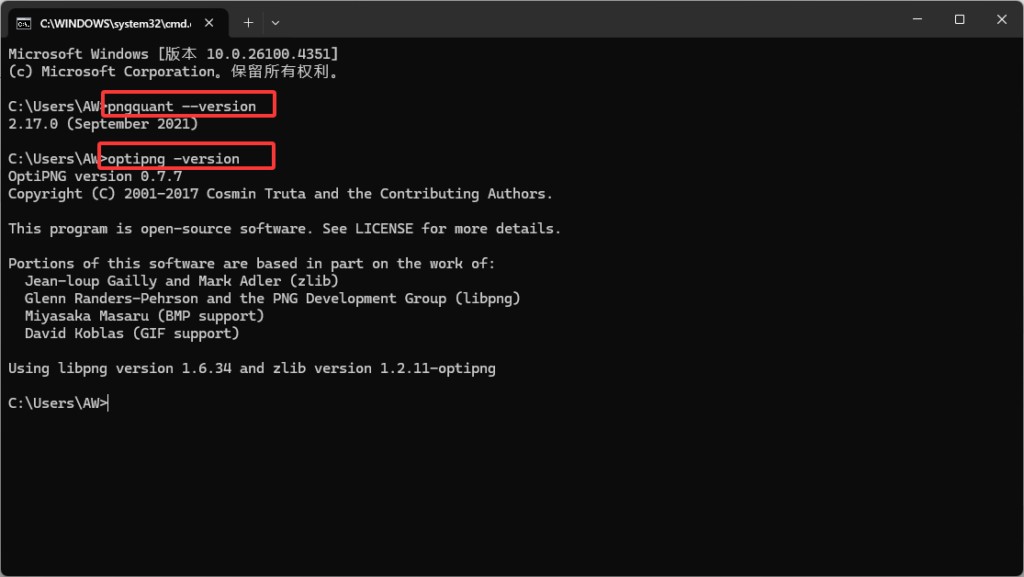
配置保存后,在cmd命令中输入如下两条命令
pngquant --version
optipng -version
若成功则能获取到相应的版本信息,如图
使用脚本
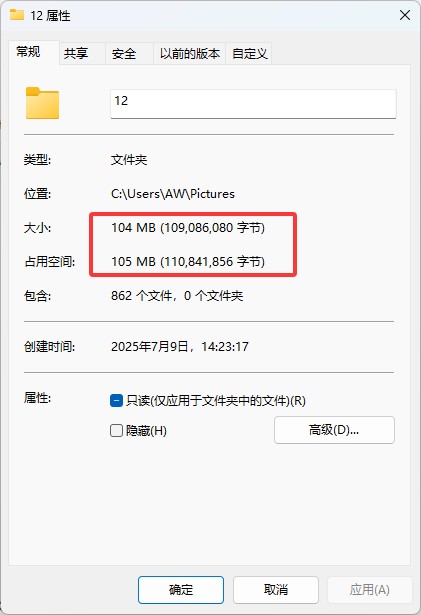
以如下包含图片的目录为例,现在大小如下为104mb
再修改脚本中指定的目录和期望的压缩质量,如图
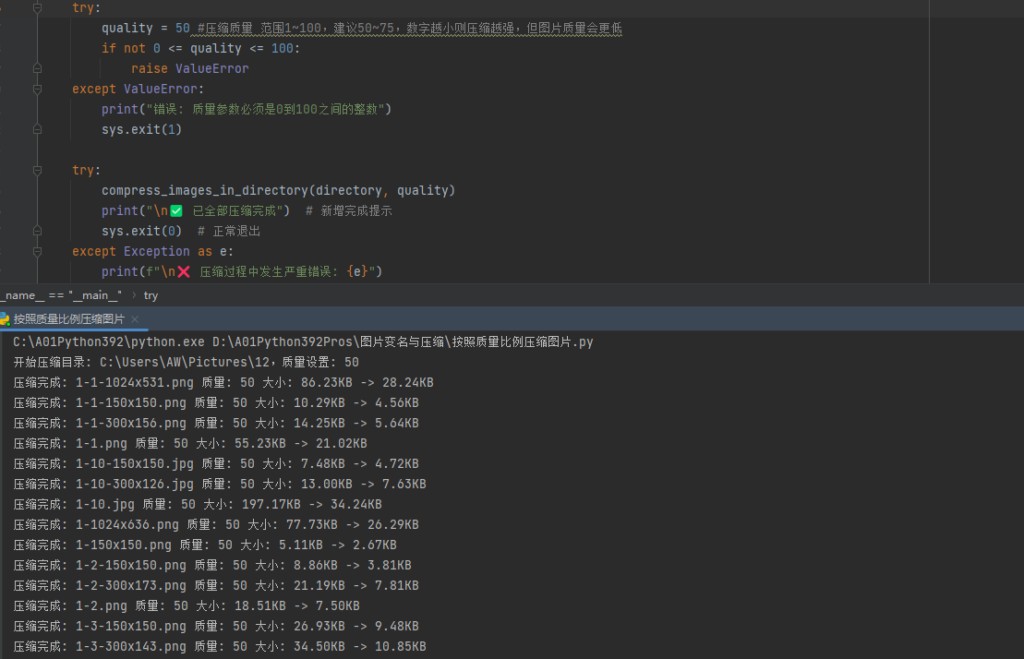
执行后,开始自动批量压缩,输出如下
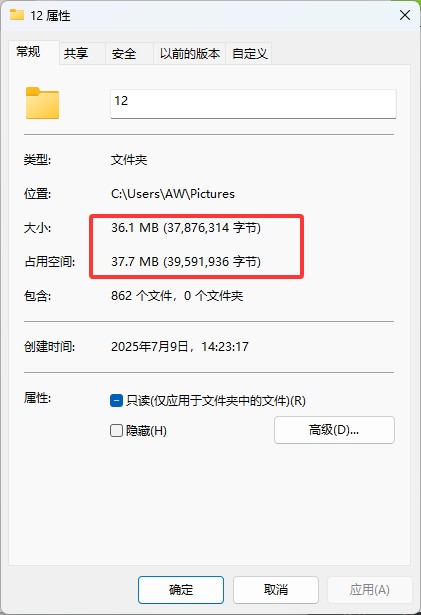
查看结果
压缩后结果如下,并且图像的实际质量也不低,能够极大的减少图像占据磁盘空间。
到此这篇关于python实现图片批量无损压缩脚本的文章就介绍到这了,更多相关python图片压缩内容请搜索代码网以前的文章或继续浏览下面的相关文章希望大家以后多多支持代码网!


发表评论