很久以前发过一篇python版halcon的使用方法.
可能有些地方没有说清楚,后台有人私信问我:"不装halcon怎样使用python调用halcon"
事实上前篇介绍的非常详细了,但是对初学者还是不够友好.
不废话,说步骤:首先系统win10 x64 22h2 安装python3.8.8 x64
安装python依赖包;安装halcon-python
pip install mvtec-halcon==24111
接下来依赖的dll复制到py程序运行目录: 如图所示 我在程序运行目录兴新建了"dll"文件夹 所有依赖复制到这里了.
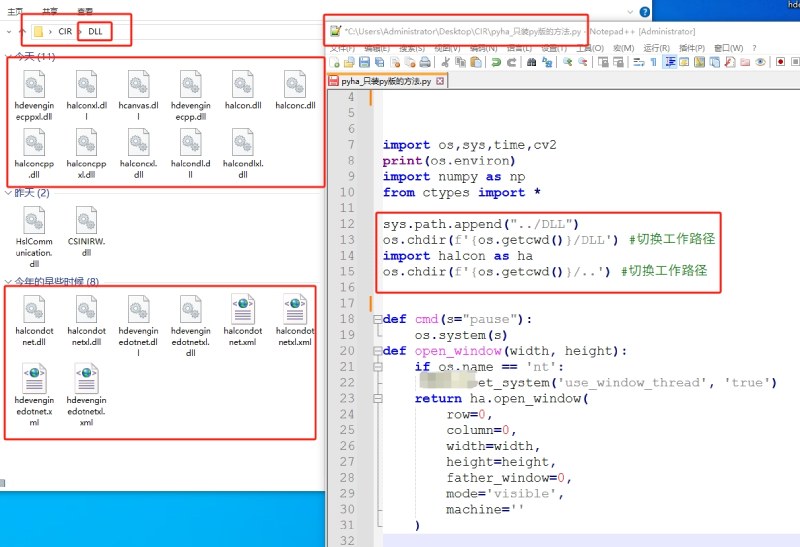
可以看到有这么一句: 主要有用的是 import halcon as ha
但是不安装halcon只复制dll python在环境变量和本地运行环境找不到依赖所以会报错的.
你可以尝试 删掉
 sys.path.append("../dll")
os.chdir(f'{os.getcwd()}/dll') #切换工作路径
os.chdir(f'{os.getcwd()}/..') #切换工作路径
只保留import halcon as ha看看会怎样.
sys.path.append("../dll")
os.chdir(f'{os.getcwd()}/dll') #切换工作路径
import halcon as ha
os.chdir(f'{os.getcwd()}/..') #切换工作路径
一旦 import halcon as ha 不报错
就可以开始验证其他的函数.
打开一个窗口能读取图像并显示就算环境正常:
下面给个简单例子:
r"""
"""

import os,sys,time,cv2
#print(os.environ)
import numpy as np
from ctypes import *

sys.path.append("../dll")
os.chdir(f'{os.getcwd()}/dll') #切换工作路径
import halcon as ha
os.chdir(f'{os.getcwd()}/..') #切换工作路径

def cmd(s="pause"):
    os.system(s)
def open_window(width, height):
    if os.name == 'nt':
        ha.set_system('use_window_thread', 'true')
    return ha.open_window(
        row=0,
        column=0,
        width=width,
        height=height,
        father_window=0,
        mode='visible',
        machine=''
    )

if __name__ == "__main__":

    ha.set_system("backing_store", 'false')
    image = ha.read_image('1.bmp')

    width, height = ha.get_image_size(image)
    print(width[0], height[0])
    image_width  = width[0]
    image_height = height[0]
    image_width_half  = width[0]/2
    image_height_half = height[0]/2
    pix = image_width*image_height
    fillmode=['margin','fill']

    windowhandle1 =open_window(image_width_half/3, image_height_half/3)
    ha.set_draw (windowhandle1, fillmode[1])
    ha.set_line_width (windowhandle1, 1)
    ha.set_color (windowhandle1, 'red')

    thres = ha.threshold(image, 140, 255)
    ha.disp_obj(thres, windowhandle1);
    cmd()

    binimg=ha.region_to_bin(thres,255,0,image_width,image_height)
    ha.disp_obj(binimg, windowhandle1);
    #ha.write_image (image, 'bmp', 0, "gg")
    cmd()
到此这篇关于python中halcon环境配置的详细步骤的文章就介绍到这了,更多相关python halcon环境配置内容请搜索代码网以前的文章或继续浏览下面的相关文章希望大家以后多多支持代码网!


发表评论