问题说明
我们项目中使用到了elastic-job,然后自己封装了个sdk,
方便使用,里面的数据源配置是常用的druid+mysql的组合,在操作中,发现elastic-job-ui可视化控制台会报错无法使用。
深究其原因是因为,各个服务把定时任务注册到了zk中,包括数据库配置类的一些信息,
但是elastic-job-ui源码中没有引入对应的pom依赖,
导致他在去zk获取了定时任务的配置类信息后,需要想这些信息转换成对应的类对象操作时,没法成功转换。
解决
处理也很简单,
一种是项目中包装的sdk不使用druid连接池即可,可以使用hikaricp,实测是没问题
另一种更简单,下载elastic-job-ui源码,在pom依赖中引入druid依赖接口(我们用这个,省的改项目代码,引用的地方太多了)
实操
下载源码,使用的示最新的3.0.2版本
https://github.com/apache/shardingsphere-elasticjob-ui/tree/3.0.2
1、引入依赖和配置
引入druid依赖,顺便mysql的也引入和配置下application,省的我们手动配置mysql依赖文件了
另外他这个build也调整下,不然你直接对他打包才几兆,不完整

<?xml version="1.0" encoding="utf-8"?>
<!--
  ~ licensed to the apache software foundation (asf) under one or more
  ~ contributor license agreements.  see the notice file distributed with
  ~ this work for additional information regarding copyright ownership.
  ~ the asf licenses this file to you under the apache license, version 2.0
  ~ (the "license"); you may not use this file except in compliance with
  ~ the license.  you may obtain a copy of the license at
  ~
  ~     http://www.apache.org/licenses/license-2.0
  ~
  ~ unless required by applicable law or agreed to in writing, software
  ~ distributed under the license is distributed on an "as is" basis,
  ~ without warranties or conditions of any kind, either express or implied.
  ~ see the license for the specific language governing permissions and
  ~ limitations under the license.
  -->

<project xmlns="http://maven.apache.org/pom/4.0.0" xmlns:xsi="http://www.w3.org/2001/xmlschema-instance" xsi:schemalocation="http://maven.apache.org/pom/4.0.0 http://maven.apache.org/xsd/maven-4.0.0.xsd">
    <modelversion>4.0.0</modelversion>
<parent>
    <groupid>org.apache.shardingsphere</groupid>
    <artifactid>shardingsphere-elasticjob-lite-ui</artifactid>
    <version>3.0.2</version>
</parent>
<artifactid>shardingsphere-elasticjob-lite-ui-backend</artifactid>
<name>${project.artifactid}</name>

<dependencies>
    <dependency>
        <groupid>org.apache.shardingsphere.elasticjob</groupid>
        <artifactid>elasticjob-lite-lifecycle</artifactid>
    </dependency>
    <dependency>
        <groupid>org.springframework.boot</groupid>
        <artifactid>spring-boot-starter-web</artifactid>
    </dependency>
    <dependency>
        <groupid>org.springframework.boot</groupid>
        <artifactid>spring-boot-starter-data-jpa</artifactid>
    </dependency>
    <dependency>
        <groupid>org.springframework.boot</groupid>
        <artifactid>spring-boot-starter-test</artifactid>
    </dependency>
    <dependency>
        <groupid>org.apache.openjpa</groupid>
        <artifactid>openjpa</artifactid>
    </dependency>
    <dependency>
        <groupid>org.apache.commons</groupid>
        <artifactid>commons-dbcp2</artifactid>
    </dependency>
    <dependency>
        <groupid>com.h2database</groupid>
        <artifactid>h2</artifactid>
    </dependency>
    <dependency>
        <groupid>org.postgresql</groupid>
        <artifactid>postgresql</artifactid>
    </dependency>
    <dependency>
        <groupid>javax.activation</groupid>
        <artifactid>javax.activation-api</artifactid>
    </dependency>
    <!-- https://mvnrepository.com/artifact/mysql/mysql-connector-java -->
    <dependency>
        <groupid>mysql</groupid>
        <artifactid>mysql-connector-java</artifactid>
        <version>8.0.13</version>
    </dependency>
    <dependency>
        <groupid>com.alibaba</groupid>
        <artifactid>druid-spring-boot-starter</artifactid>
        <version>1.1.22</version>
    </dependency>

    <dependency>
        <groupid>javax.xml.bind</groupid>
        <artifactid>jaxb-api</artifactid>
    </dependency>
    <dependency>
        <groupid>com.sun.xml.bind</groupid>
        <artifactid>jaxb-core</artifactid>
    </dependency>
    <dependency>
        <groupid>com.sun.xml.bind</groupid>
        <artifactid>jaxb-impl</artifactid>
    </dependency>
    <dependency>
        <groupid>com.auth0</groupid>
        <artifactid>java-jwt</artifactid>
    </dependency>
</dependencies>

<build>
    <finalname>shardingsphere-elasticjob-lite-ui</finalname>
    <plugins>
        <plugin>
            <groupid>org.apache.maven.plugins</groupid>
            <artifactid>maven-resources-plugin</artifactid>
            <configuration>
                <encoding>${project.build.sourceencoding}</encoding>
                <outputdirectory>${project.build.outputdirectory}</outputdirectory>
                <resources>
                    <resource>
                        <targetpath>${project.build.directory}/classes/public</targetpath>
                        <directory>${project.parent.basedir}/shardingsphere-elasticjob-lite-ui-frontend/dist</directory>
                    </resource>
                    <resource>
                        <targetpath>${project.build.directory}/classes</targetpath>
                        <directory>src/main/resources</directory>
                    </resource>
                </resources>
            </configuration>
        </plugin>
        <plugin>
            <groupid>org.springframework.boot</groupid>
            <artifactid>spring-boot-maven-plugin</artifactid>
            <version>${spring-boot.version}</version>
        </plugin>
        <plugin>
            <groupid>org.springframework.boot</groupid>
            <artifactid>spring-boot-maven-plugin</artifactid>
            <executions>
                <execution>
                    <goals>
                        <goal>repackage</goal>
                    </goals>
                </execution>
            </executions>
        </plugin>
    </plugins>
</build>
application.properties文件直接加入mysql配置选择
## uncomment the following property to allow adding datasource dynamically.
dynamic.datasource.allowed-driver-classes={'org.h2.driver','org.postgresql.driver','com.mysql.cj.jdbc.driver'}
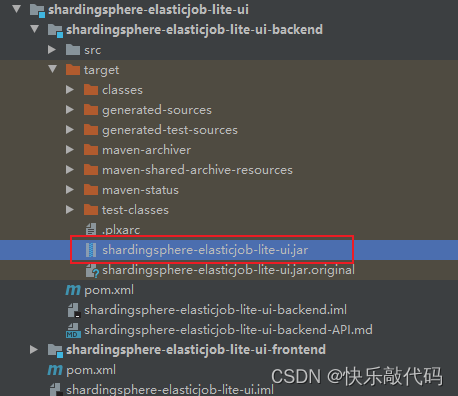
2、打包
直接用这个打好的jar包,直接运行即可,jar里面打包包含了前端页面
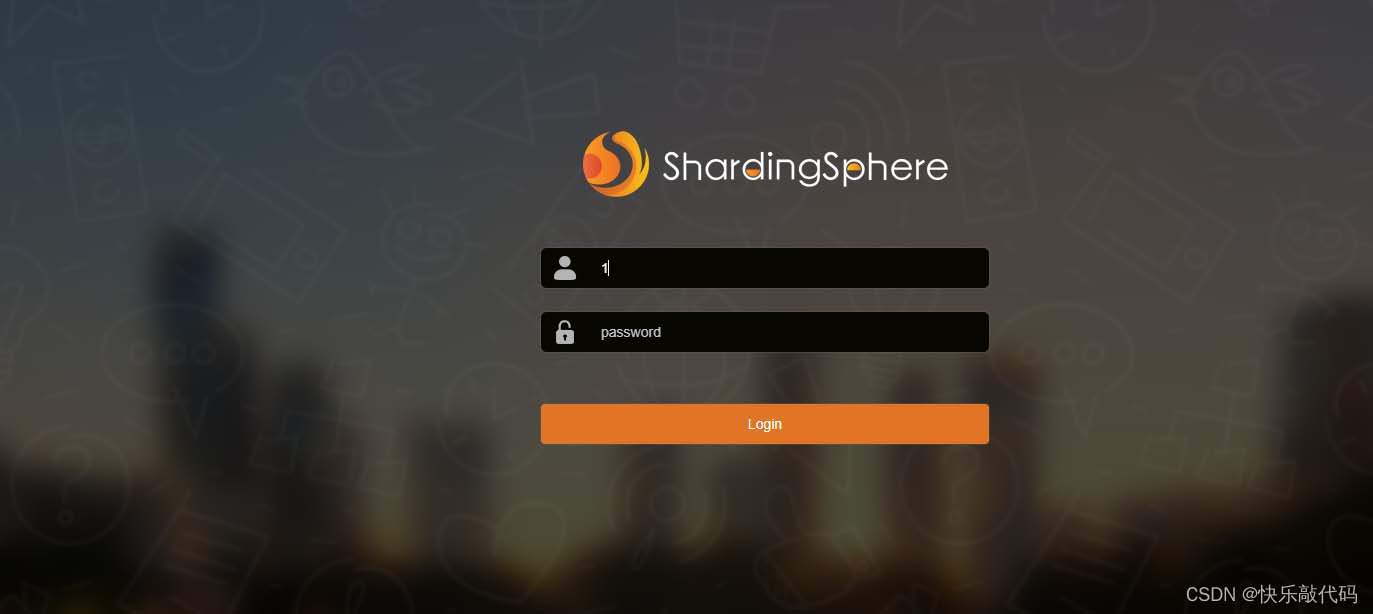
3、访问
java -jar运行完这个jar包后,直接访问 http://127.0.0.1:8088/#/ 即可看到可视化控制台
账号密码都是默认的root
总结
以上为个人经验,希望能给大家一个参考,也希望大家多多支持代码网。


发表评论