说明
若依管理系统是一个非常完善的管理系统模板,里面含有代码生成的方法,可以帮助用户快速进行开发,但是项目使用的是mybatis,对于熟悉使用mybatis-plus进行开发的小伙伴们不是很便捷,本文主要讲解如何在不影响系统现有功能的基础上,将mybatis升级为mybatis-plus,以帮助小伙伴们更快速地开发。
我所使用的若依版本为:v3.8.8
流程
增加依赖
【首先修改父模块的pom.xml文件】
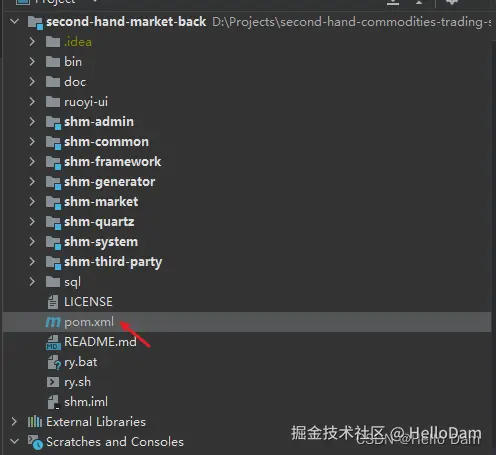
分别在properties标签内和dependencies标签内增加内容,所需增加的内容如下面的xml
    <properties>
        <mybatis-plus.version>3.2.0</mybatis-plus.version>
    </properties>

    <!-- 依赖声明 -->
    <dependencymanagement>
        <dependencies>

            <!-- mybatis-plus -->
            <dependency>
                <groupid>com.baomidou</groupid>
                <artifactid>mybatis-plus-boot-starter</artifactid>
                <version>${mybatis-plus.version}</version>
            </dependency>

        </dependencies>
    </dependencymanagement>
【其次修改common包下的pom.xml文件】
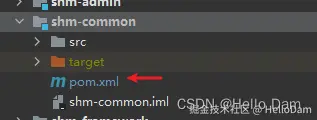
直接在dependencies标签内增加如下内容即可,因为父模块已经管理了版本,这里不需要再声明版本
 <dependency>
     <groupid>com.baomidou</groupid>
     <artifactid>mybatis-plus-boot-starter</artifactid>
 </dependency>
修改配置文件
需要修改admin包下的application.yml文件
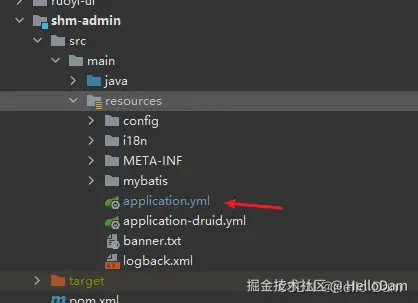
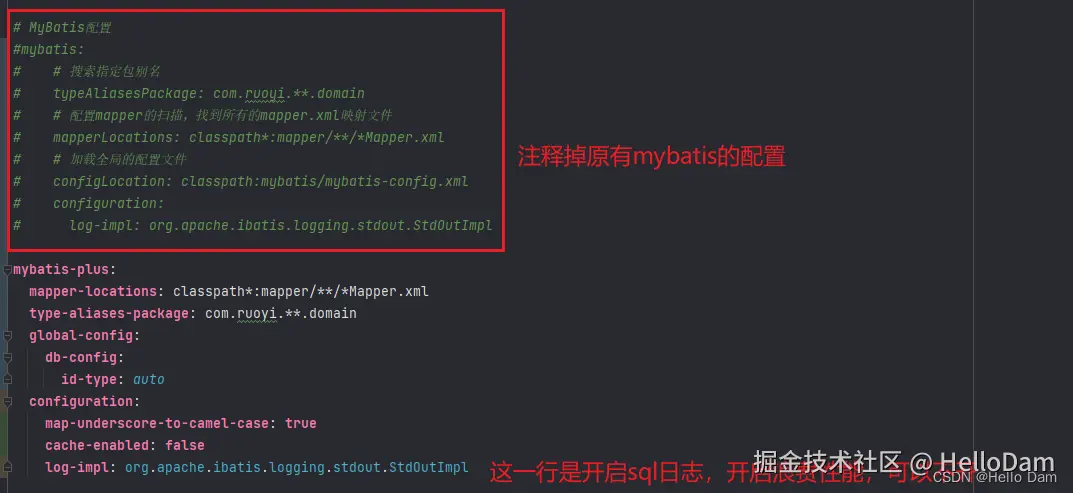
注释掉mybatis的配置之后(mybatis-plus是兼容mybatis的,小伙伴们放心注释就行),增加mybatis-plus的配置,配置如下
mybatis-plus:
  mapper-locations: classpath*:mapper/**/*mapper.xml
  type-aliases-package: com.ruoyi.**.domain
  global-config:
    db-config:
      id-type: auto
  configuration:
    map-underscore-to-camel-case: true
    cache-enabled: false
    log-impl: org.apache.ibatis.logging.stdout.stdoutimpl
注释掉mybatisconfig里面的bean
系统会自动根据配置文件构建mybatisplus相关的bean,所以这里也不需要修改成mybatis-plus的
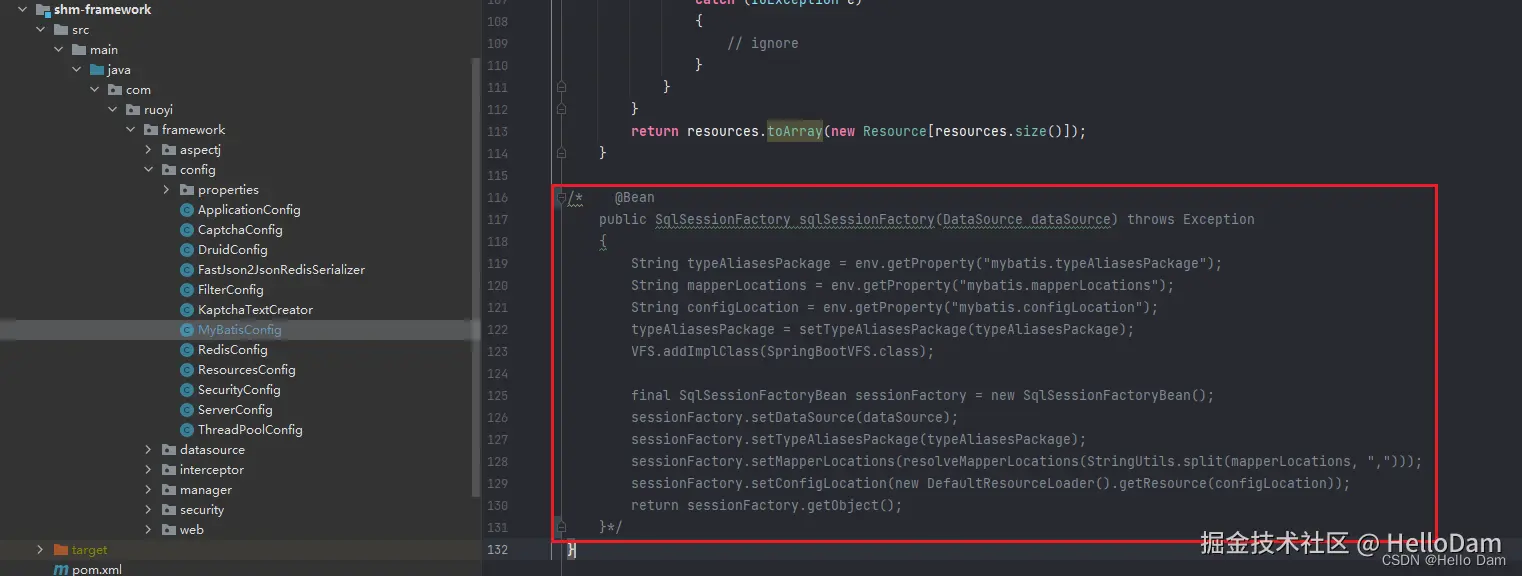
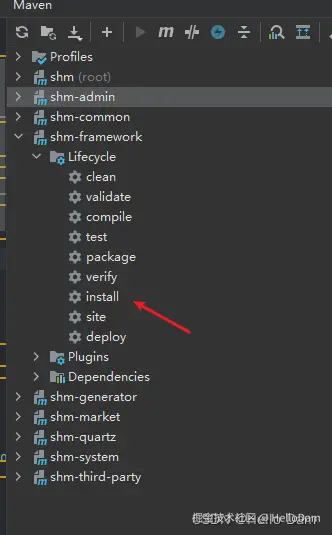
修改之后记得重新 install framework包,这样修改才会生效
代码生成
上面的操作虽然是将mybatis-plus引入了,但是有小伙伴疑问了,使用若依管理系统自带的代码生成器,生成的还是mybatis的代码呀,那怎么办呢?
为了解决小伙伴们心中的疑惑,我这里提供一种解决思路,那就是结合idea生成的代码和若依代码生成器的代码。
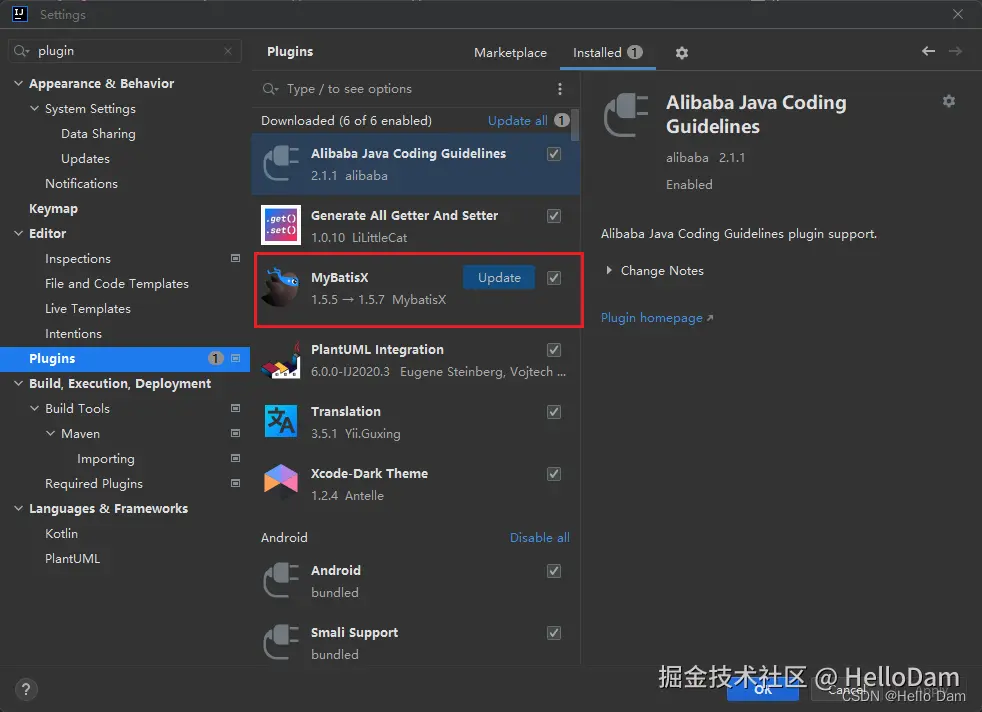
使用idea生成代码
首先安装下面的插件,记得安装1.5.5版本的插件,高版本的插件可能会有问题(我之前是安装的高版本,出问题之后才回退的),具体安装可以去阅读其他博主的教程
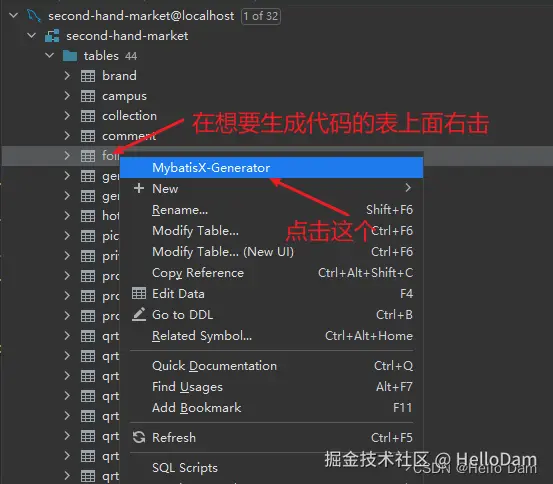
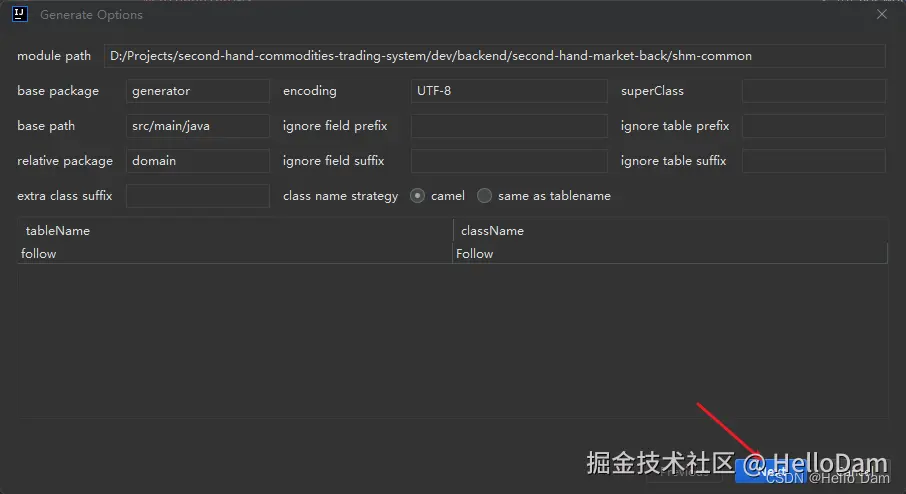
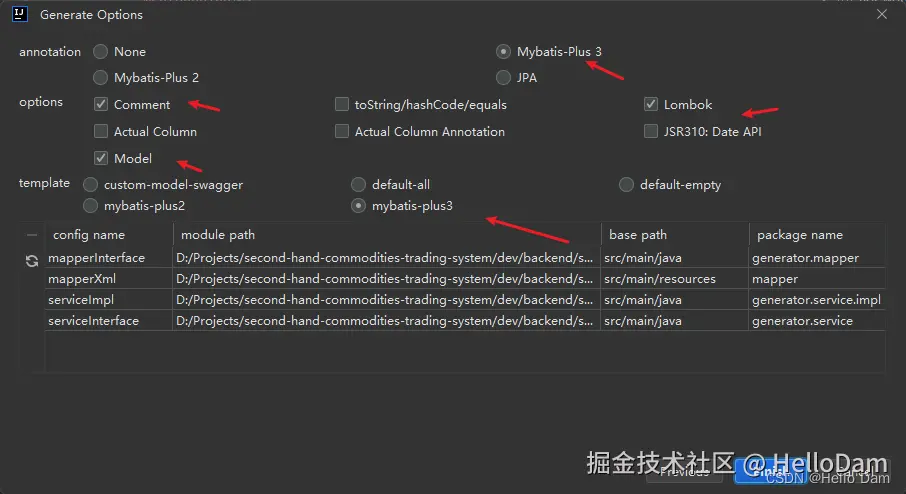
生成成功,由下图可知,除了controller外,其他代码都已经生成成功
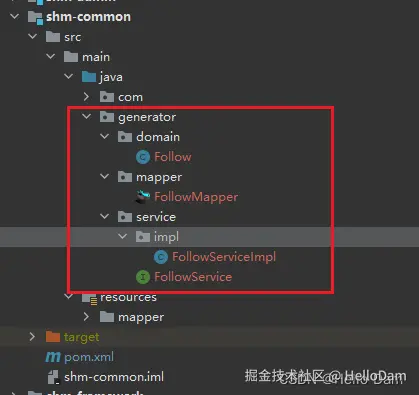
注意
使用mybatisx生成的实体类是没有逻辑删除等注解的,如果需要使用逻辑删除,或者自动填充id和时间,需要在实体类上面添加注解
controller文件
controller文件直接使用若依的代码生成器生成即可,使用这种方式生成的好处是,若依会生成对应的前端文件,这样可以直接搭配使用,不需要再去修改生成的api
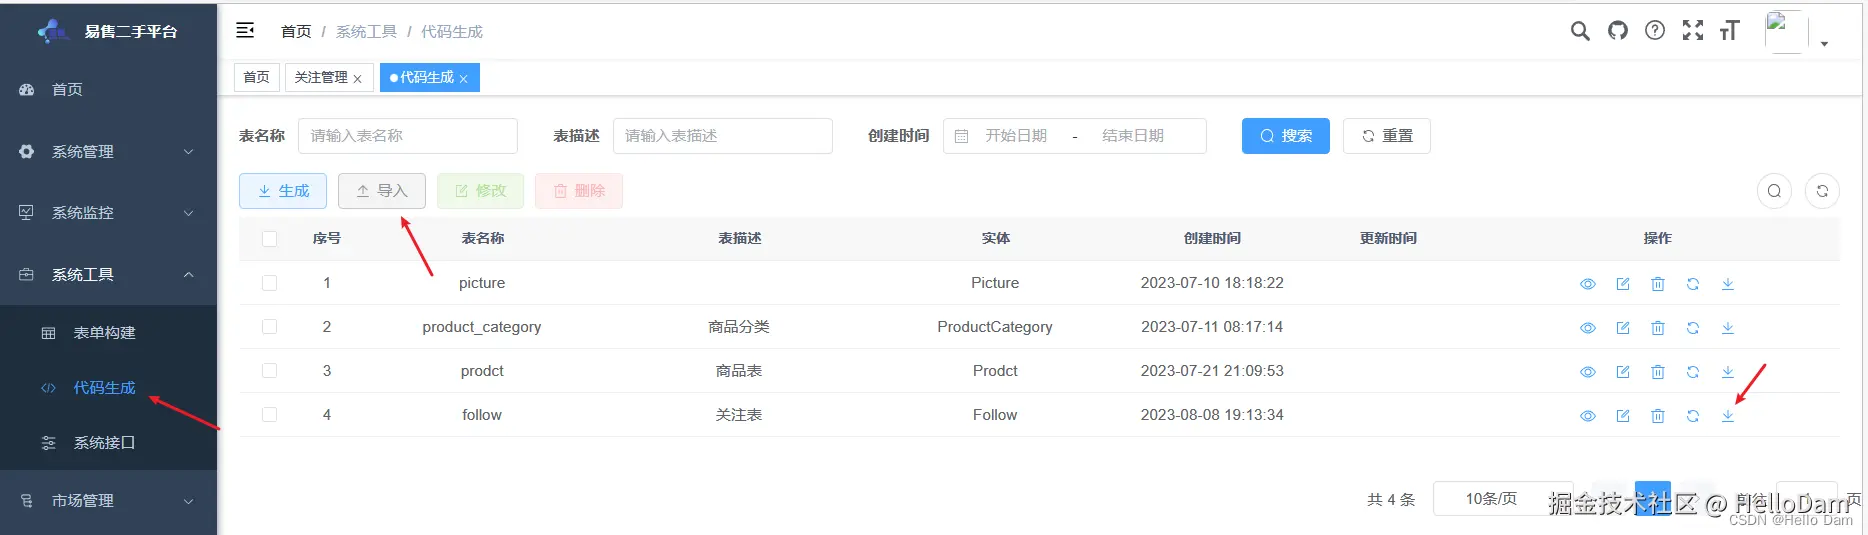
虽然若依生成器生成了controller代码,但是没办法直接将其进行应用,因为我们前面生成的service文件使用的是mybatis-plus,所以还需要对controller文件进行修改,修改的方式可以参考我下面的代码,当然这个代码还是非常不完善的,比如数据校验那些都没有
package com.shm.controller;

import java.util.list;
import javax.servlet.http.httpservletresponse;

import com.baomidou.mybatisplus.core.conditions.query.querywrapper;
import com.ruoyi.common.core.domain.entity.follow;
import com.ruoyi.common.core.domain.model.loginuser;
import org.springframework.security.access.prepost.preauthorize;
import org.springframework.beans.factory.annotation.autowired;
import org.springframework.web.bind.annotation.getmapping;
import org.springframework.web.bind.annotation.postmapping;
import org.springframework.web.bind.annotation.putmapping;
import org.springframework.web.bind.annotation.deletemapping;
import org.springframework.web.bind.annotation.pathvariable;
import org.springframework.web.bind.annotation.requestbody;
import org.springframework.web.bind.annotation.requestmapping;
import org.springframework.web.bind.annotation.restcontroller;
import com.ruoyi.common.annotation.log;
import com.ruoyi.common.core.controller.basecontroller;
import com.ruoyi.common.core.domain.ajaxresult;
import com.ruoyi.common.enums.businesstype;
import com.shm.service.ifollowservice;
import com.ruoyi.common.utils.poi.excelutil;
import com.ruoyi.common.core.page.tabledatainfo;

/**
 * 关注controller
 *
 * @author dam
 * @date 2023-08-08
 */
@restcontroller
@requestmapping("/market/follow")
public class followcontroller extends basecontroller {
    @autowired
    private ifollowservice followservice;

    /**
     * 查询关注列表
     */
    @preauthorize("@ss.haspermi('shm:follow:list')")
    @getmapping("/list")
    public tabledatainfo list(follow follow) {
        startpage();
        list<follow> list = followservice.list(new querywrapper<follow>(follow));
        return getdatatable(list);
    }

    /**
     * 导出关注列表
     */
    @preauthorize("@ss.haspermi('shm:follow:export')")
    @log(title = "关注", businesstype = businesstype.export)
    @postmapping("/export")
    public void export(httpservletresponse response, follow follow) {
        list<follow> list = followservice.list(new querywrapper<follow>(follow));
        excelutil<follow> util = new excelutil<follow>(follow.class);
        util.exportexcel(response, list, "关注数据");
    }

    /**
     * 获取关注详细信息
     */
    @preauthorize("@ss.haspermi('shm:follow:query')")
    @getmapping(value = "/{id}")
    public ajaxresult getinfo(@pathvariable("id") long id) {
        return success(followservice.getbyid(id));
    }

    /**
     * 新增关注
     */
    @preauthorize("@ss.haspermi('shm:follow:add')")
    @log(title = "关注", businesstype = businesstype.insert)
    @postmapping
    public ajaxresult add(@requestbody follow follow) {
        // 设置商品主人
        loginuser loginuser = getloginuser();
        follow.setfollowerid(loginuser.getuserid());
        return toajax(followservice.save(follow));
    }

    /**
     * 修改关注
     */
    @preauthorize("@ss.haspermi('shm:follow:edit')")
    @log(title = "关注", businesstype = businesstype.update)
    @putmapping
    public ajaxresult edit(@requestbody follow follow) {
        return toajax(followservice.updatebyid(follow));
    }

    /**
     * 删除关注
     */
    @preauthorize("@ss.haspermi('shm:follow:remove')")
    @log(title = "关注", businesstype = businesstype.delete)
    @deletemapping("/{ids}")
    public ajaxresult remove(@pathvariable list<long> ids) {
        return toajax(followservice.removebyids(ids));
    }
}
以上就是将mybatis升级为mybatis-plus的详细过程的详细内容,更多关于mybatis升级为mybatis-plus的资料请关注代码网其它相关文章!


发表评论