jasypt简介
jasypt(java simplified encryption)是一个专注于简化java加密操作的开源工具。它提供了一种简单而强大的方式来处理数据的加密和解密,使开发者能够轻松地保护应用程序中的敏感信息,如数据库密码、api密钥等。
jasypt的设计理念是简化加密操作,使其对开发者更加友好。它采用密码学强度的加密算法,支持多种加密算法,从而平衡了性能和安全性。其中,jasypt的核心思想之一是基于密码的加密(password based encryption,pbe),通过用户提供的密码生成加密密钥,然后使用该密钥对数据进行加密和解密。此外,jasypt还引入了盐(salt)的概念,通过添加随机生成的盐值,提高了加密的安全性,防止相同的原始数据在不同的加密过程中产生相同的结果,有效抵御彩虹表攻击。
jasypt的功能非常丰富,包括加密属性文件、spring framework集成、加密hibernate数据源配置、url加密的apache wicket集成等。它还可以与acegi security(即spring security)整合,用于加密任务与应用程序,如加密密码、敏感信息和数据通信,以及创建完整检查数据的sums等。此外,jasypt还提供了一个开放的api,使得任何java cryptography extension都可以使用它。
在spring boot应用中,jasypt spring boot starter是一个方便的集成工具,可以简化加密功能的配置。它支持多种加密算法,包括对称加密和非对称加密,可以根据实际需求选择合适的加密方式。通过使用jasypt spring boot starter,可以轻松地将加密功能集成到spring boot应用中,无需手动配置复杂的加密相关的代码和配置文件。
jasypt的优点
提供简单的单向(摘要)和双向加密技术。
用于任何jce提供程序的开放api,而不仅仅是默认的java vm提供程序。
为您的用户密码提供更高的安全性。
二进制加密支持。jasypt允许对二进制文件(字节数组)进行摘要和加密。
数值加密支持。除了文本和二进制文件,它还允许对数值进行摘要和加密(biginteger和bigdecimal,加密hibernate持久性时支持其他数字类型)。
完全线程安全。
支持加密/摘要池,以在多处理器/多核系统中实现高性能。
包括库的轻量级(“精简”)版本,以便在移动平台等大小受限的环境中具有更好的可管理性。
springboot使用jasypt
创建我需要的数据库文件
-- ----------------------------
-- table structure for student
-- ----------------------------
drop table if exists `student`;
create table `student`  (
  `s_id` varchar(20) character set utf8 collate utf8_bin not null default '',
  `s_name` varchar(20) character set utf8 collate utf8_bin not null default '',
  `s_birth` varchar(20) character set utf8 collate utf8_bin not null default '',
  `s_sex` varchar(10) character set utf8 collate utf8_bin not null default '',
  primary key (`s_id`) using btree
) engine = innodb character set = utf8 collate = utf8_bin row_format = compact;

-- ----------------------------
-- records of student
-- ----------------------------
insert into `student` values ('01', '赵雷', '1990-01-01', '男');
insert into `student` values ('02', '钱电', '1990-12-21', '男');
insert into `student` values ('03', '孙风', '1990-05-20', '男');
insert into `student` values ('04', '李云', '1990-08-06', '男');
insert into `student` values ('05', '周梅', '1991-12-01', '女');
insert into `student` values ('06', '吴兰', '1992-03-01', '女');
insert into `student` values ('07', '郑竹', '1989-07-01', '女');
insert into `student` values ('08', '王菊', '1990-01-20', '女');

set foreign_key_checks = 1;
引入依赖
        <dependency>
            <groupid>org.springframework.boot</groupid>
            <artifactid>spring-boot-starter</artifactid>
        </dependency>

        <dependency>
            <groupid>org.springframework.boot</groupid>
            <artifactid>spring-boot-starter-test</artifactid>
            <scope>test</scope>
        </dependency>
        <dependency>
            <groupid>mysql</groupid>
            <artifactid>mysql-connector-java</artifactid>
            <version>5.1.5</version>
        </dependency>
        <!--  引入核心依赖      -->
        <dependency>
            <groupid>com.github.ulisesbocchio</groupid>
            <artifactid>jasypt-spring-boot-starter</artifactid>
            <version>3.0.3</version>
        </dependency>

        <dependency>
            <groupid>org.projectlombok</groupid>
            <artifactid>lombok</artifactid>
        </dependency>

        <dependency>
            <groupid>com.baomidou</groupid>
            <artifactid>mybatis-plus-boot-starter</artifactid>
            <version>3.5.2</version>
        </dependency>
配置数据库文件(先不进行加密)
spring:
  datasource:
    url: jdbc:mysql://localhost:3306/test?useunicode=true&characterencoding=utf-8&servertimezone=utc&usessl=false
    driver-class-name: com.mysql.jdbc.driver
    username: root
    password: 2020
创建mapper接口
这里使用的是mybatisplus,如果不会使用,可以看我另一篇文章springboot整合mybatisplus的基本应用
@mapper
public interface studentmapper extends basemapper<student> {
}
加下来进行进行测试。直接调用了mapper的selectlist方法。
    @resource
    studentmapper studentmapper;
    @test
    void findstudent(){
        list<student> students = studentmapper.selectlist(null);
        students.foreach(system.out::println);
    }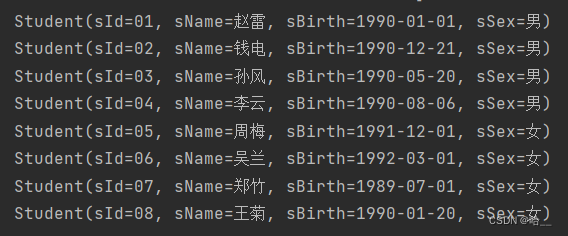
结果也没问题。但我们这样把数据库密码暴露出来难免是不安全的,别人以看你的配置文件就知道你的数据库密码,如果是你本地环境也就算了,但如果是你的服务器环境,一旦被别人知道了你的密码就糟糕了,所以接下来采用加密的方式展示配置文件中的一些内容。
配置文件加密
引入依赖
jasypt:
  encryptor:
    #  采用的加密算法
    algorithm: pbewithhmacsha512andaes_256
    # 盐粒
    password: 8d969eef6ecad3c29a3a629280e686cf0c3f5d5a86aff3ca12020c923adc6c92
    property:
      prefix: enc(
      suffix: )
    iv-generator-classname: org.jasypt.iv.randomivgenerator
把上方的依赖引入之后,我们就可以使用jasypt去进行加密了。我在这里介绍两种方式。
1.通过测试获取加密后的数据
    @resource
    stringencryptor stringencryptor;
    @test
    void contextloads() {
        string url = stringencryptor.encrypt("jdbc:mysql://localhost:3306/test");
        string username = stringencryptor.encrypt("root");
        string password = stringencryptor.encrypt("2020");
        system.out.println("url="+url);
        system.out.println("username="+username);
        system.out.println("password="+password);
    }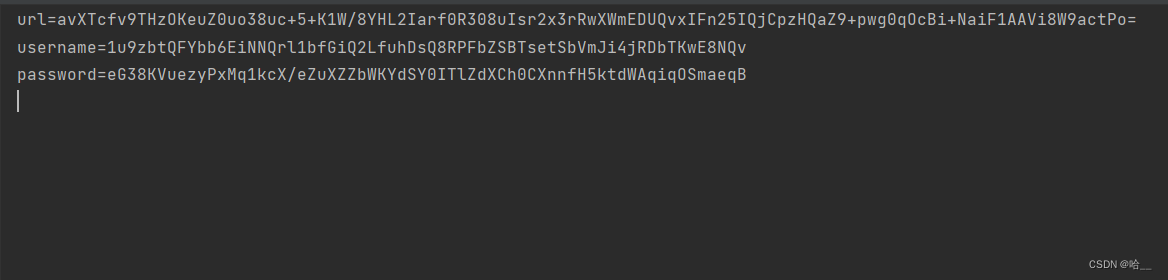
加密后的数据我们已经能够看到了,我现在把这些数据替换到我的application配置文件中。
spring:
  datasource:
    url: enc(avxtcfv9thzokeuz0uo38uc+5+k1w/8yhl2iarf0r308uisr2x3rrwxwmeduqvxifn25iqjcpzhqaz9+pwg0qocbi+naif1aavi8w9actpo=)
    driver-class-name: com.mysql.jdbc.driver
    username: enc(1u9zbtqfybb6einnqrl1bfgiq2lfuhdsq8rpfbzsbtsetsbvmji4jrdbtkwe8nqv)
    password: enc(eg38kvuezypxmq1kcx/ezuxzzbwkydsy0itlzdxch0cxnnfh5ktdwaqiqosmaeqb)
现在调用刚才测试mapper接口的方法看看结果。
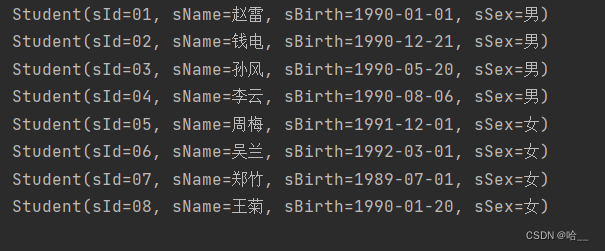
还是正确的,如果你不相信,可以调用下边的代码来看看,你的加密数据解密后是不是你真正的数据。方法内的参数需要你自己填写,就是你刚才生成的那些加密的数据。我就不在这里演示了。
        string url = stringencryptor.decrypt("...");
        string username = stringencryptor.decrypt("...");
        string password = stringencryptor.decrypt("...");
        system.out.println("url="+url);
        system.out.println("username="+username);
        system.out.println("password="+password);
2.通过build插件
上方给出的方法,虽然我们将数据加密了,但是作为核心的“盐粒”我们却暴露了出来,如果我们不想将“盐粒”暴露呢?那么在你的pom文件中添加下边的代码。
    <build>
        <plugins>
            <plugin>
                <groupid>org.springframework.boot</groupid>
                <artifactid>spring-boot-maven-plugin</artifactid>
            </plugin>
            <plugin>
                <groupid>com.github.ulisesbocchio</groupid>
                <artifactid>jasypt-maven-plugin</artifactid>
                <version>3.0.3</version>
                <configuration>
                    <path>file:src/main/resources/application.yml</path>
                </configuration>
            </plugin>
        </plugins>
    </build>
修改配置文件。
spring:
datasource:
url: dec(jdbc:mysql://localhost:3306/test?useunicode=true&characterencoding=utf-8&servertimezone=utc&usessl=false)
driver-class-name: com.mysql.jdbc.driver
username: dec(root)
password: dec(2020)
jasypt:
encryptor:
algorithm: pbewithhmacsha512andaes_256
property:
prefix: enc(
suffix: )
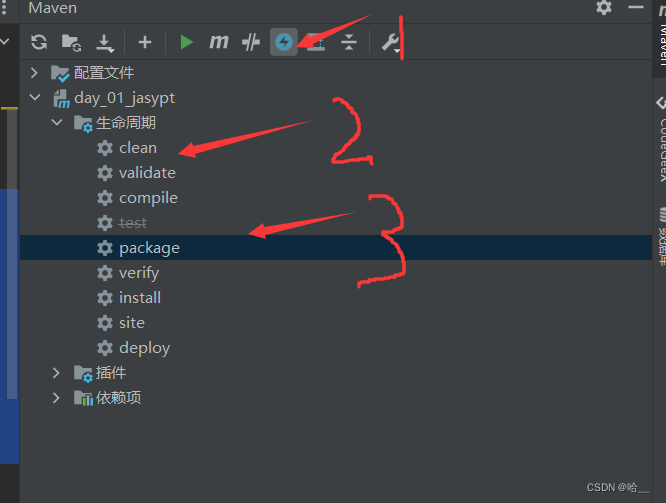
iv-generator-classname: org.jasypt.iv.randomivgenerator运行下方指令。后边的那一串就是你要是用的密钥,我是生成出来的。
mvn jasypt:encrypt -djasypt.encryptor.password=8d969eef6ecad3c29a3a629280e686cf0c3f5d5a86aff3ca12020c923adc6c92
之后再次点击你的配置文件查看。原始的数据已经被加密了,并且这个加密的“盐粒”只有你知道。

那么接下来在调用mapper测试接口试试?这里会报红,因为你的配置文件是加密过的,你怎么可能直接去使用一个加密过的数据呢?你必须要先解密,但是你并没有在配置文件当中提供这个“盐粒”,所以你要通过其他的方式把这个“盐粒”添加进去。

为了方便展示,我在这里创建一个controller,调用的是studentserviceimpl,之后在调用studentmapper。因为项目要打包,所以只能这样展示,通过前端来展示数据。
引入web依赖。
        <dependency>
            <groupid>org.springframework.boot</groupid>
            <artifactid>spring-boot-starter-web</artifactid>
        </dependency>
在studentcontroller中添加方法。
@restcontroller
@requestmapping("/student")
public class studentcontroller {
    @resource
    private studentservice studentservice;

    @requestmapping("/find-student")
    public string findstudent(){
        return  studentservice.list().tostring();
    }
}
把项目打包。
之后在target目录下找到我们打包好的项目,打开cmd窗口运行下方指令。(盐粒要改成你自己的)
java -jar 你自己起的包名.jar --jasypt.encryptor.password=8d969eef6ecad3c29a3a629280e686cf0c3f5d5a86aff3ca12020c923adc6c92
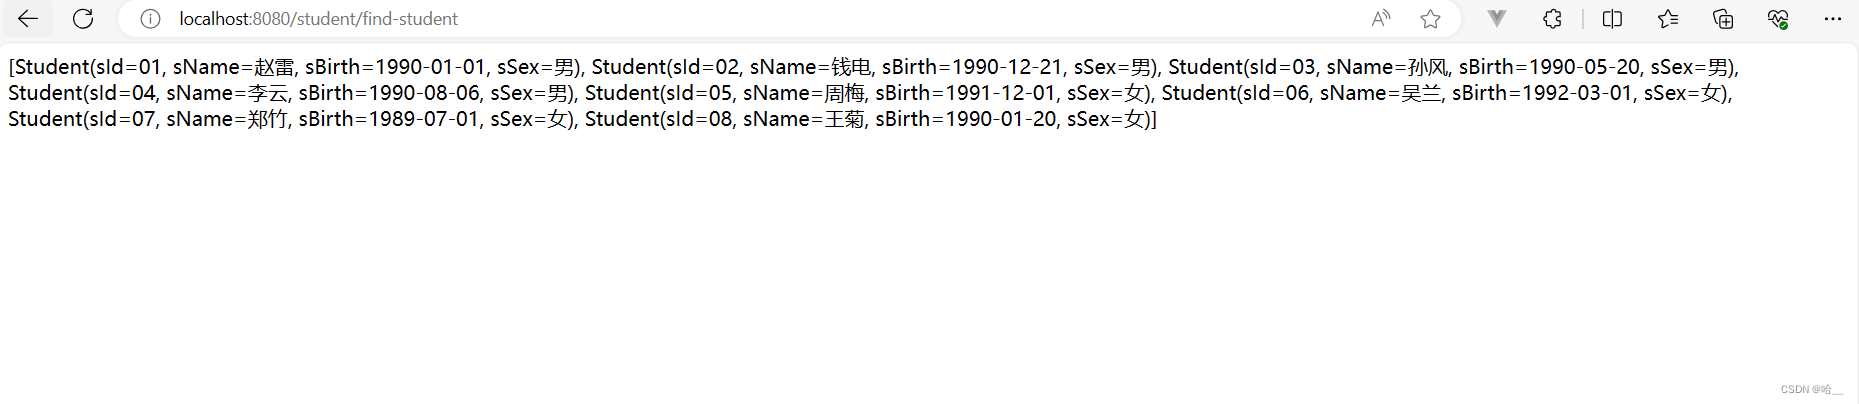
访问网址查看,数据正确,解密成功。
到此这篇关于springboot整合jasypt实现重要数据加密的文章就介绍到这了,更多相关springboot jasypt加密数据内容请搜索代码网以前的文章或继续浏览下面的相关文章希望大家以后多多支持代码网!


发表评论