项目场景:
我期望达成在纯前端环境下进行 excel 表格文件的下载操作,与此同时,对所下载的表格文件的样式加以调整与优化,使其呈现出更符合需求的外观和格式布局,从而满足特定的展示与使用要求。
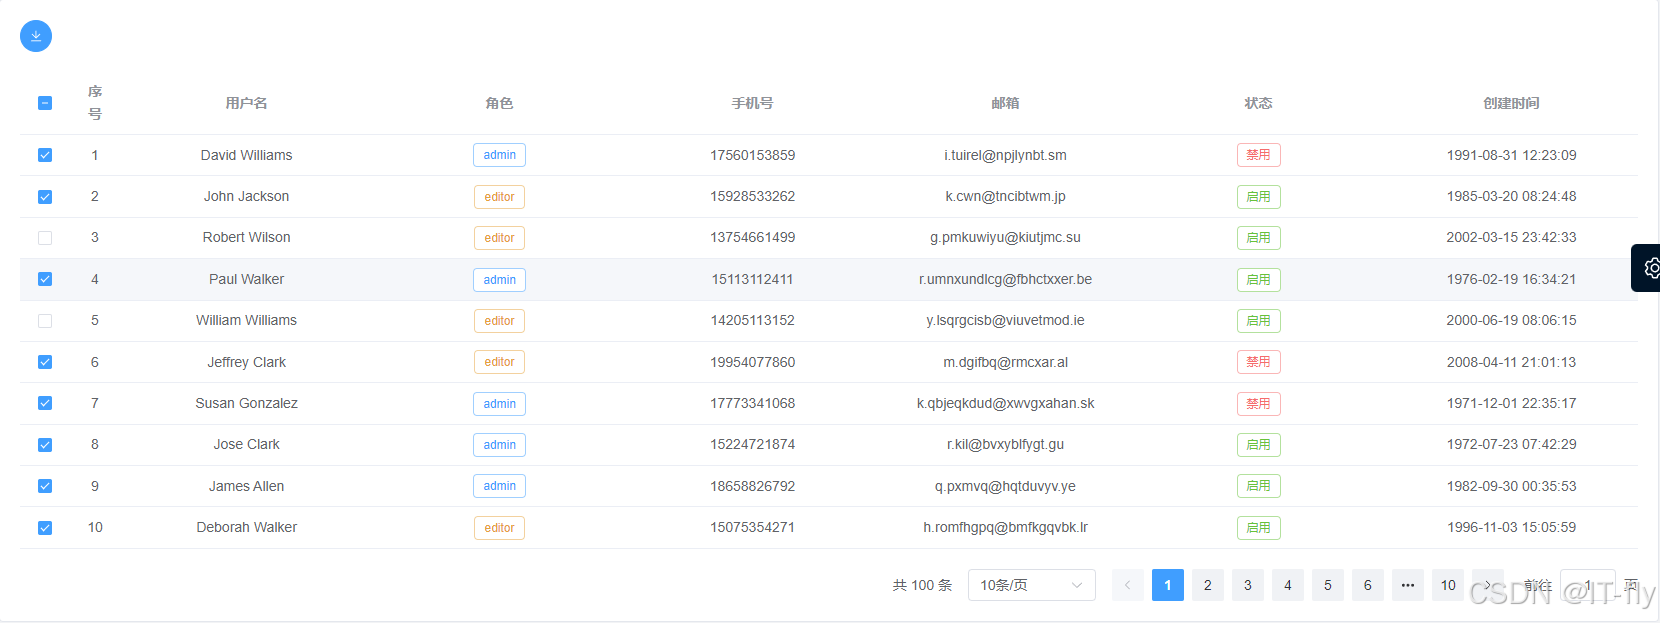
表格数据导出
1、安装 xlsx-js-style
提示:这里描述项目中遇到的问题:
先安装库 xlsx-js-style
npm install xlsx-js-style
2、自定义组件
自定义组件,这里附全部代码,设置单元格格式代码也在其中
<script lang="ts" setup>
import { computed, nexttick, ref, watch } from "vue"

import * as xlsx from "xlsx-js-style"

interface props {
  modelvalue: boolean
  downloadlist: any
  columnlist: any
}

const props = withdefaults(defineprops<props>(), {
  modelvalue: false,
  downloadlist: [],
  columnlist: []
})

const downloadlist = computed(() => props.downloadlist)

const emit = defineemits<{
  (e: "update:modelvalue", value: boolean): boolean
}>()

const columnlist = computed(() => props.columnlist)

//#region 导出
const tableref = ref<any>(null)
// 导出为 excel
const exporttoexcel = () => {
  // 获取 el-table 的引用
  tableref.value = document.queryselector("#download-table")

  // 将 el-table 数据转换为二维数组
  const dataarray = []
  const headers: any = []

  tableref.value.queryselectorall(".el-table__header-wrapper th").foreach((th: any) => {
    headers.push(th.textcontent.trim())
  })
  dataarray.push(headers)

  const rowstoexport = tableref.value.queryselectorall(".el-table__body-wrapper tbody tr")
  console.log(rowstoexport, "rowstoexport")

  rowstoexport.foreach((row: any) => {
    const rowdata: any = []
    row.queryselectorall("td").foreach((cell: any) => {
      rowdata.push(cell.textcontent.trim())
    })
    dataarray.push(rowdata)
  })

  // 创建一个新的工作簿
  const workbook = xlsx.utils.book_new()

  // 创建一个新的工作表
  const worksheet = xlsx.utils.aoa_to_sheet(dataarray)

  console.log(dataarray, "dataarray")

  // 设置列宽
  const columnwidth = 20 // 列宽为20个字符
  const numcolumns = dataarray[0].length // 获取列数
  worksheet["!cols"] = array(numcolumns).fill({ wch: columnwidth })

  // // 设置列高
  const rowheight = 105 // 行高为110像素
  const numrows = dataarray.length // 获取行数
  worksheet["!rows"] = array(numrows).fill({ hpx: rowheight })
  worksheet["!rows"][0] = { hpx: 15 } // 单独设置第一行的行高
  // 设置单元格样式
  const cellstyle = {
    font: {
      name: "微软黑体", // 字体名称
      sz: 13, // 字体大小
      color: { rgb: "000000" }, // 字体颜色
      bold: false // 字体不加粗
    },
    border: {
      top: { style: "thin", color: { rgb: "000000" } },
      bottom: { style: "thin", color: { rgb: "000000" } },
      left: { style: "thin", color: { rgb: "000000" } },
      right: { style: "thin", color: { rgb: "000000" } }
    },
    alignment: {
      horizontal: "center",
      vertical: "center",
      wraptext: true // 设置文字自动换行
    }
  }

  // 遍历数据数组,为每个单元格应用样式
  dataarray.foreach((row, rowindex) => {
    row.foreach((cell: any, columnindex: any) => {
      const celladdress = xlsx.utils.encode_cell({ c: columnindex, r: rowindex })
      worksheet[celladdress].s = cellstyle
    })
  })

  // 表头颜色加粗
  if (dataarray[0]) {
    dataarray[0].foreach((cell: any, columnindex: any) => {
      const celladdress = xlsx.utils.encode_cell({ c: columnindex, r: 0 })
      worksheet[celladdress].s = { ...cellstyle, font: { ...cellstyle.font, bold: true } } // 确保表头字体加粗
    })
  }

  // 将工作表添加到工作簿
  xlsx.utils.book_append_sheet(workbook, worksheet, "sheet1")

  // 将工作簿保存为 excel 文件

  const timestamp = new date().gettime()
  const filename = `宝贝统计_${timestamp}.xlsx`
  xlsx.writefile(workbook, filename)
  emit("update:modelvalue", false)
}
//#endregion

watch(
  () => props.modelvalue,
  (value: any) => {
    if (value) {
      console.log(downloadlist.value)
      nexttick(() => {
        exporttoexcel()
      })
    }
  }
)
</script>
<template>
  <el-table style="display: none" :data="downloadlist" id="download-table">
    <el-table-column
      v-for="(item, index) in columnlist"
      :key="index"
      :prop="item.prop"
      :label="item.label"
      align="center"
    />
  </el-table>
</template>
<style lang="scss" scoped></style>
3、使用
使用是时候是相当于在页面上设置个不可间=见的表格进行下载 将需要下载的数据传入即可,可以进行改进,表单项也传入,这样就可以随意下载任何数据了
import downloadexcel from "@/components/downloadexcel/index.vue"
const columnlist = [
  {
    prop: "index",
    label: "序号"
  },
  {
    prop: "username",
    label: "用户名"
  },
  {
    prop: "roles",
    label: "角色"
  },
  {
    prop: "phone",
    label: "手机号"
  },
  {
    prop: "email",
    label: "邮箱"
  },
  {
    prop: "status",
    label: "状态"
  },
  {
    prop: "createtime",
    label: "创建时间"
  }
]
const downloadlist = ref<any[]>([])
const isdownload = ref<boolean>(false)
const exporttoexcel = () => {
  if (multipleselection.value.length == 0) {
    elmessage.error("请选择要下载的宝贝")
    return
  }
  downloadlist.value = multipleselection.value.map((item: any, index: number) => {
    return {
      index: index, // 序号
      username: item.username, // 用户名
      roles: item.roles, // 角色
      phone: item.phone, // 手机号
      email: item.email, // 邮箱
      status: item.status ? "启用" : "禁用", // 状态
      createtime: item.createtime // 创建时间
    }
  })
  isdownload.value = true
}
<download-excel v-model="isdownload" :downloadlist="downloadlist" :columnlist="columnlist" />
<div>
  <el-tooltip content="下载">
    <el-button type="primary" :icon="download" circle @click="exporttoexcel" />
  </el-tooltip>
</div>
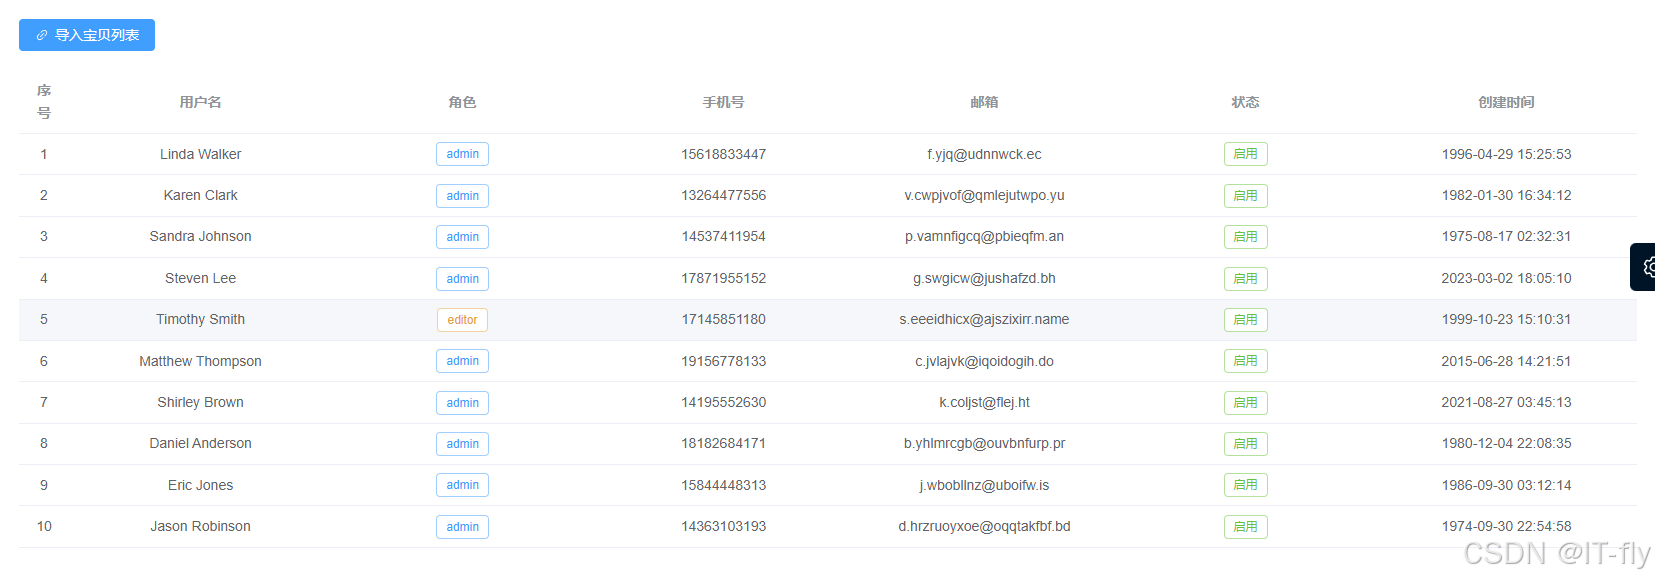
表格数据导入
1、安装 xlsx
npm install xlsx --save
2、引入
import * as xlsx from "xlsx"
3、使用
<el-upload
  class="upload-demo"
  ref="upload"
  action=""
  :auto-upload="false"
  accept=""
  :on-change="analysisexcel"
  multiple
  :show-file-list="false"
>
  <el-button type="primary" :icon="link">导入文件列表</el-button>
</el-upload>
import * as xlsx from "xlsx"
const loading = ref<boolean>(false)
const tabledata = ref<any[]>([])
const analysisexcel = (file: any) => {
  loading.value = true
  console.log(file)
  // 只能上传一个excel,重复上传会覆盖之前的
  file = file.raw
  const reader = new filereader()
  reader.readasarraybuffer(file)
  reader.onload = function () {
    const buffer: any = reader.result

    const bytes = new uint8array(buffer)
    const length = bytes.bytelength
    let binary = ""
    for (let i = 0; i < length; i++) {
      binary += string.fromcharcode(bytes[i])
    }
    const wb = xlsx.read(binary, {
      type: "binary"
    })
    const outdata = xlsx.utils.sheet_to_json(wb.sheets[wb.sheetnames[0]])
    console.log(outdata)
    let da = [...outdata]
    // 这里是把表格里面的名称改成表格里面的字段
    da = da.map((item: any) => {
      const newitem = {
        index: number(item["序号"]), // 序号
        username: item["用户名"], // 用户名
        roles: item["角色"], // 角色
        phone: item["手机号"], // 手机号
        email: item["邮箱"], // 邮箱
        status: item["状态"], // 状态
        createtime: item["创建时间"] // 创建时间
      }
      return newitem
    })
    console.log(da)

    tabledata.value = da
    loading.value = false
  }
}
总结
到此这篇关于vue3纯前端表格数据的导出与导入实现的文章就介绍到这了,更多相关vue3表格数据导出与导入内容请搜索代码网以前的文章或继续浏览下面的相关文章希望大家以后多多支持代码网!


发表评论