一、背景
在使用阿里云k8s集群的时候,内网api网关,刚开始是用的是nginx,后面又搭建了ingress。
区别于nginx配置,ingress又该怎么设置参数呢?比如http超时时间等等。
本文会先梳理nginx是如何配置,再对比ingress的配置方式。
示例以超时时间的设置。
二、nginx配置
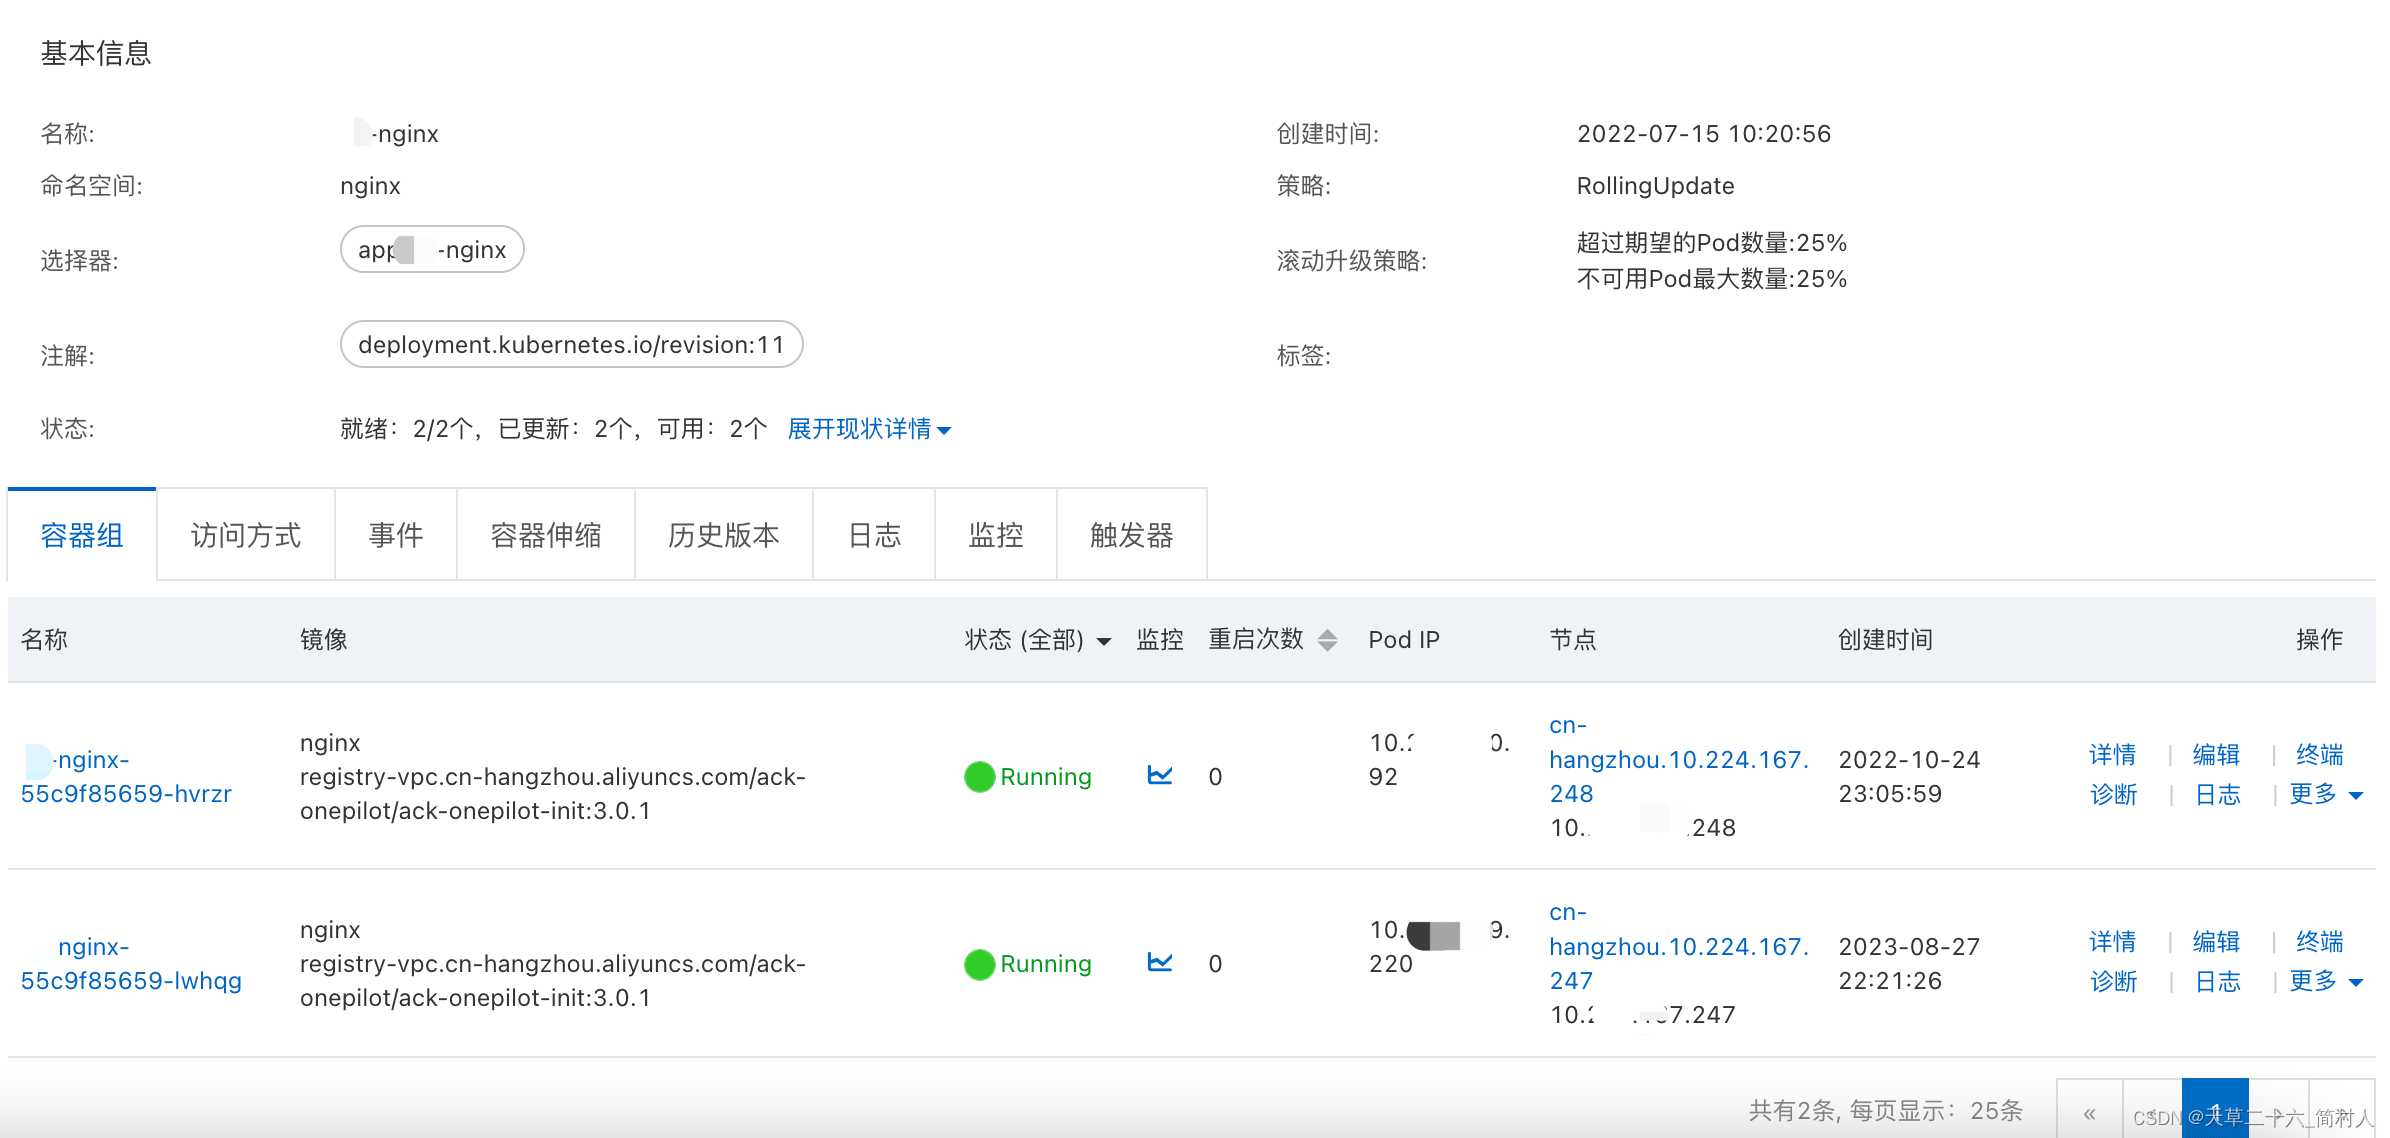
在k8s部署两个节点的nginx容器
      containers:
        - env:
            - name: aliyun_logs_nginx-log
              value: /var/log/nginx/*.log
          image: nginx
          imagepullpolicy: always
          name: xh-nginx
          ports:
            - containerport: 80
              protocol: tcp
          resources:
            limits:
              cpu: '2'
              memory: 4gi
            requests:
              cpu: 250m
              memory: 2gi
          terminationmessagepath: /dev/termination-log
          terminationmessagepolicy: file
          volumemounts:
            - mountpath: /etc/nginx/nginx.conf
              name: nginx
              subpath: nginx.conf
            - mountpath: /etc/nginx/conf.d
              name: nginx-cm
            - mountpath: /var/log/nginx/
              name: volume-k8s-inner-nginx-log
      volumes:
        - configmap:
            defaultmode: 420
            items:
              - key: nginx.conf
                path: nginx.conf
            name: nginx-conf
          name: nginx
        - configmap:
            defaultmode: 420
            name: nginx-cm
          name: nginx-cm
        - hostpath:
            path: /var/log/nginx
            type: directory
          name: volume-k8s-inner-nginx-log
        - emptydir: {}
          name: volumn-sls-16578614717160
这里把/etc/nginx/nginx.conf和下面的/etc/nginx/conf.d/*.conf分别挂载到configmap
1、nginx-conf下的新增了一个子项nginx.conf
对应容器里的文件/etc/nginx/nginx.conf
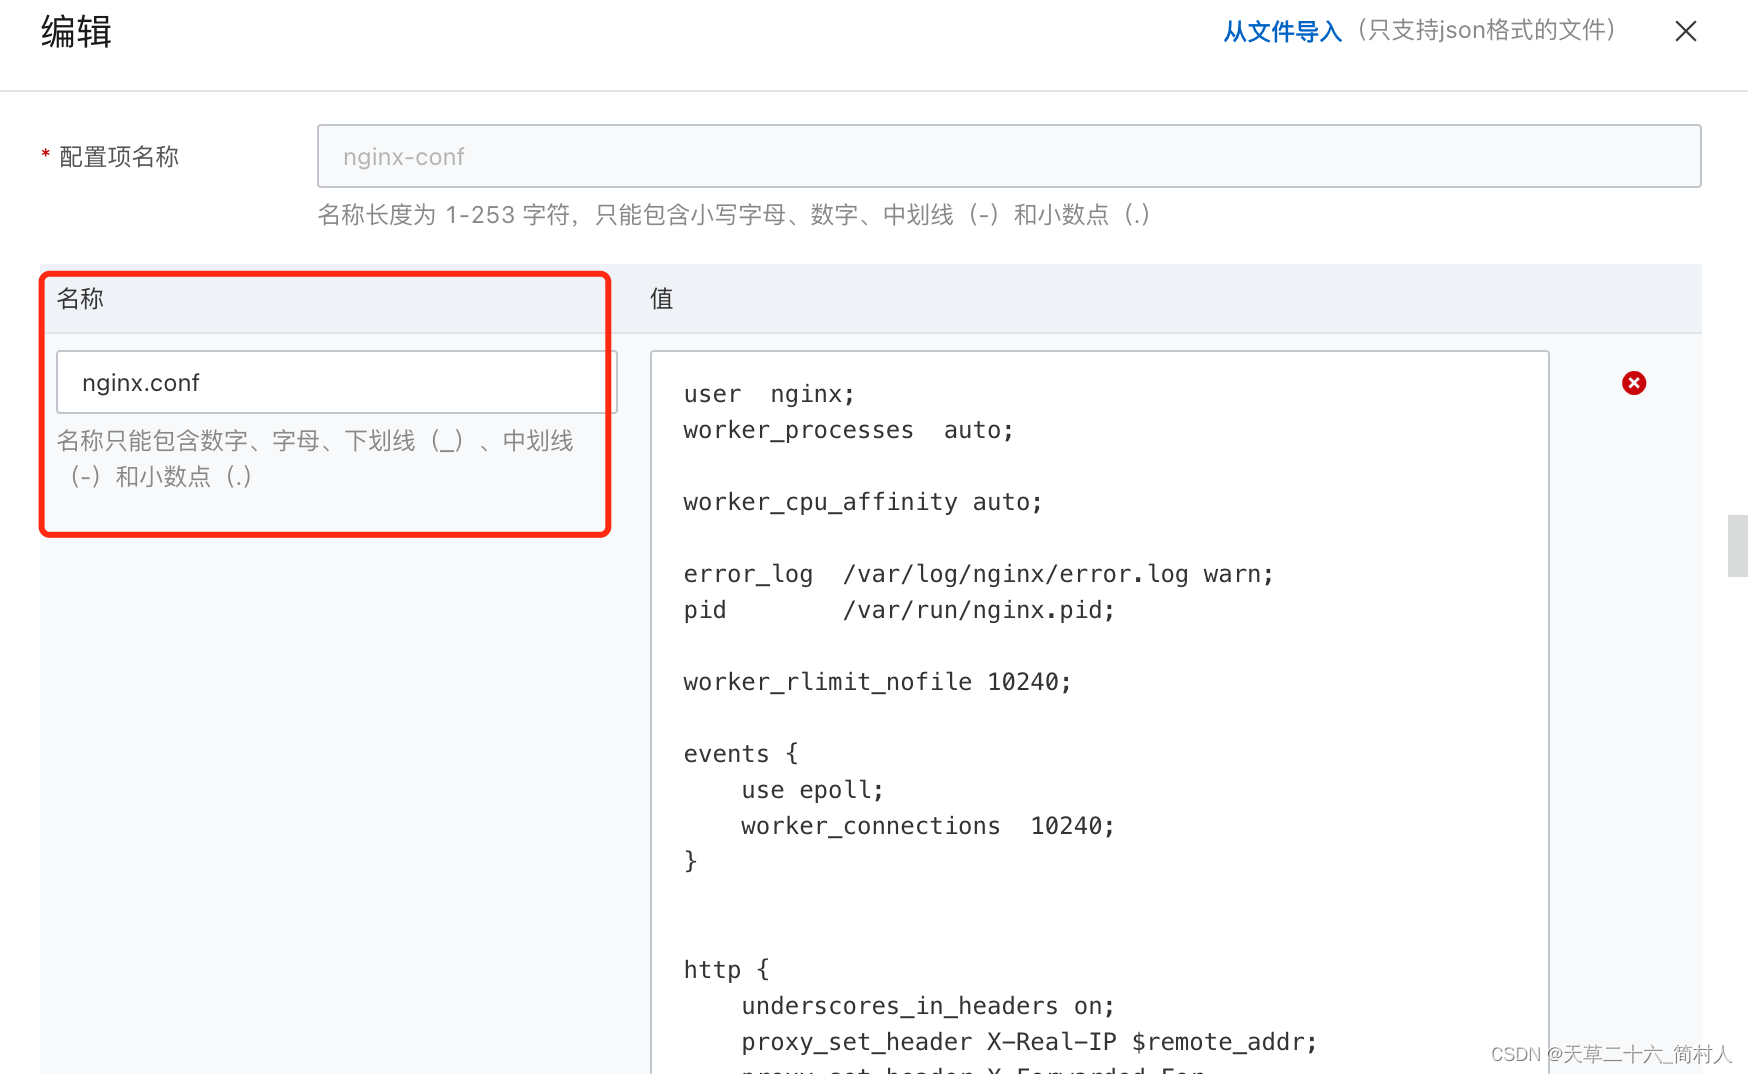
详情见下:
user  nginx;
worker_processes  auto;

worker_cpu_affinity auto;

error_log  /var/log/nginx/error.log warn;
pid        /var/run/nginx.pid;

worker_rlimit_nofile 10240;

events {
    use epoll;
    worker_connections  10240;
}


http {
    underscores_in_headers on;
    proxy_set_header x-real-ip $remote_addr;
    proxy_set_header x-forwarded-for $proxy_add_x_forwarded_for;
# 传递http header值
    include       /etc/nginx/mime.types;
    default_type  application/octet-stream;
# 设置log格式
    log_format  access '$proxy_add_x_forwarded_for $time_local $request $request_time "$upstream_response_time" '
                  '$status $body_bytes_sent $host "$http_user_agent" $bytes_sent $request_length "$upstream_addr" ';

    access_log  /var/log/nginx/access.log  access;

    charset  utf-8;

    server_names_hash_bucket_size 128;
    client_header_buffer_size 32k;
    large_client_header_buffers 4 32k;
    client_max_body_size 500m;

    sendfile       on;
    tcp_nopush     on;
    tcp_nodelay    on;

    keepalive_timeout  600;
    server {
        listen       80;
        server_name  nginx_status;
        location /ngx_status {
        stub_status;
                          }
            }
    fastcgi_connect_timeout 600;
    fastcgi_send_timeout 600;
    fastcgi_read_timeout 600;
    fastcgi_buffer_size 64k;
    fastcgi_buffers 4 64k;
    fastcgi_busy_buffers_size 128k;
    fastcgi_temp_file_write_size 128k;

    include /etc/nginx/conf.d/*.conf;
    }
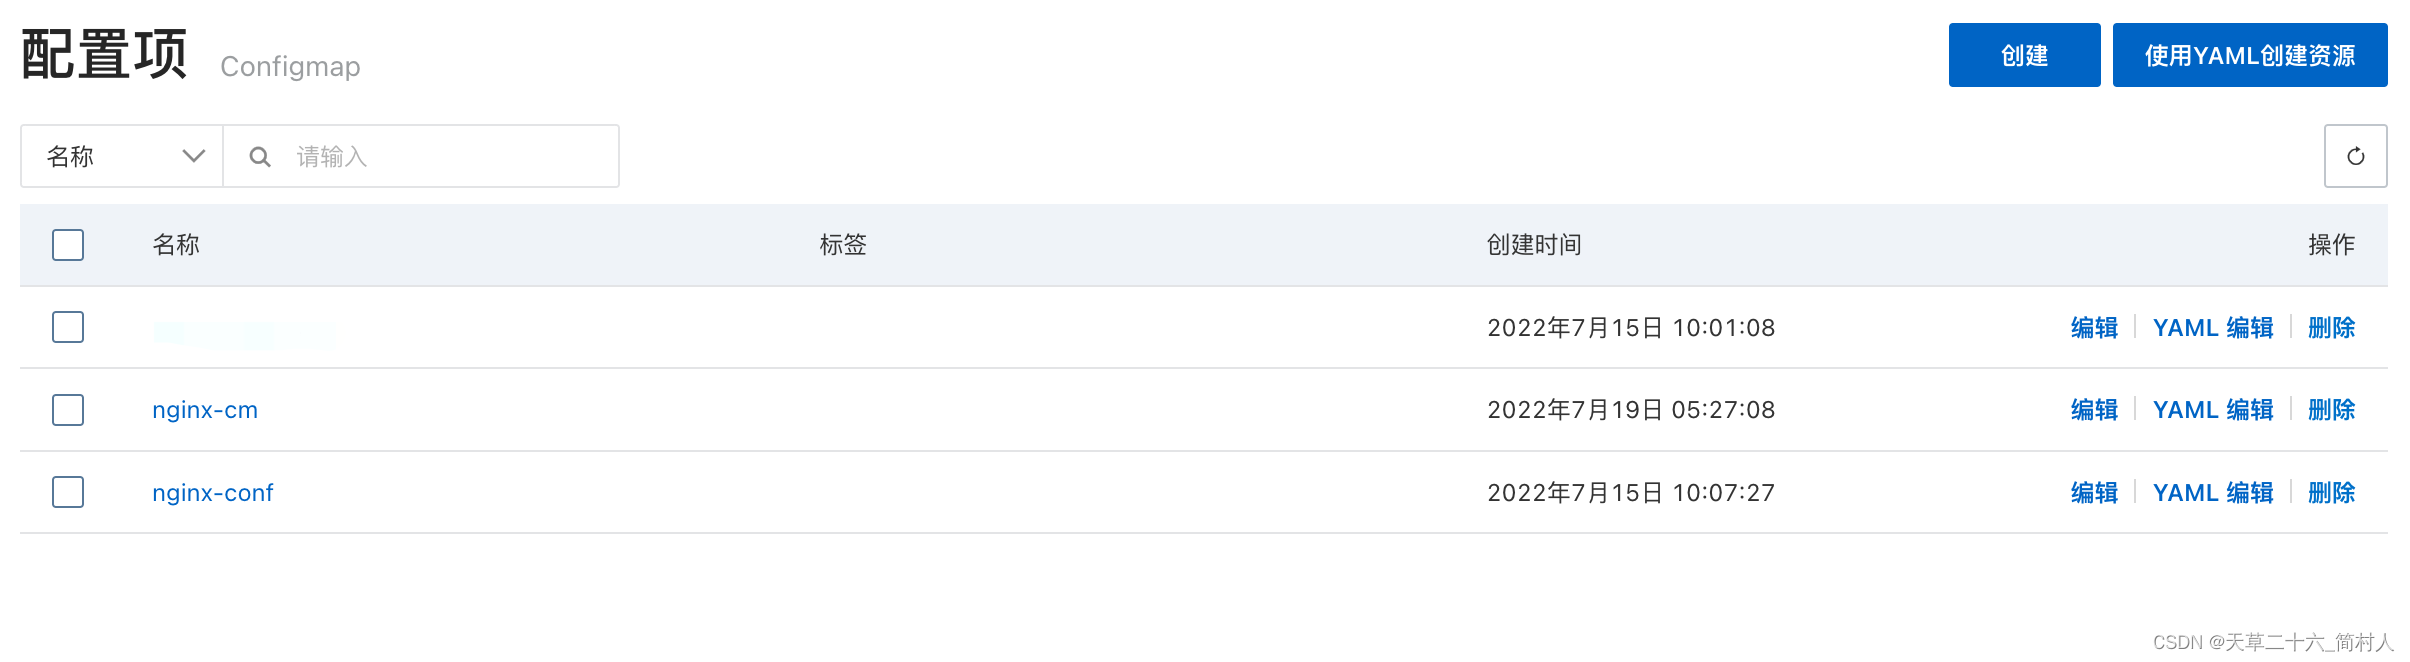
2、nginx-cm
对应容器里的文件/etc/nginx/conf.d/*.conf
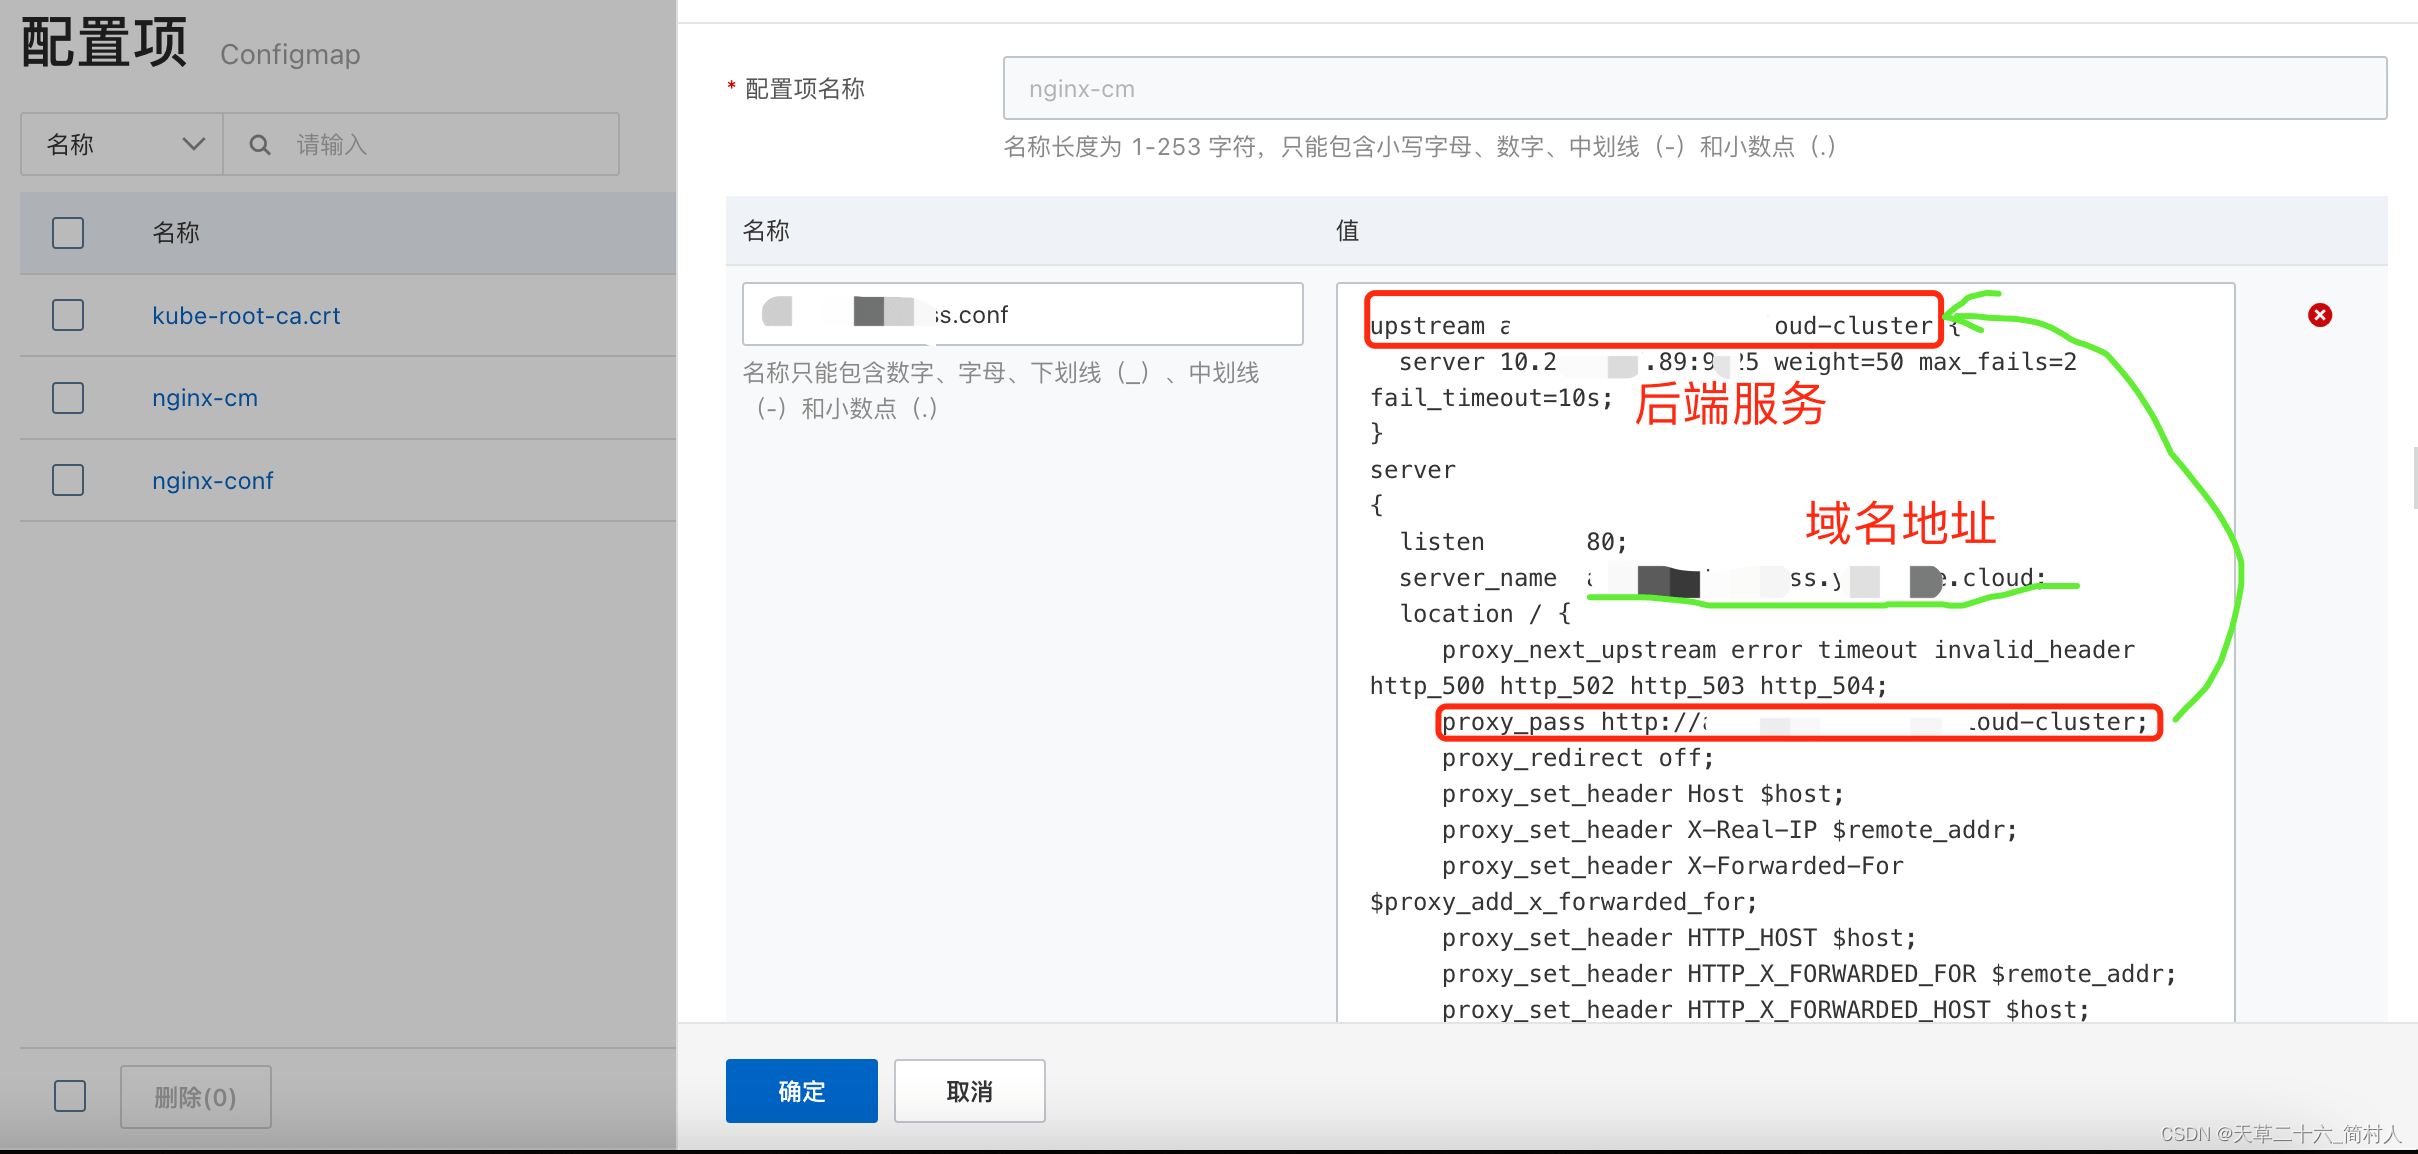
下面以常见的用户服务为示例:
upstream user-service-cloud-cluster {
  server 172.16.17.9:8081 weight=50 max_fails=2 fail_timeout=10s;
}
server
{
  listen       80;
  server_name  user.xxx.cloud;
  location / {
     proxy_next_upstream error timeout invalid_header http_500 http_502 http_503 http_504;
     proxy_pass http://user-service-cloud-cluster;
     proxy_redirect off;
     proxy_set_header host $host;
     proxy_set_header x-real-ip $remote_addr;
     proxy_set_header x-forwarded-for $proxy_add_x_forwarded_for;
     proxy_set_header http_host $host;
     proxy_set_header http_x_forwarded_for $remote_addr;
     proxy_set_header http_x_forwarded_host $host;
     proxy_set_header x-forwarded-host $host;
     proxy_set_header x-forwarded-server $host;
     proxy_set_header x-forwarded-https 0;
  }
  access_log  /var/log/nginx/user-service_cloud_access.log  access;
  error_log  /var/log/nginx/user-service_cloud_error.log;
 }
3、小节
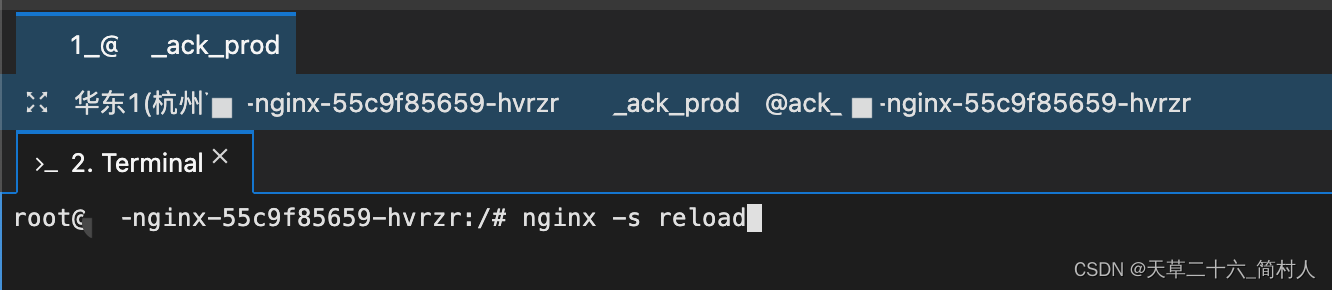
当你修改了nginx的配置,别忘记了进入nginx容器进行reload,以使配置生效。
nginx -s reload
三、ingress配置
除了已知的一些区别,它和nginx的一个最大不同是,不用手动去reload才能让配置生效。
同样部署两个ingress节点
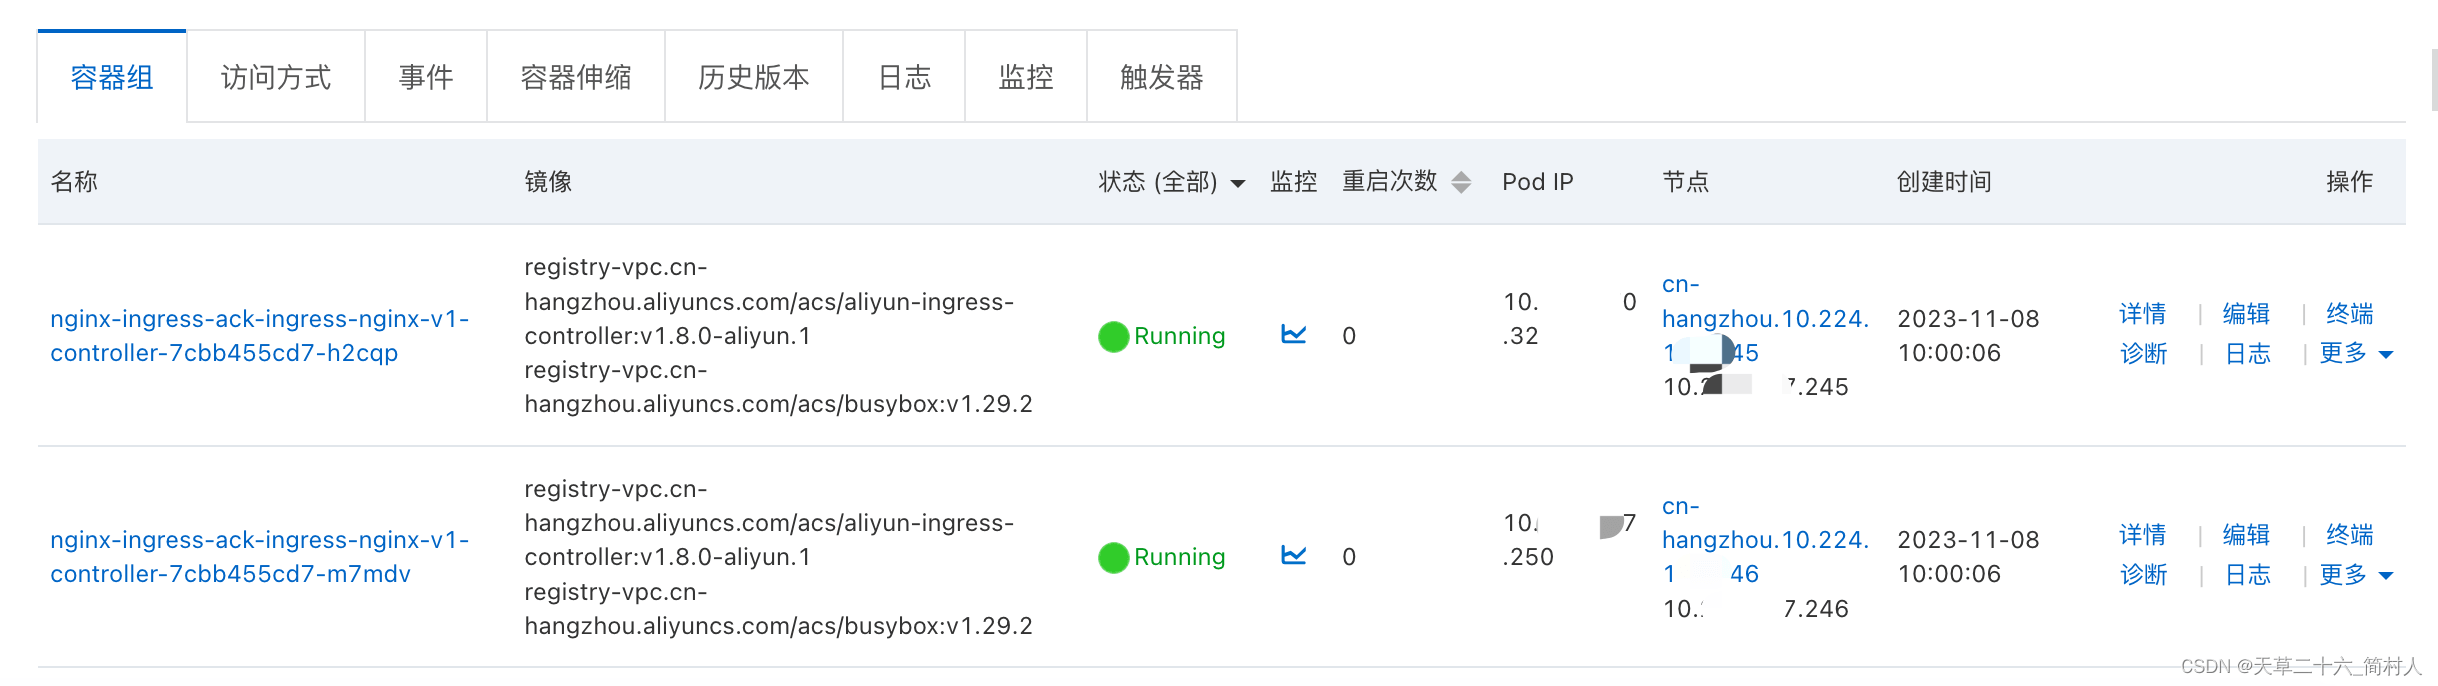
建议你使用helm安装ingress,简单方便。具体就不在本文赘述了。
下面再看下它的yaml详情:
apiversion: apps/v1
kind: deployment
metadata:
  name: nginx-ingress-ack-ingress-nginx-v1-controller
  namespace: kube-system
spec:
  progressdeadlineseconds: 600
  replicas: 2
  revisionhistorylimit: 10
  selector:
    matchlabels:
      app.kubernetes.io/component: controller
      app.kubernetes.io/instance: nginx-ingress
      app.kubernetes.io/name: ack-ingress-nginx-v1
  strategy:
    rollingupdate:
      maxsurge: 25%
      maxunavailable: 25%
    type: rollingupdate
  template:
    metadata:
      labels:
        app.kubernetes.io/component: controller
        app.kubernetes.io/instance: nginx-ingress
        app.kubernetes.io/name: ack-ingress-nginx-v1
    spec:
      containers:
        - args:
            - /nginx-ingress-controller
            - >-
              --publish-service=$(pod_namespace)/nginx-ingress-ack-ingress-nginx-v1-controller-internal
            - '--election-id=ingress-controller-leader-ack-nginx'
            - '--controller-class=k8s.io/ack-ingress-nginx'
            - '--ingress-class=ack-nginx'
            - >-
              --configmap=$(pod_namespace)/nginx-ingress-ack-ingress-nginx-v1-controller
            - '--validating-webhook=:8443'
            - '--validating-webhook-certificate=/usr/local/certificates/cert'
            - '--validating-webhook-key=/usr/local/certificates/key'
            - '--v=2'
          env:
            - name: pod_name
              valuefrom:
                fieldref:
                  apiversion: v1
                  fieldpath: metadata.name
            - name: pod_namespace
              valuefrom:
                fieldref:
                  apiversion: v1
                  fieldpath: metadata.namespace
            - name: ld_preload
              value: /usr/local/lib/libmimalloc.so
          image: >-
            registry-vpc.cn-hangzhou.aliyuncs.com/acs/aliyun-ingress-controller:v1.8.0-aliyun.1
          imagepullpolicy: ifnotpresent
          lifecycle:
            prestop:
              exec:
                command:
                  - /wait-shutdown
          livenessprobe:
            failurethreshold: 5
            httpget:
              path: /healthz
              port: 10254
              scheme: http
            initialdelayseconds: 10
            periodseconds: 10
            successthreshold: 1
            timeoutseconds: 1
          name: controller
          ports:
            - containerport: 80
              name: http
              protocol: tcp
            - containerport: 443
              name: https
              protocol: tcp
            - containerport: 8443
              name: webhook
              protocol: tcp
          readinessprobe:
            failurethreshold: 3
            httpget:
              path: /healthz
              port: 10254
              scheme: http
            initialdelayseconds: 10
            periodseconds: 10
            successthreshold: 1
            timeoutseconds: 1
          resources:
            requests:
              cpu: 100m
              memory: 90mi
          securitycontext:
            allowprivilegeescalation: true
            capabilities:
              add:
                - net_bind_service
              drop:
                - all
            runasuser: 101
          terminationmessagepath: /dev/termination-log
          terminationmessagepolicy: file
          volumemounts:
            - mountpath: /usr/local/certificates/
              name: webhook-cert
              readonly: true
            - mountpath: /etc/localtime
              name: localtime
              readonly: true
      dnspolicy: clusterfirst
      initcontainers:
        - command:
            - /bin/sh
            - '-c'
            - |
              if [ "$pod_ip" != "$host_ip" ]; then
              mount -o remount rw /proc/sys
              sysctl -w net.core.somaxconn=65535
              sysctl -w net.ipv4.ip_local_port_range="1024 65535"
              sysctl -w kernel.core_uses_pid=0
              fi
          env:
            - name: pod_ip
              valuefrom:
                fieldref:
                  apiversion: v1
                  fieldpath: status.podip
            - name: host_ip
              valuefrom:
                fieldref:
                  apiversion: v1
                  fieldpath: status.hostip
          image: 'registry-vpc.cn-hangzhou.aliyuncs.com/acs/busybox:v1.29.2'
          imagepullpolicy: ifnotpresent
          name: init-sysctl
          resources: {}
          securitycontext:
            capabilities:
              add:
                - sys_admin
              drop:
                - all
          terminationmessagepath: /dev/termination-log
          terminationmessagepolicy: file
      nodeselector:
        kubernetes.io/os: linux
      restartpolicy: always
      schedulername: default-scheduler
      securitycontext: {}
      serviceaccount: nginx-ingress-ack-ingress-nginx-v1
      serviceaccountname: nginx-ingress-ack-ingress-nginx-v1
      terminationgraceperiodseconds: 300
      tolerations:
        - effect: noschedule
          key: node-role.alibabacloud.com/addon
          operator: exists
      volumes:
        - name: webhook-cert
          secret:
            defaultmode: 420
            secretname: nginx-ingress-ack-ingress-nginx-v1-admission
        - hostpath:
            path: /etc/localtime
            type: file
          name: localtime
这里使用了一个初始化容器initcontainers,它会对系统做一个个性化配置。
sysctl -w net.core.somaxconn=65535
sysctl -w net.ipv4.ip_local_port_range="1024 65535"
sysctl -w kernel.core_uses_pid=0
其次,host_ip和pod_ip都从k8s环境变量中读取,因为它们是动态的,非固定不变。
必要的健康检测,配置了livenessprobe和readinessprobe,详情见上。
1、configmap配置
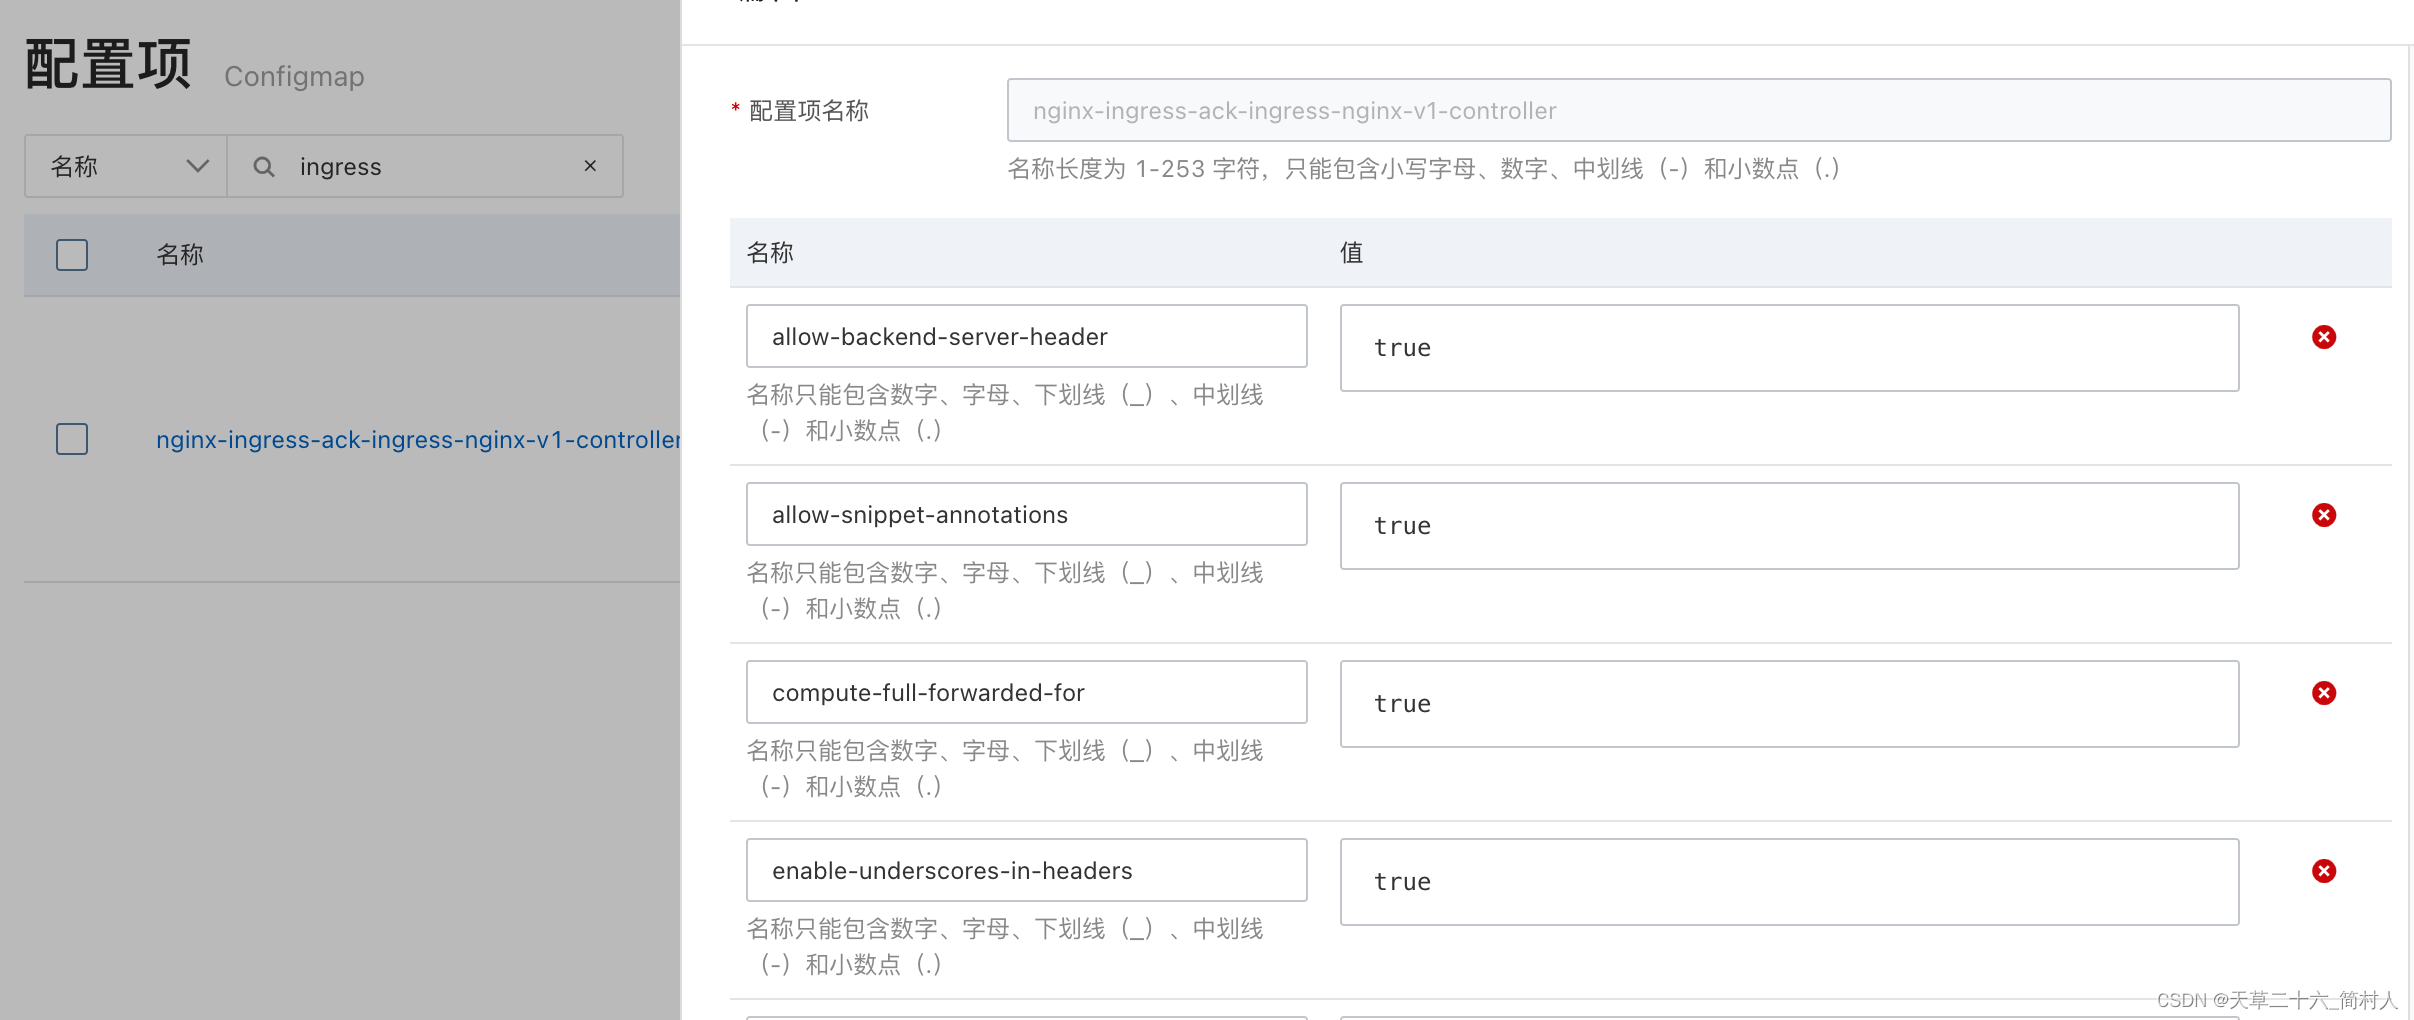
日志格式,见下:
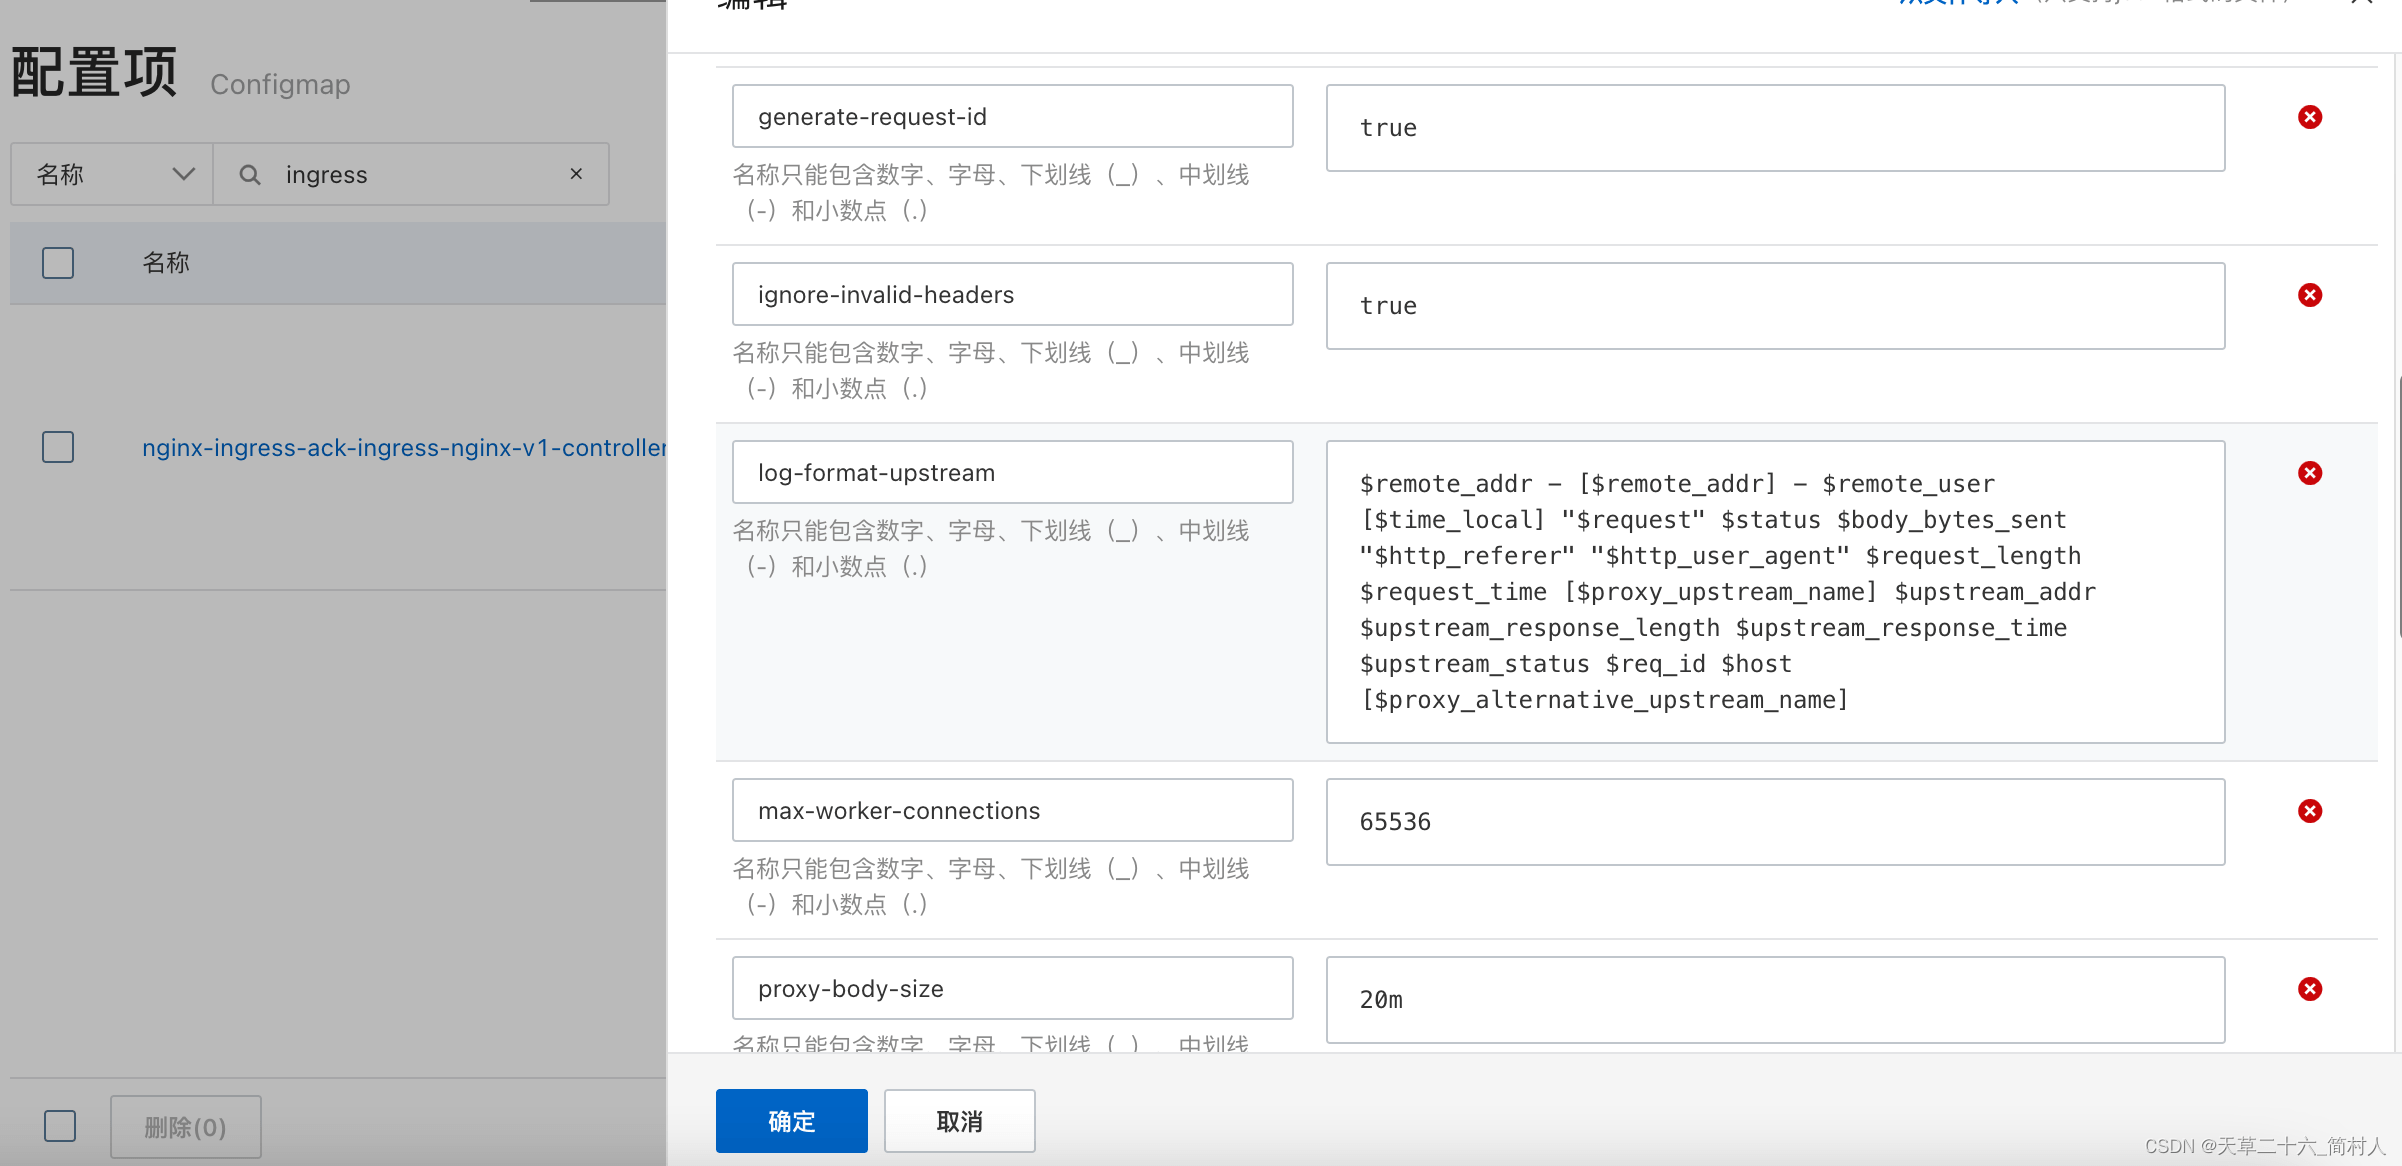
其他的配置这里就不一一列举,总之,它支持你通过变量进行配置就行。
它就对应上文的nginx.conf文件。
2、创建ingress路由
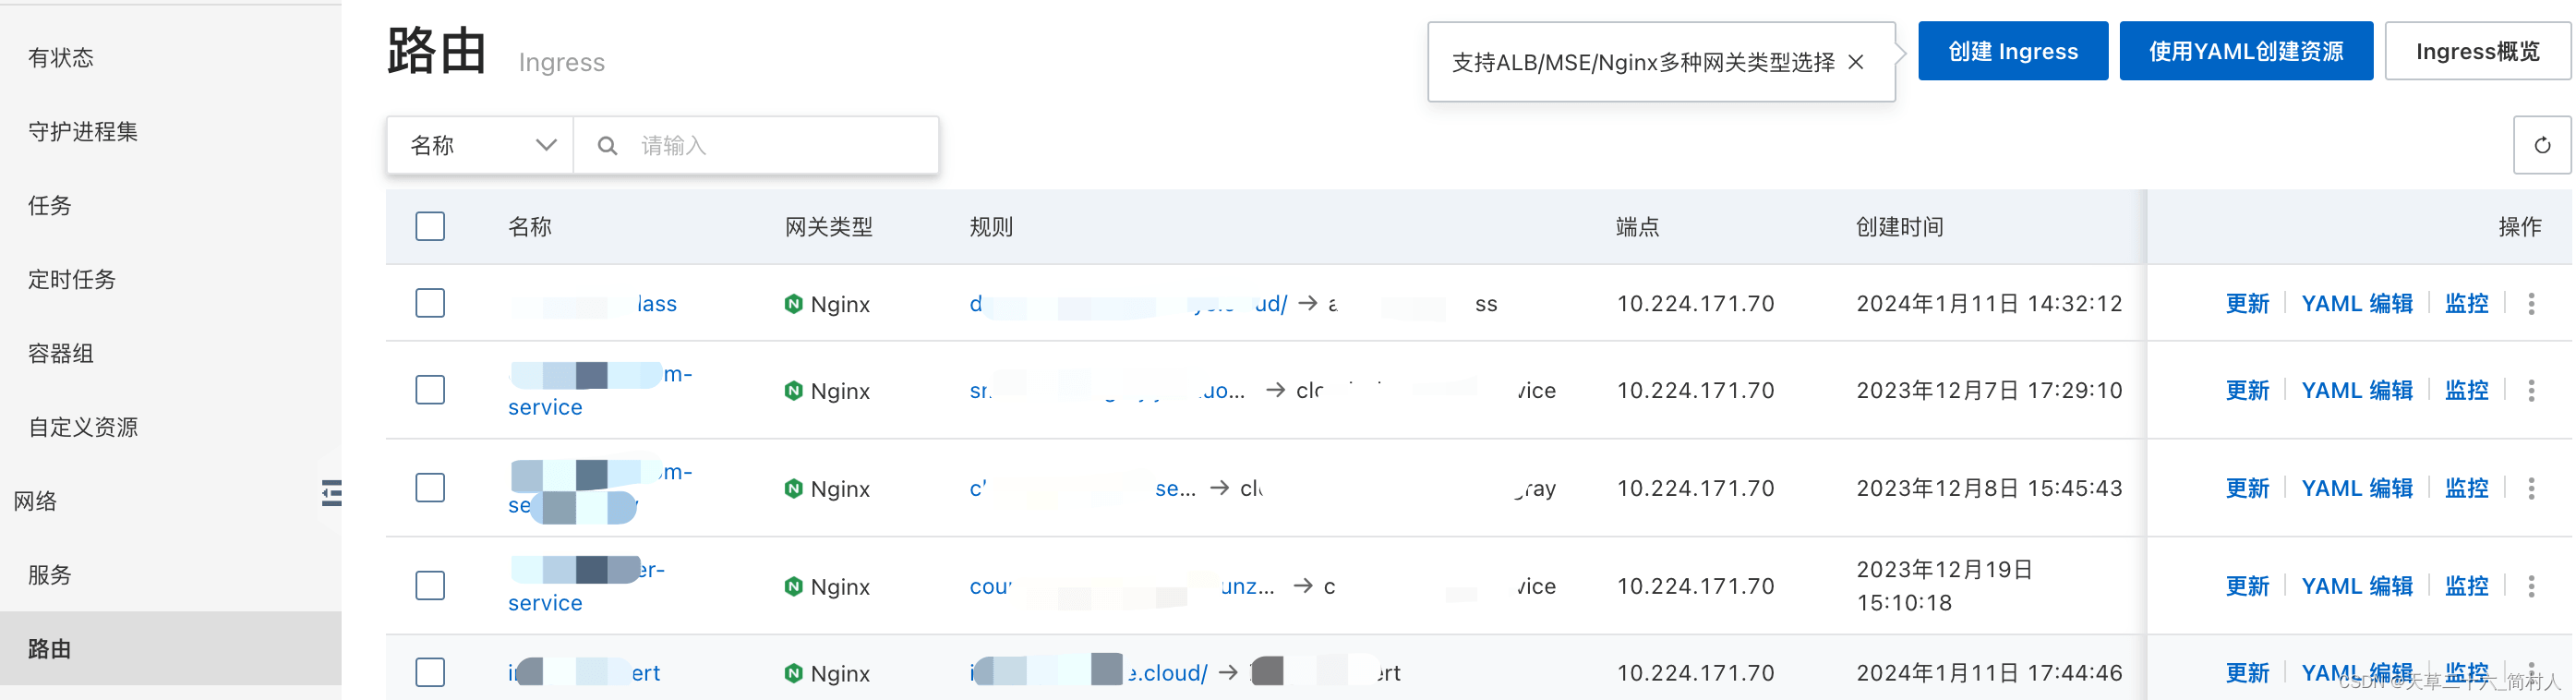
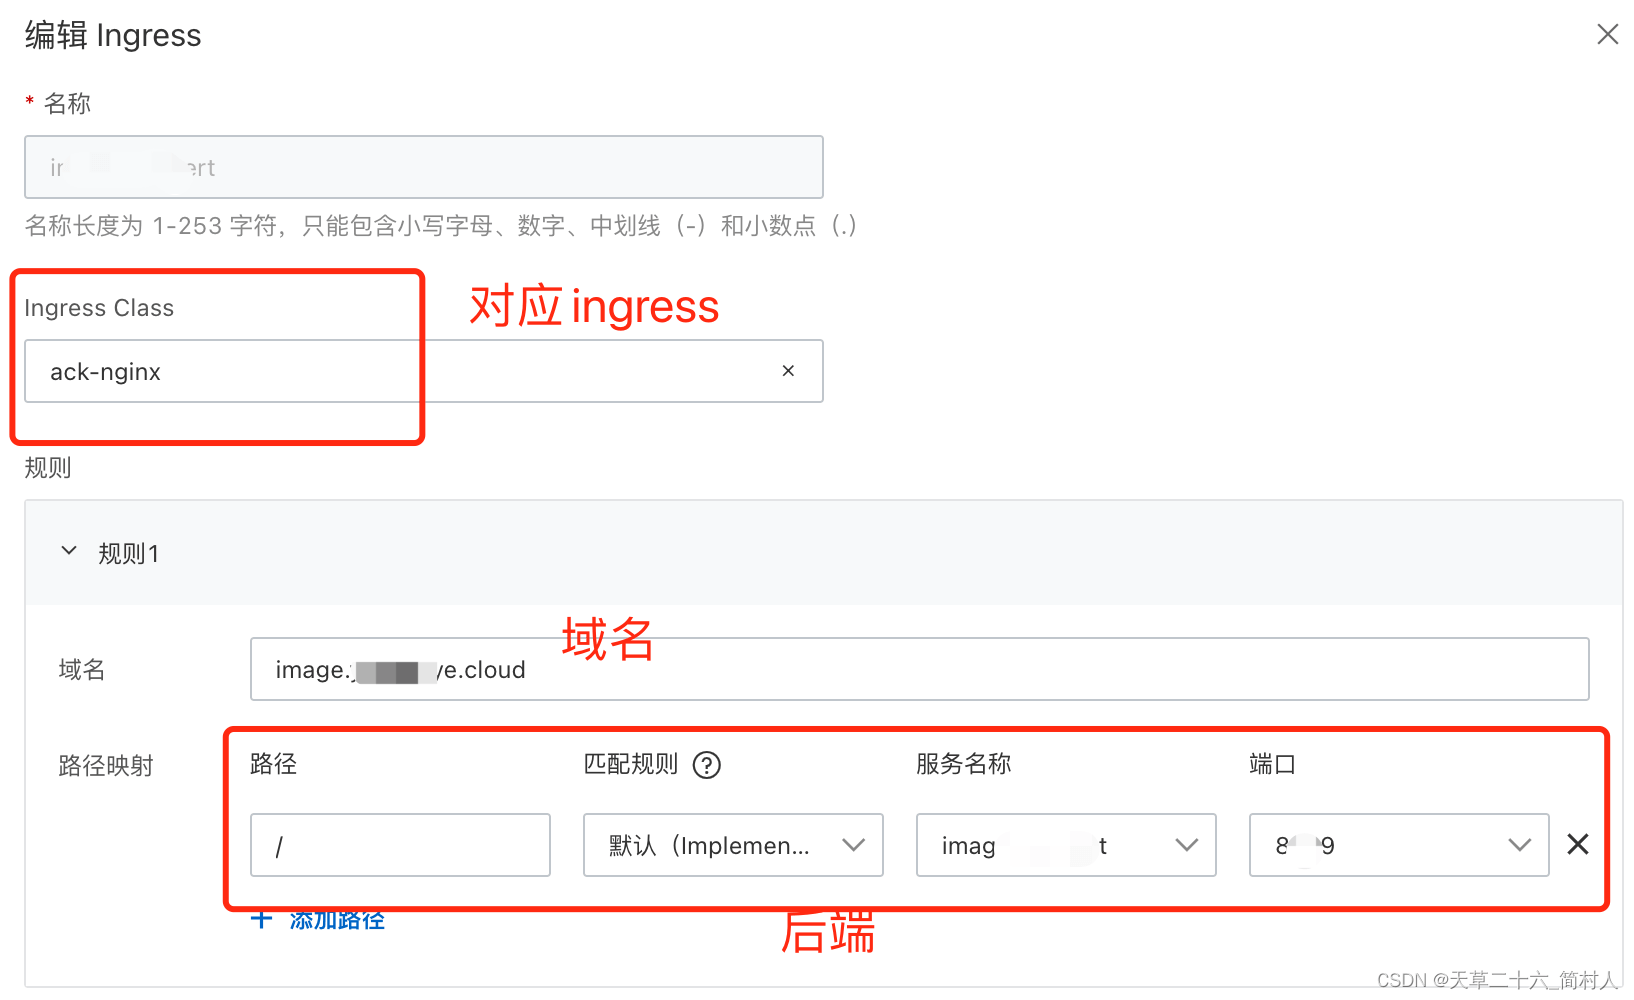
操作比较简单,下面要切入到本文的重点。
四、ingress设置超时时间
要说ingress如何设置超时时间前,先看一看nginx是如何设置。
默认是60秒,现在业务上有需求调整为600秒。
请看下文的具体配置:
1、nginx配置
upstream xxx-cloud-cluster {
  server 172.16.17.6:8080 weight=9 max_fails=2 fail_timeout=10s;
}
server
{
  listen       80;
  server_name  image-xxx.xx.cloud;
  location / {
     proxy_next_upstream error timeout invalid_header http_500 http_502 http_503 http_504;
     proxy_pass http://xxx-cloud-cluster;
     proxy_redirect off;
     proxy_set_header host $host;
     # 增加下面三行
     proxy_connect_timeout 600;
     proxy_send_timeout 600;
     proxy_read_timeout 600;

     proxy_set_header x-real-ip $remote_addr;
     proxy_set_header x-forwarded-for $proxy_add_x_forwarded_for;
     proxy_set_header http_host $host;
     proxy_set_header http_x_forwarded_for $remote_addr;
     proxy_set_header http_x_forwarded_host $host;
     proxy_set_header x-forwarded-host $host;
     proxy_set_header x-forwarded-server $host;
     proxy_set_header x-forwarded-https 0;
  }
  access_log  /var/log/nginx/xxx_access.log  access;
  error_log  /var/log/nginx/xxx_error.log;
 }
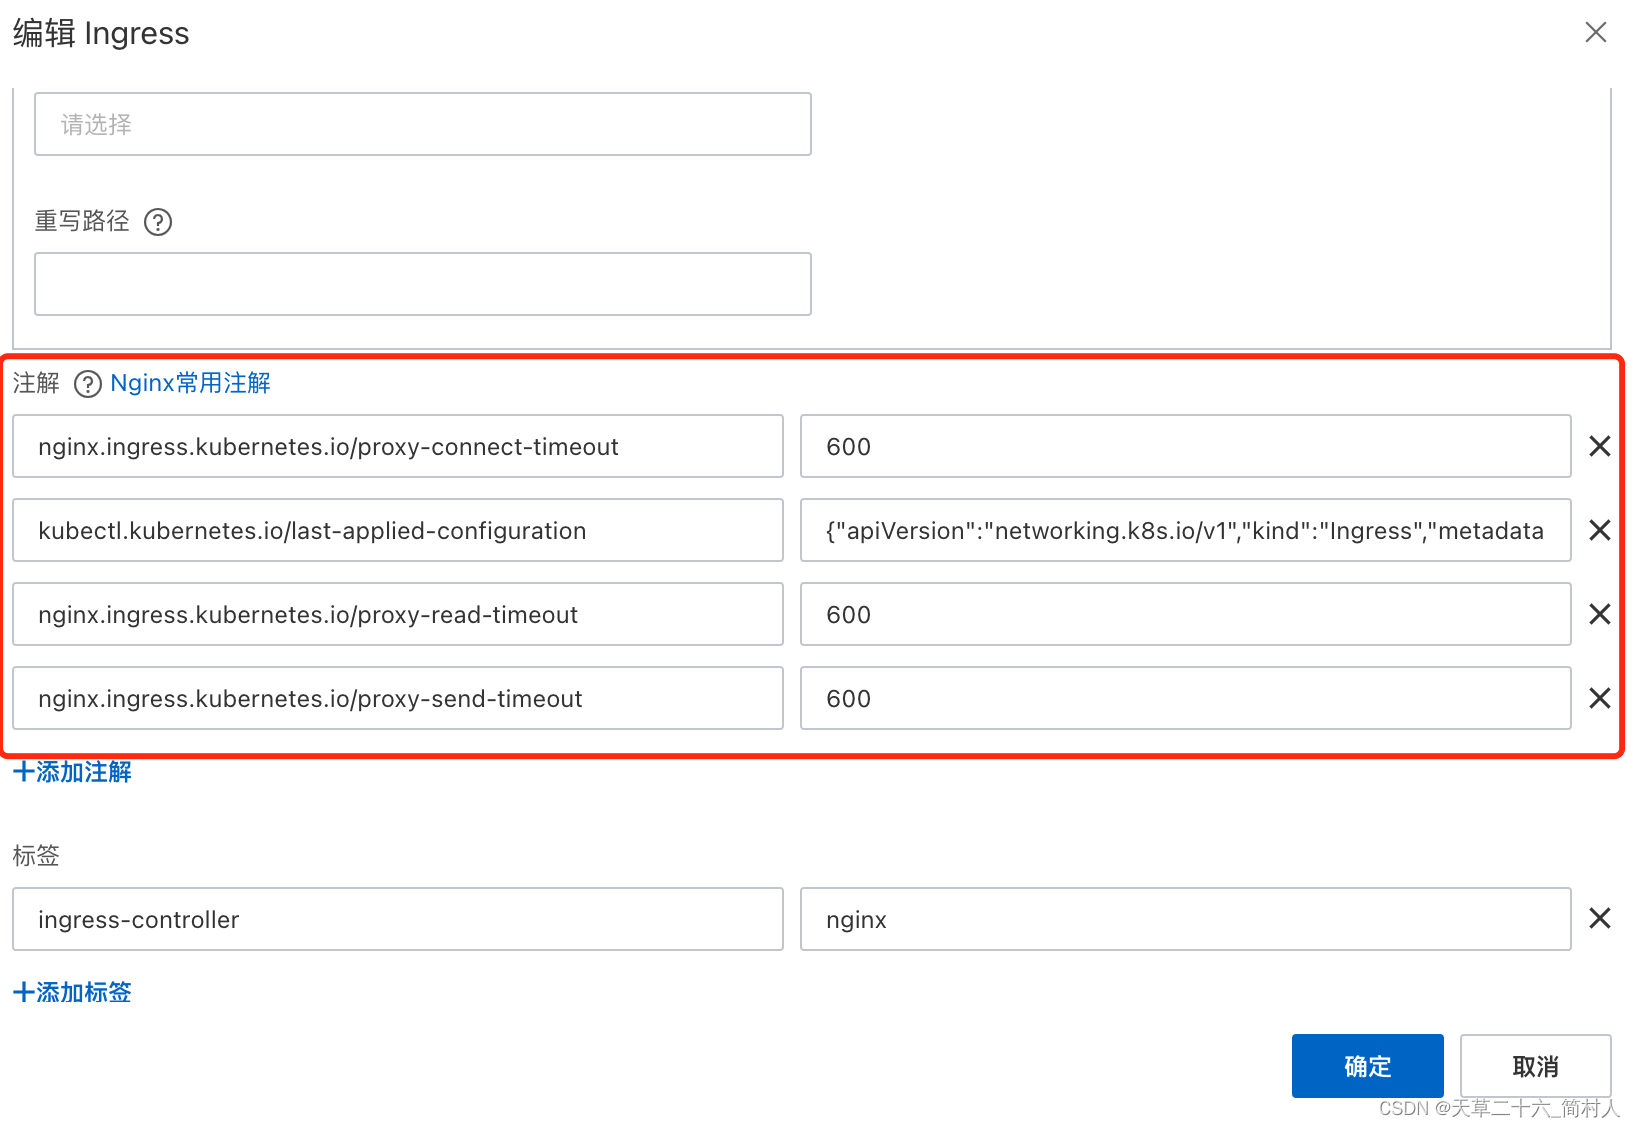
2、ingress配置
参数设置通过注解配置:
proxy_connect_timeout 600;
proxy_send_timeout 600;
proxy_read_timeout 600;

yaml详情见下:
apiversion: networking.k8s.io/v1
kind: ingress
metadata:
  annotations:
    nginx.ingress.kubernetes.io/proxy-connect-timeout: '600'
    nginx.ingress.kubernetes.io/proxy-read-timeout: '600'
    nginx.ingress.kubernetes.io/proxy-send-timeout: '600'
  labels:
    ingress-controller: nginx
  name: image-xxx
  namespace: java-service
spec:
  ingressclassname: ack-nginx
  rules:
    - host: image.xxx.cloud
      http:
        paths:
          - backend:
              service:
                name: image-xxx
                port:
                  number: 8080
            path: /
            pathtype: implementationspecific
五、总结
这里只是以设置超时时间为例,讲述k8s容器部署的nginx和ingress,如何设置一定自定义的参数配置。
当然,这里没有讲述怎么安装它们,更多的是梳理了一下如何配置,侧重于使用这块。
到此这篇关于阿里云k8s集群使用ingress配置时间超时的参数的文章就介绍到这了,更多相关阿里云 ingress配置时间超时内容请搜索代码网以前的文章或继续浏览下面的相关文章希望大家以后多多支持代码网!


发表评论