背景
一个安静的下午,看着电脑里乱七八糟的照片,有大有小,宽高不一,突然想找个方式把他们统一起来,然后做成视频更好(其实我在上高中的时候就喜欢把照片做成视频,觉得意义很大)。要满足批量、自动化,肯定得动用代码了。于是首先我列举了下我希望的功能:
照片来源:制定的目录下所有的文件格式为照片的文件,按照照片的文件名进行排序
照片质量:按照目前的720p、1080p、甚至是2k、4k的画质来生成照片视频
照片横竖:可以自定义指定照片是横屏还是竖屏
照片时间:可以自定义每一张照片的放映时间
照片比例:这个也是最为重要的,对此我分成了如下几种case:
图片的宽度 < 视频宽度 * 50% or 图片的高度 < 视频高度 * 50%:舍弃掉
图片宽度 < 视频宽度 or 图片的高度 < 视频高度:居中等比放大,直到高度 = 视频高度 or 宽度 = 视频宽度=
其它尺寸,图片居中等比缩小,直到高度 = 视频高度 or 宽度 = 视频宽度
这种照片比例的放大居中,基本上是强迫症患者的福音了,严格的居中对齐。
实现
依托强大的python库,这里主要用到的工具库有:
pillow,源代码有简单、精炼的解释:pillow is the friendly pil fork by alex clark and contributors.pil is the python imaging library by fredrik lundh and contributors. 机器学习、图像识别等场景用到的最多,这里主要使用它来调整图片的大小moviepy, 是一个用于视频编辑的 python 库。可以剪辑视频、添加音频和字幕、调整视频帧、简单的特效等等。这里主要是根据照片序列生成视频。
介绍完主要的库之后,就是代码环节了,代码里注释较多,轻松入手,不做过多的解释:
# create viode from a dictionary which contains image or video files
import os
from pil import image
from moviepy.editor import imagesequenceclip
def resize_and_crop(image, target_size):
"""将图片根据给定的大小进行缩放和裁剪
1. 图片的宽度 < 视频宽度 * 50% or 图片的高度 < 视频高度 * 50%:舍弃掉
2. 图片宽度 < 视频宽度 or 图片的高度 < 视频高度:居中等比放大,直到高度 = 视频高度 or 宽度 = 视频宽度
3. 图片居中等比缩小,直到高度 = 视频高度 or 宽度 = 视频宽度
args:
image (str): 原图片文件路径
target_size (tuple): 视频大小(宽度, 高度)
returns:
image: 调整后的图片,可能为空
"""
img = image.open(image)
video_width, video_height = target_size
# 检查条件1:如果原图宽度或高度小于视频尺寸的50%,则返回none
if img.width < video_width * 0.5 or img.height < video_height * 0.5:
return none
# 计算目标缩放比例
scale_x = video_width / img.width
scale_y = video_height / img.height
# 根据需要的宽度和高度选择缩放比例
if img.width < video_width or img.height < video_height:
# 居中等比放大
scale = max(scale_x, scale_y)
else:
# 居中等比缩小
scale = min(scale_x, scale_y)
# 放大或缩小图片
new_size = (int(img.width * scale), int(img.height * scale))
img = img.resize(new_size, image.antialias)
# 计算裁剪框的位置
left = (img.width - video_width) // 2
top = (img.height - video_height) // 2
right = left + video_width
bottom = top + video_height
# 裁剪并返回最终图片
img = img.crop((left, top, right, bottom))
return img
def create_video_from_images(folder_path,
out_put_file_name='output_video.mp4',
resolution='720p',
is_horizontal=true,
duration=3):
"""通过照片生成视频
args:
folder_path (_type_): 文件夹路径
out_put_file_name (str, optional): _description_. 视频输出路径 defaults to 'output_video.mp4'.
resolution (str, optional): _description_. 视频清晰度 defaults to '720p'.
is_horizontal (bool, optional): _description_. 是否是横屏 defaults to true.
duration (int, optional): _description_. 每张照片的放映时长 defaults to 3.
raises:
valueerror: 视频清晰度错误
"""
resolution_mapping = {
'720p': (1280, 720),
'1080p': (1920, 1080),
'2k': (2560, 1440),
'4k': (3840, 2160),
}
if resolution not in resolution_mapping:
raise valueerror(
"invalid resolution. choose from '720p', '1080p', '2k', '4k'.")
target_size = resolution_mapping[resolution]
if not is_horizontal:
target_size = (target_size[1], target_size[0])
images = []
# 读取文件夹下的文件并按照文件名排序
for filename in sorted(os.listdir(folder_path)):
if filename.lower().endswith(('.png', '.jpg', '.jpeg', '.bmp')):
img = resize_and_crop(os.path.join(folder_path, filename),
target_size)
if img:
images.append(img)
# 照片的临时位置
temp_files = []
for i, img in enumerate(images):
temp_file = f'temp_image_{i}.png'
img.save(temp_file)
temp_files.append(temp_file)
# 创建视频
clip = imagesequenceclip(temp_files, fps=1 / duration)
output_file = os.path.join(folder_path, out_put_file_name)
clip.write_videofile(output_file, codec='libx264')
# 清除临时文件
for temp_file in temp_files:
os.remove(temp_file)
if __name__ == '__main__':
create_video_from_images(
folder_path='/users/xxxx/downloads/xxx/imgs',
is_horizontal=false,
resolution='720p')
我们执行脚本,这里是控制台输出:

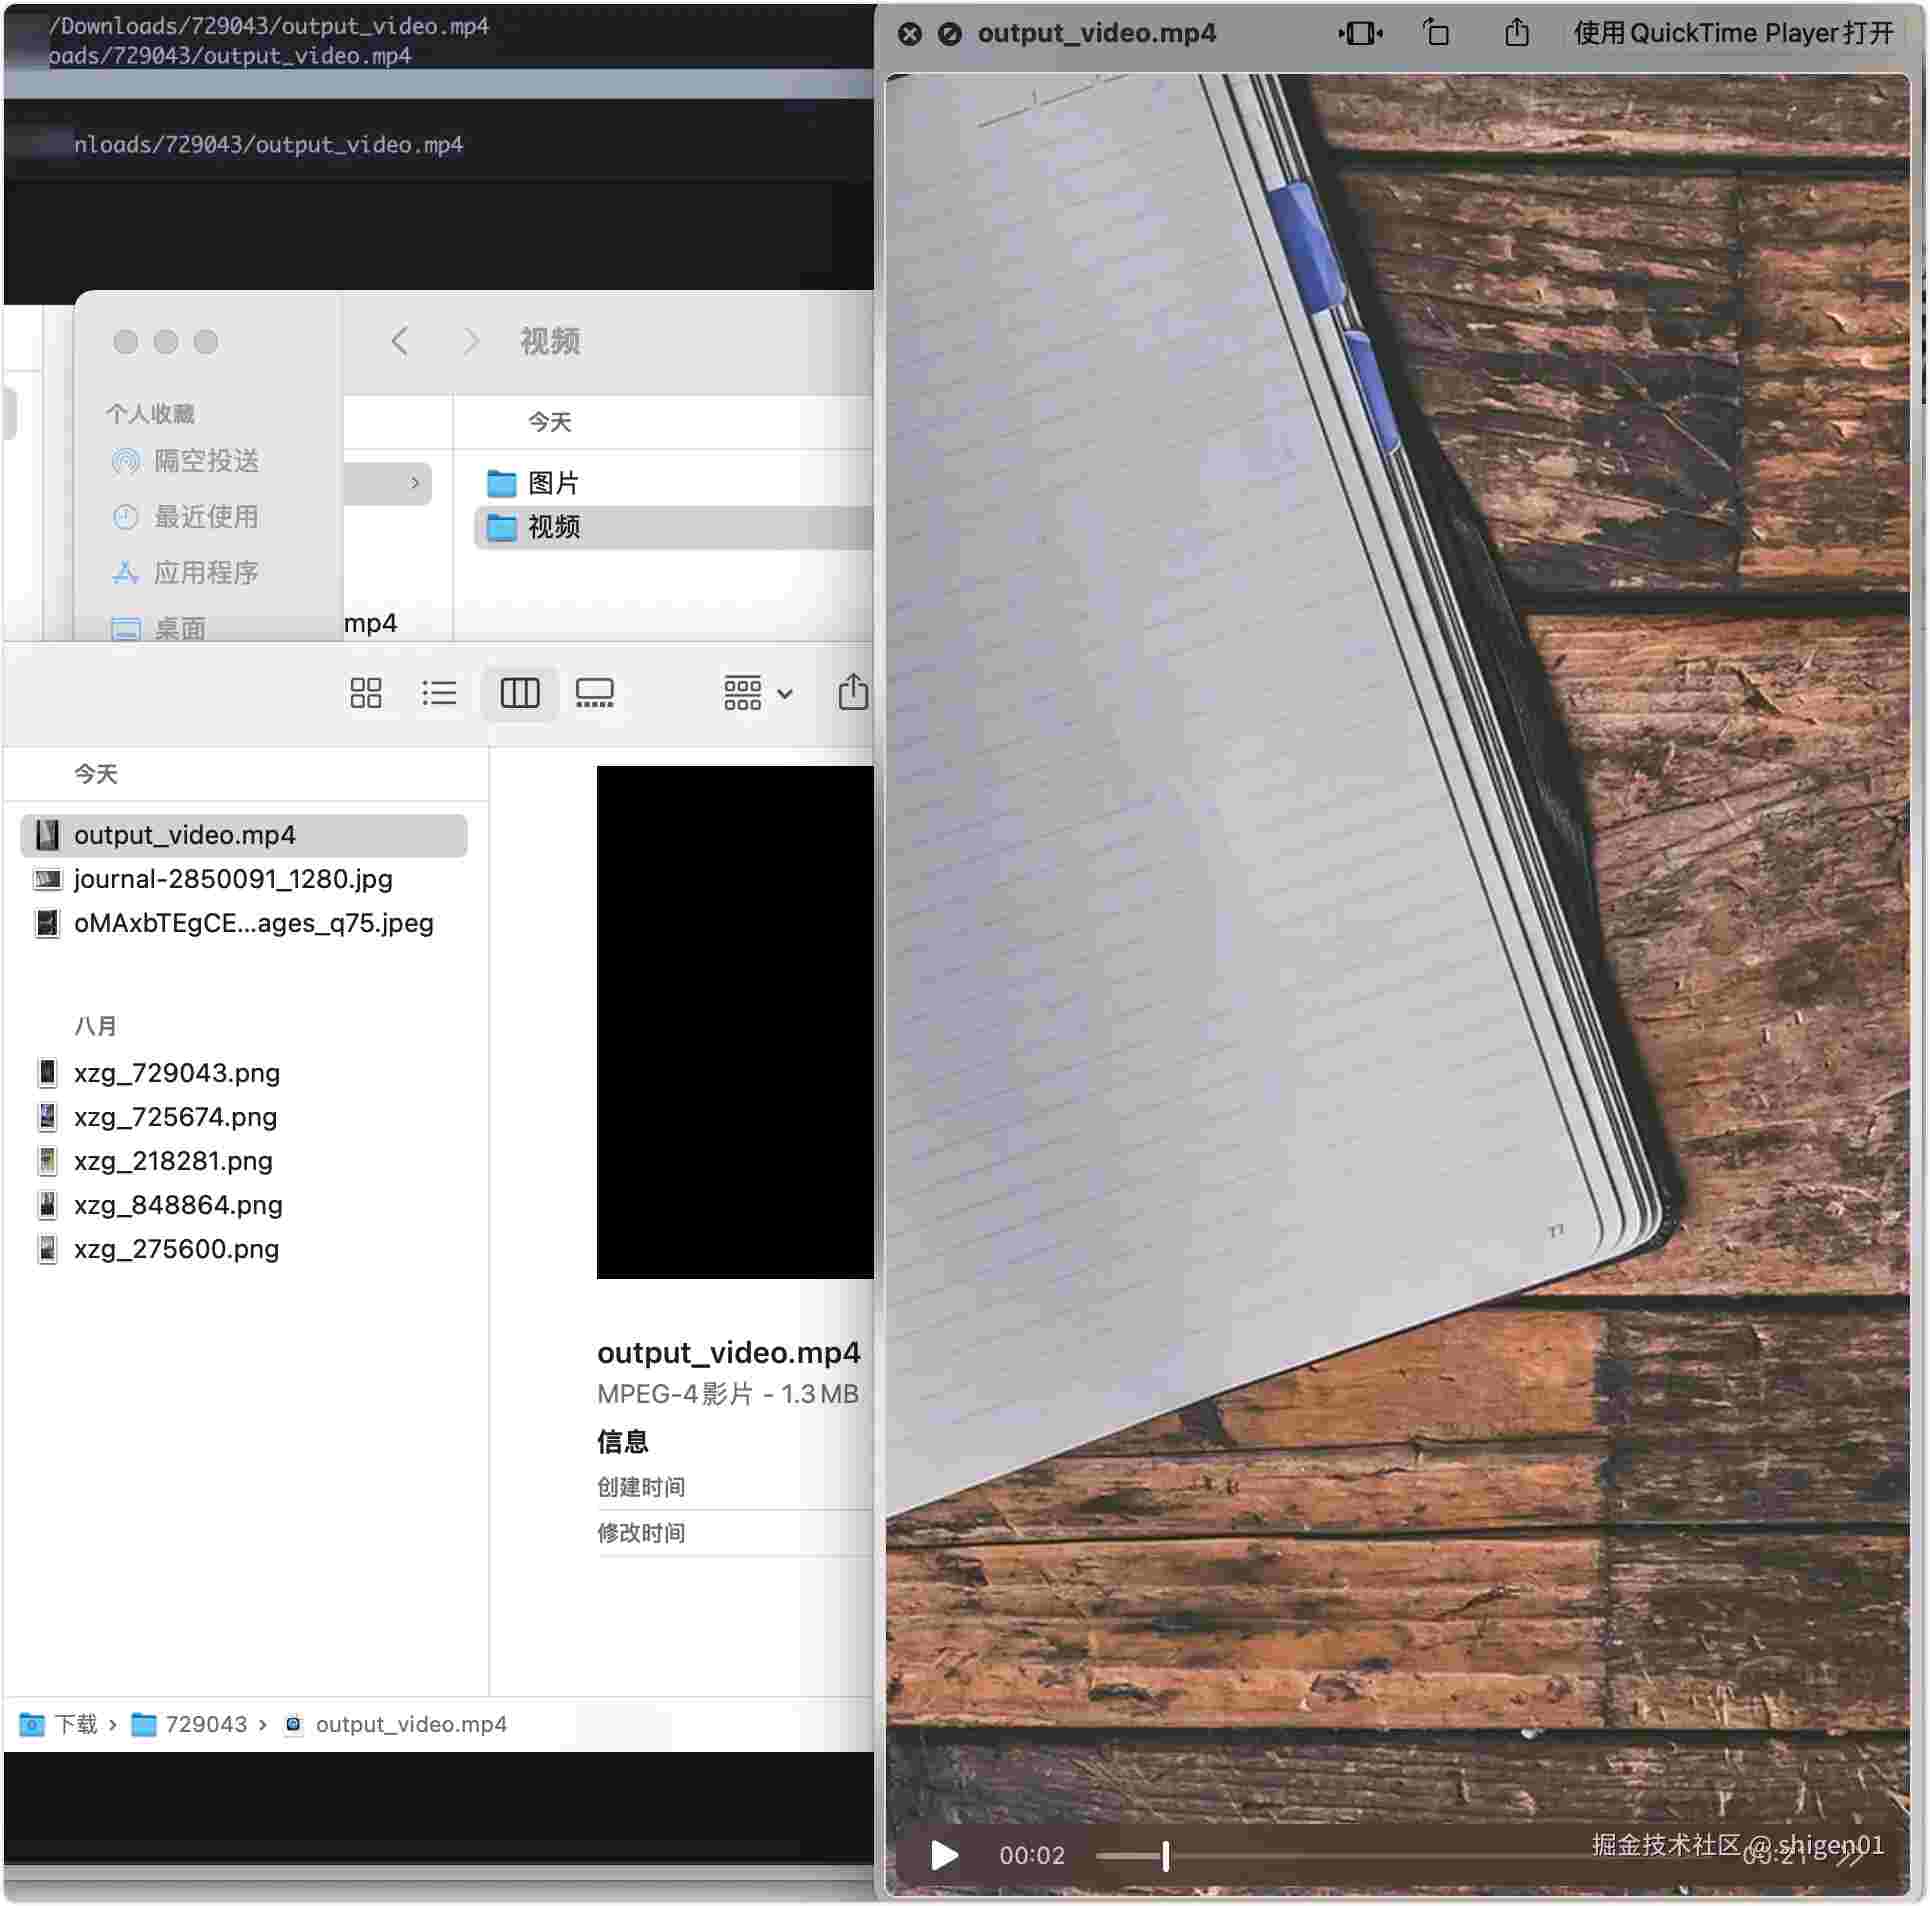
再来看看视频输出:

标准的720p h264编码,3&,21s的时长。有一张图是横屏的图,这里生成的视频中也根据高度放大进行了居中裁剪:
整体的感觉还不错,特此写个博客分享出来。当然还有很多的优化点:
优化项
其实做的还是相当的粗糙,但是基本上还是省事儿了。考虑到的优化点有:
- 指定背景音乐并实现照片卡点
- 加上随机的特效切换
咳,目前想到的就这么多。作为工具,我觉得越简单越好,需要效率和我开发时间的权衡。
到此这篇关于python实现照片集变成视频的代码实现的文章就介绍到这了,更多相关python照片集变成视频内容请搜索代码网以前的文章或继续浏览下面的相关文章希望大家以后多多支持代码网!


发表评论