前言
springmvc本身提高了便捷的文件上传方式,接下来我将演示如何在springmvc中实现文件上传的相关操作。以下案例是基于ssm框架整合的基础上实现的文件上传功能,如何进行ssm整合,可以参考我以往的博客。
第一步:添加依赖
pom.xml
    <!-- 文件上传与下载-->
    <dependency>
      <groupid>commons-fileupload</groupid>
      <artifactid>commons-fileupload</artifactid>
      <version>1.3.1</version>
    </dependency>
    <dependency>
      <groupid>commons-io</groupid>
      <artifactid>commons-io</artifactid>
      <version>2.4</version>
    </dependency>
第二步:创建springmvc配置文件,添加文件上传配置
spring-mvc.xml
<?xml version="1.0" encoding="utf-8"?>
<beans xmlns="http://www.springframework.org/schema/beans"
       xmlns:xsi="http://www.w3.org/2001/xmlschema-instance"
       xmlns:p="http://www.springframework.org/schema/p"
       xmlns:mvc="http://www.springframework.org/schema/mvc"
       xmlns:context="http://www.springframework.org/schema/context"
       xmlns:util="http://www.springframework.org/schema/util"
       xsi:schemalocation="http://www.springframework.org/schema/beans
            http://www.springframework.org/schema/beans/spring-beans-4.1.xsd
            http://www.springframework.org/schema/context
            http://www.springframework.org/schema/context/spring-context-4.1.xsd
            http://www.springframework.org/schema/mvc
            http://www.springframework.org/schema/mvc/spring-mvc-4.1.xsd
            http://www.springframework.org/schema/util
            http://www.springframework.org/schema/util/spring-util-4.1.xsd">
    <context:component-scan base-package="com.csx"/>
    <mvc:annotation-driven/>
    <bean class="org.springframework.web.servlet.view.internalresourceviewresolver" p:prefix="/" p:suffix=".jsp"/>
    <!--文件上传 2.加配置,注意id-->
    <bean id="multipartresolver" class="org.springframework.web.multipart.commons.commonsmultipartresolver">
        <property name="maxuploadsize" value="104857600"/>
        <property name="defaultencoding" value="utf-8"/>
    </bean>
</beans>
开启扫描
开启注解
配置视图解析器
配置文件上传相关配置
一定要配置id,不能省略,否则报错(底层根据id加载这个bean)
第三步:创建文件上传页面
up.html
<!doctype html>
<html lang="en">
<head>
    <meta charset="utf-8">
    <title>title</title>
</head>
<body>
<!--文件上传 3.写页面-->
<form action="/user/up.do" method="post" enctype="multipart/form-data">
    文件:<input type="file" name="file"> <br/>
    <input type="submit" value="提交">
</form>
</body>
</html>
- 请求方式只能是post
- 注意添加enctype属性
- 文件上传的type为file,注意name属性值要与controller层的参数名一致
第四步:写controller,上传到指定文件夹
usercontroller
package com.csx.controller;
import com.csx.entity.user;
import com.csx.service.userservice;
import com.csx.util.pageutil;
import org.springframework.beans.factory.annotation.autowired;
import org.springframework.web.bind.annotation.requestmapping;
import org.springframework.web.bind.annotation.requestparam;
import org.springframework.web.bind.annotation.restcontroller;
import org.springframework.web.multipart.multipartfile;
import org.springframework.web.servlet.modelandview;
import javax.servlet.http.httpservletrequest;
import javax.servlet.http.httpsession;
import java.io.file;
import java.io.ioexception;
import java.util.list;
import java.util.uuid;
@restcontroller
@requestmapping("/user")
public class usercontroller {
    @autowired
    private userservice userservice;
    /*文件上传 4.写controller,上传至指定文件夹*/
    @requestmapping("/up")
    public string fileupload(multipartfile file, httpservletrequest request) throws ioexception {
        //创建文件夹,上传文件
        //获得完整路径
        string realpath = request.getsession().getservletcontext().getrealpath("/upload");
        system.out.println("realpath===" + realpath);
        //创建文件夹
        file f = new file(realpath);
        //如果文件夹不存在,就创建
        if (!f.exists()) {
            f.mkdirs();
        }
        //拿到上传的文件名
        string filename = file.getoriginalfilename();
        //将uuid和文件名拼接,防止文件名重名而覆盖
        filename = uuid.randomuuid() + "_" + filename;
        //创建空文件
        file newfile = new file(f, filename);
        //将文件内容写入
        file.transferto(newfile);
        return "index";
    }
}
代码解析
文件上传,controller使用multipartfile 类型进行接收,并且参数名与页面的属性值保持一致
string realpath = request.getsession().getservletcontext().getrealpath("/upload");
system.out.println("realpath===" + realpath);
//创建文件夹
file f = new file(realpath);
//如果文件夹不存在,就创建
if (!f.exists()) {
    f.mkdirs();
}- 如果文件夹不存在,则创建文件夹upload
//拿到上传的文件名
string filename = file.getoriginalfilename();
//将uuid和文件名拼接,防止文件名重名而覆盖
filename = uuid.randomuuid() + "_" + filename;
- 拿到原始文件名,并且使用uuid进行覆盖,防止上传同名文件导致文件覆盖
//创建空文件
file newfile = new file(f, filename);
//将文件内容写入
file.transferto(newfile);
return "index";
创建空文件,写入内容,返回json格式数据
演示效果
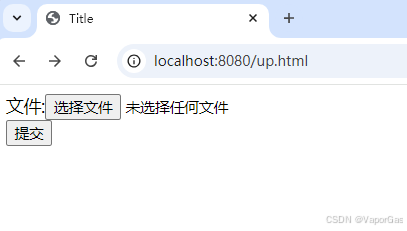
地址栏输入http://localhost:8080/up.html
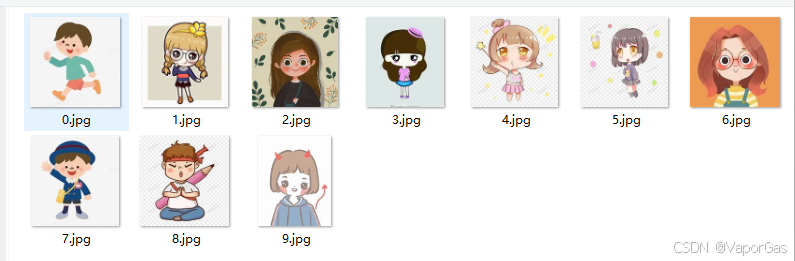
点击选择文件,选择第5.jpg
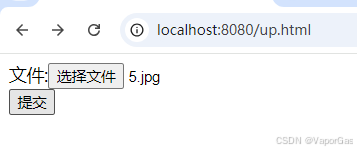
点击提交
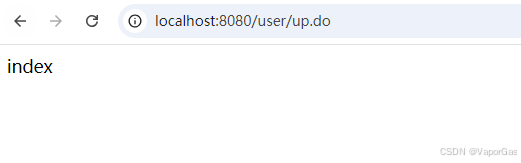
返回index,就是我们return的string数据,表示上传成功,查看upload文件夹
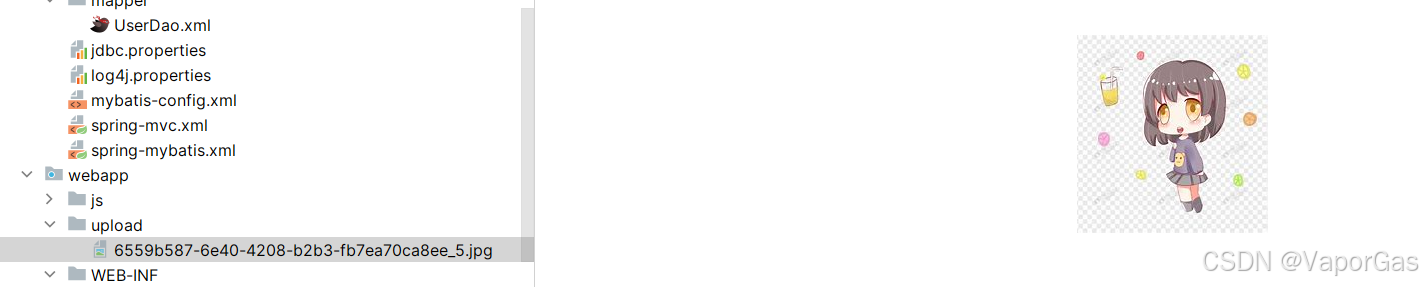
文件上传成功!
补充:实现局部刷新的异步登录功能:优化用户体验的springmvc实践
实现局部刷新的异步登录功能:优化用户体验的springmvc实践
前言
什么是异步刷新(局部刷新)
异步刷新是指在不重新加载整个网页的情况下,仅更新页面的某个部分。这通常通过ajax(asynchronous javascript and xml)技术实现,ajax允许网页与服务器进行异步通信,即在发送请求后无需等待服务器响应即可完成其他任务。
案例实现
需求
如图所示需求:
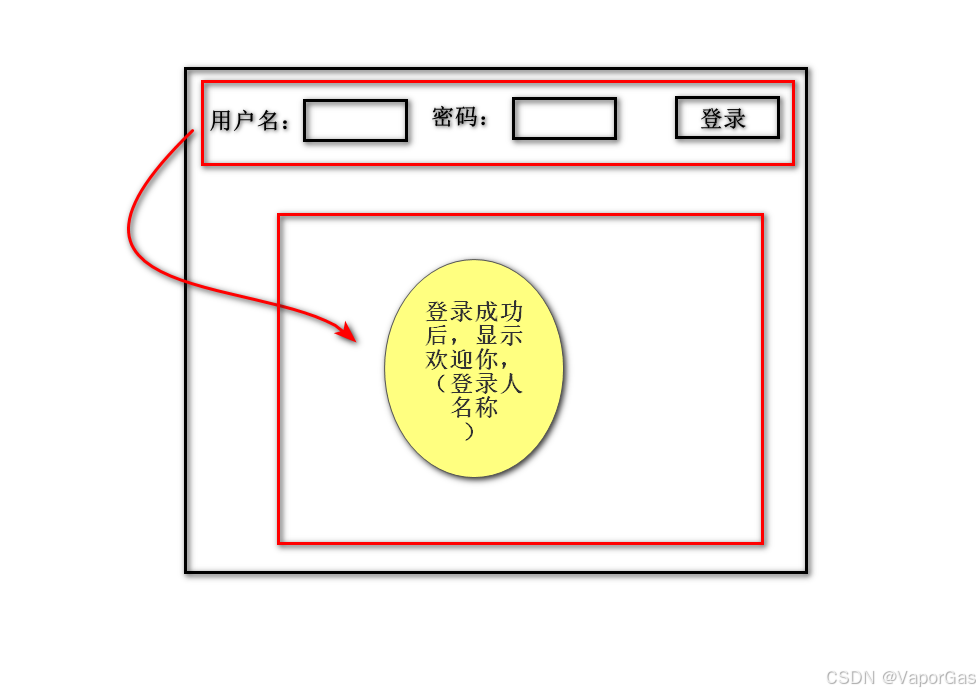
步骤
在springmvc中,实现异步刷新的步骤如下:
- 前端页面:使用javascript(如jquery)发送ajax请求到服务器。这个请求可以包含需要更新的数据或指示服务器更新哪部分页面的信息。
- springmvc控制器:控制器接收ajax请求,处理请求中的数据,并返回相应的响应。这个响应可以是json、xml或其他格式的数据,具体取决于前端页面的需求。
- 前端页面更新:当ajax请求成功返回时,javascript使用返回的数据更新页面的指定部分。这通常涉及使用dom操作来修改页面的内容。
准备工作
创建web项目,添加相关依赖,配置springmvc.xml和web.xml配置文件
登录页面
login.jsp
<%--
  created by intellij idea.
  user: 21038
  date: 2024/10/11
  time: 14:13
  to change this template use file | settings | file templates.
--%>
<%@ page contenttype="text/html;charset=utf-8" language="java" %>
<html>
<head>
    <title>title</title>
    <script src="/js/jquery-1.8.3.js" type="text/javascript"></script>
</head>
<body>
<div>
<form id="frm"  >
<table>
    <tr>
        <td>用户名:<input type="text" id="user_name" name="user_name" value=""/></td>
        <td>密码:<input type="password" id="password" name="password" value=""/></td>
        <td><input type="button" id="commit" value="登录" /></td>
    </tr>
    <tr>
        <td>
            <span id="s1" ></span>
        </td>
    </tr>
</table>
</form>
<script>
    var user="";
    $(function () {
        $("#commit").click(function () {
            $.ajax({
                type:'post',
                url:'/login.do',
                data:$("#frm").serialize(),
                success:function (res) {
                    user=res;
                    console.log(user)
                    if (user==""){
                        $("#s1").html("");
                    }else {
                        $("#s1").html("用户:"+user+",欢迎登录!");
                    }
                    $("#user_name").val("");
                    $("#password").val("");
                }
            });
        });
    });
</script>
</body>
</html>
使用ajax进行异步提交数据到controller,并获取响应的json格式数据,接收到数据后,将数据填充到页面指定位置。
控制器
logincontroller
@restcontroller
public class logincontroller {
    @requestmapping(value = "/login",method = requestmethod.post)
    public string logincontroller(string user_name , string password ){
        if ("admin".equals(user_name) && "123".equals(password)){
            return user_name;
        }
        return "";
    }
}
测试
输入账户:admin和密码:123
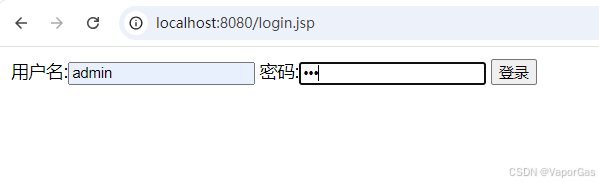
点击登录按钮,发送ajax请求
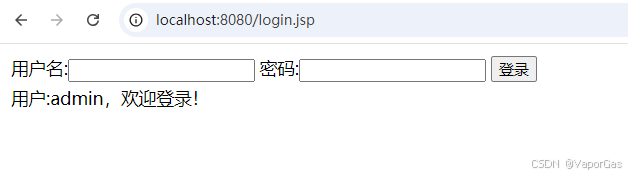
页面异步刷新,获取到后台传输过来的数据,并填写到页面中。
到此这篇关于spring mvc实现高效文件上传及优化案例的文章就介绍到这了,更多相关spring mvc文件上传内容请搜索代码网以前的文章或继续浏览下面的相关文章希望大家以后多多支持代码网!


发表评论