首先先认识一下nginx服务:
nginx是一款高性能的web服务器和反向代理服务器软件,同时也可用作邮件代理服务器。它最初由俄罗斯程序员igor sysoev开发,以其高并发处理能力、低内存消耗和出色的性能优化而闻名。
认识nginx服务
web服务器
作为web服务器,nginx负责处理来自客户端(如浏览器)的http请求,将这些请求映射到服务器上的文件或其他资源,然后返回http响应给客户端。这个过程中,nginx可以处理静态内容,如html、css、javascript文件等,直接返回给用户。对于动态内容,比如php脚本或python应用生成的内容,nginx通常会将请求转发给后端的应用服务器(如php-fpm或uwsgi)来处理,然后再将后端的响应返回给客户端。
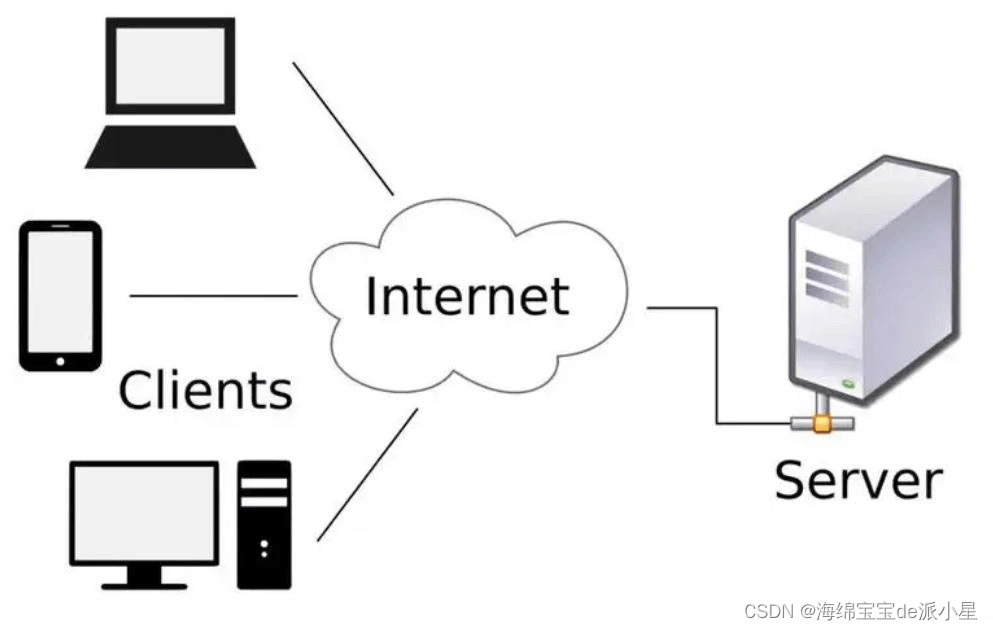
反向代理服务器
作为反向代理服务器,nginx接收客户端的请求,并将其转发给内部网络中的一个或多个服务器。这个过程对客户端是透明的,客户端不知道实际处理请求的是哪个后端服务器。这种配置有助于负载均衡,即通过分散请求到多个服务器来提高网站的可用性和扩展性。此外,反向代理还可以用于ssl/tls加密卸载、缓存内容、安全防护(如ddos攻击防护)等功能。
高性能特点
- 事件驱动模型:与传统的每个连接/请求一个线程的模型不同,nginx使用了异步事件驱动架构,这意味着它可以同时处理大量连接而无需为每个连接创建单独的线程或进程,从而大大提高了效率和可伸缩性。
- 高并发能力:设计上特别适合处理高并发连接,尤其在处理静态内容和作为代理服务器时表现优异。
- 低资源消耗:由于其高效的架构,nginx可以在有限的硬件资源下服务更多的客户端连接,降低了运行成本。
总之,nginx是一个强大且灵活的工具,广泛应用于现代互联网架构中,无论是简单的静态网站托管,还是复杂的分布式系统部署,都能见到它的身影。
如上所示,是nginx服务的基本介绍,那么下面就借助docker完成nginx服务
安装nginx
apt install nginx -y
启动nginx
使用
nginx
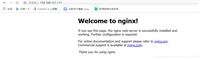
就能启动nginx,此时访问一下nginx:
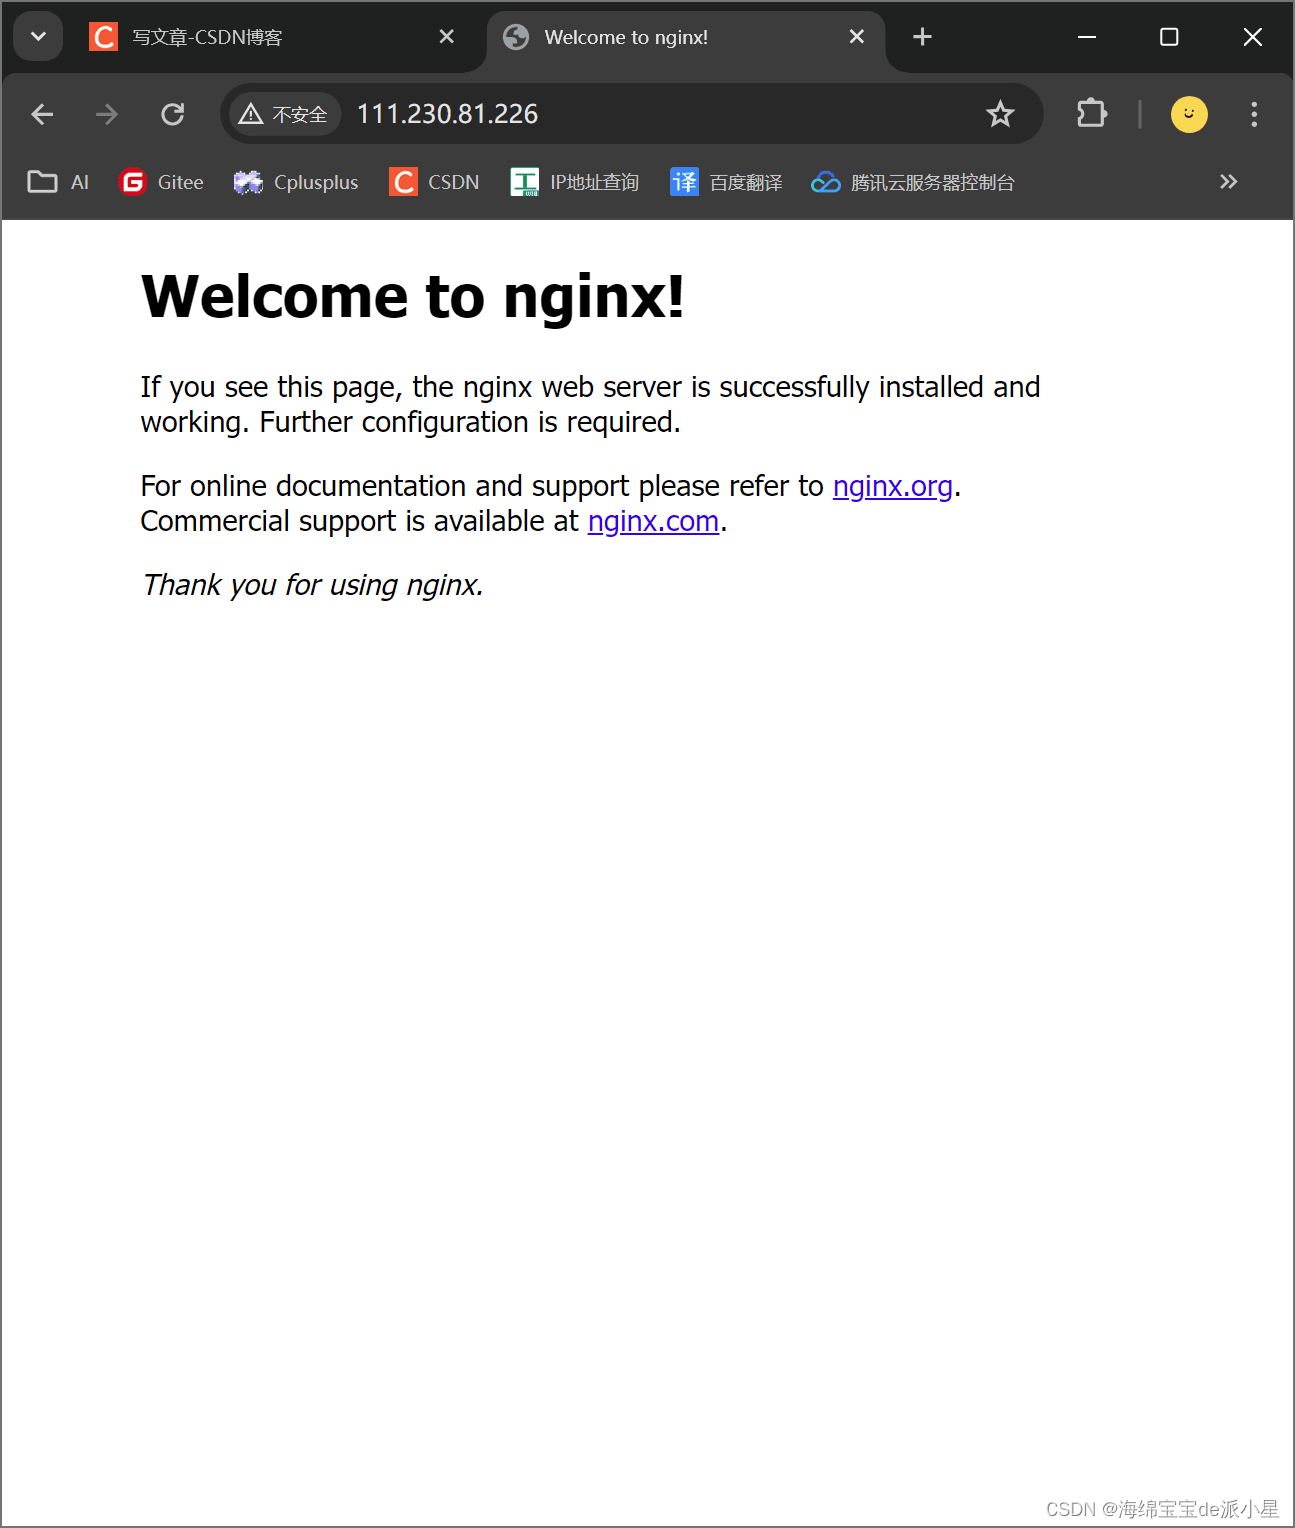
当看到这个界面,就说明nginx已经启动成功了
停止nginx
使用kill命令就可以把进程停止
查找nginx镜像
docker search nginx
拉取nginx镜像,启动nginx站点
root@vm-24-7-ubuntu:~# docker pull nginx:1.23.3
1.23.3: pulling from library/nginx
f1f26f570256: pull complete
84181e80d10e: pull complete
1ff0f94a8007: pull complete
d776269cad10: pull complete
e9427fcfa864: pull complete
d4ceccbfc269: pull complete
digest: sha256:f4e3b6489888647ce1834b601c6c06b9f8c03dee6e097e13ed3e28c01ea3ac8c
status: downloaded newer image for nginx:1.23.3
docker.io/library/nginx:1.23.3
此时本地就会有nginx的镜像信息
root@vm-24-7-ubuntu:~# docker images;
repository                    tag       image id       created         size
nginx                         latest    4f67c83422ec   9 days ago      188mb
hello-world                   latest    d2c94e258dcb   13 months ago   13.3kb
myregistry.com/myhelloworld   latest    d2c94e258dcb   13 months ago   13.3kb
nginx                         1.23.3    ac232364af84   14 months ago   142mb
接着运行镜像
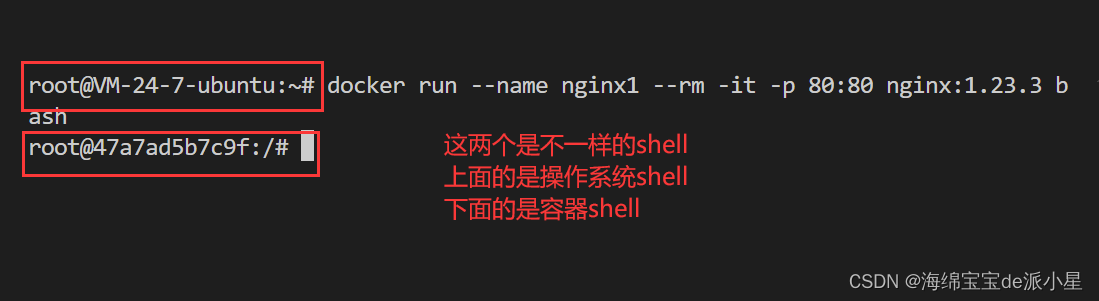
docker run --name nginx1 --rm -it -p 80:80 nginx:1.23.3 bash
运行镜像之后,此时就会进入到容器中进行运行,比如:
此时我们检查一下操作系统的版本:
root@47a7ad5b7c9f:/# cat /etc/*release*
pretty_name="debian gnu/linux 11 (bullseye)"
name="debian gnu/linux"
version_id="11"
version="11 (bullseye)"
version_codename=bullseye
id=debian
home_url="https://www.debian.org/"
support_url="https://www.debian.org/support"
bug_report_url="https://bugs.debian.org/"
就会发现,此时的版本不是ubuntu,我们再开一个新的shell看一下当前版本的操作系统
test@vm-24-7-ubuntu:~$ cat /etc/*release*
distrib_id=ubuntu
distrib_release=22.04
distrib_codename=jammy
distrib_description="ubuntu 22.04.4 lts"
pretty_name="ubuntu 22.04.4 lts"
name="ubuntu"
version_id="22.04"
version="22.04.4 lts (jammy jellyfish)"
version_codename=jammy
id=ubuntu
id_like=debian
home_url="https://www.ubuntu.com/"
support_url="https://help.ubuntu.com/"
bug_report_url="https://bugs.launchpad.net/ubuntu/"
privacy_policy_url="https://www.ubuntu.com/legal/terms-and-policies/privacy-policy"
ubuntu_codename=jammy
这才是本地shell,说明我们的docker服务已经运行成功了,此时已经进入到了容器的shell当中
我们在容器shell中启动nginx服务:
root@47a7ad5b7c9f:/# nginx
2024/06/08 03:23:53 [notice] 9#9: using the "epoll" event method
2024/06/08 03:23:53 [notice] 9#9: nginx/1.23.3
2024/06/08 03:23:53 [notice] 9#9: built by gcc 10.2.1 20210110 (debian 10.2.1-6)
2024/06/08 03:23:53 [notice] 9#9: os: linux 5.15.0-106-generic
2024/06/08 03:23:53 [notice] 9#9: getrlimit(rlimit_nofile): 1048576:1048576
2024/06/08 03:23:53 [notice] 10#10: start worker processes
2024/06/08 03:23:53 [notice] 10#10: start worker process 11
2024/06/08 03:23:53 [notice] 10#10: start worker process 12
然后我们从另外一个shell中去查看当前ip的80端口的信息:
test@vm-24-7-ubuntu:~$ curl 127.0.0.1
<!doctype html>
<html>
<head>
<title>welcome to nginx!</title>
<style>
html { color-scheme: light dark; }
body { width: 35em; margin: 0 auto;
font-family: tahoma, verdana, arial, sans-serif; }
</style>
</head>
<body>
<h1>welcome to nginx!</h1>
<p>if you see this page, the nginx web server is successfully installed and
working. further configuration is required.</p>

<p>for online documentation and support please refer to
<a href="http://nginx.org/" rel="external nofollow" >nginx.org</a>.<br/>
commercial support is available at
<a href="http://nginx.com/" rel="external nofollow" >nginx.com</a>.</p>

<p><em>thank you for using nginx.</em></p>
</body>
</html>
此时就会发现,当前的服务上已经部署成功了,使用网页进行访问也是如此,并且还和前面的网页不一样,更说明了这是在容器中运行的:

断开服务,再进行访问,就会发现异样:
test@vm-24-7-ubuntu:~/wechat$ curl 127.0.0.1
curl: (7) failed to connect to 127.0.0.1 port 80 after 0 ms: connection refused
其他方式拉取nginx镜像信息
拉取某个组织或者用户定制的镜像:
docker pull xxx/nginx:1.23.4
通过 digest 拉取镜像
首先要明确一个概念,为什么要有digest?它和版本号有什么区别?
digest 不仅仅是版本号那么简单,它是对镜像内容的直接反映。想象一下,即使两个 app 版本号相同,但如果编译时所依赖的库文件或代码有细微差异,它们的实际二进制内容就会不同。digest 就像是对这个最终打包产物的“指纹”,哪怕是最微小的改动,都会导致 digest 发生变化。
所以,通过 digest 拉取镜像,不仅仅是在选择不同的“版本号”,而是确保你获取到的镜像与你期望的镜像内容完全一致,哪怕是同一个标签下的镜像有了更新也不例外。
所以我们尝试拉取一个digest:
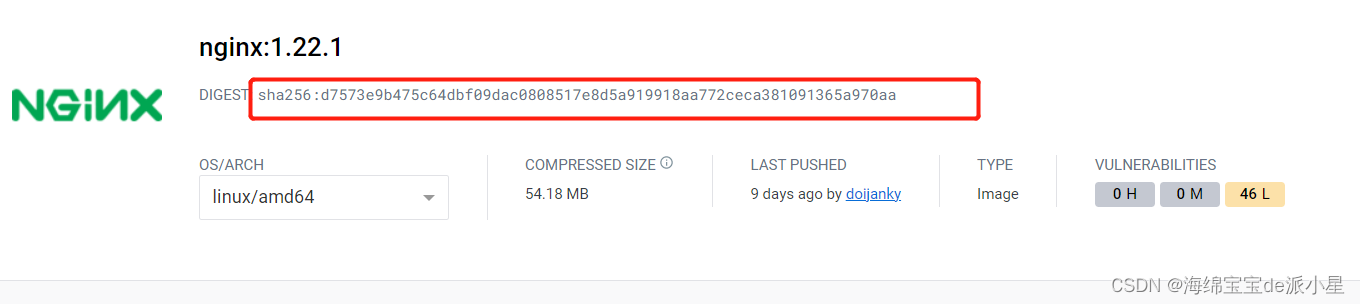
root@vm-24-7-ubuntu:~# docker pull nginx@sha256:d7573e9b475c64dbf09dac0808517e8d5a919918aa772ceca381091365a970aa
docker.io/library/nginx@sha256:d7573e9b475c64dbf09dac0808517e8d5a919918aa772ceca381091365a970aa: pulling from library/nginx
3f9582a2cbe7: pull complete
1c3cdc1adeef: pull complete
0d20c7b11e51: pull complete
2f98bdf28b77: pull complete
90f8f705fe4d: pull complete
66350be01a8b: pull complete
digest: sha256:d7573e9b475c64dbf09dac0808517e8d5a919918aa772ceca381091365a970aa
status: downloaded newer image for nginx@sha256:d7573e9b475c64dbf09dac0808517e8d5a919918aa772ceca381091365a970aa
docker.io/library/nginx@sha256:d7573e9b475c64dbf09dac0808517e8d5a919918aa772ceca381091365a970aa
此时查看本地镜像:
root@vm-24-7-ubuntu:~# docker images
repository                    tag       image id       created         size
nginx                         latest    4f67c83422ec   9 days ago      188mb
hello-world                   latest    d2c94e258dcb   13 months ago   13.3kb
myregistry.com/myhelloworld   latest    d2c94e258dcb   13 months ago   13.3kb
nginx                         1.23.3    ac232364af84   14 months ago   142mb
nginx                         <none>    8c9eabeac475   15 months ago   142mb
就会有不同版本的nginx了
到此这篇关于docker搭建一个nginx服务的实现的文章就介绍到这了,更多相关docker搭建nginx服务内容请搜索代码网以前的文章或继续浏览下面的相关文章希望大家以后多多支持代码网!

发表评论