Docker部署nginx和前端项目部署SSL证书实现HTTPS
【代码】Docker部署nginx和前端项目。
一、nginx镜像部署(准备工作)
1、创建nginx工作目录
#需要一个conf文件存放目录,和html文件目录,及日志存放目录
1. mkdir -p /mydata/applications/nginx/conf #配置文件
2. mkdir -p /mydata/applications/nginx/html #dist静态文件
3. mkdir -p /mydata/logs #日志
4. mkdir -p /etc/nginx/cert #证书目录
2、 启动nginx容器,如果这个镜像本机中没有,会自动下载镜,我这下载是的1.18版本
docker run --name nginx -p 80:80 -d nginx:1.18.0
3、复制容器中配置文件目录到本机中,然后删除该容器
# 复制配置
docker cp nginx:/etc/nginx/nginx.conf /mydata/applications/nginx/conf/nginx.conf
docker cp nginx:/etc/nginx/conf.d /mydata/applications/nginx/conf/conf.d
docker cp nginx:/usr/share/nginx/html /mydata/applications/nginx/
4、启动新的nginx容器
#携带证书启动nginx
docker run -d \
-p 80:80 \
-p 443:443 \
--name nginx \
--restart=always \
--network-alias nginx \
-e tz="asia/shanghai" \
-v /mydata/applications/nginx/conf/nginx.conf:/etc/nginx/nginx.conf \
-v /mydata/applications/nginx/conf/conf.d:/etc/nginx/conf.d \
-v /mydata/logs/nginx:/var/log/nginx \
-v /mydata/applications/nginx/html:/usr/share/nginx/html \
-v /mydata/applications/nginx/cert:/etc/nginx/cert \
nginx:1.18.0

#不携带证书启动
# 创建新的nginx,使用刚才复制出来的配置文件
docker run -p 80:80 --name nginx \
-v /mydata/applications/nginx/html:/usr/share/nginx/html \
-v /mydata/logs/nginx:/var/log/nginx \
-v /mydata/applications/nginx/conf/nginx.conf:/etc/nginx/nginx.conf \
-d nginx:1.10
# 注意一下这个路径映射到了/usr/share/nginx/html,我们在nginx配置文件中是写/usr/share/nginx/html,不是写 /mydata/applications/nginx/html
# 设置nginx 容器在docker启动的时候启动
docker update nginx --restart=always
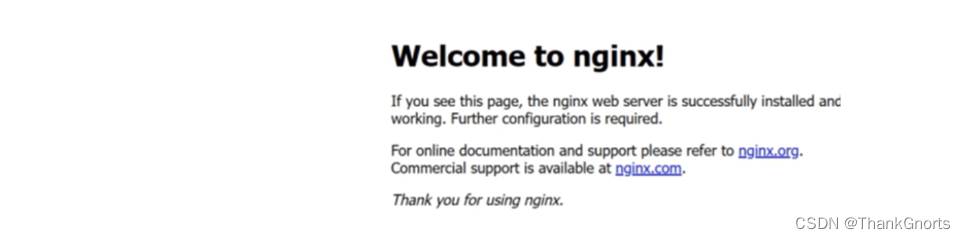
5、查看容器后,访问服务器ip地址(检验是否启动成功)
# 查看nginx容器的启动状态是否为up正在运行状态
docker ps -a   (查所有容器, docker ps 查正在运行容器)
6、访问ip+端口成功
二、使用docker启动nginx部署前端项目
1、将前端打包好的dist目录拷贝到/mydata/applications/nginx/html/ 目录下边如
/mydata/applications/nginx/html/dist
2、修改/mydata/applications/nginx/nginx.conf配置文件如下
#user  nginx;
worker_processes  1;

#error_log  /var/log/nginx/error.log warn;
#pid        /var/run/nginx.pid;


events {
    worker_connections  1024;
}


http {
    include       /etc/nginx/mime.types;
    default_type  application/octet-stream;

    #log_format  main  '$remote_addr - $remote_user [$time_local] "$request" '
    #                  '$status $body_bytes_sent "$http_referer" '
    #                  '"$http_user_agent" "$http_x_forwarded_for"';

    #access_log  /var/log/nginx/access.log  main;

    sendfile        on;
    #tcp_nopush     on;

    keepalive_timeout  65;
	server {
		#https的默认访问端口443。
		#如果未在此处配置https的默认访问端口,可能会造成nginx无法启动。
		listen 443 ssl;
		#填写证书绑定的域名
		#server_name  xiestrong.com;
		server_name  localhost;
		#填写证书文件绝对路径
		ssl_certificate      /etc/nginx/cert/xiestrong.com.pem;
		#填写证书私钥文件绝对路径
		ssl_certificate_key   /etc/nginx/cert/xiestrong.com.key;

		ssl_session_cache    shared:ssl:1m;
		ssl_session_timeout  5m;

		ssl_ciphers  high:!anull:!md5;
		ssl_prefer_server_ciphers  on;

		location / {
		  root /usr/share/nginx/html/dist/build/h5;
		  index index.html index.htm;
		}
		location /api {
		  rewrite  ^.+api/?(.*)$ /$1 break;
		  proxy_pass  http://85.145.186.88:8861;    #后端地址
		  proxy_redirect off;
		  proxy_set_header host $host;
		  proxy_set_header x-real-ip $remote_addr;
		  proxy_set_header x-forwarded-for $proxy_add_x_forwarded_for;
		}
	}
	server {
		listen       80;
		#填写证书绑定的域名
		#server_name  xiestrong.com;
		server_name  localhost;

		#将所有http请求通过rewrite指令重定向到https。
		rewrite ^(.*)$ https://$host$1;


		location / {
			root   /usr/share/nginx/html/dist/build/h5;
			index  index.html index.htm;
		}

		error_page   500 502 503 504  /50x.html;
		location = /50x.html {
			root   html;
		}

	}
}
3、修改后保存并退出,重新启动nginx容器
1、先用 [docker ps – a] 命令 找到对应容器id
2、docker restart [容器id]
4、查看容器(是否启动成功)
docker ps -a
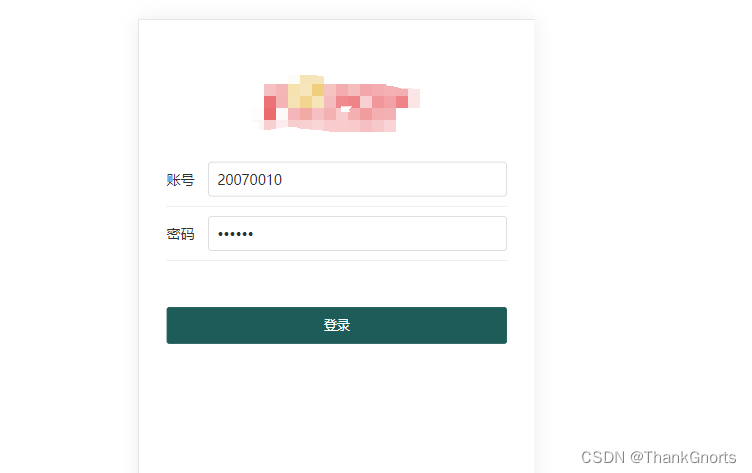
5、再次访问配置的nginx ip + 端口, 出现前端项目页面即成功,链接也变成是安全的https协议
相关文章:
-
安装apisix和apisix-dashboard…
-
详细记录ubuntu22.04服务器的安装,配置静态ip,配置root用户可以远程登录等。…
-
详细介绍Ubuntu 24.04 LTS 安装Docker 的步骤和过程。…
-
https://www.toutiao.com/article/7221354604351537698/?log_from=6b55db495da1d_1681366356776这…
-
在 Kubernetes v1.24 及更早版本中,可以在 Kubernetes 中使用 Docker Engine, 依赖于一个称作 dockershim 的内置 Kuberne…
-
版权声明:本文内容由互联网用户贡献,该文观点仅代表作者本人。本站仅提供信息存储服务,不拥有所有权,不承担相关法律责任。
如发现本站有涉嫌抄袭侵权/违法违规的内容, 请发送邮件至 2386932994@qq.com 举报,一经查实将立刻删除。

发表评论