一、工程准备
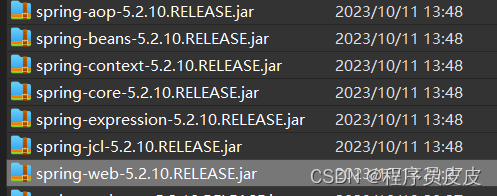
1、jar包准备,maven下载后提取jar ,或 直接maven官网下载(费劲)
2、项目创建
打开eclipse,并点击菜单栏的 "file"(文件)-> "new"(新建)-> "dynamic web project"(动态web项目)。

在弹出的对话框中,输入项目名称并选择目标运行时环境为tomcat。

点击 "next"(下一步)并在 "configuration"(配置)中选择 "generate web.xml deployment descriptor"(生成web.xml部署描述符)。

点击 "next"(下一步),在 "content directory"(内容目录)中选择 "src/main/webapp",这是存放项目资源和web页面的目录。

点击 "finish"(完成)来创建项目。此时,您将在项目资源树中看到一个新的项目。

右键单击项目,选择 "properties"(属性),然后选择 "project facets"(项目面板)。

在 "project facets"(项目面板)中,勾选 "java" 和 "dynamic web module",确保选择的版本与您的项目需求匹配。

点击 "apply and close"(应用并关闭)保存更改。
3、目录结构
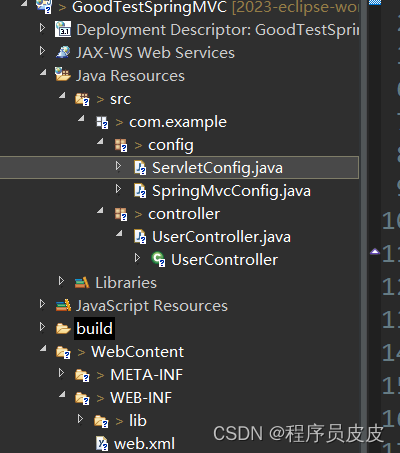
4、导包
接下来,您需要添加spring框架的库文件。将所需的spring框架jar文件拷贝到项目的 "web-inf/lib" 目录中。
二、运行准备
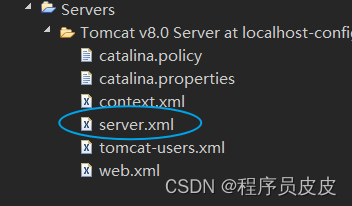
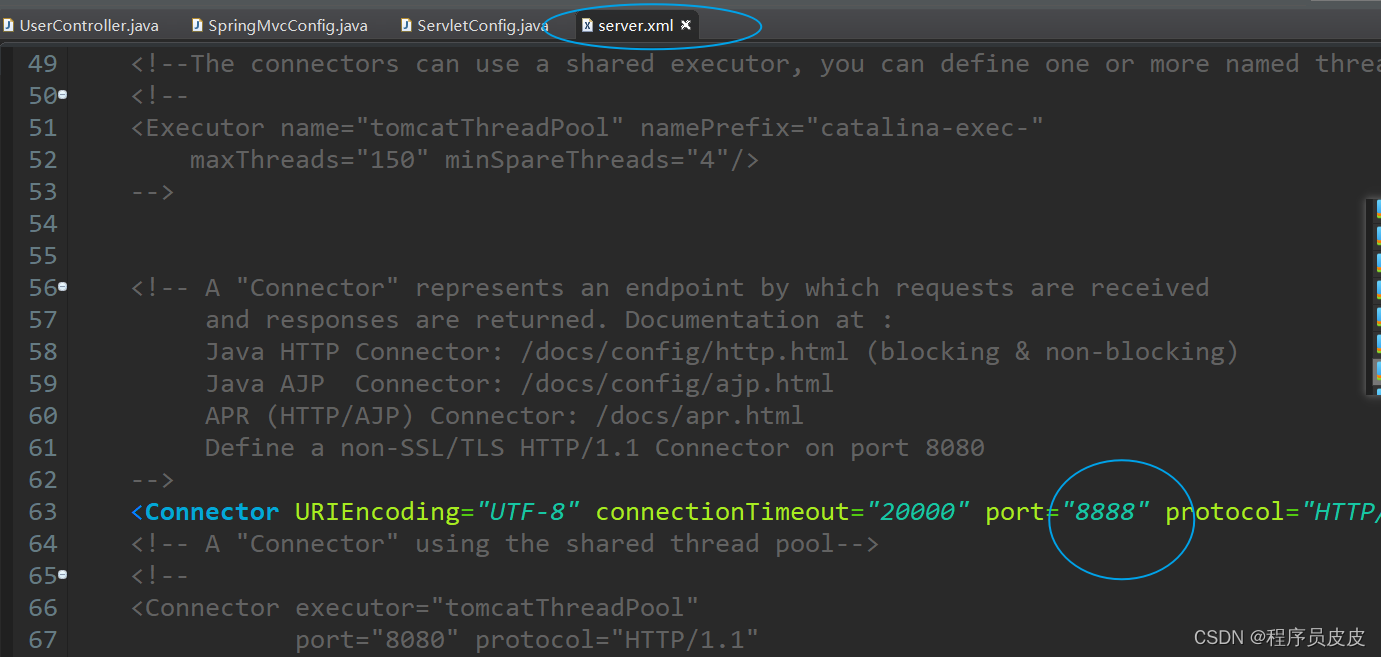
1、改端口 servers/server.xml
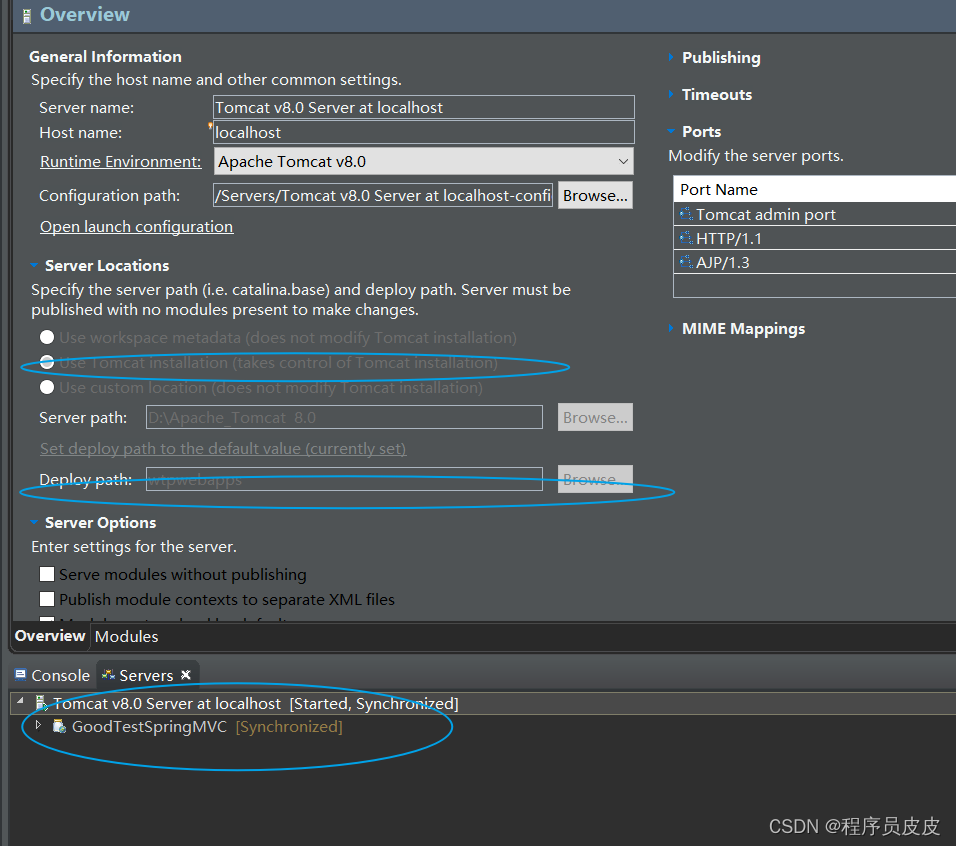
2、配置同步路径
三、代码书写
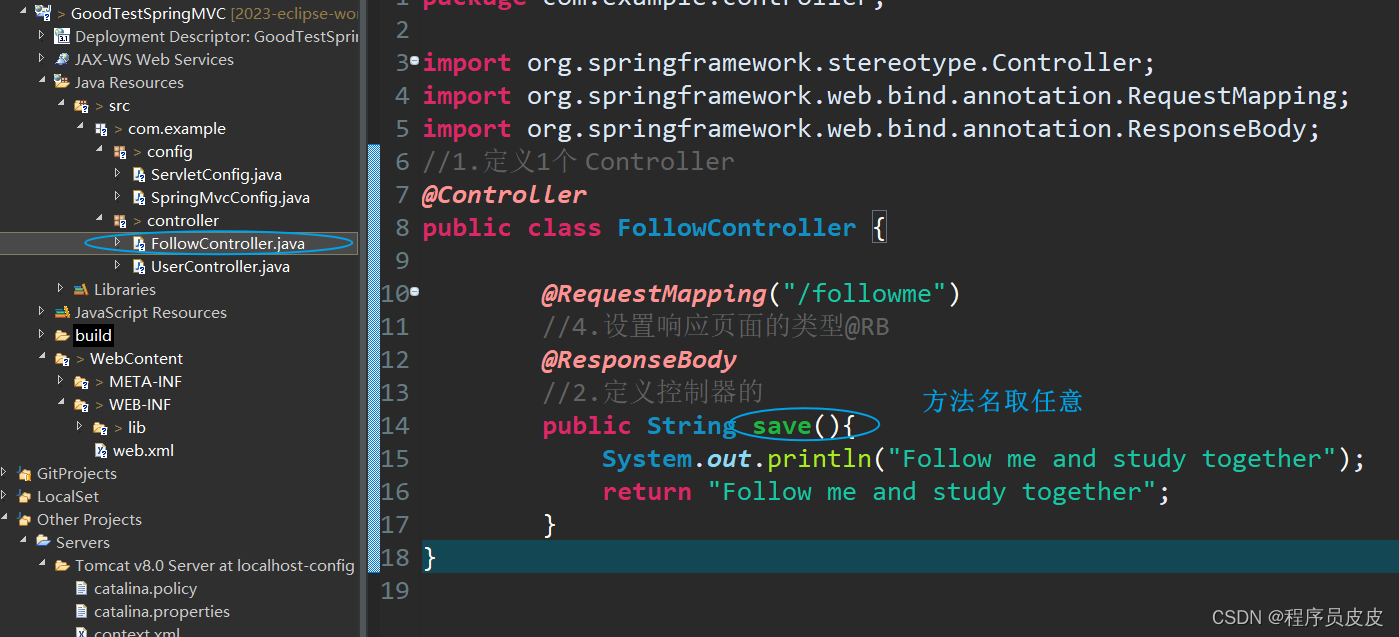
一、/goodtestspringmvc/src/com/example/controller/usercontroller.java
package com.example.controller;
import org.springframework.stereotype.controller;
import org.springframework.web.bind.annotation.requestmapping;
import org.springframework.web.bind.annotation.responsebody;
//1.定义1个 controller
@controller
public class usercontroller {
//3.设置网页访问路径@rm
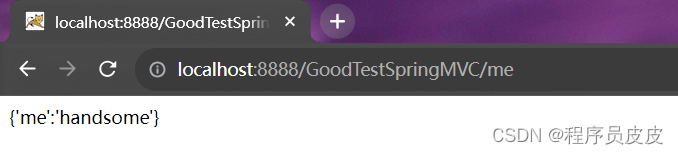
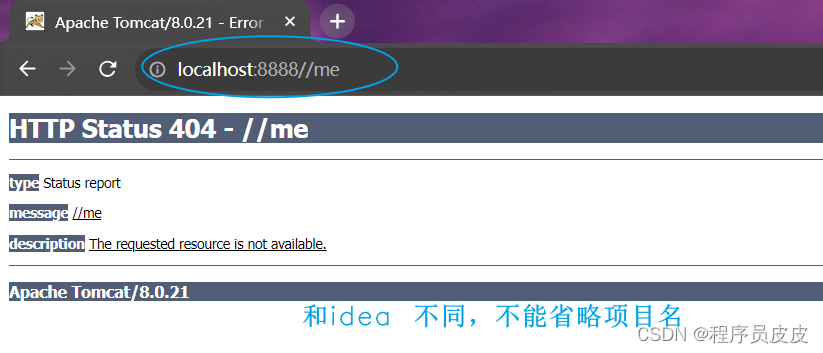
@requestmapping("/me")
//4.设置响应页面的类型@rb
@responsebody
//2.定义控制器的
public string save(){
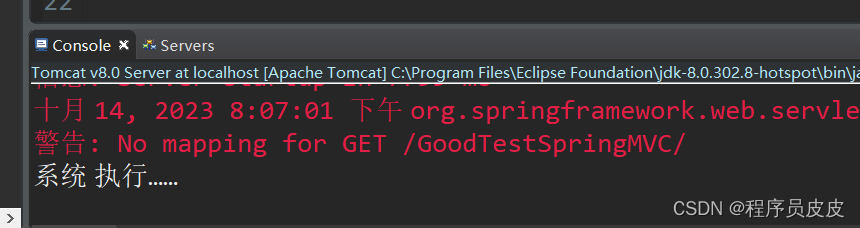
system.out.println("系统 执行……");
return "{'me':'handsome'}";
}
}
二、/goodtestspringmvc/src/com/example/config/springmvcconfig.java
package com.example.config;
import org.springframework.context.annotation.componentscan;
import org.springframework.context.annotation.configuration;
//5.注解配置springmvc
@configuration
//6.加载controller
@componentscan("com.example.controller")
public class springmvcconfig {
}
三、/goodtestspringmvc/src/com/example/config/servletconfig.java
package com.example.config;
import org.springframework.web.context.webapplicationcontext;
import org.springframework.web.context.support.annotationconfigwebapplicationcontext;
import org.springframework.web.servlet.support.abstractdispatcherservletinitializer;
//7.定义一个servlet容器启动的配置类,在里面加载spring的配置 !adsi
public class servletconfig extends abstractdispatcherservletinitializer{
//加载springmvc容器配置
@override
protected webapplicationcontext createservletapplicationcontext() {
//!acwac
annotationconfigwebapplicationcontext annotationconfigwebapplicationcontext = new annotationconfigwebapplicationcontext();
annotationconfigwebapplicationcontext.register(springmvcconfig.class);
return annotationconfigwebapplicationcontext;
}
// 设置哪些请求归属springmvc处理
@override
protected string[] getservletmappings() {
string[] a = new string[]{"/"};//字符串数组
return a;
}
//加载spring容器配置
@override
protected webapplicationcontext createrootapplicationcontext() {
// todo auto-generated method stub
return null;
}
}
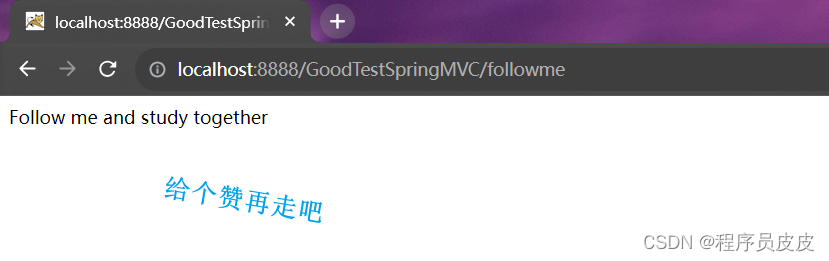
四、运行到tomcat
右键单击项目,选择 "run as"(运行为)-> "run on server"(在服务器上运行)。选择您的tomcat服务器进行部署和运行。
关注我
发表评论