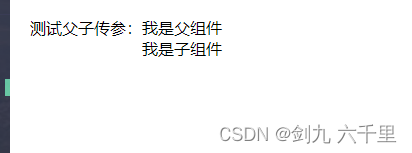
1. props传递(父向子通信):
- 说明: 父组件通过
props属性向子组件传递数据。 - 如何进行: 在父组件中定义子组件时,通过属性名将值传给子组件,子组件通过
this.props接收。
// 父组件
import childprops from "./childprops";
function parentprops() {
    const message = "我是父组件";
    return <childprops message={message} />;
}

export default parentprops;


// 子组件
function childprops(props: any) {
    return (<div>
        <span>{props.message}</span>
        <br />
        <span>我是子组件</span>
    </div>);
}

export default childprops;
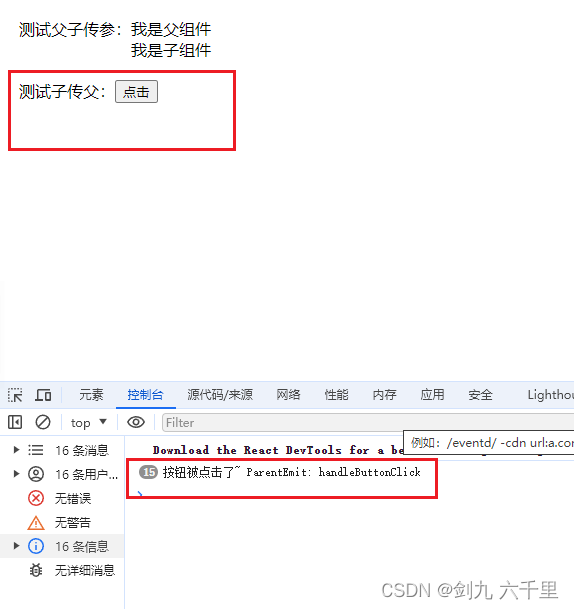
2. 回调函数作为props(子向父通信):
- 说明: 子组件通过调用父组件传递的回调函数,将信息传回给父组件。
- 如何进行: 父组件定义一个方法,将其作为
prop传递给子组件;子组件在适当的时候调用这个函数,传递数据或事件信息。
// 父组件
import childrenemit from "./childrenemit";
function parentemit() {
    const handlebuttonclick = (value: string) => {
        console.log(value, "parentemit: handlebuttonclick");
    };
    return (
        <div>
            <childrenemit onbuttonclick={handlebuttonclick}></childrenemit>
        </div>
    );
}

export default parentemit;


// 子组件
function childrenemit (props: { onbuttonclick: (arg0: string) => void; }) {
    return (
        <button onclick={() => props.onbuttonclick('按钮被点击了~')}>
            点击
        </button>
    )
}

export default childrenemit;
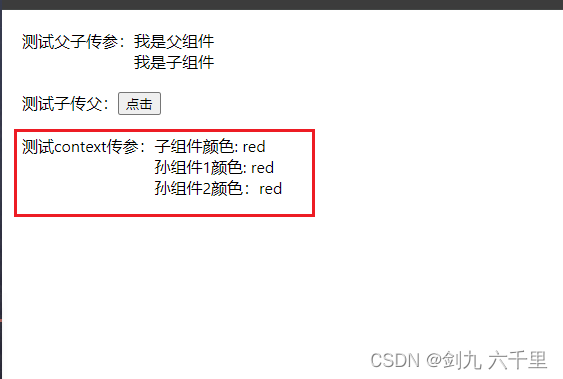
3. context api:
- 说明: 方式:
react提供了一个context api,允许你在组件树中传递数据,而无需手动逐层传递props。 - 如何使用:创建一个
context,使用react.createcontext();在最顶层的组件中使用<mycontext.provider value={value}>包裹需要共享状态的组件树;在消费组件中使用<mycontext.consumer>或usecontext(mycontext)来访问上下文中的值。
// mycontext.ts
// 创建context
import { createcontext } from "react";

export const mycontext = createcontext('red');
// parentcontext.tsx
// 父组件
import { usecontext } from "react";
import { mycontext } from "./mycontext";
import childrencontext from "./childrencontext";

const parentcontext = () => {
    const contextvalue = usecontext(mycontext);

    return (
        <mycontext.provider value={contextvalue}>
            <childrencontext />
        </mycontext.provider>
    );
};

export default parentcontext;
// childrencontext.tsx
// 子组件
import { usecontext } from "react";
import { mycontext } from "./mycontext";
import grandsoncontext from "./grandsoncontext";

const childrencontext = () => {
    const contentvalue = usecontext(mycontext);

    return (
        <div>
            <div>子组件颜色: {contentvalue}</div>
            <grandsoncontext></grandsoncontext>
        </div>
    );
};
export default childrencontext;
// grandsoncontext.tsx
// 孙组件
import { usecontext } from "react";
import { mycontext } from "./mycontext";
import granddaughtercontext from "./granddaughtercontext";

const grandsoncontext = () => {
    const contentvalue = usecontext(mycontext);

    return (
        <div>
            <div>孙组件1颜色: {contentvalue}</div>
            <granddaughtercontext></granddaughtercontext>
        </div>
    );
};

export default grandsoncontext;
// granddaughtercontext.tsx
// 孙组件
import { usecontext } from "react";
import { mycontext } from "./mycontext";

const granddaughtercontext = () => {
    const contentvalue = usecontext(mycontext);
    return (
        <div>
            <div>孙组件2颜色:{contentvalue}</div>
        </div>
    );
};

export default granddaughtercontext;
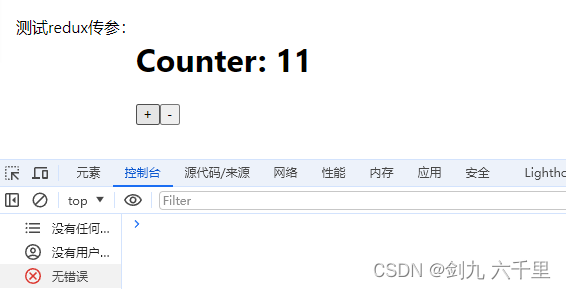
4. redux或mobx等状态管理库:
- 方式:适用于大型应用,通过将状态提升到一个单一的
store中管理,任何组件都可以访问和修改store中的状态。 - 如何使用:引入相应的库并设置
store,使用provider组件将store包裹在应用的最外层,组件内部通过connect函数(redux)或observer(mobx)等与store连接,从而获取或改变状态。
4.1 redux使用示例
这个例子展示了如何创建一个简单的计数器应用,通过redux管理状态。用户点击加减按钮时,会触发actions,然后通过reducer更新state,最终react组件根据新的state重新渲染。
- 安装
redux和 和react-redux库。
npm install redux react-redux
- 创建 action
// actions.ts
export const increment = () => {
    return { type: 'increment' };
  };

  export const decrement = () => {
    return { type: 'decrement' };
  };
- 创建
reducer
// reducer.ts
const initialstate = { count: 0 };

function counterreducer(state = initialstate, action: { type: any; }) {
  switch (action.type) {
    case 'increment':
      return { ...state, count: state.count + 1 };
    case 'decrement':
      return { ...state, count: state.count - 1 };
    default:
      return state;
  }
}

export default counterreducer;
- 创建
store
// store.ts
import { createstore } from 'redux';
import counterreducer from './reducer';

const store = createstore(counterreducer);

export default store;
- 创建组件使用
import { connect } from 'react-redux';
import { increment, decrement } from './actions';
import { reactelement, jsxelementconstructor, reactnode, reactportal, mouseeventhandler } from 'react';

function parentredux(props: { count: string | number | boolean | reactelement<any, string | jsxelementconstructor<any>> | iterable<reactnode> | reactportal | null | undefined; onincrement: mouseeventhandler<htmlbuttonelement> | undefined; ondecrement: mouseeventhandler<htmlbuttonelement> | undefined; }) {
  return (
    <div>
      <h1>counter: {props.count}</h1>
      <button onclick={props.onincrement}>+</button>
      <button onclick={props.ondecrement}>-</button>
    </div>
  );
}

const mapstatetoprops = (state: { count: any; }) => ({
  count: state.count,
});

const mapdispatchtoprops = (dispatch: (arg0: { type: string; }) => any) => ({
  onincrement: () => dispatch(increment()),
  ondecrement: () => dispatch(decrement()),
});

export default connect(mapstatetoprops, mapdispatchtoprops)(parentredux);
- 根组件导入
import react from "react";
import "./app.css";
import { provider } from 'react-redux';
import store from './page/redux/store';
import parentprops from "./page/props/parentprops";
import parentemit from "./page/emit/parentemit";
import parentcontext from "./page/context/parentcontext";
import parentrefs from "./page/refs/parentrefs";
import parentredux from "./page/redux/parentredux";

function app() {
    return (
        <div classname="app">
            <div classname="app-item">
                测试父子传参:<parentprops></parentprops>
            </div>
            <div classname="app-item">
                测试子传父:<parentemit></parentemit>
            </div>
            <div classname="app-item">
                测试context传参:<parentcontext></parentcontext>
            </div>
            <div classname="app-item">
                测试refs传参:<parentrefs></parentrefs>
            </div>
            <provider store={store}>
                <div classname="app-item">
                    测试redux传参:<parentredux></parentredux>
                </div>
            </provider>
        </div>
    );
}

export default app;
这个例子展示了如何创建一个简单的计数器应用,通过
redux管理状态。用户点击加减按钮时,会触发actions,然后通过reducer更新state,最终react组件根据新的state重新渲染。
5. refs:
- 方式:主要用于访问
dom元素或在组件之间传递一个可变的引用。 - 如何使用:可以通过
react.createref()创建ref,然后将其附加到特定的react元素上。在组件中,可以通过this.myref.current访问dom元素或在类组件间传递ref以直接操作另一个组件的实例。
// parentrefs.tsx
// 父组件
import { useref } from "react";
import childrefs from "./childrefs";

const parentrefs = () => {
    const childref = useref<htmlinputelement>(null);

    const handleclick = (): void => {
        childref?.current?.focus();
    };

    return (
        <>
            <childrefs ref={childref} />
            <button onclick={handleclick}>focus child input</button>
        </>
    );
};

export default parentrefs;
// childrefs.tsx
// 子组件
import { forwardref } from 'react';

const childrefs = forwardref<htmlinputelement>((props, ref) => {
    return (
        <div>
            <input type="text" ref={ref} />
        </div>
    );
});

export default childrefs;
到此这篇关于react里组件通信的几种方式小结的文章就介绍到这了,更多相关react组件通信内容请搜索代码网以前的文章或继续浏览下面的相关文章希望大家以后多多支持代码网!


发表评论