vue禁止打开调试模式
//在app.vue添加一下代码
<template>
  <div id="app">
    <router-view></router-view>
  </div>
</template>
<script>
export default {
name: "app",
data() {
return {};
},
methods:{
},
mounted() {
if (process.env.mode === 'production') {
(function nodebugger() {
function testdebugger() {
var d = new date();
debugger;
if (new date() - d > 10) {
document.body.innerhtml = '<div>管理员已禁用调试模式!!!年轻人,不要太好奇</div>';
alert("管理员已禁用调试模式")
return true;
}
return false;
}
function start() {
while (testdebugger()) {
testdebugger();
}
}
if (!testdebugger()) {
window.onblur = function () {
settimeout(function () {
start();
}, 500);
};
} else {
start();
}
})();
}
},
};
</script><style>
#app {
/* font-family: avenir, helvetica, arial, sans-serif; */
-webkit-font-smoothing: antialiased;
-moz-osx-font-smoothing: grayscale;
color: #2c3e50;
/* width: 100vw; */
height: 100vh;
overflow: hidden;
box-sizing: border-box;
}
</style>vue提供的三种调试方式
一、在 vs code 中配置调试
使用 vue cli 2搭建项目时:
更新 config/index.js 内的 devtool property:
devtool: 'source-map',
点击在 activity bar 里的 debugger 图标来到 debug 视图:
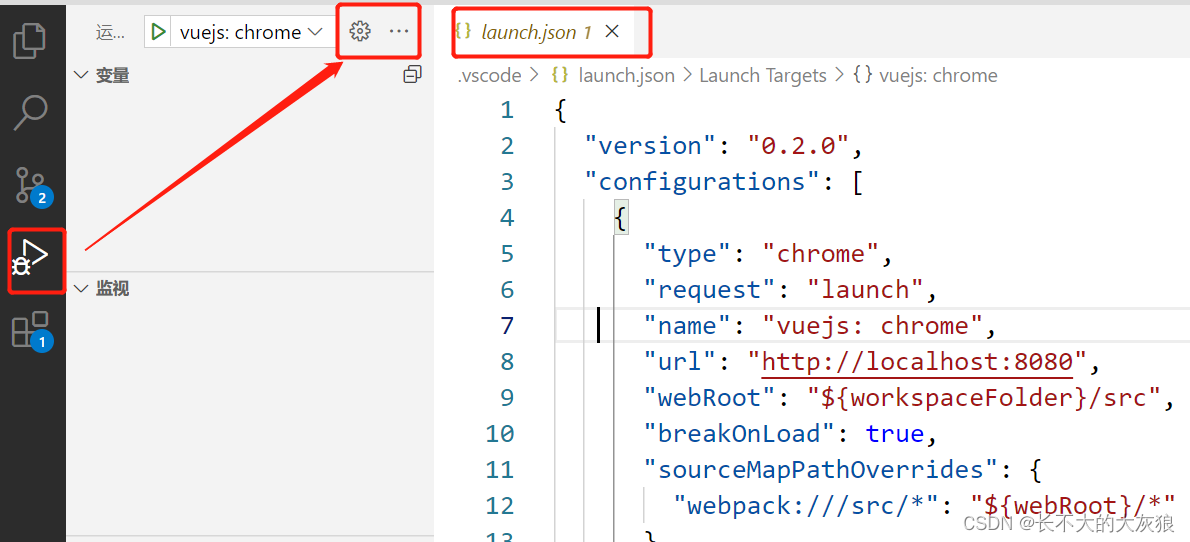
选择 chrome/firefox:launch 环境。
将 launch.json 的内容替换为:
{
  "version": "0.2.0",
  "configurations": [
    {
      "type": "chrome",
      "request": "launch",
      "name": "vuejs: chrome",
      "url": "http://localhost:8080",
      "webroot": "${workspacefolder}/src",
      "breakonload": true,
      "sourcemappathoverrides": {
        "webpack:///src/*": "${webroot}/*"
      }
    },
    {
      "type": "firefox",
      "request": "launch",
      "name": "vuejs: firefox",
      "url": "http://localhost:8080",
      "webroot": "${workspacefolder}/src",
      "pathmappings": [{ "url": "webpack:///src/", "path": "${webroot}/" }]
    }
  ]
}
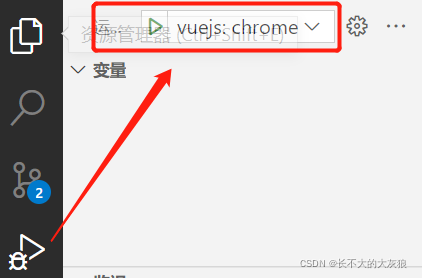
开始调试:
设置断点:

#启动项目npm run dev
在debug页面选择“vuejs:chrome”:
二、debugger语句
推荐!!!!!!!!
function potentiallybuggycode() {
    debugger
    // do potentially buggy stuff to examine, step through, etc.
}
浏览器:f12打开devtools,当运行程序后,会停在debbger语句:

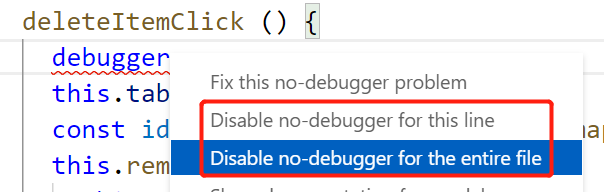
注意:
当安装了eslint插件时,点击快速修复,disable no-debugger for this line.
不然,保存时会自动清除debugger语句。
三、vue devtools
谷歌浏览器的插件。
详情参考官方链接:https://cn.vuejs.org/v2/cookbook/debugging-in-vscode.html#vue-devtools
总结
以上为个人经验,希望能给大家一个参考,也希望大家多多支持代码网。


发表评论