写在前面
本文介绍了springboot开发后端服务中,ai组件(spring ai)的整合与使用。坚持看完相信对你有帮助。
同时欢迎订阅springboot系列专栏,持续分享spring boot的使用经验。
spring ai简介
先看官网介绍:
翻译:
spring ai 是 ai 工程的应用框架。其目标是将 spring 生态系统设计原则(如可移植性和模块化设计)应用于 ai,并推广使用 pojo 作为 ai 领域应用程序的构建块。

翻译:
特征
跨 ai 提供商的可移植 api 支持,适用于聊天、文本到图像和嵌入模型。支持同步和流 api 选项。还支持下拉以访问特定于模型的功能。
在spring-ai组件没发布前,我们在spring boot中对接各种ai接口,由于接口规范格式的不同,我们通常每种接口都得单独去写代码去对接,最后通过实现策略模式来实现灵活切换ai接口源。这样是比较麻烦的。而spring-ai组件就是帮我们做了类似的封装,使得我们对接多种ai接口变得十分方便。
单独整合al接口
我们先来看spring boot简单整合经典的chatgpt 3.5接口
代码如下:
import cn.hutool.http.httprequest;
import cn.hutool.json.jsonarray;
import cn.hutool.json.jsonobject;
import cn.hutool.json.jsonutil;
import java.util.arraylist;
import java.util.hashmap;
import java.util.list;
import java.util.map;
/**
 * @author mijiu
 * classname:openaiapi.java
 * date:2024-05-06 16:49
 * description:
 */
public class openaiapi {
    /**
     * 聊天端点
     */
    private final static string chat_endpoint = "https://api.openai.com/v1/chat/completions";//官网接口地址
    private final static  string proxy_endpoint ="https://www.chatgp.fun/v1/chat/completions";//国内代理接口
    private final static  string api_key = "bearer sk-pbatvlgkeyscas3kd4820ba1cce741f996e0baab205421d1";
    /**
     * 需要代理服务器访问
     *
     * @param txt 内容
     * @return {@link string}
     */
    public static string chat(string txt) {
        map<string, object> parammap = new hashmap<>();
        parammap.put("model", "gpt-3.5-turbo");
        list<map<string, string>> datalist = new arraylist<>();
        datalist.add(new hashmap<string, string>(){{
            put("role", "user");
            put("content", txt);
        }});
        parammap.put("messages", datalist);
        system.out.println(jsonutil.tojsonstr(parammap));
        jsonobject message = null;
        try {
            string body = httprequest.post(proxy_endpoint)
                    .header("authorization", api_key)
                    .header("content-type", "application/json")
                    .body(jsonutil.tojsonstr(parammap))
                    .execute()
                    .body();
            jsonobject jsonobject = jsonutil.parseobj(body);
            system.out.println(jsonobject);
            jsonarray choices = jsonobject.getjsonarray("choices");
            jsonobject result = choices.get(0, jsonobject.class, boolean.true);
            message = result.getjsonobject("message");
        } catch (exception e) {
            return "抱歉,我无法回答你的问题。";
        }
        return message.getstr("content");
    }
    public static void main(string[] args) {
        system.out.println(chat("你是?"));
    }
}
这段代码依赖hutool工具包的http工具包
 <dependency>
    <groupid>cn.hutool</groupid>
    <artifactid>hutool-all</artifactid>
    <version>5.7.22</version>
 </dependency>
现在运行测试一下:

可以看到目前整合调用测试成功了。
代码里面的api-key有一定量的token新手可以复制代码运行下试试。言归正传下面开始介绍核心内容。
整合spring ai组件
起步条件
- jdk不低于17
- spring boot 3x
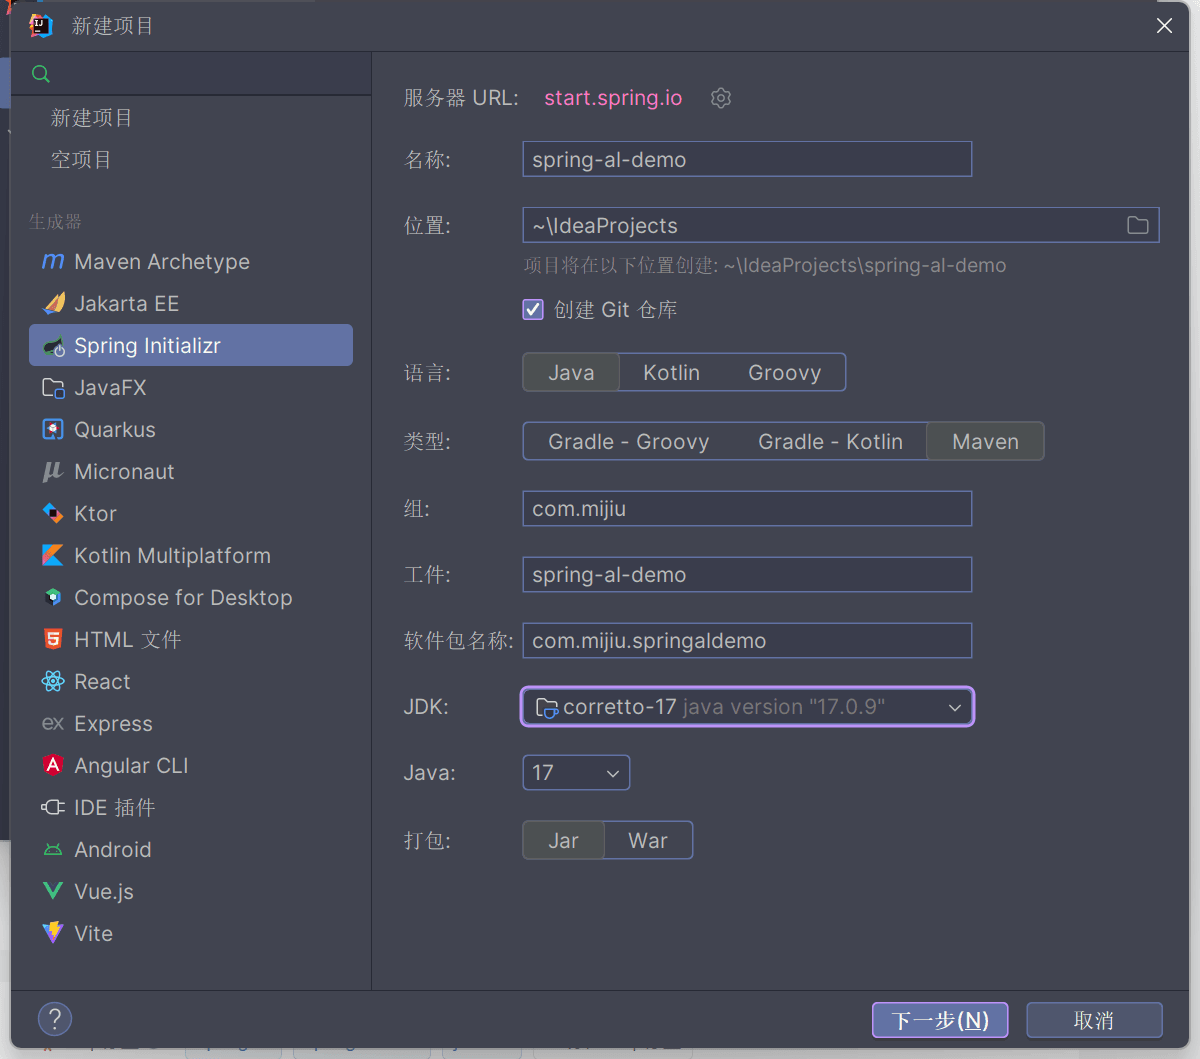
我们直接新建一个demo项目
为何直接新建一个项目的,主要是为了避开一些麻烦。如,阿里云maven镜像没有此依赖,需要到中央仓库下载。
一定要选不低于java17的jdk
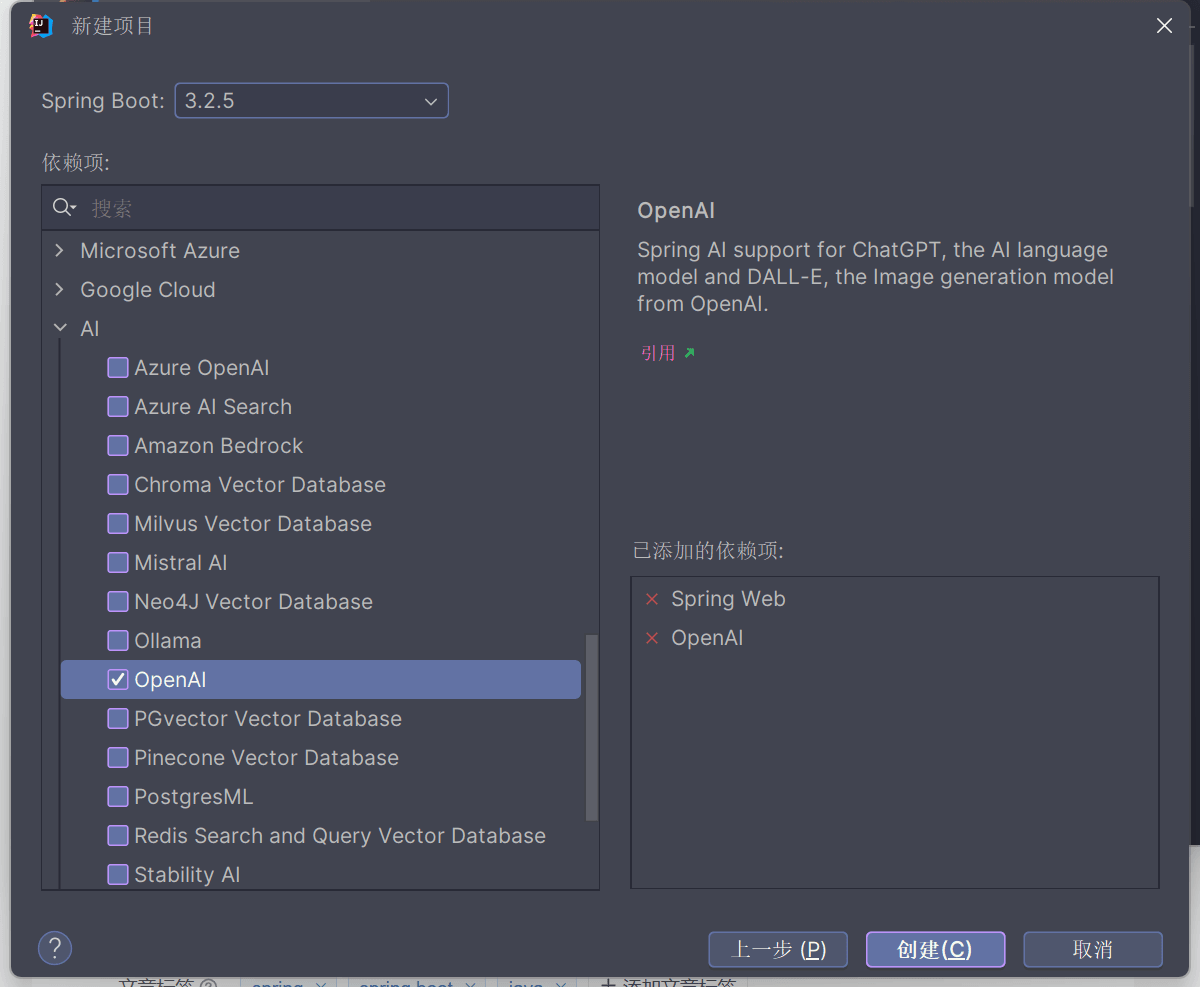
选择这两个依赖就够了
- spring web
- openai
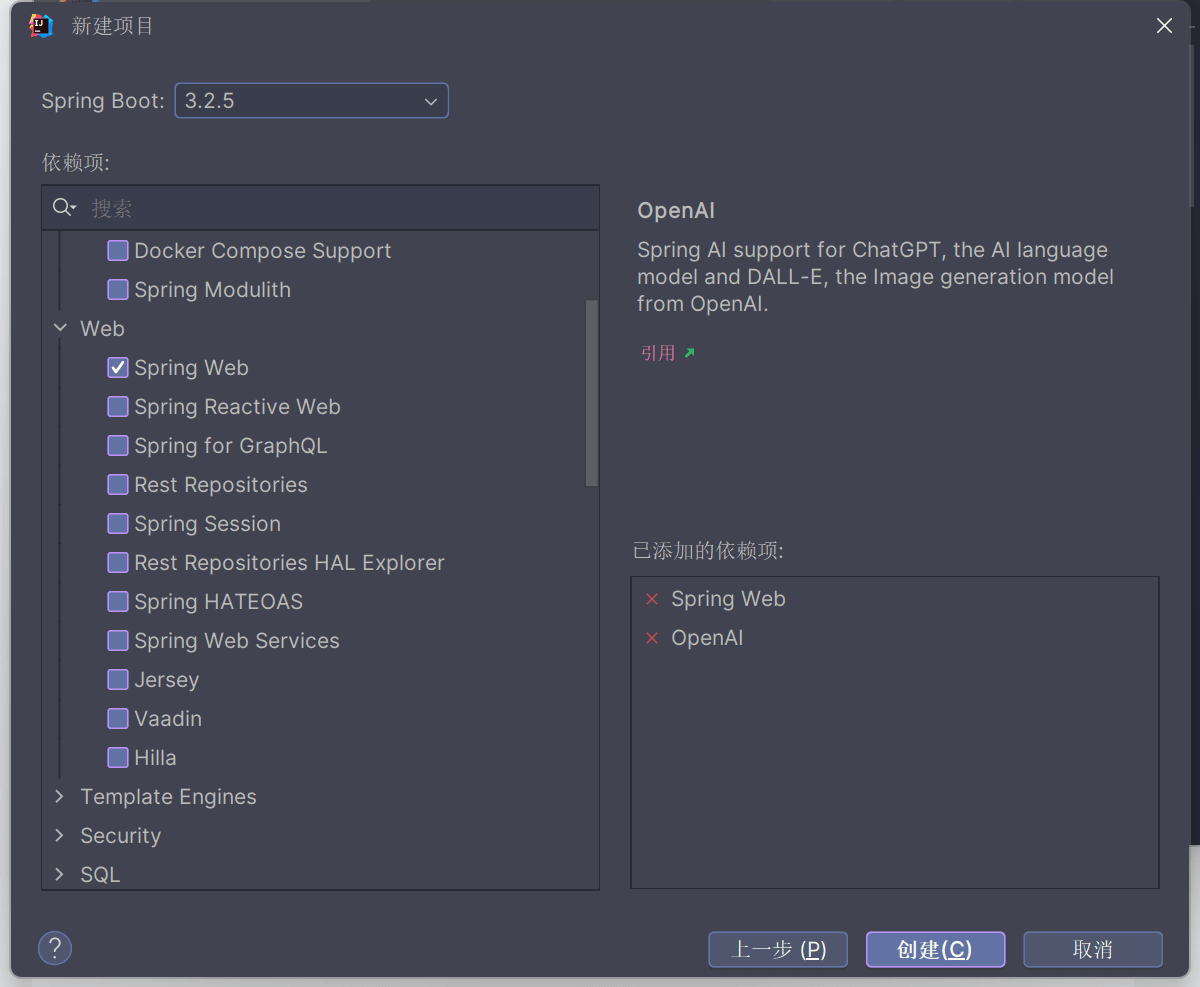
spring boot的版本不要低于3.0
等待依赖下载完成。
进行必要配置
这个api-key需要你去openal官网去申请购买,或者在一些购物软件直接购买现成的用。
共需要配置:
spring.ai.openai.api-key:这是你的 openai api 密钥,它是用于通过 api 访问 openai 服务的凭证。密钥应该是一个长字符串,用于标识你的账户并授权访问。
spring.ai.openai.chat.options.model: 这是用于设置对话系统所使用的 openai 模型的选项之一。在这种情况下,模型选择为 gpt-3.5 turbo,这是 openai 提供的一种强大的自然语言处理模型,适用于生成对话。
spring.ai.openai.chat.options.temperature:这是对话系统生成响应时的温度参数。温度参数控制着生成文本的多样性,值越高,生成文本的多样性越大。在这里,温度设置为 0.7,这意味着对话系统生成的文本会相对保守,但仍具有一定的多样性。
application.properties:
spring.ai.openai.api-key=sk-uvfm7gid9ridikrrf70et3blbkyhdhghgh
spring.ai.openai.chat.options.model=gpt-3.5-turbo
spring.ai.openai.chat.options.temperature=0.7
代码里面的api-key是我随意写的一个,需要换成你自己的且有效的 。
测试控制器
import org.springframework.ai.embedding.embeddingclient;
import org.springframework.ai.embedding.embeddingresponse;
import org.springframework.beans.factory.annotation.autowired;
import org.springframework.web.bind.annotation.getmapping;
import org.springframework.web.bind.annotation.requestparam;
import org.springframework.web.bind.annotation.restcontroller;
import java.util.list;
import java.util.map;
/**
 * @author mijiupro
 */
@restcontroller
public class embeddingcontroller {
    private final embeddingclient embeddingclient;
    @autowired
    public embeddingcontroller(embeddingclient embeddingclient) {
        this.embeddingclient = embeddingclient;
    }
    @getmapping("/ai/embedding")
    public map embed(@requestparam(value = "message", defaultvalue = "tell me a joke") string message) {
        embeddingresponse embeddingresponse = this.embeddingclient.embedforresponse(list.of(message));
        return map.of("embedding", embeddingresponse);
    }
}
最后启动项目浏览器地址栏访问测试接口即可。
http://localhost:8080/ai/embedding
写在最后
spring boot3整合ai组件到这里就结束了。任何问题评论区或私信讨论,欢迎指正。
到此这篇关于spring boot3整合ai组件的文章就介绍到这了,更多相关spring boot3 ai组件内容请搜索代码网以前的文章或继续浏览下面的相关文章希望大家以后多多支持代码网!


发表评论