简介
公司的后台管理系统要做一个文档编辑器,最开始选型是 toast-ui/editor ,但是同事用起来指出功能太少、不好用、没有字体功能。。。
好好好,本着为人民服务的精神,我重新筛选编辑器组件,最终选定了tinymce这个编辑器。
一、tinymce文档
在开发过程中,免不了要站在巨人的肩膀上。我参考了莫若卿大佬的tinymce中文文档,大家可以参考。
顺便加上官方文档,英文的看着费劲 tinymce官方文档
二、实现成果
无图无真相!这里我就把实现前后的效果图先放出来,大家如果需要的话,再往后看。
1、toast-ui/editor效果
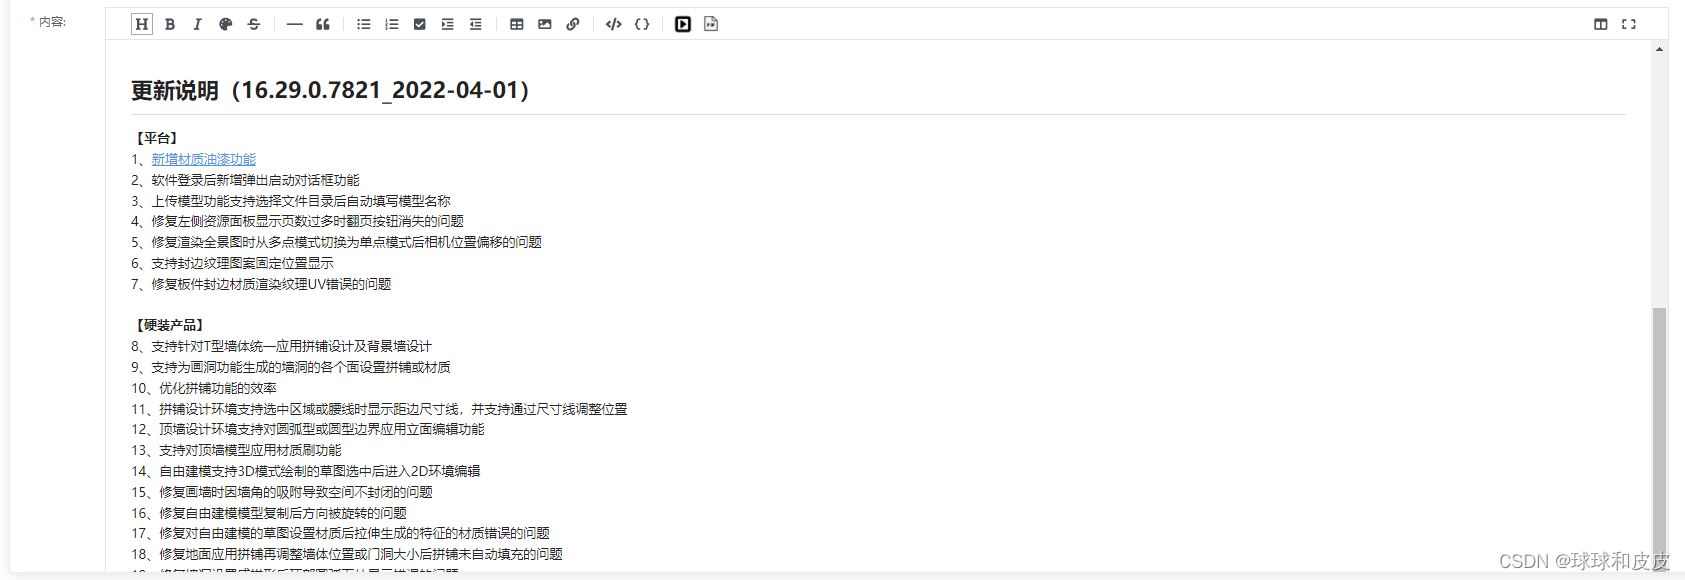
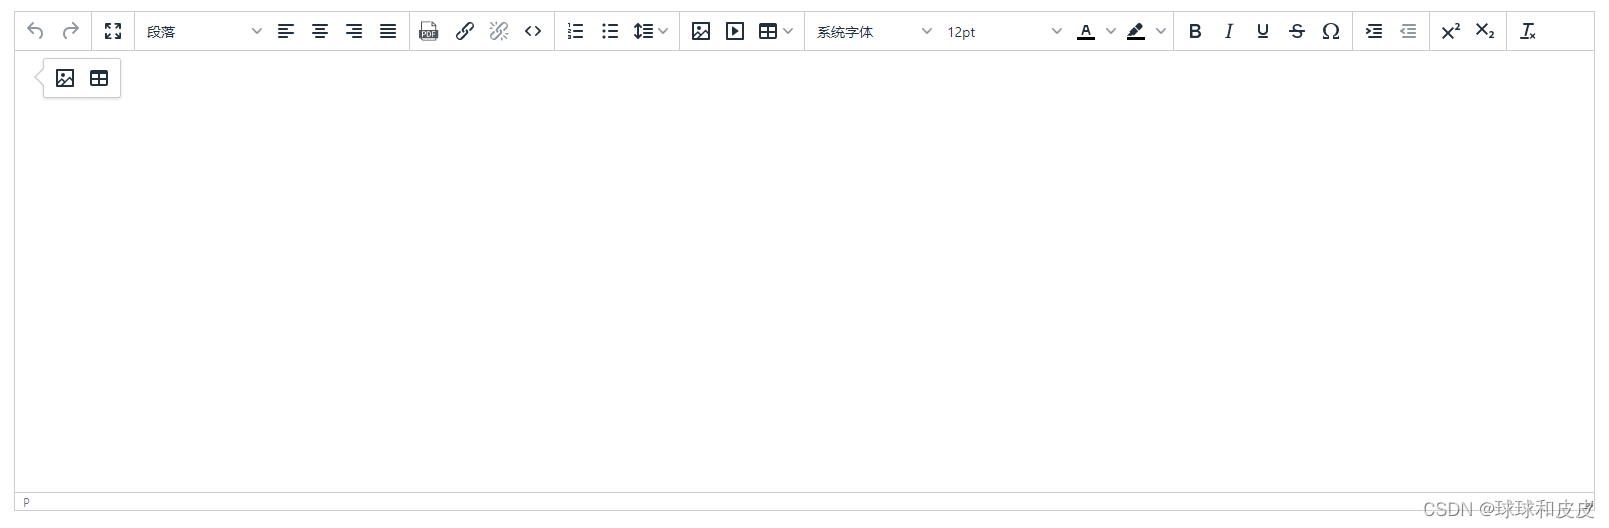
2、tinymce效果
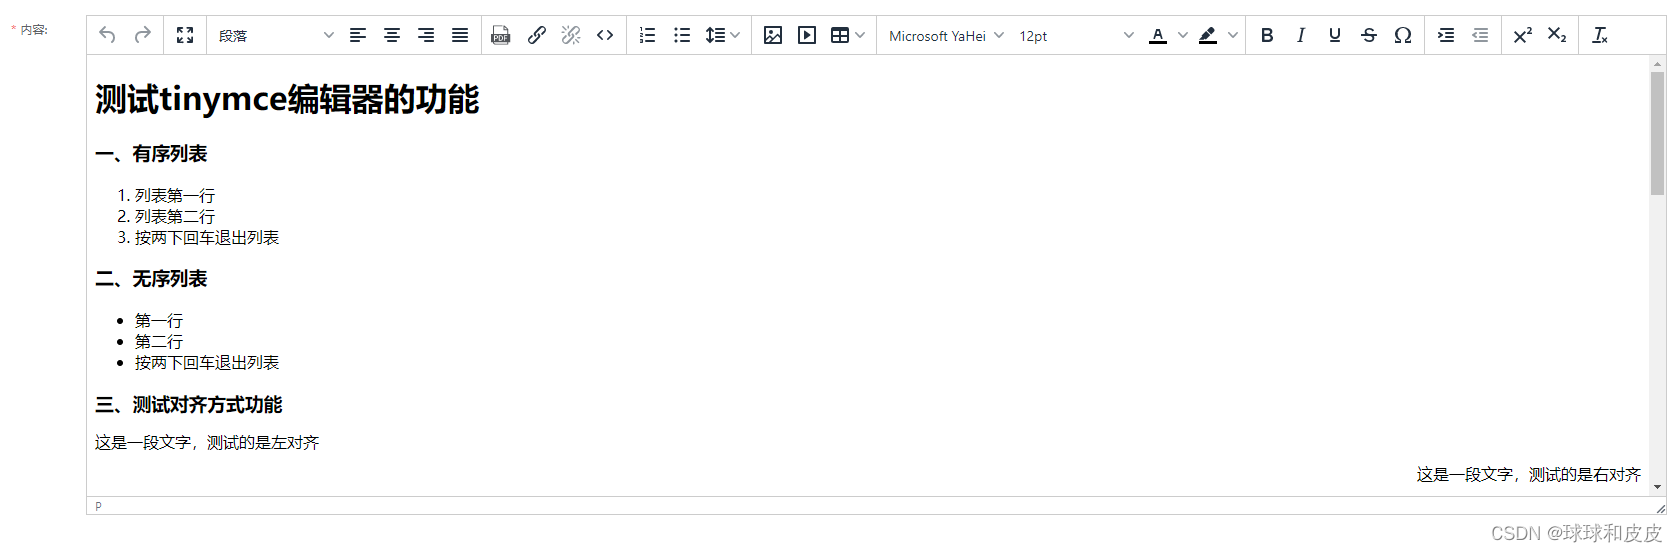
对比两个编辑器,可以发现tinymce多了很多功能,包括字体大小,字体风格,行间距等等。
三、引用tinymce的方法
对比完两个编辑器的优劣,直接跳过toast-ui/editor,只介绍tinymce的实现。
1、引入tinymce
由于我是在vue中引用,跟莫若卿大佬的不太一样,所以我介绍一下我的用法。
(1)、首先,我引用了vue-tinymce,这是提供给 vue 开发者使用的 tinymce 组件。
- 1.安装组件:
npm install @packy-tang/vue-tinymce
- 2.引入:
import vuetinymce from “@packy-tang/vue-tinymce”
vue.use(vuetinymce)
- 3.使用:
<vue-tinymce ref="tinymce" v-model="content" :setting="setting" />
import tinymce from './components/tinymce/'
import vuetinymce from './components/vue-tinymce'

vue.prototype.$tinymce = tinymce
vue.use(vuetinymce)
(2)、由于我改了插件中的一些方法,所以我把tinymce整个插件放到了代码了,当作组件使用。
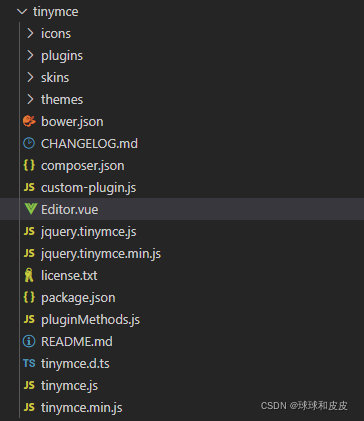
废话不多说,上代码
<template>
    <vue-tinymce ref="tinymce" v-model="content" :setting="setting" />
</template>

<script>
//样式
import './skins/content/default/content.min.css'
import './skins/ui/oxide/skin.min.css'
import './skins/ui/oxide/content.min.css'

//主题
import './themes/silver'

//插件
import './plugins/link' //链接插件
import './plugins/image' //图片插件
import './plugins/imagetools'
import './plugins/media' //媒体插件
import './plugins/table' //表格插件
import './plugins/lists' //列表插件
import './plugins/quickbars' //快速栏插件
import './plugins/fullscreen' //全屏插件
import './plugins/lineheight'
import './plugins/uploadimage'
import './plugins/charmap'
import './plugins/codesample'
import './plugins/upfile'
import './plugins/code'

/**
 * 注:
 * 5.3.x版本需要额外引进图标,没有所有按钮就会显示not found
 */
import './icons/default/icons'

//本地化
import './plugins/zh_cn.js'
import { uploadfile } from '@/api/document/doc'

export default {
  name: 'tinymceeditor',
  props: {
    initialvalue: {
      type: string,
      default: ''
    }
  },
  watch: {
    initialvalue (newvalue) {
      this.content = newvalue
    },
  },
  data(){
    return {
      tinymcehtml: '',
      resvideo: null,
      uploaded: false,
      content: '',
      setting: {
        menubar: false,
        toolbar: "undo redo | fullscreen | formatselect alignleft aligncenter alignright alignjustify | upfile link unlink code | numlist bullist lineheight | image media table | fontselect fontsizeselect forecolor backcolor | bold italic underline strikethrough charmap | indent outdent | superscript subscript | removeformat |",
        toolbar_drawer: "sliding",
        quickbars_selection_toolbar: "removeformat | bold italic underline strikethrough | fontsizeselect forecolor backcolor",
        plugins: "code lineheight link image upfile imagetools media table lists fullscreen quickbars charmap",
        language: 'zh_cn',
        height: 500,
        deprecation_warnings: false,
        images_upload_handler: (blob, callback) => {
            this.upload(blob, url => {
                callback(url)
            })
        },
        file_picker_types: 'media',
        file_picker_callback: (callback, value, meta) => {
          //当点击meidia图标上传时,判断meta.filetype == 'media'有必要,因为file_picker_callback是media(媒体)、image(图片)、file(文件)的共同入口
          if (meta.filetype == 'media'){
            let filetype = '.mp4'
            //创建一个隐藏的type=file的文件选择input
            let input = document.createelement('input');
            input.setattribute('type', 'file');
            input.setattribute('accept', filetype);
            let that = this;
            input.onchange = function() {
              let file = this.files[0];
              that.uploadimg(file, url => {
                callback(url)
              });
            }
            //触发点击
            input.click();
          }
        },
        file_callback: (file, callback) => {
          // 自定义处理文件操作部分
          this.uploadfile(file, url => {
              callback(url)
          })
        }
      },
    }
  },
  methods: {
    upload (file, callback) {
      const formdata = new formdata()
      if (file.size / 1024 / 1024 > 50) {
        this.$message.error('图片大小应小于50m')
        return false
      }
      formdata.append('file', file.blob(), file.name)
      uploadfile(formdata).then(res => {
        const imagesrc = res.data.objecturl
        callback(imagesrc)
      });
    },
    uploadfile (file, callback) {
      const filename = file.name;
      const filesize = (file.size / 1024 / 1024).tofixed(1);
      if (filesize > 200) {
        message.error("文件大小应小于200m");
        return false;
      }
      const formdata = new formdata();
      formdata.append("file", file, filename);
      var timestamp = new date().gettime();
      formdata.append("batchkey", timestamp);
      axios.post(`/xxx/xxx/uploadfile`, formdata).then(res => {
        const imagesrc = res.data.objecturl
        callback(imagesrc)
      });
    },
    async uploadimg (file, callback) {
      let loadtext = document.createelement('span');
      let filename = file.name;
      const filesize = (file.size / 1024 / 1024).tofixed(1);
      if (filesize > 200) {
        message.error("文件大小应小于200m");
        return false;
      }
      const formdata = new formdata();
      formdata.append("file", file, filename);
      var timestamp = new date().gettime();
      formdata.append("batchkey", timestamp);
      // 上传信息显示为位置
      const supmessagepos = document.getelementsbyclassname('tox-dialog__footer')[0]
      const messagepos = document.getelementsbyclassname('tox-dialog__footer-start')[0]
      var config = {
        onuploadprogress: progressevent => {
          var complete =
            ((progressevent.loaded / progressevent.total) * 100) | 0;
          if (complete == 100) {
            loadtext.innerhtml = "加载完成,等待上传...";
            supmessagepos.insertbefore(loadtext, messagepos)
          } else {
            loadtext.innerhtml = "正在加载...  " + complete + " %";
            supmessagepos.insertbefore(loadtext, messagepos)
          }
        }
      };
      await axios.post(`/xxx/xxx/uploadfile`, formdata, config).then(res => {
        if (res.data) {
          loadtext.innerhtml = "上传完成!"
          callback(res.data.objectkey, { title: filename })
          supmessagepos.insertbefore(loadtext, messagepos)
          // mywebsocket.closesocket();
        }
      })
    }
  }
}
</script>

<style>
.tox-statusbar__branding {
  display: none;
}
</style>
2、说明
我这里加上了上传图片、上传文件和上传视频的方法,不需要的可以省略。
“setting”里的“toolbar”和"plugins"是控制编辑器中的插件功能的。toolbar代表上方引入的功能按钮,plugins列举需要引入的插件。
“images_upload_handler”这个属性是上传图片的回调,加上之后上传图片的组件会增加一个“上传”按钮,方便很多。
实现效果如下:

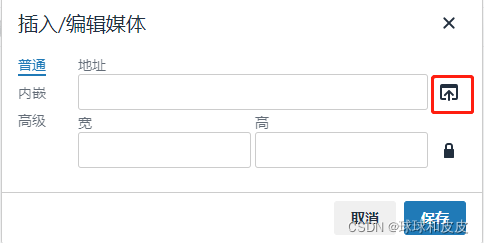
“file_picker_callback”属性也是上传回调,与上边那个类似,不过可以配置。
我添加了判断 meta.filetype == 'media' ,因为“file_picker_callback”是media(媒体)、image(图片)、file(文件)的共同入口,我只需要上传视频,所以我加了判断。
加完后的效果如下:
"file_callback"属性比较特别,它是“upfile”插件专属的属性,可以添加上传文档的回调。我因为需要上传pdf文件,所以引入了这个插件到编辑器中。
3、其他配置项
(1)、在光标位置显示快速工具栏
quickbars_insert_toolbar([插入]快捷工具栏)
这个功能是当你的光标在【空的一行】时,显示可以快速插入的工具项。
setting: {
	quickbars_insert_toolbar: 'quickimage quicktable'
}
如果不需要,可以把这一项设置为空。
setting: {
	quickbars_insert_toolbar: ''
}
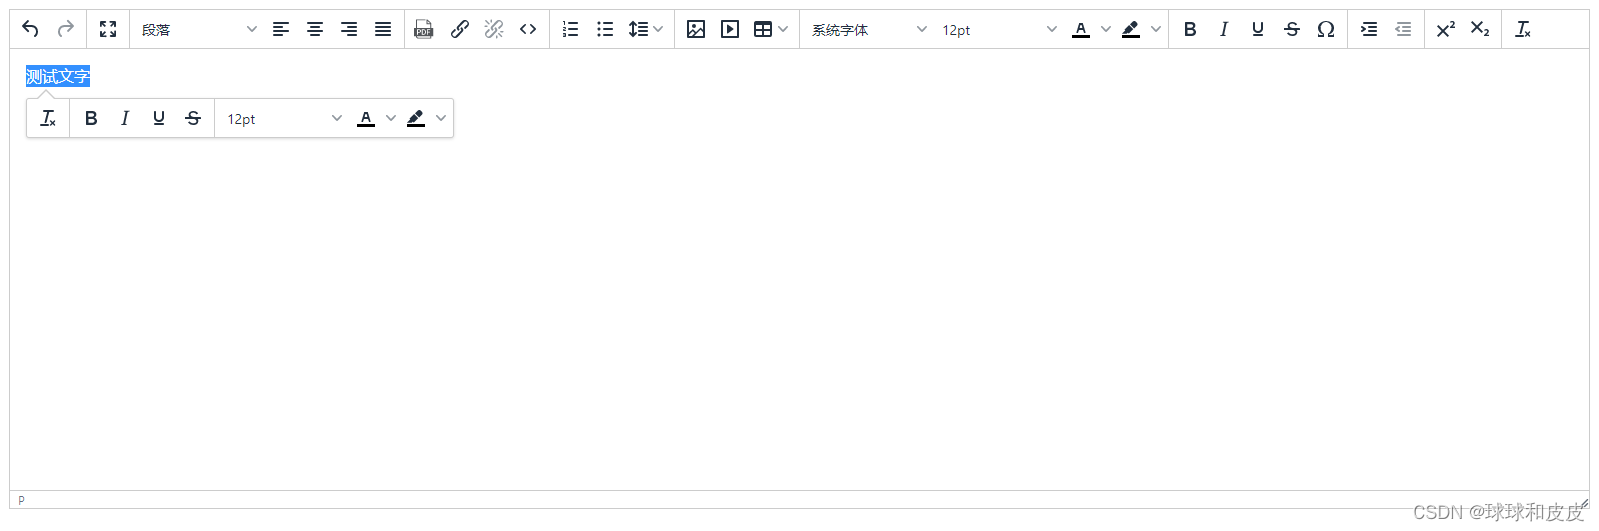
(2)、选中文字后,显示快速工具栏
quickbars_selection_toolbar([选择]快捷工具栏)
这个功能是当你选中文字后,显示可以对文字操作的工具项。
setting: {
	quickbars_selection_toolbar: "removeformat | bold italic underline strikethrough | fontsizeselect forecolor backcolor"
}
(3)、向编辑器粘贴图片后,自动将图片从base64格式转换为url地址
urlconverter_callback(粘贴图片后,不自动上传,而是使用base64编码)
前两天同事问了我这个问题,我顺便加在这里分享一下。
这个功能是为了解决向编辑器粘贴图片的问题。正常通过插件上传图片时,会自动处理成url格式,通过ctrl+v粘贴的图片则不处理。
在“setting”里加上以下这段代码就可以解决。
setting: {
	urlconverter_callback: (url, node, onsave, name) => {
      if (node === 'img' && url.startswith('blob:')) {
          tinymce.activeeditor && tinymce.activeeditor.uploadimages()
      }
      return url
    },
}
总结
以上为个人经验,希望能给大家一个参考,也希望大家多多支持代码网。

发表评论