
 我要评论
我要评论一、背景介绍
在写博客过程中,经常要用到一些专栏封面、文章封面,其中专栏封面要求的宽高比是1:1,而文章封面的推荐的是16:9。在网上搜索的图片,大部分都不是期望的比例,因此需要在 ps 或者 ai 中裁剪、添加文字
以上的处理过程重复步骤很多,因此考虑用 python 来实现。简单起见,生成的封面没有以图片作为背景层,而是用渐变填充来替代,与此同时,在封面的左下角和右上角,绘制一些小的半透明装饰图形,让封面增加一些设计感
二、功能介绍
效果预览
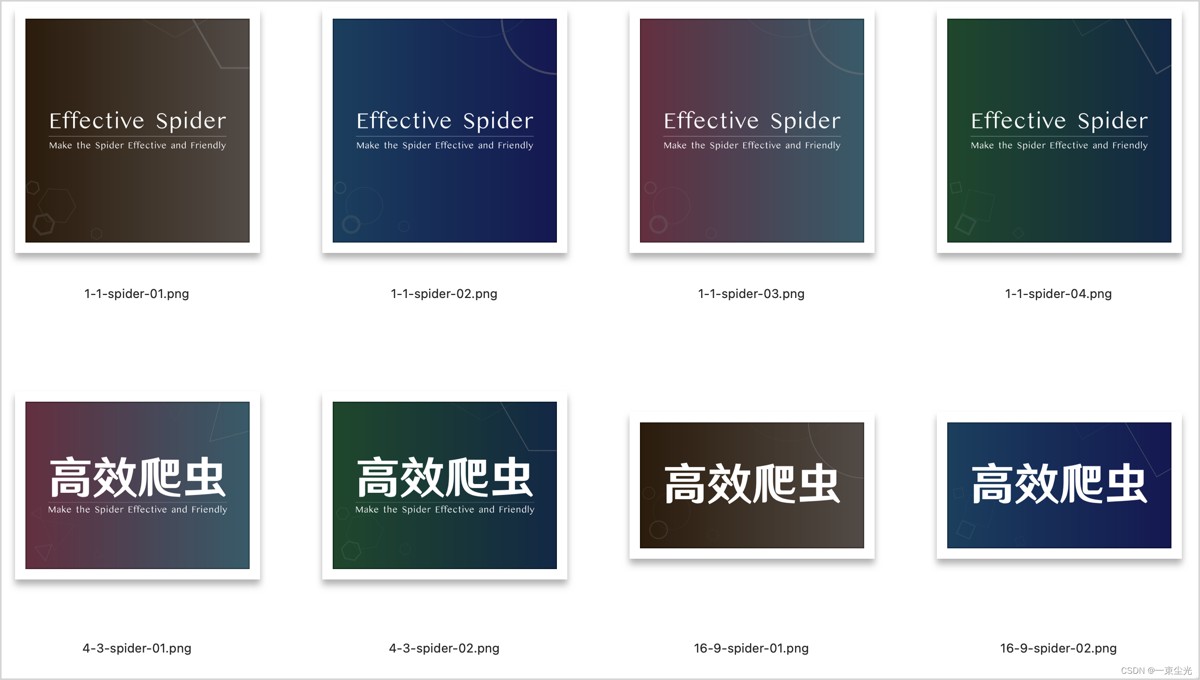
功能清单
内置4种渐变背景,并且可以很方便地扩充
内置4种边缘图形:圆环、三角形、正方形、六边形
文字:支持如下两种方案
- 只有主标题,居中展示
- 主标题和副标题,副标题宽度不会超过主标题;主标题和副标题之间有一条半透明分割线
三、过程拆解
实现过程可以归纳为如下,主要是4个核心步骤
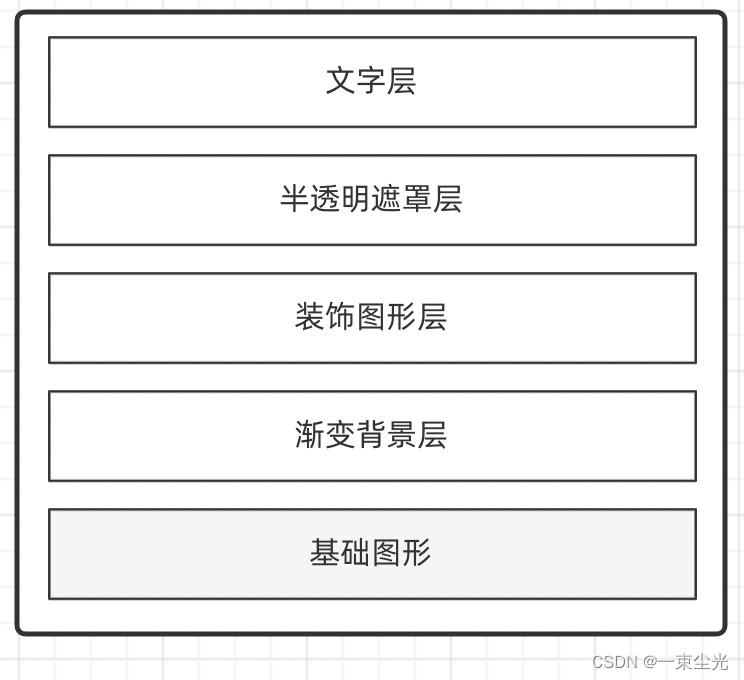
先创建一个封装类 blogcovergenerator,在__init__方法中定义需要用到的属性,并定义生成封面的核心方法
注意:后面很多操作都需要用到透明度,因此基础图形的 mode 设置为 rgba ,并且生成的图片格式需要指定为 png 格式
class blogcovergenerator:
    def __init__(self,
                 title: str,
                 sub_title: str,
                 title_h_ratio: float=.5,
                 ratio_pair: tuple[int]=(16, 9),
                 bg_gradient: backgroundgradient=backgroundgradient.skyline,
                 bg_shape: backgroundshape=backgroundshape.circle,
                 min_size='1m'):
        # 封面主标题
        self.title = title
        # 封面副标题
        self.sub_title = sub_title
        # 如果没有副标题,主标题需要垂直居中
        self.no_sub_title = false
        if self.sub_title is none or '' == self.sub_title.strip():
            self.no_sub_title = true
        # 标题区域垂直方向占比(从正中心开始计算),参考值0.3~0.6
        self.title_h_ratio = title_h_ratio
        if self.title_h_ratio < 0.3:
            self.title_h_ratio = 0.3
        elif self.title_h_ratio > 0.6:
            self.title_h_ratio = 0.6
        # 字体位置
        self.zh_font_location = ''
        self.en_font_location = ''
        # 封面宽高比,16:9, 4:3, 1:1等,以16:9为例,需要传入(16, 9)
        self.ratio_pair = ratio_pair
        # 封面渐变背景色
        self.bg_gradient = bg_gradient
        # 封面背景几何图形,目前支持三角形、六边形、圆形
        self.bg_shape = bg_shape
        # 封面大小。如果传入字符串,支持的单位为k, m;也可以传入数值
        self.min_size = self._parse_min_size(min_size)
        if self.min_size > 178956970:
            # imagedraw.text大小限制
            self.min_size = 178956970

    def generate_cover(self, output_path: str, output_file_name: str):
        width, height = self._get_cover_size()
        img = image.new('rgba', (width, height))

        # 第1层,渐变背景
        self._display_gradient_bg(img)
        # 第2层,边缘装饰图形
        img = self._display_decorate_shape(img)
        # 第3层,半透明遮罩
        img = self._display_transparent_mask(img)
        # 第4层,文字
        img = self._display_title(img)
        # 保存
        img.save(os.path.join(output_path, output_file_name))
1.渐变背景层
首先定义一个渐变枚举
from enum import enum
class backgroundgradient(enum):
    skyline = ['#1488cc', '#2b32b2']
    cool_brown = ['#603813', '#b29f94']
    rose_water = ['#e55d87', '#5fc3e4']
    crystal_clear = ['#159957', '#155799']
暂时没有在 pillow 的文档中找到如何绘制渐变图形,这里只实现了水平方向的渐变色,实现思路是在 start_color 到 end_color 范围内设置一个渐变步长,这个范围和图形的宽度相同,用循环逐一绘制不同颜色的垂直线条。实现代码如下
class blogcovergenerator:
    def _display_gradient_bg(self, base_img: image):
        img_w, img_h = base_img.size
        draw = imagedraw.draw(base_img)
        start_color, end_color = self.bg_gradient.value
        if '#' in start_color:
            start_color = imagecolor.getrgb(start_color)
        if '#' in end_color:
            end_color = imagecolor.getrgb(end_color)

        # 水平方向渐变,渐变步长
        step_r = (end_color[0] - start_color[0]) / img_w
        step_g = (end_color[1] - start_color[1]) / img_w
        step_b = (end_color[2] - start_color[2]) / img_w

        for i in range(0, img_w):
            bg_r = round(start_color[0] + step_r * i)
            bg_g = round(start_color[1] + step_g * i)
            bg_b = round(start_color[2] + step_b * i)
            draw.line([(i, 0), (i, img_h)], fill=(bg_r, bg_g, bg_b))
这一步的效果图如下

2.装饰图形层
装饰图形层的实现代码很多,这里只介绍思路
定义了一个装饰图形枚举
from enum import enum
class backgroundshape(enum):
    circle = 1
    triangle = 2
    square = 3
    hexagon = 4
因为要绘制的装饰图形是带透明度的,所以要用如下方法把半透明图形混合到底下的渐变背景图层上
image.alpha_composite(base_img, img_shape)
此外, 最上边的文字层是核心内容,装饰图形层不能盖住文字区域,控制文字区域的参数是 title_h_ratio
pillow 的 imagedraw 类有一个绘制正多边形的方法 regular_polygon(), 但是这个方法不支持设置轮廓的宽度,也就是没有提供 width 参数(默认值为1),而这个功能却要指定轮廓宽度。如果用 imagedraw 的普通方法 polygon(),需要指定各个顶点的坐标,如果多边形要旋转,难度可见一斑
因此,这里用了一个变通的方法,具体实现如下
blogcovergenerator
    @staticmethod
    def _width_regular_polygon(draw: imagedraw, width: int,
                               bounding_circle, n_sides, rotation=0, fill=none, outline=none):
        """
        pillow提供的regular_polygon,不支持对outline设置width,自定义方法,支持轮廓宽度
        """
        start = bounding_circle[2]
        for i in np.arange(0, width, 0.05):
            new_bounding_circle = (bounding_circle[0], bounding_circle[1], start + i)
            draw.regular_polygon(bounding_circle=new_bounding_circle, n_sides=n_sides,
                                 rotation=rotation, fill=fill, outline=outline)
这里的 bounding_circle 参数是一个 tuple 类型 (x, y, r),定义了多边形的外切圆, (x, y) 是圆心坐标,r 是外切圆半径
绘制圆环时调用的另一个方法 imagedraw.ellipse(),这里需要传入左上角和右下角坐标,可以转化为 bounding_circle,这样就可以和多边形复用位置参数了
这一步的效果图如下(以绘制圆环为例)

3.半透明遮罩层
这一步很简单,直接上代码
class blogcovergenerator:
    @staticmethod
    def _display_transparent_mask(base_img: image):
        img_w, img_h = base_img.size
        img_mask = image.new('rgba', (img_w, img_h), color=(0, 0, 0, 135))
        return image.alpha_composite(base_img, img_mask)
4. 文字层
这一步有2个要点,其一,根据标题文字确定选择中文字体还是英文字体
class blogcovergenerator:
    def _get_real_font(self, target_title: str, font_size: int):
        for ch in target_title:
            if u'\u4e00' <= ch <= u'\u9fff':
                # 中文字体
                return imagefont.truetype(self.zh_font_location, font_size)
        # 英文字体
        return imagefont.truetype(self.en_font_location, font_size)

    def set_fonts(self, zh_font_location: str, en_font_location: str):
        self.zh_font_location = zh_font_location
        self.en_font_location = en_font_location
其二,动态调整字体大小,因此有一个预渲染并检查字体宽度的过程,会使用到 imagefont.getbbox()
class blogcovergenerator:
    def _display_title(self, base_img: image):
        def get_checked_font_size(target_title: str, font_size: int, max_width: int):
            # 预检查,判断文字宽度是否超出封面
            check_font = self._get_real_font(target_title, font_size)
            _, _, check_w, check_h = check_font.getbbox(target_title)
            if check_w > max_width:
                scale_ratio = max_width / check_w
                font_size = int(font_size * scale_ratio)
            return font_size
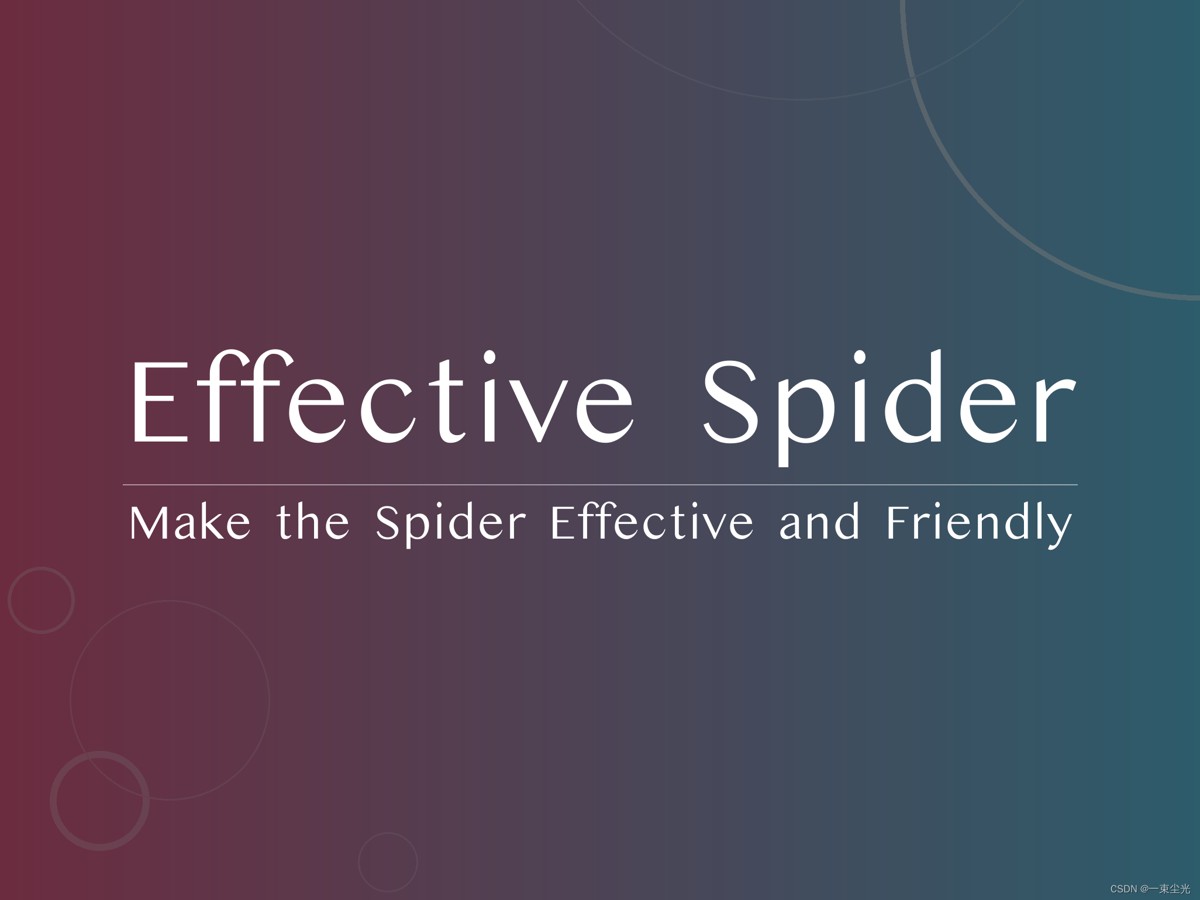
这一步的效果图,也就是最终效果了
以上就是python自动化生成带装饰图形的渐变背景文字封面的详细内容,更多关于python生成背景图片的资料请关注代码网其它相关文章!





发表评论