在nginx中为页面配置用户名密码认证访问
1. 安装 htpasswd 工具
生成密码文件的工具 htpasswd 位于 apache 工具包中,按系统安装:
# debian/ubuntu 系统
sudo apt-get install apache2-utils

# centos/rhel 系统
sudo yum install httpd-tools
2. 创建用户名密码文件
运行以下命令生成密码文件(保存在 /home/application/nginx/.htpasswd):
htpasswd -c /home/application/nginx/.htpasswd pidin
new password:
re-type new password:
adding password for user pidin
按提示输入密码,文件将包含加密后的凭证。
3. 配置 nginx
#chromium
server {
listen 443 ssl;
server_name chromium.srebro.cn; ##替换成自己的域名
error_page 404 /404/404.html;
charset utf-8;
ssl_certificate /home/application/nginx/cert/srebro.cn.pem;
ssl_certificate_key /home/application/nginx/cert/srebro.cn.key;
ssl_session_cache shared:ssl:1m;
ssl_ciphers high:!anull:!md5;
ssl_prefer_server_ciphers on;
location / {
auth_basic "restricted access"; # 认证提示标题
auth_basic_user_file /home/application/nginx/.htpasswd; # 指向密码文件
proxy_http_version 1.1;
proxy_set_header upgrade $http_upgrade;
proxy_set_header connection "upgrade";
proxy_set_header x-real-ip $remote_addr;
proxy_set_header x-wiz-real-ip $remote_addr;
proxy_set_header x-forwarded-for $proxy_add_x_forwarded_for;
proxy_set_header host $http_host;
proxy_set_header x-forwarded-proto $scheme;
proxy_pass http://localhost:3010;
}
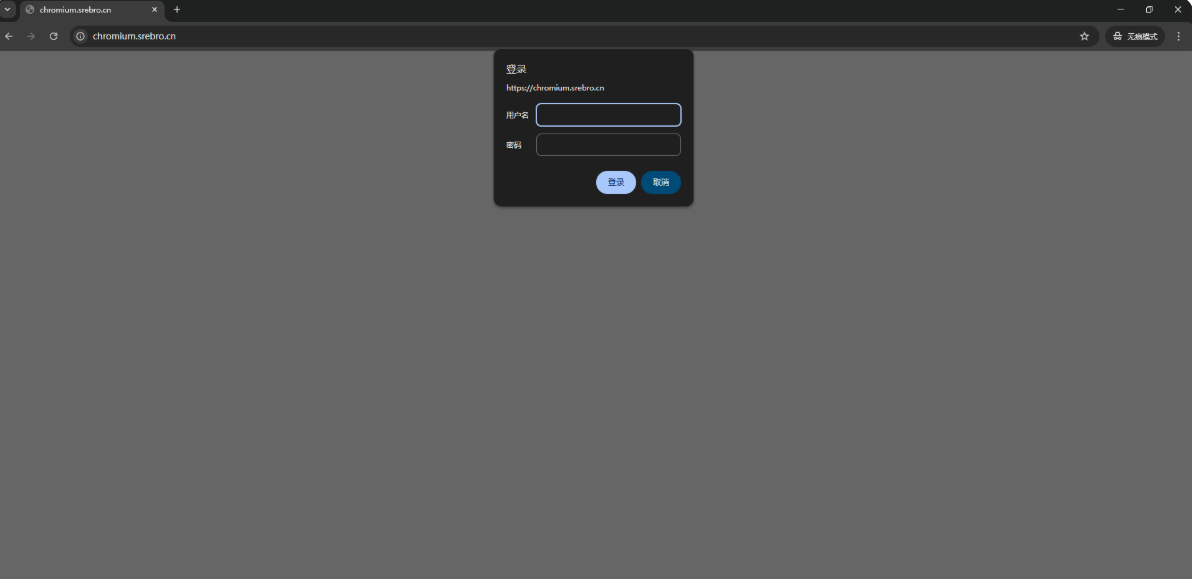
}4. 访问验证
提示需要输入用户名/密码
总结
以上为个人经验,希望能给大家一个参考,也希望大家多多支持代码网。


发表评论