ubuntu系统中需要安装vscode,该怎么下载安装并进行配置呢?下面我们一起来看看。
一、主机windows与虚拟机ubuntu联动
实现两系统之间的跨系统复制粘贴
1.打开终端
2.分别输入命令
sudo apt-get autoremove open-vm-tools
sudo apt-get install open-vm-tools
sudo apt-get install open-vm-tools-desktop
最后重启ubtuntu系统
二、安装vscode
1.下载vscode
在主机windows系统下载vscode。
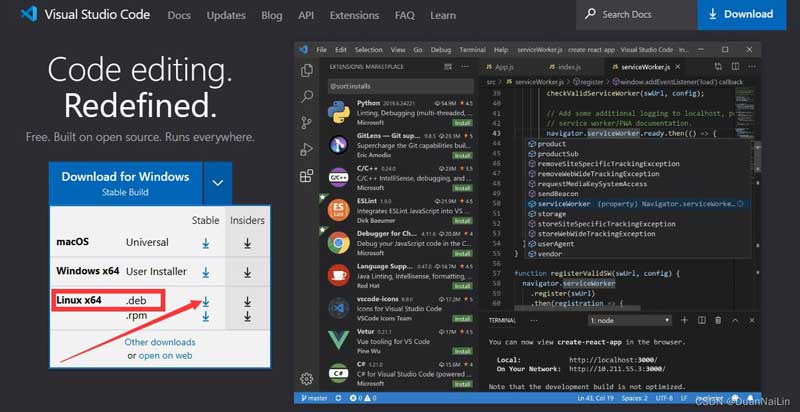
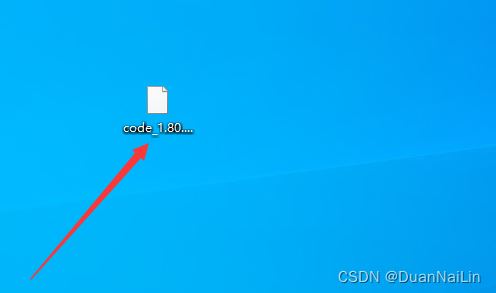
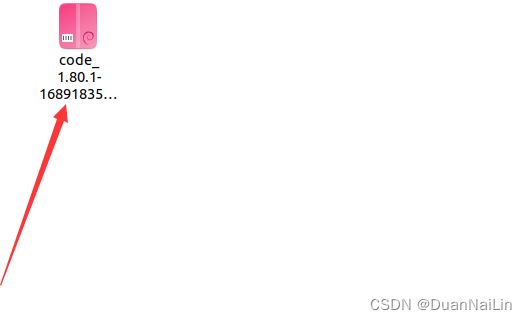
下载linux x64.deb版本到桌面即可。
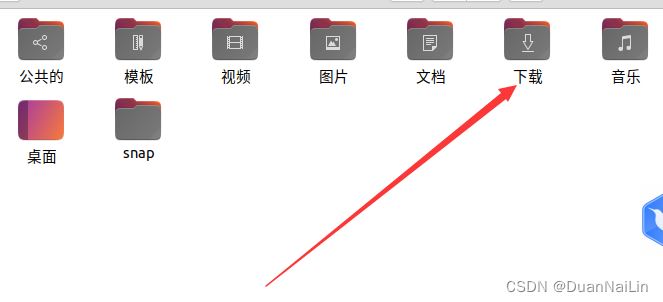
将其拖入ubuntu的下载文件夹中。
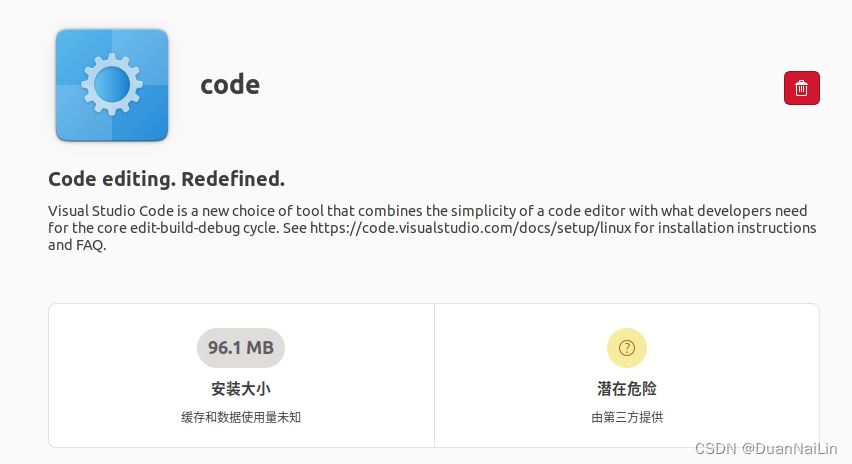
2.安装
双击上面安装包安装
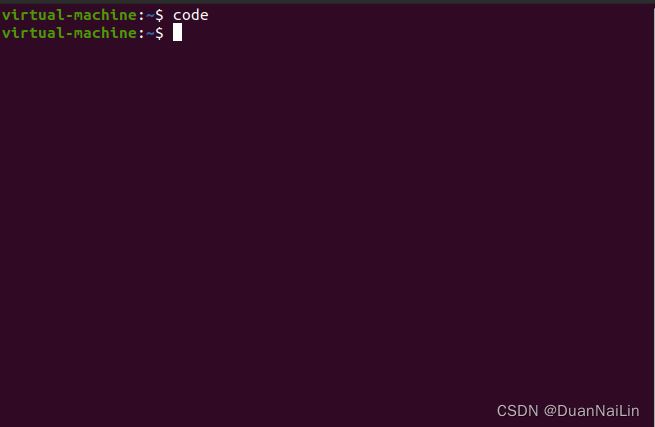
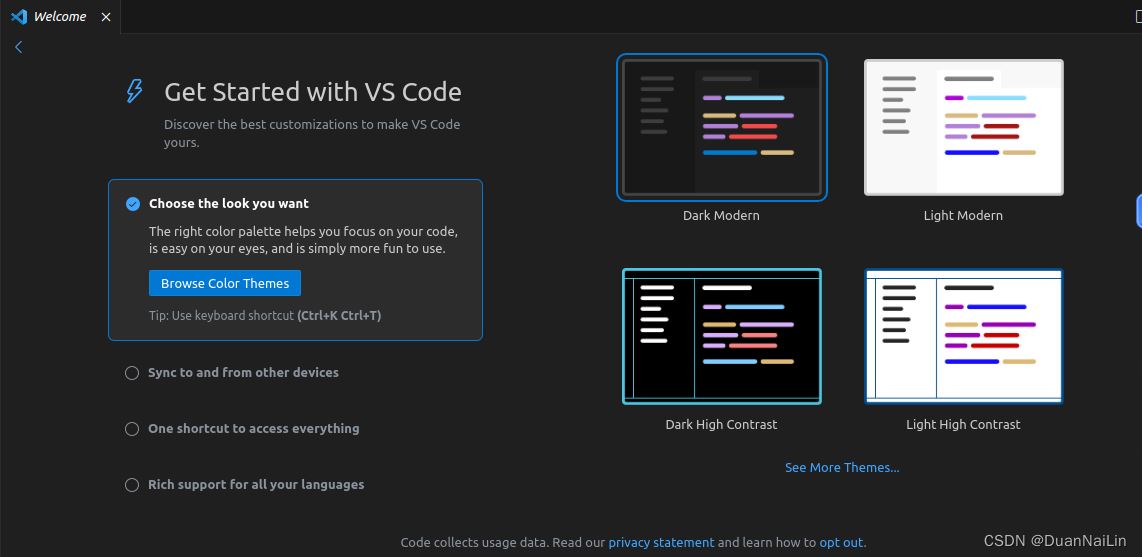
安装完成后打开vscode,终端输入code回车
三、配置环境
1.g++配置
打开终端分别输入以下命令安装vim和g++
sudo apt-get install vim
sudo apt install g++
2.汉化
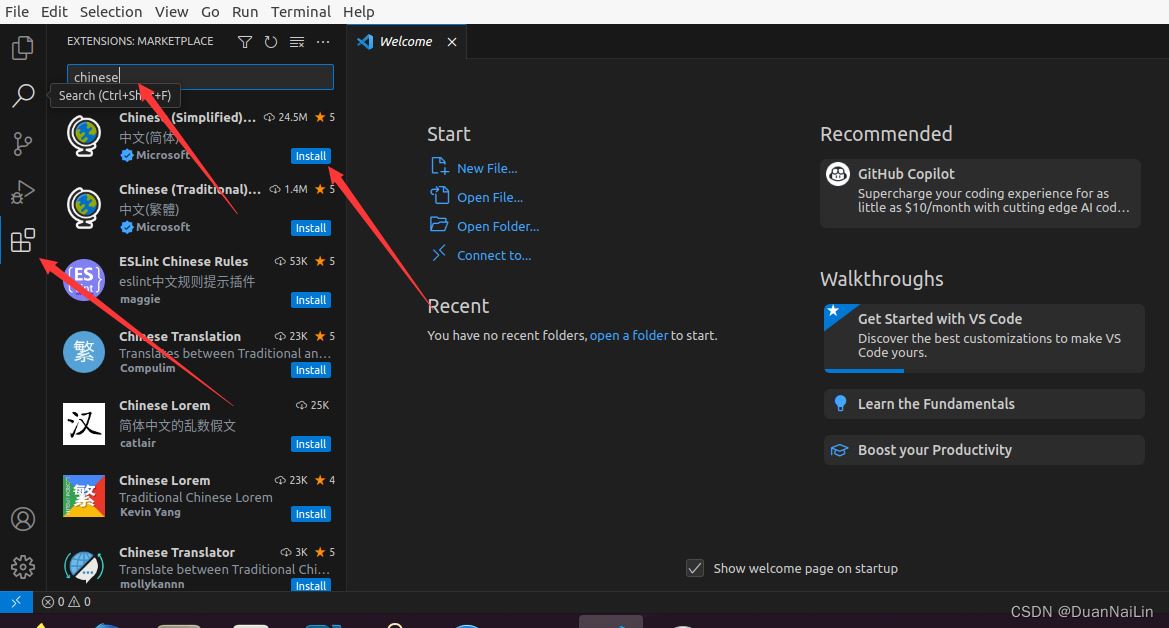
安装第一个即可,安装完成后重启软件

汉化成功
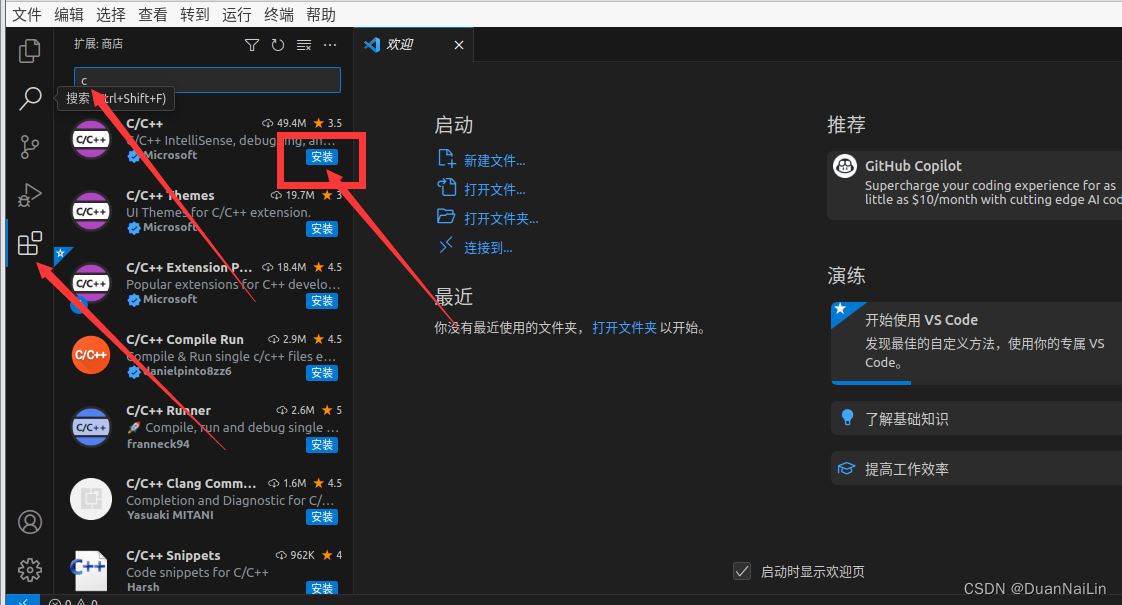
3.安装拓展c/c++
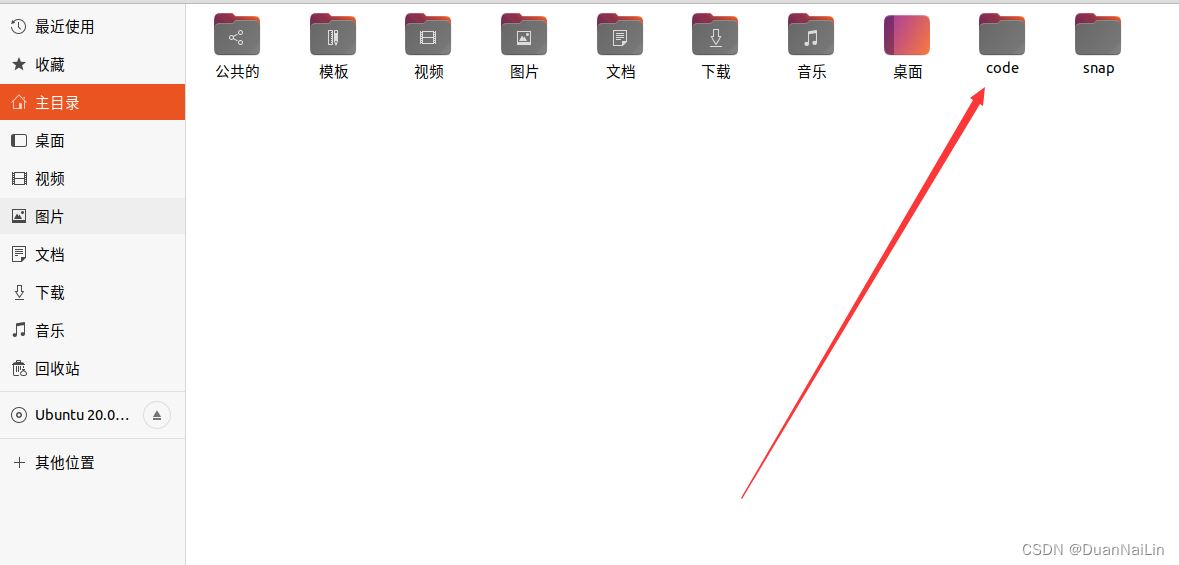
4.创建项目文件夹code
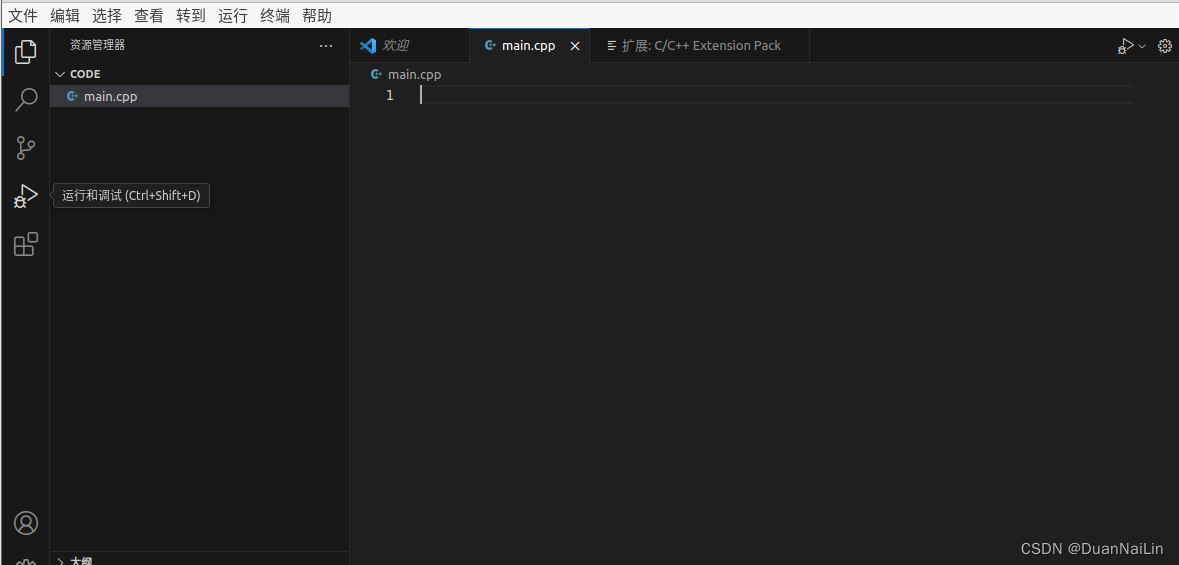
vscode打开code文件夹,新建main.cpp文件
5. 输入程序并运行
会报错,不要慌,进入launch.json文件
#include<iostream>
using namespace std;
int main()
{
  cout <<"hello vscode"<<endl;
  system("pause");
  return 0;
}
运行后会生成.vscode文件,文件中包含launch.json和task.json文件
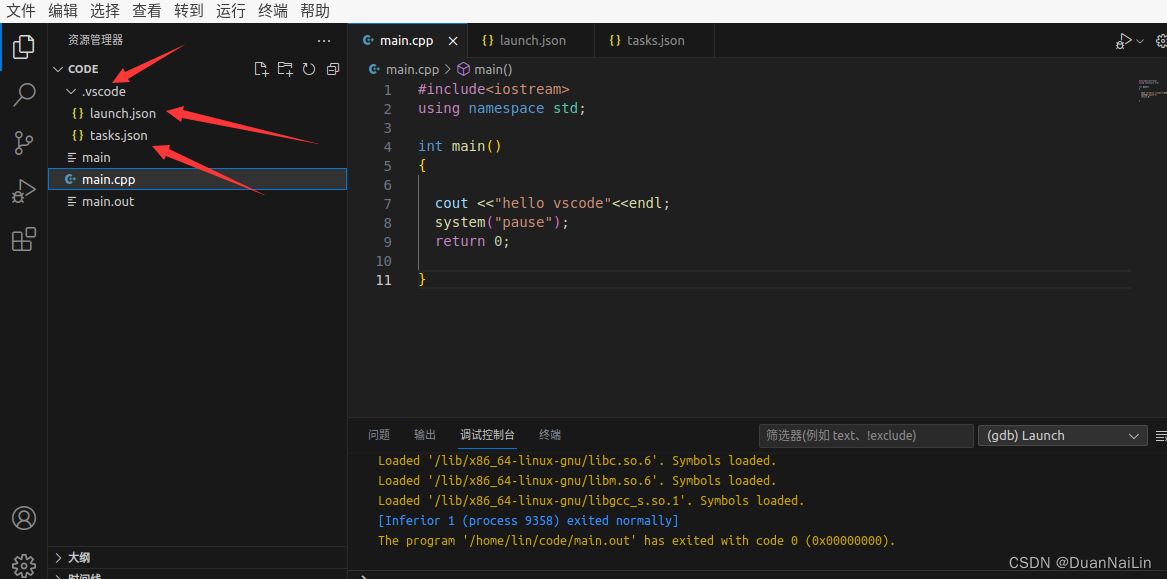
6.修改文件程序
修改launch.json文件如下,直接覆盖即可
// an highlighted block
{
    // use intellisense to learn about possible attributes.
    // hover to view descriptions of existing attributes.
    // for more information, visit: https://go.microsoft.com/fwlink/?linkid=830387
    "version": "0.2.0",
    "configurations": [
    {
        "name": "(gdb) launch",
        "type": "cppdbg",
        "request": "launch",
        "program": "${workspacefolder}/${filebasenamenoextension}.out",
        "args": [],
        "stopatentry": false,
        "cwd": "${workspacefolder}",
        "environment": [],
        "externalconsole": true,
        "mimode": "gdb",
        "prelaunchtask": "build",
        "setupcommands": [
            {
            "description": "enable pretty-printing for gdb",
            "text": "-enable-pretty-printing",
            "ignorefailures": true
            }
        ]
    }
    ]
}
修改task.json文件如下,直接覆盖即可
{
// see https://go.microsoft.com/fwlink/?linkid=733558
// for the documentation about the tasks.json format
"version": "2.0.0",
"tasks": [
{
"label": "build",
"type": "shell",
"command": "g++",
"args": ["-g", "${file}", "-std=c++11", "-o", "${filebasenamenoextension}.out"]
}
]
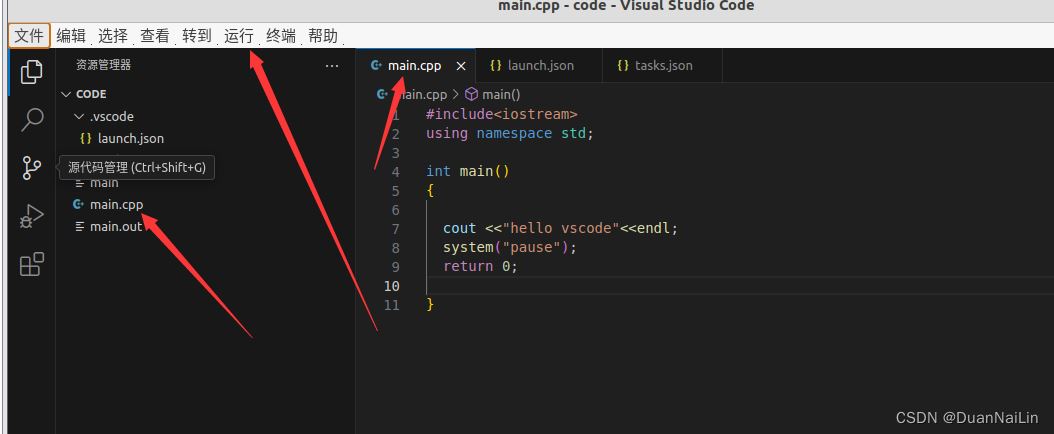
}7.最终运行成功
回到main.cpp程序重新运行
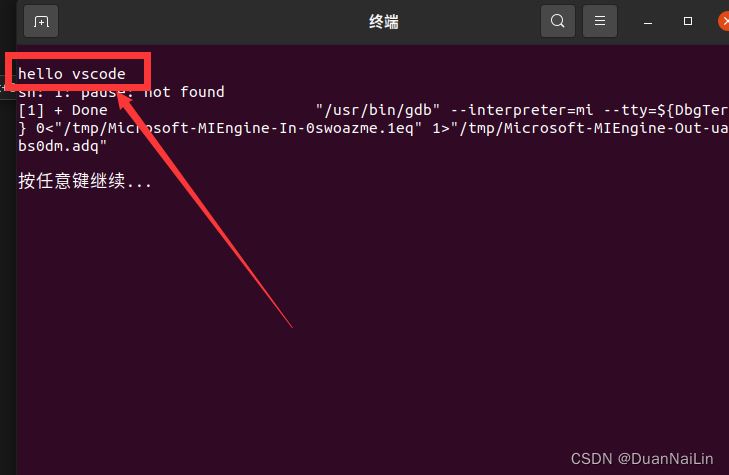
通过遵循以上步骤,你应该能够在ubuntu系统下成功配置vscode。


发表评论