elasticsearch这里安装在了windows下
安装elasticsearch,我这里选择的是最新版本(8.3.3)
下载地址: https://www.elastic.co/cn/downloads/elasticsearch
下载完之后解压文件夹
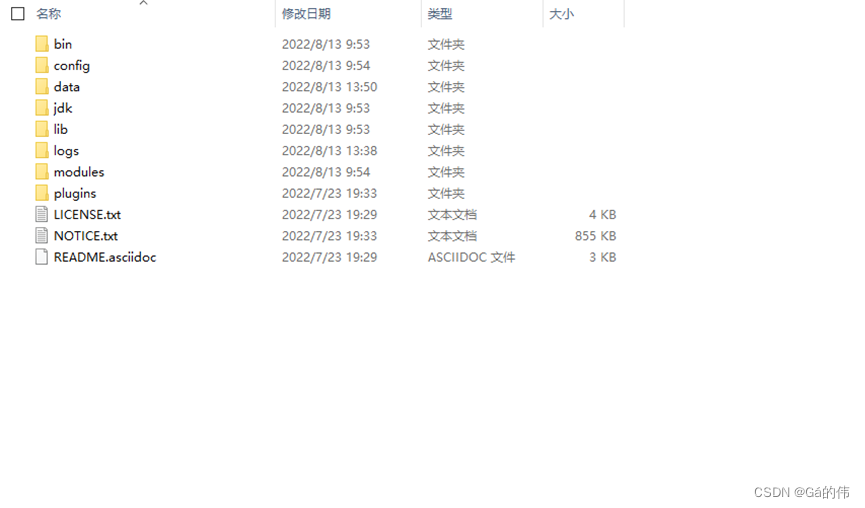
进入bin
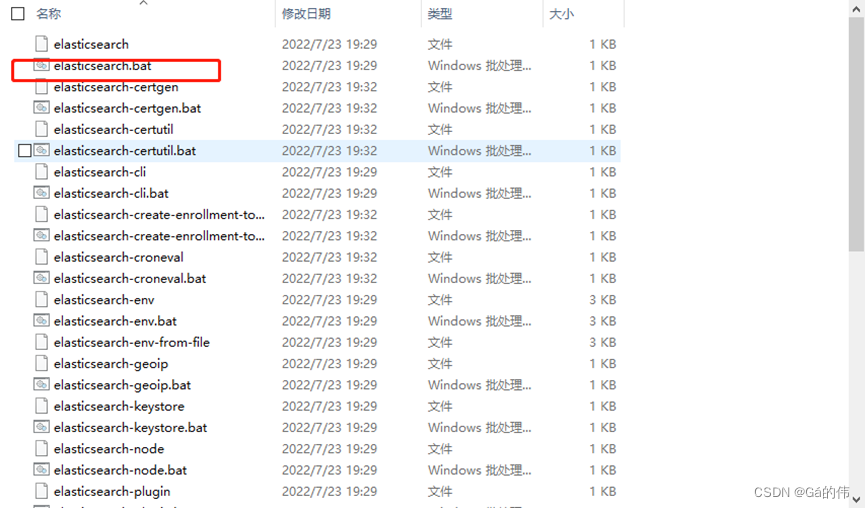
双击执行
执行完成后会显示以下内容
-> elasticsearch security features have been automatically configured!
-> authentication is enabled and cluster connections are encrypted.

->  password for the elastic user (reset with `bin/elasticsearch-reset-password -u elastic`):
  01avmpeg7*bwmggaxnv0

->  http ca certificate sha-256 fingerprint:
  1ae7d35f3165a808fe6b55fc6090ff938dadc55ac86b3330548ef6b9a896f5b8

->  configure kibana to use this cluster:
* run kibana and click the configuration link in the terminal when kibana starts.
* copy the following enrollment token and paste it into kibana in your browser (valid for the next 30 minutes):
  eyj2zxiioii4ljmumyisimfkcii6wyixotiumty4ljeunjy6otiwmcjdlcjmz3iioiixywu3zdm1zjmxnjvhoda4zmu2yju1zmm2mdkwzmy5mzhkywrjntvhyzg2yjmzmza1ndhlzjziowe4otzmnwi4iiwia2v5ijoimwhycgxjsuj4qvztrkx4t0lqz0u6nm1zexnztulucunrau5ytdfnvjziqsj9

->  configure other nodes to join this cluster:
* on this node:
  - create an enrollment token with `bin/elasticsearch-create-enrollment-token -s node`.
  - uncomment the transport.host setting at the end of config/elasticsearch.yml.
  - restart elasticsearch.
* on other nodes:
  - start elasticsearch with `bin/elasticsearch --enrollment-token <token>`, using the enrollment token that you generated.
其中,需要注意两处

elastic为登录账号,01avmpeg7*bwmggaxnv0为登录密码,密码是随机生成,不可直接复制本文中的。
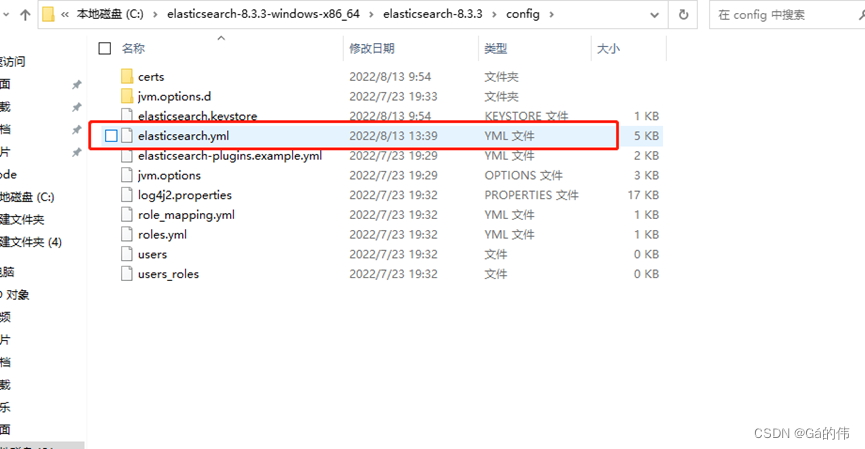
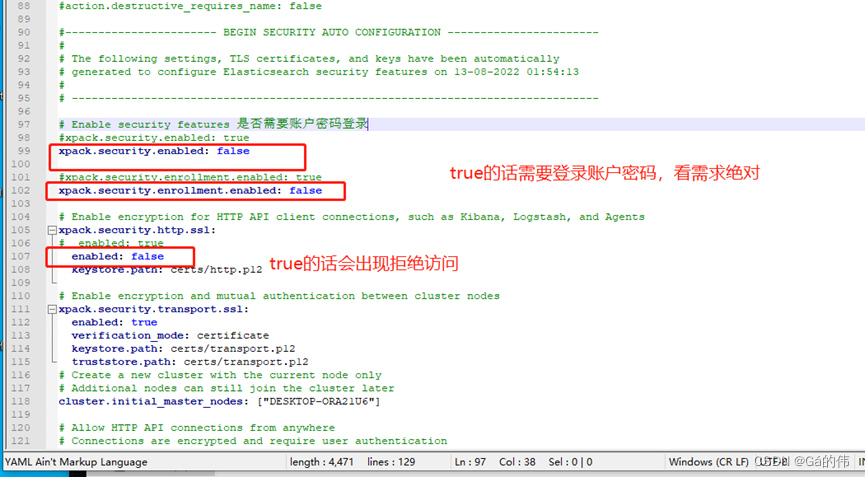
安装完成后,进入config文件夹
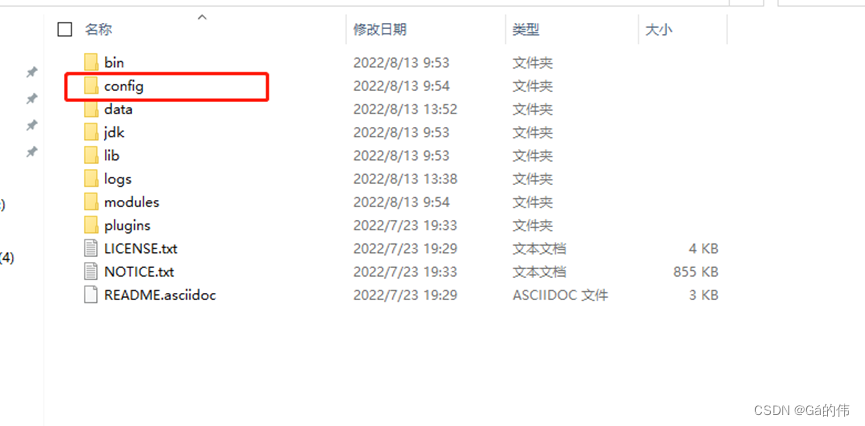
打开elasticsearch.yml文件
访问访问localhost:9200,出现下图,则成功

jeecgboot的配置
因为在application-dev.yml的配置中,没有配置登录的账户和密码,所以这里我们选择elasticsearch为免密登录
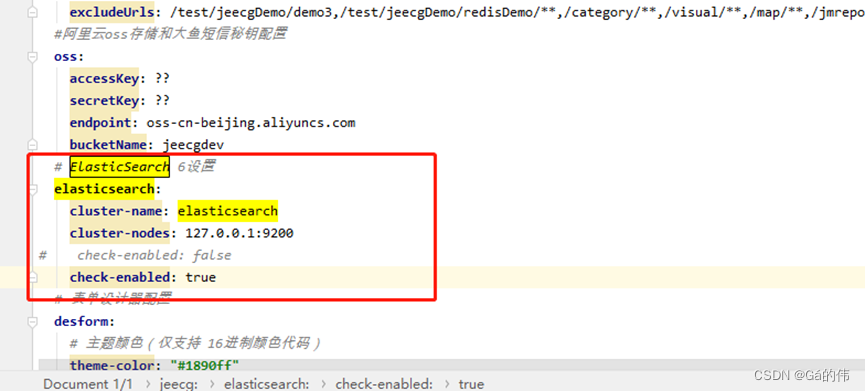
完成以上配置,直接启动项目即可


发表评论