前言
在flink程序开发或者调试过程中,每次部署到集群上都需要不断打包部署,其实是比较麻烦的事情,其实flink一直就提供了一种比较好的方式使得开发同学不用部署就可以观察到flink执行情况。
上代码
第一步:开发之前需要引入在本机支持相关的包
 <dependency>
            <groupid>org.apache.flink</groupid>
            <artifactid>flink-runtime-web</artifactid>
            <version>${flink.version}</version>
        </dependency>
第二步:
其实只要在生成环境的时候增加webui部分
  configuration conf = new configuration();
        //设置webui绑定的本地端口
  conf.setstring(restoptions.bind_port,"8081");
        //使用配置
  streamexecutionenvironment env=       streamexecutionenvironment.createlocalenvironmentwithwebui(conf);
当我们跑起来的时候,我们在浏览器上面输入http://localhost:8081/ 就可以访问:

下面是我的idea程序:
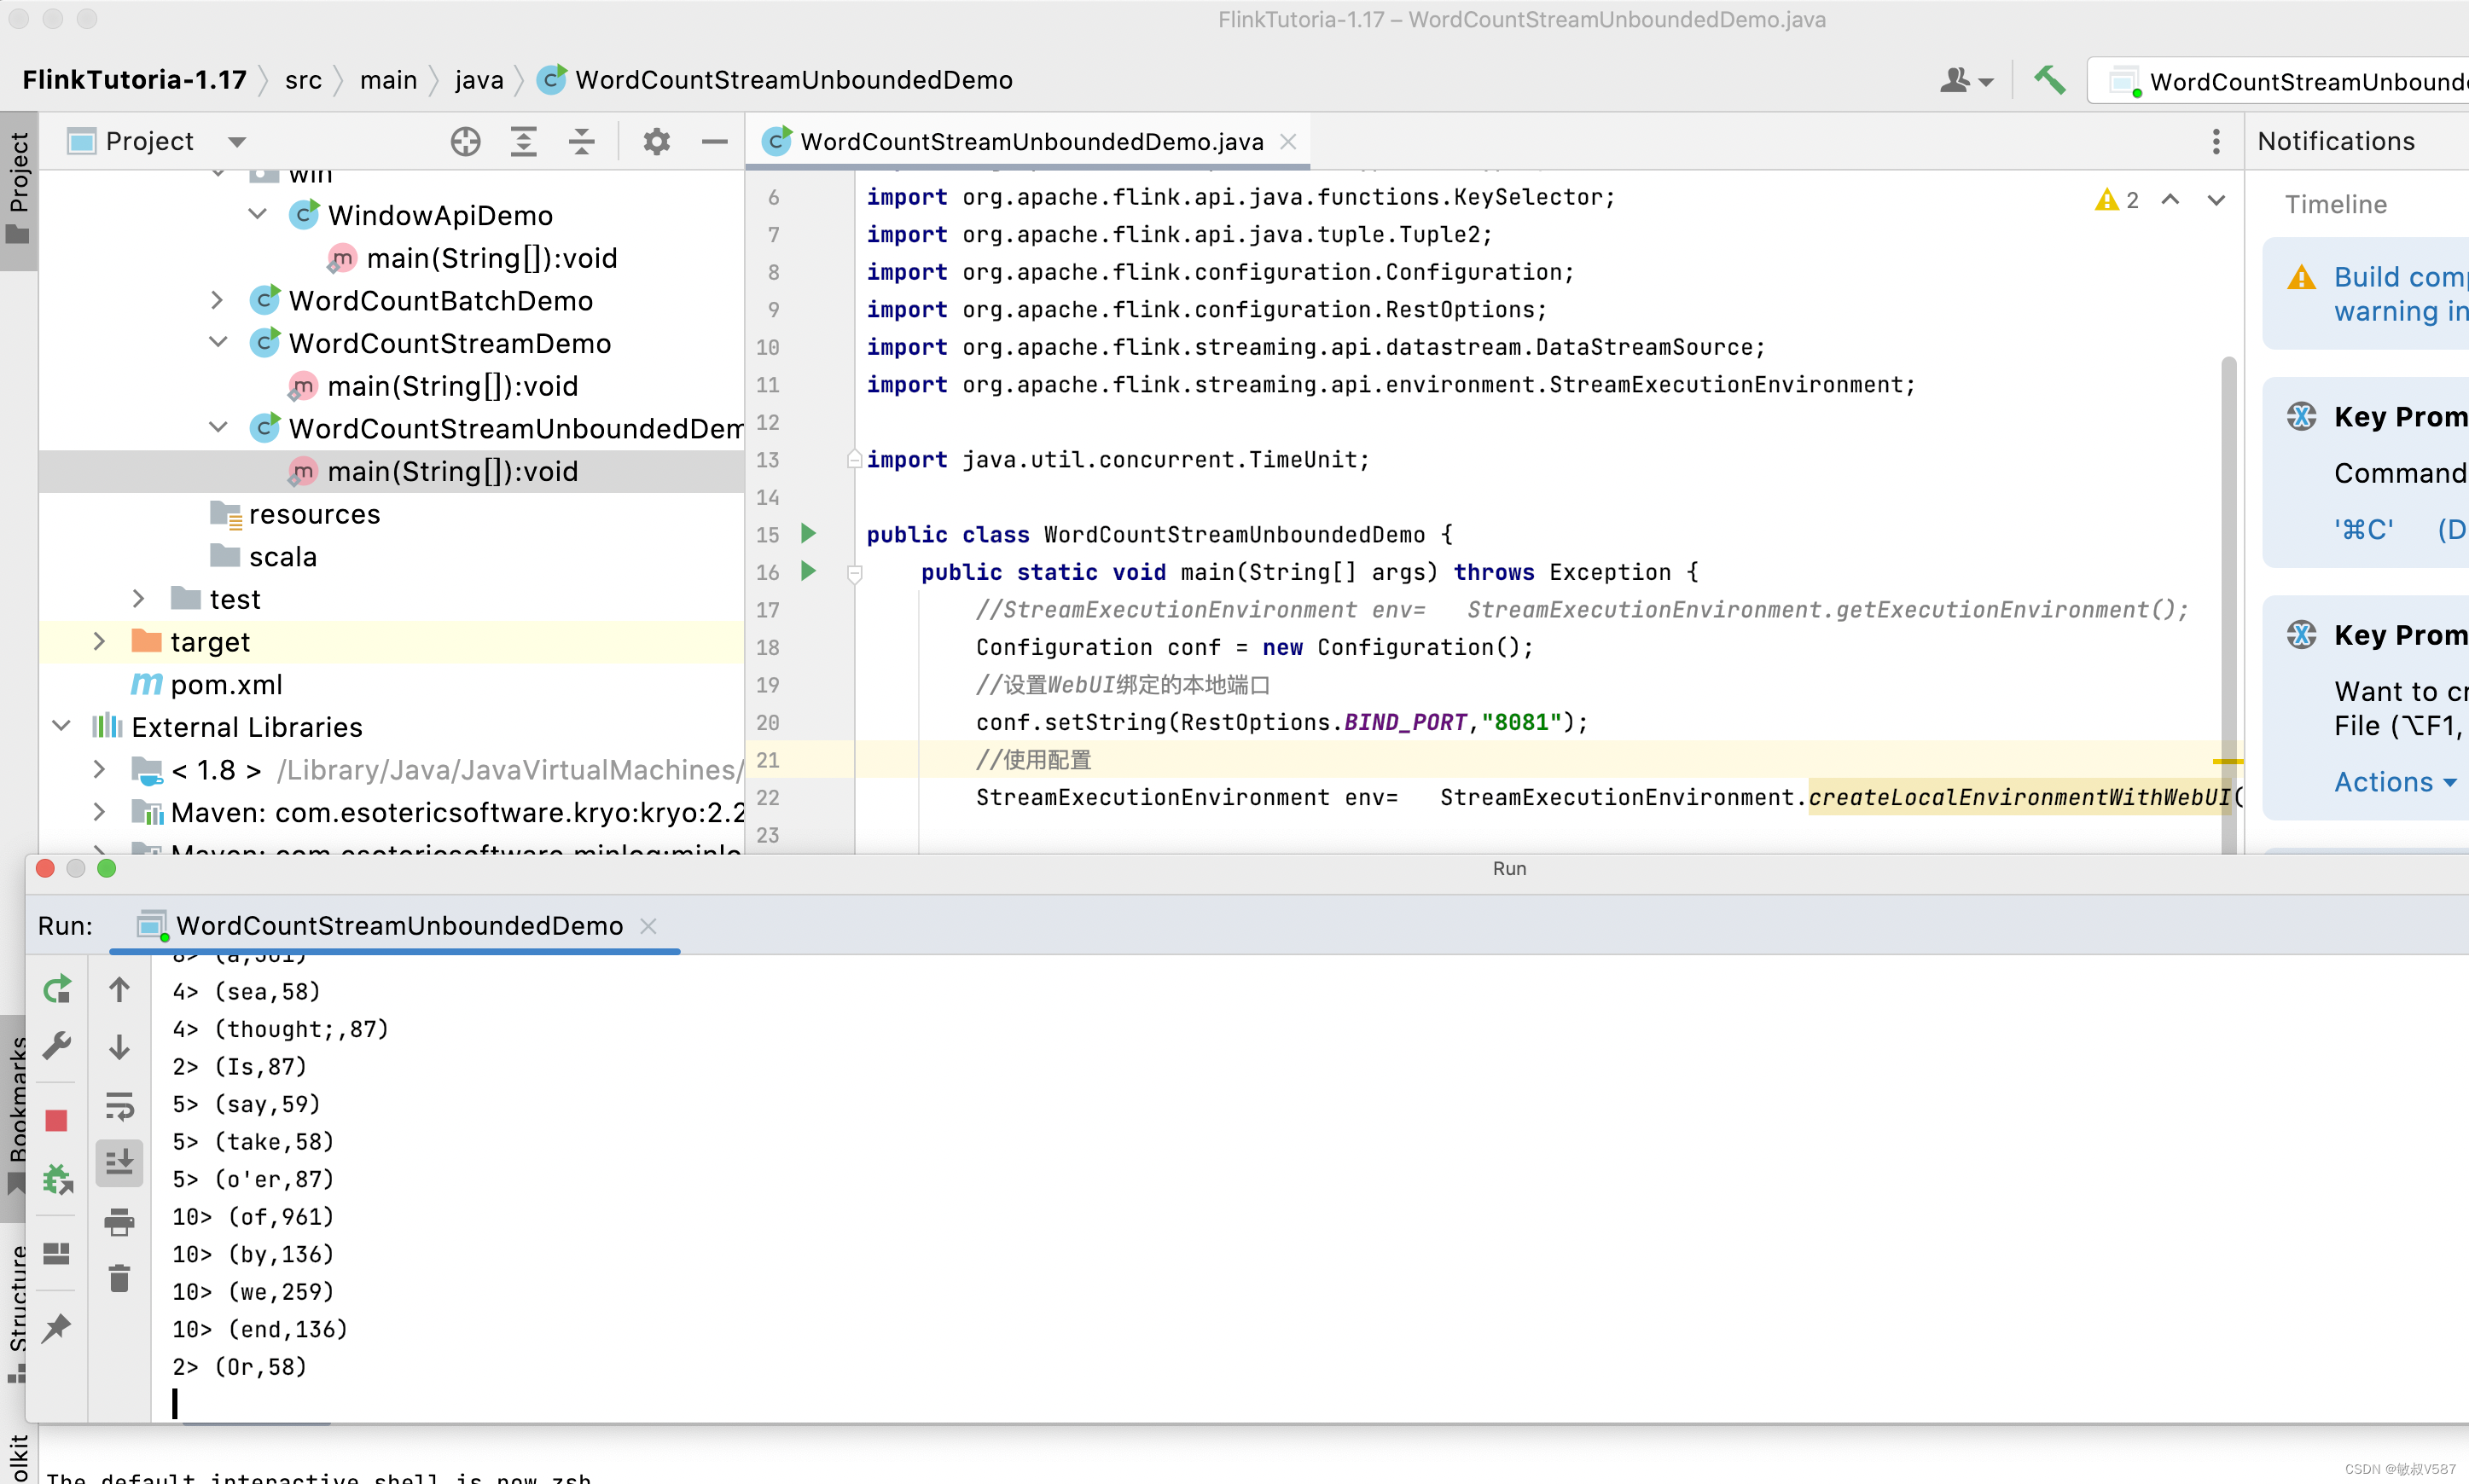
当然:很多小伙伴肯定想速度操作一下,咱讲究一个服务到位,示例代码也给出来:
public class wordcountstreamunboundeddemo {
    public static void main(string[] args) throws exception {
        //streamexecutionenvironment env=   streamexecutionenvironment.getexecutionenvironment();
        configuration conf = new configuration();
        //设置webui绑定的本地端口
        conf.setstring(restoptions.bind_port,"8081");
        //使用配置
        streamexecutionenvironment env=   streamexecutionenvironment.createlocalenvironmentwithwebui(conf);

        env.setrestartstrategy(restartstrategies.fixeddelayrestart(
                3, // 尝试重启的次数
                time.of(10, timeunit.seconds) // 间隔
        ));
        datastreamsource<string> inputds = env.addsource(new clickparallelsource());

        inputds.flatmap((flatmapfunction<string, tuple2<string, integer>>) (text, collector) -> {
            string[] words=text.split("\\s+");
            for ( string word:words){
                collector.collect(tuple2.of(word,1));
            }
        }).returns(types.tuple(types.string,types.int)).keyby((keyselector<tuple2<string,integer>,string>) entry -> entry.f0)
                .sum(1).print();
        env.execute();
    }
后记
其实做这个事情是因为前文docker部署flink的关系,我注意到各个环节上侧重的事情不同,开发环境对我们理解流的一些设计思想很有用,还有各种参数并行的调试都非常有帮助,奈何没有直观可见的东西,有了开发环境的ui界面,丝滑了n个数量级了。


发表评论